When you’ve spent a lot of time and energy redecorating a room, the last thing you want is for your radiators to stick out like a sore thumb against your beautiful new walls. In comes Chalk Paint™ to save the day! This decorative paint isn’t just for wooden furniture, it can be used on metal too. It’s the perfect solution for giving your metal radiators a fresh, new look.
There’s very little prep needed here. You just need to select the Chalk Paint™ colour to work with your interior scheme and a brush. If you want a lovely matt look, you can stop at painting (just make sure you give the paint enough time to fully dry before turning the heat on). For a glossy finish, add Chalk Paint™ Lacquer in Gloss, which has a lovely soft sheen. If your radiator is in a high-traffic area and likely to be touched a lot, adding a coat of either Chalk Paint™ Wax or Lacquer will make the radiator wipe-clean – especially handy in family homes!
Step by step guide to using Chalk Paint™ on radiators
- Prep the radiator by giving it a quick clean with a damp cloth (no harsh chemicals, use warm soapy water if necessary). There is no requirement for any sanding or priming – just paint!
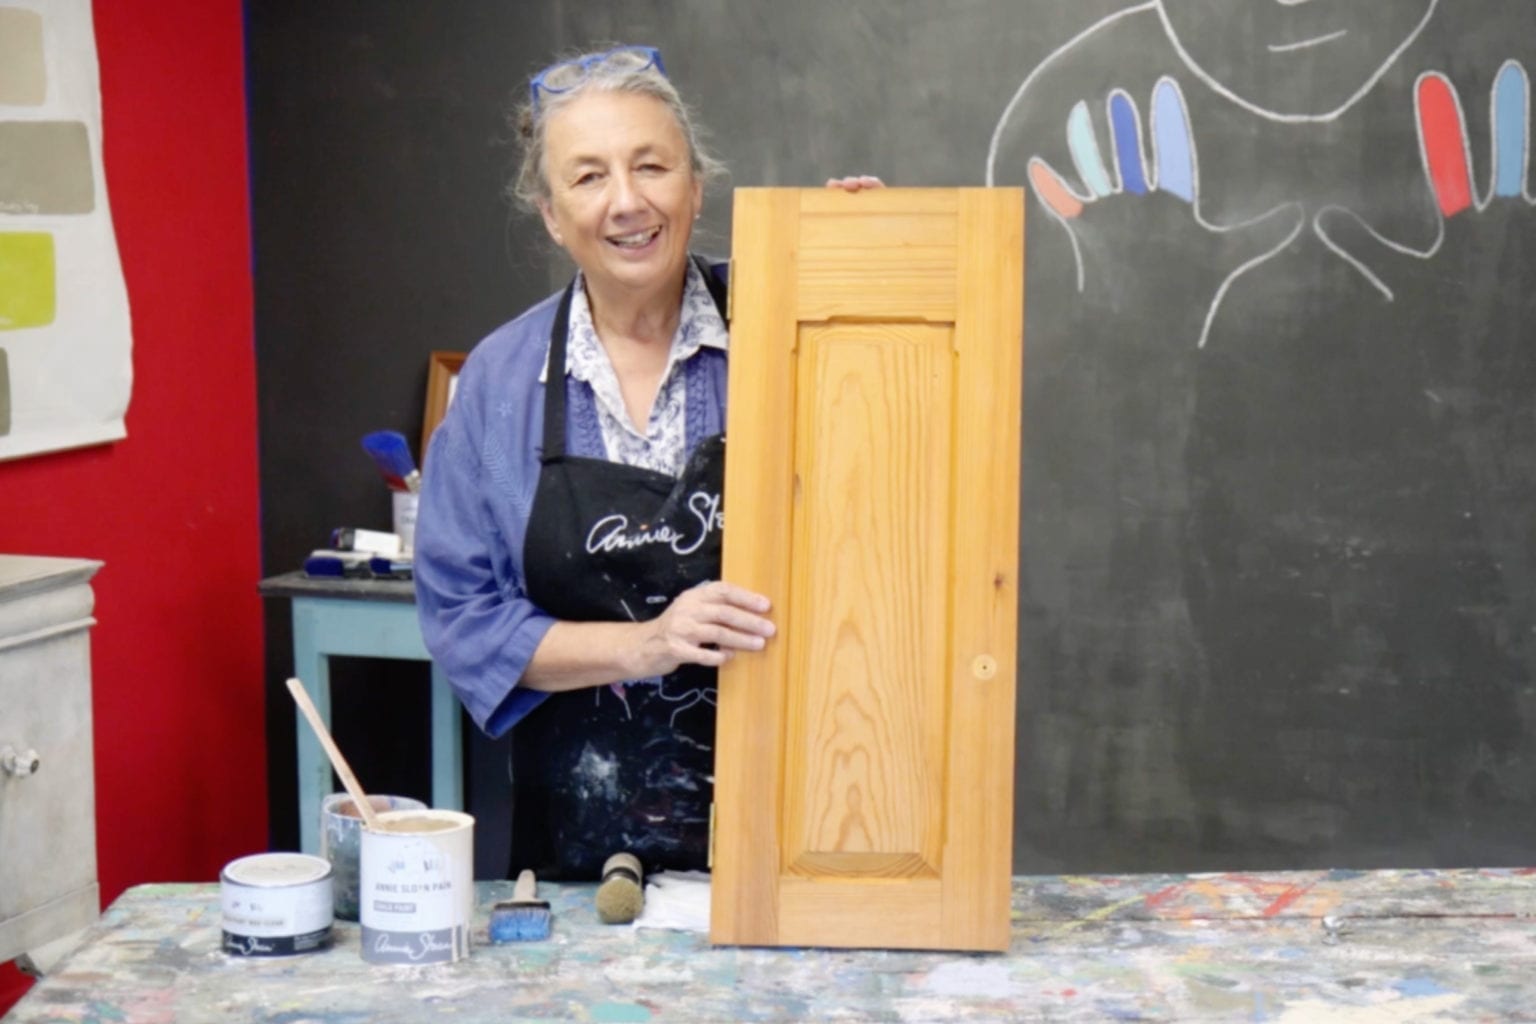
- Make sure the radiator is off and cold. Annie has taken the radiator off the wall to help demo this technique. In most cases it would be easier and just as effective to paint the radiator whilst it’s still attached.
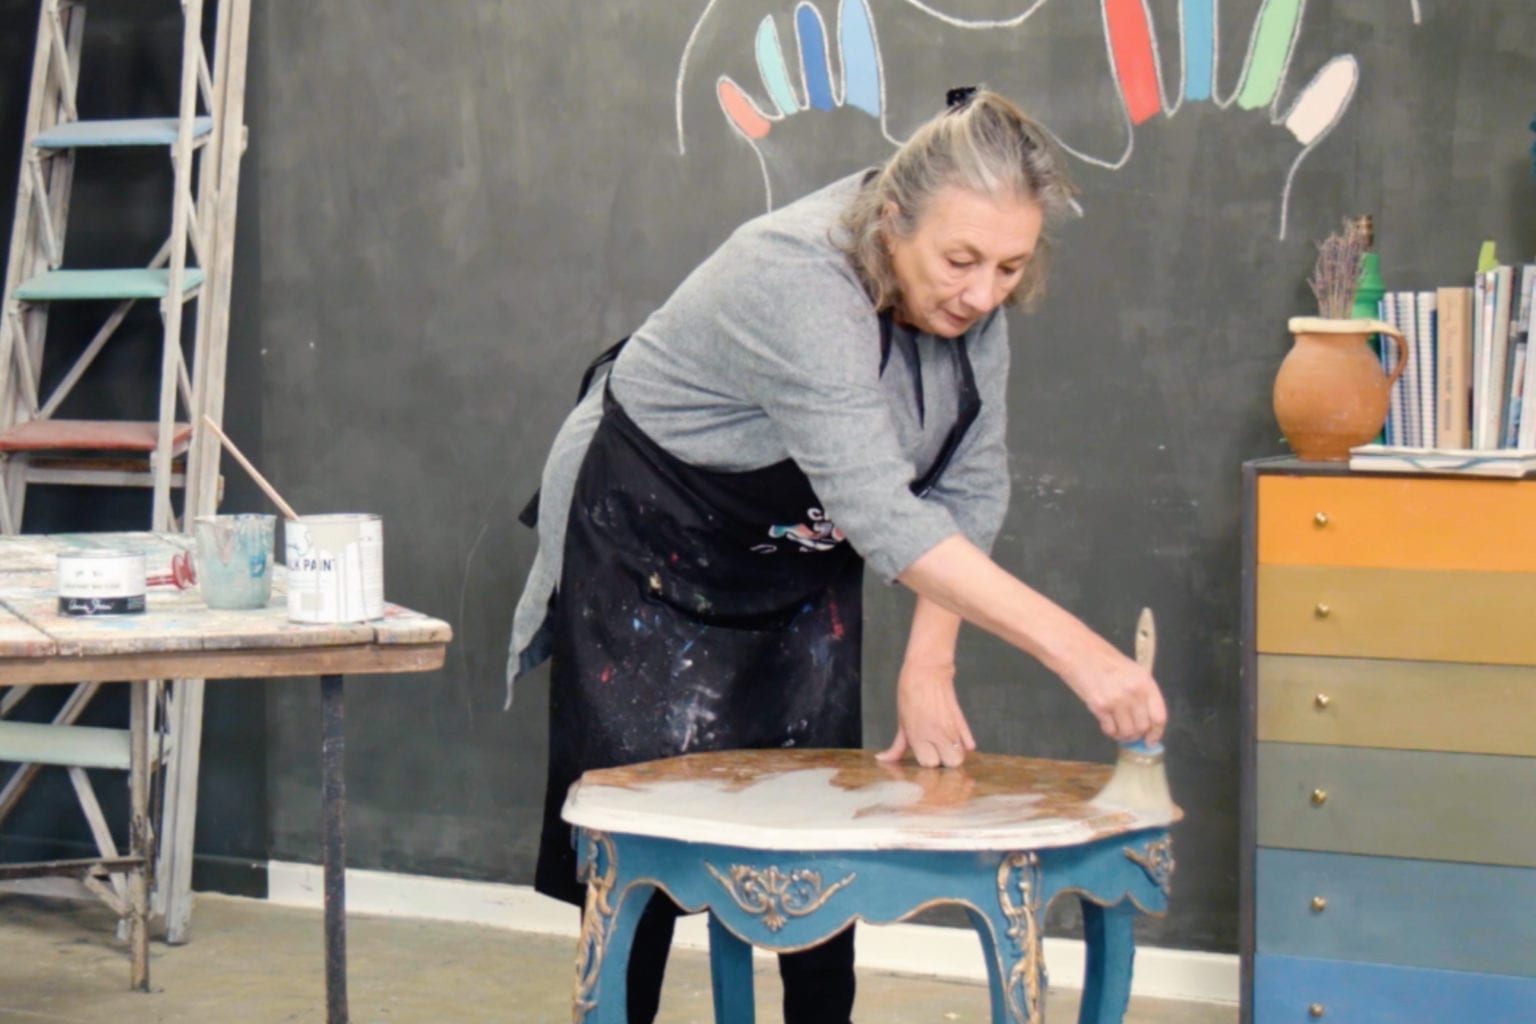
- Choose your Chalk Paint™ colour. As always, stir your paint well before each use.
- Apply Chalk Paint™ directly to the radiator – it’s that simple! Chalk Paint™ Brushes have been developed to work especially well with Chalk Paint™, but any brush will do.
- As metal is a non-porous surface, the paint will not absorb into the radiator. This means that the first coat may be streaky and will take longer to dry: do not be alarmed! This is normal. Just be sure to leave sufficient drying time between coats. In some cases, a third coat of Chalk Paint™ may be required to achieve full, smooth coverage.
- Once painted and dry, you could finish your radiator makeover with Chalk Paint™ Wax or Lacquer. But this is not essential. Heat from when the radiators are in use will seal Chalk Paint™. Chalk Paint™ Lacquer or Wax may be a style choice, and will also add extra durability, ensuring the paint is wipe-clean which may be desirable in high traffic areas.
- *TIP* To avoid Chalk Paint™ cracking, ensure the radiator is fully dry for a minimum of 24 hours before use. Heat can cause paint to crack whilst drying (something Annie uses to her advantage for her rustic, chippy paint technique!).
- *TIP* If choosing to apply Chalk Paint™ Wax ensure the radiator is fully dry (allow a few days) before putting the heat back on.
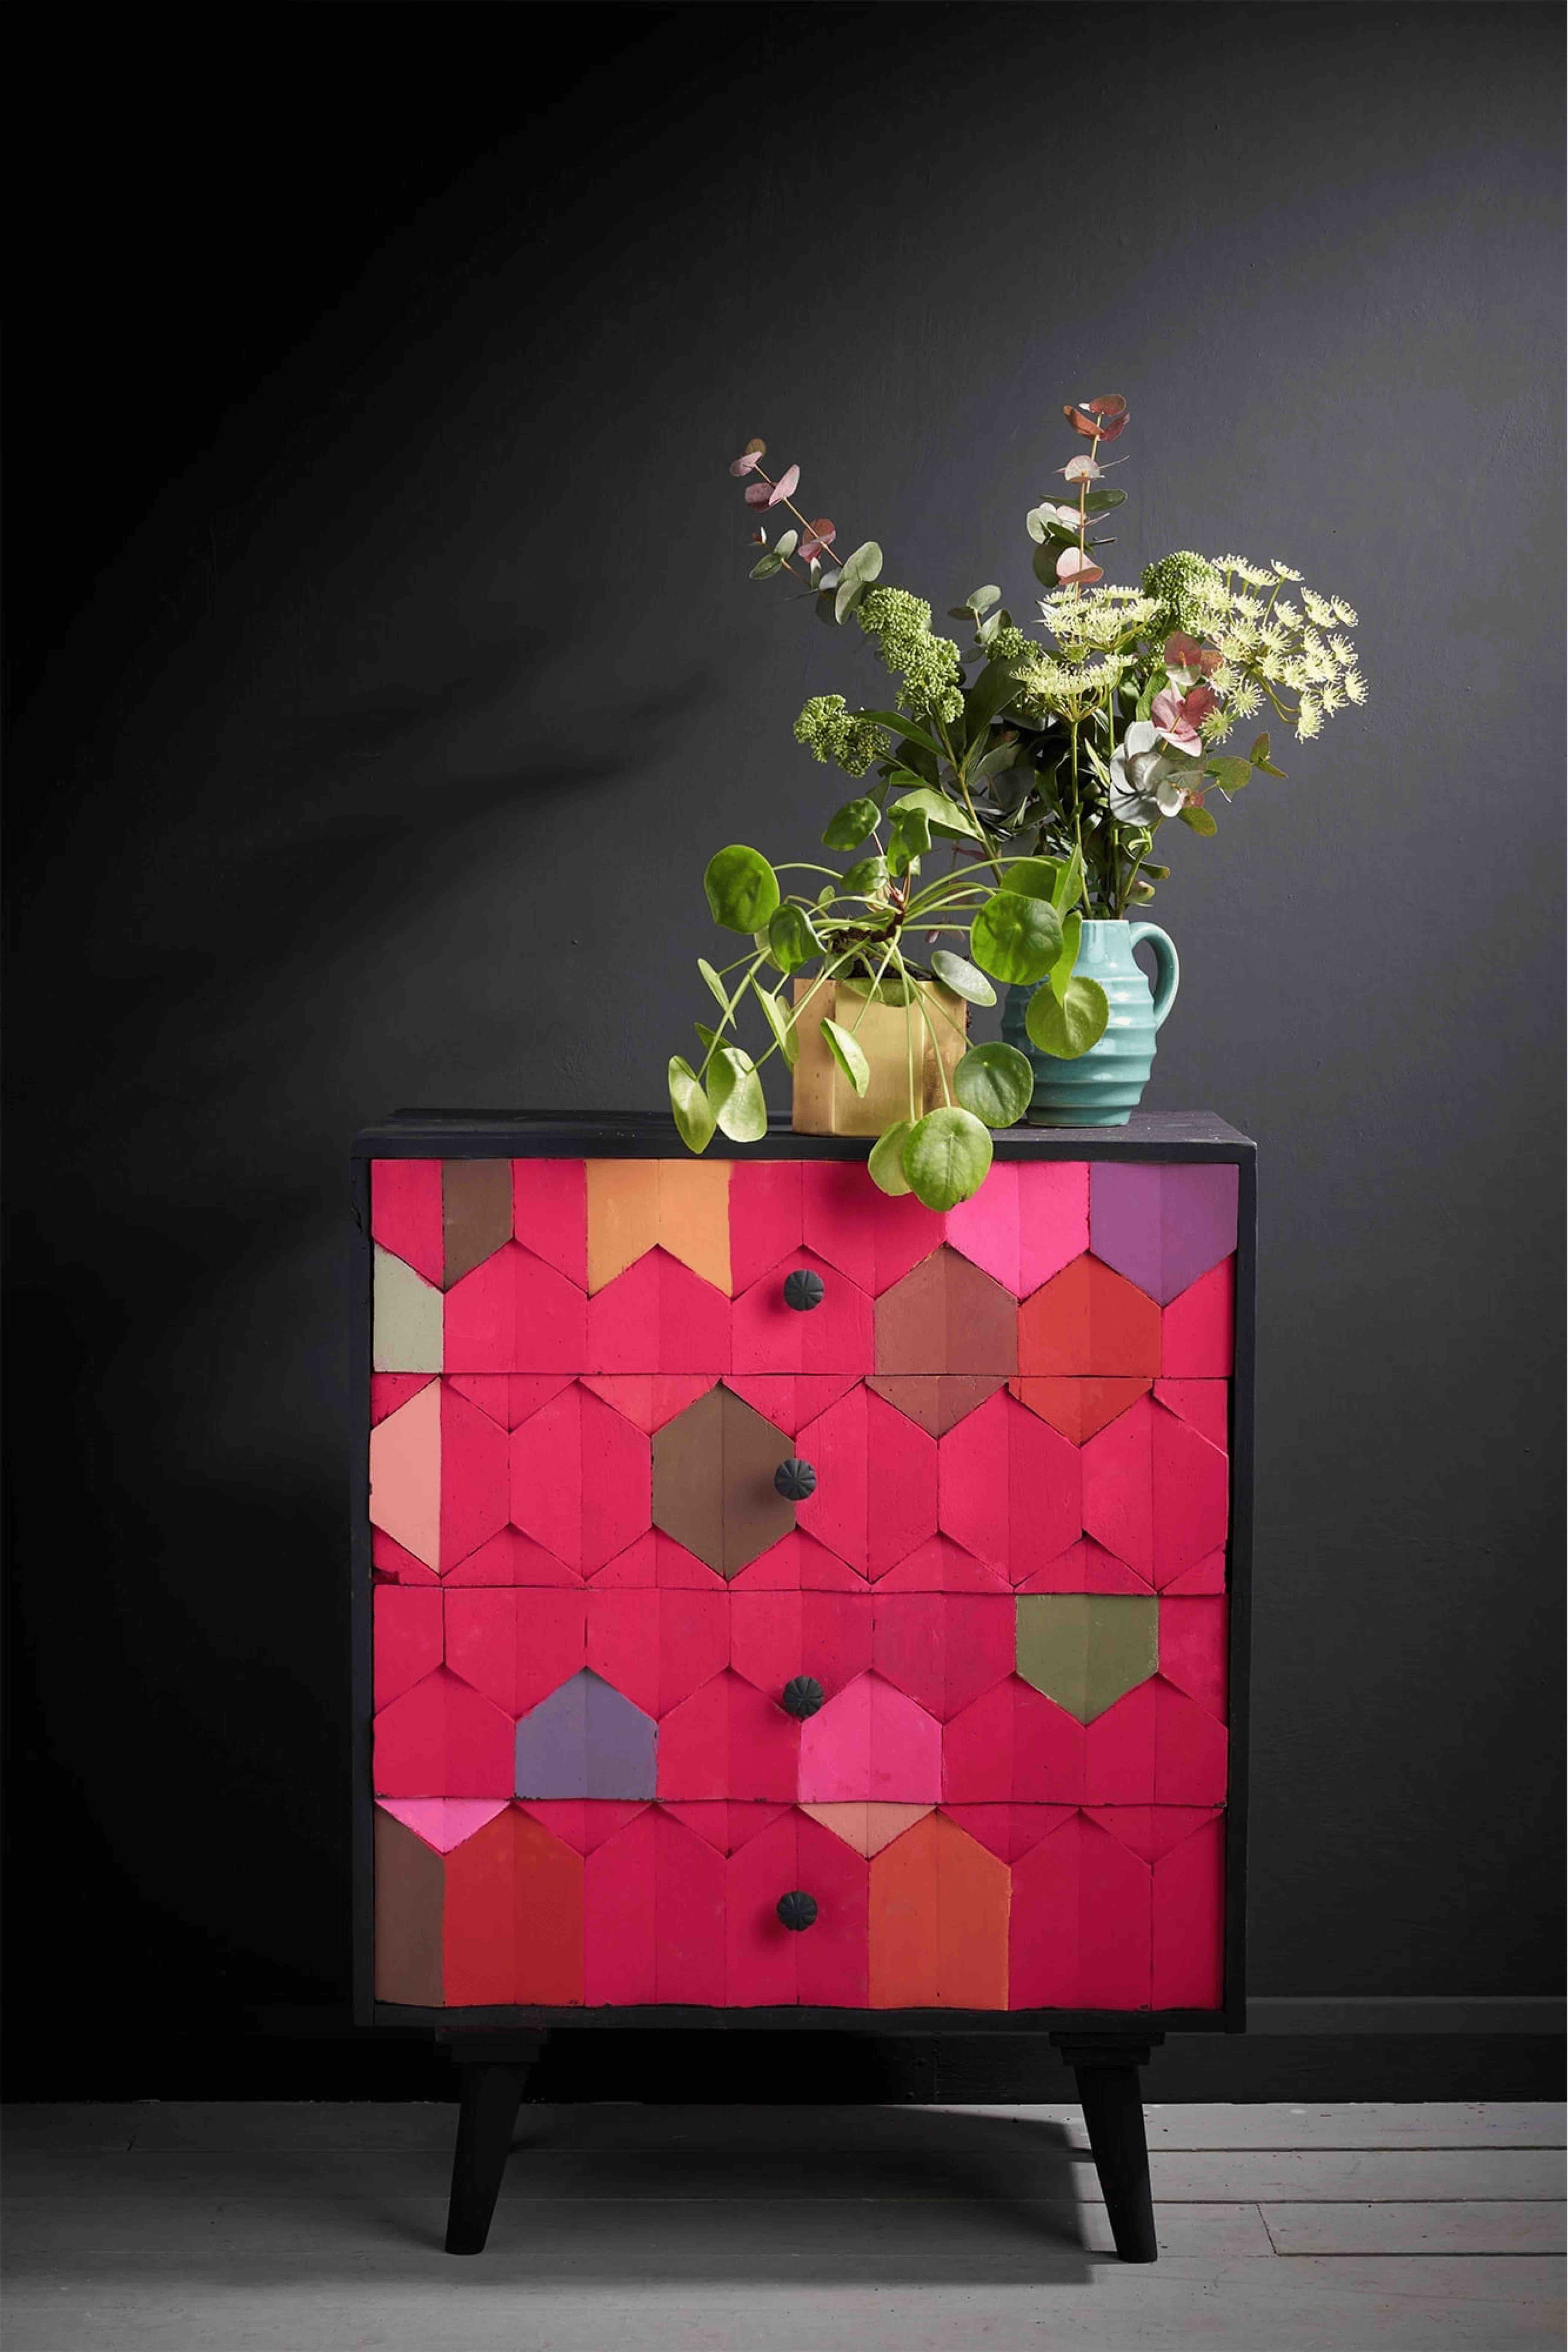
So now you’ve ready to repaint your metal radiators with Chalk Paint™, you can enjoy spending time choosing the right colours to work with your interiors. Will you want to colour block your walls so the radiator blends in, or do you want them to stand out? For inspiration, take a look at this bold scheme where the radiator has been painted the same pale pink colour as the walls.
Once you’re ready to get painting, make sure you support local by buying the materials you need from your local Annie Sloan Stockist. We can’t wait to see how your new radiators look! Be sure to share with the Annie Sloan community online by using #anniesloan.