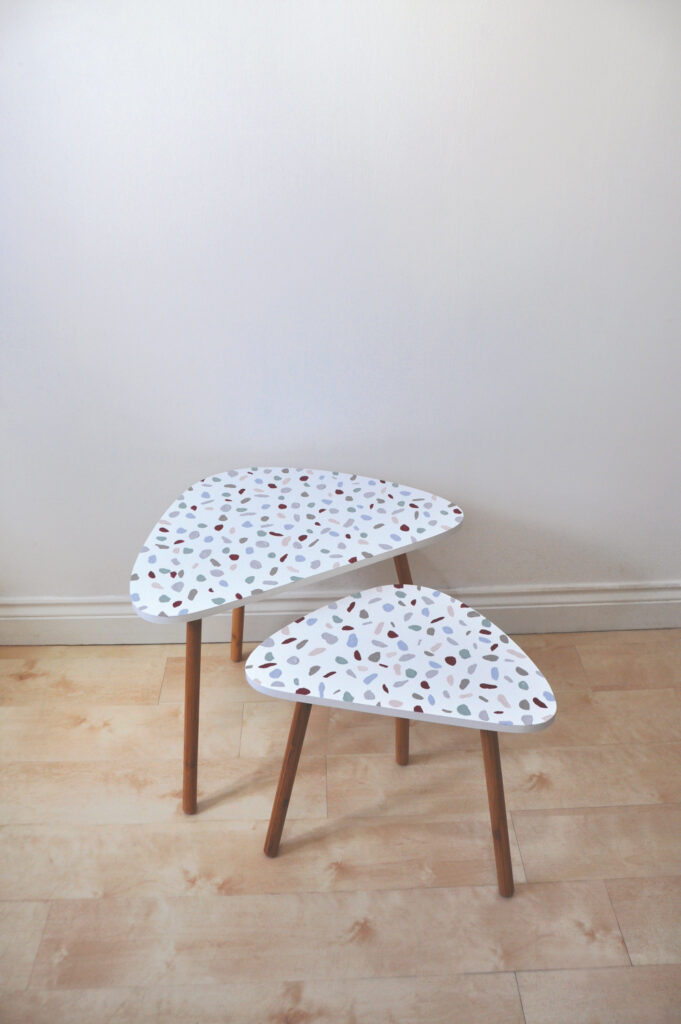
How To Create a Terrazzo Effect Tabletop
Move over marble – terrazzo is making a comeback! Annie shows you how to mimic the look of this beautiful material
YOU WILL NEED
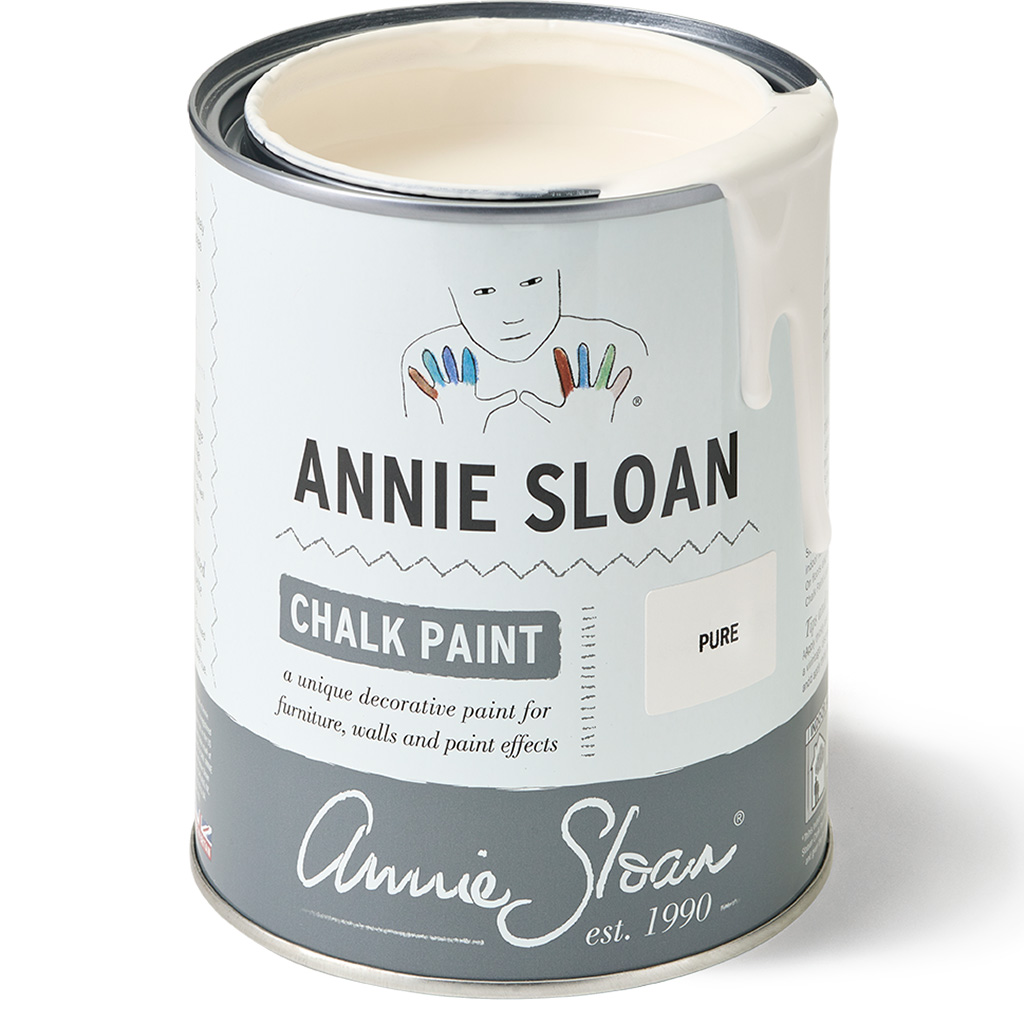
- 1 x 120ml Chalk Paint in Pure
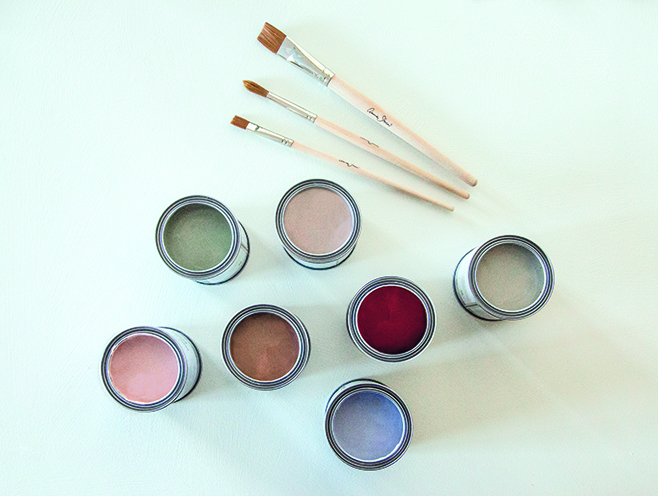
- A selection of Chalk Paint colours. Annie used Duck Egg Blue, Antoinette, Paris Grey, Paloma, Coco, Louis Blue and Burgundy
- 1 x 120ml Clear Chalk Paint Wax
- 1 x Small Chalk Paint Wax Brush
- 1 x Annie Sloan Detail Brush set
- 1 x lint-free cloth
- 1 x jug of water
Step 1
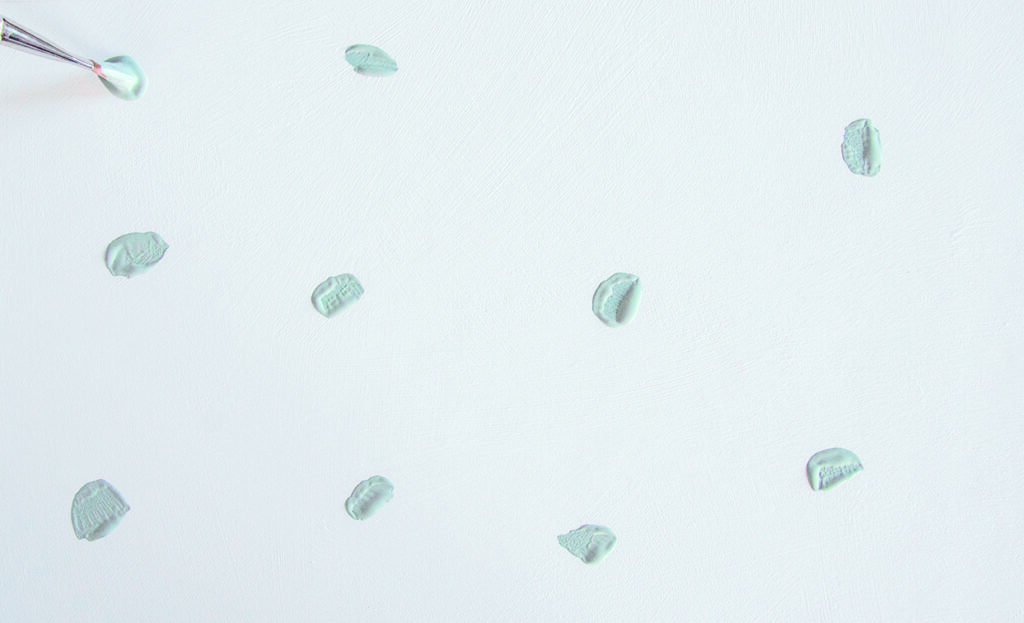
Apply two coats of Chalk Paint™ in Pure if the surface of your table isn’t white. For a smooth surface, try a large Annie Sloan Flat Brush. Select an Annie Sloan Small Flat Detail Brush and use Duck Egg Blue to paint random splodges across the surface.
Don’t think too hard about this – the point is for the marks to be imperfect, the way chunks of marble are in terrazzo, so any splodge will be absolutely fine! Take some marks over the edge of your surface to mimic the cut terrazzo.
Step 2
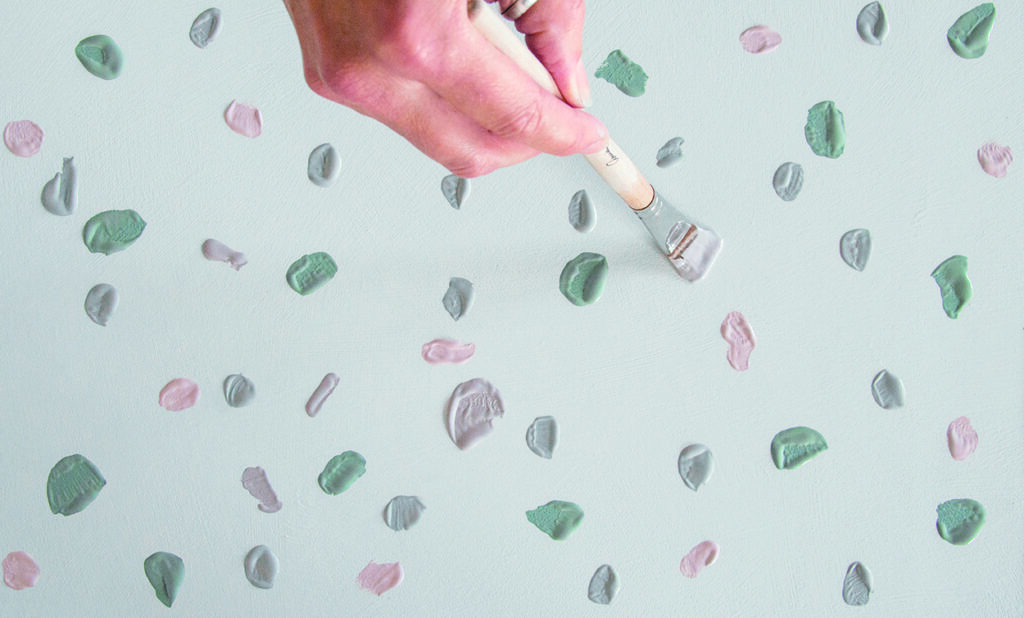
Use Chalk Paint in Antoinette to add more splodges. These marks should not touch your first marks, and their spacing should be irregular. Just dab the brush in any spot where you see a white space.
Step 3
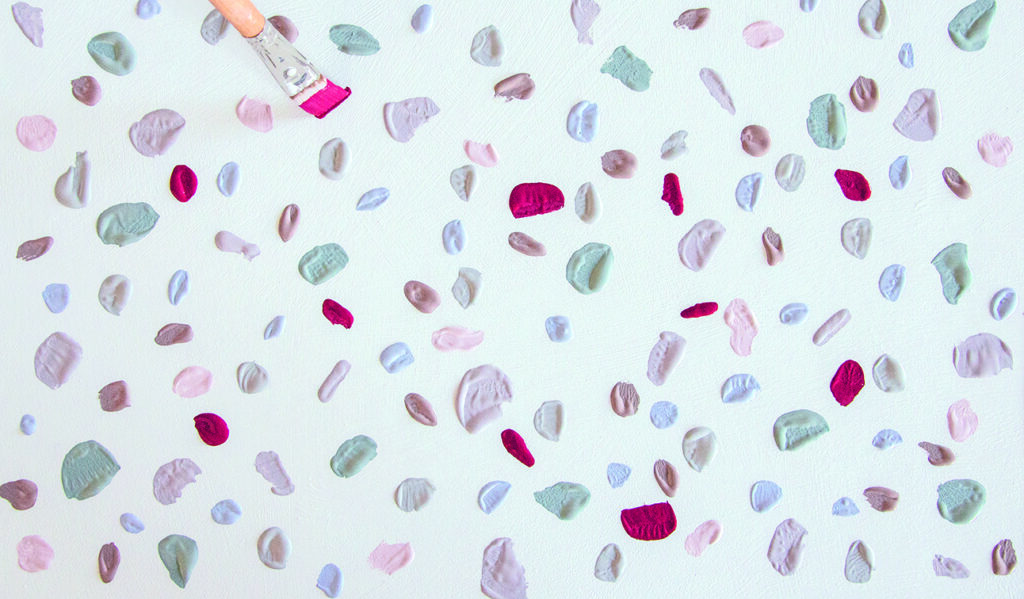
Continue adding marks using Chalk Paint in Paris Grey, Paloma, Coco, Louis Blue and Burgundy. Repeat until you run out of white space. The marks will be thicker and more raised in places – this is good as it will bring texture to the finished table. Once you’re happy with the ratio of dots to white space, leave the surface to dry thoroughly. Seal your table by applying two coats of Clear Chalk Paint Wax with a Small Chalk Paint Wax Brush or a lint-free cloth.
Step 4
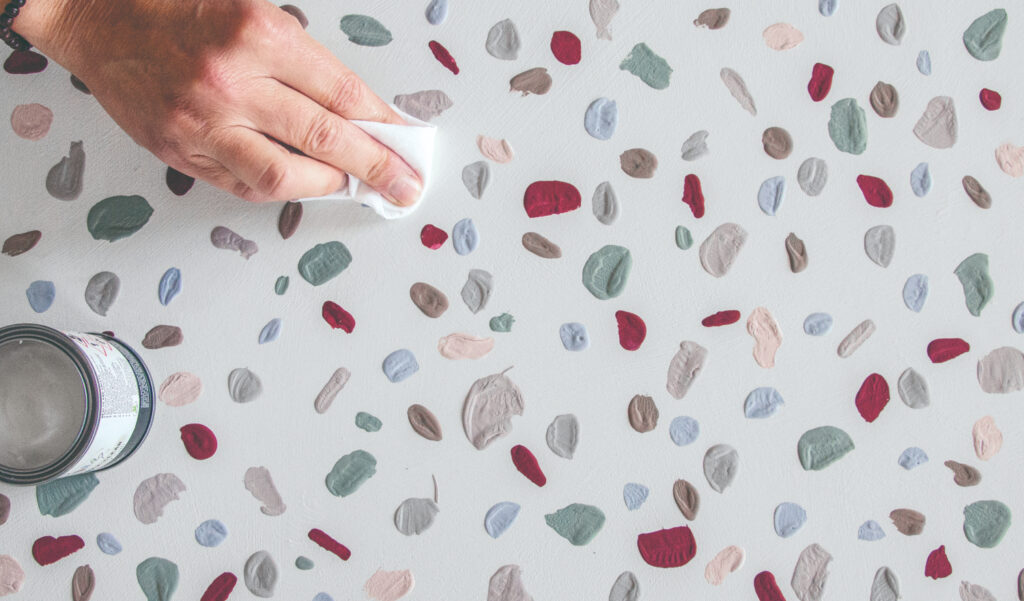
Buff with a lint-free cloth if you want your tabletop to have a light sheen; don’t buff, if you prefer a matt finish. Now that you can see how easy it is to achieve, why not try this stunning effect on a wall, a floor – anything you fancy!
Annie’s top tip
Work quickly without worrying too much about the type of mark you are making. Load your brush with plenty of paint, push down on the heel of the brush and then lift up as shown.
This project was originally featured in Issue 2 of the Colourist bookazine. Buy back issues here.
Go to the AnnieSloanHome YouTube channel to watch a video version of this tutorial here
Related Inspiration
Related Inspiration
Use of cookies
AnnieSloan.com uses cookies to improve your experience when you browse the site.