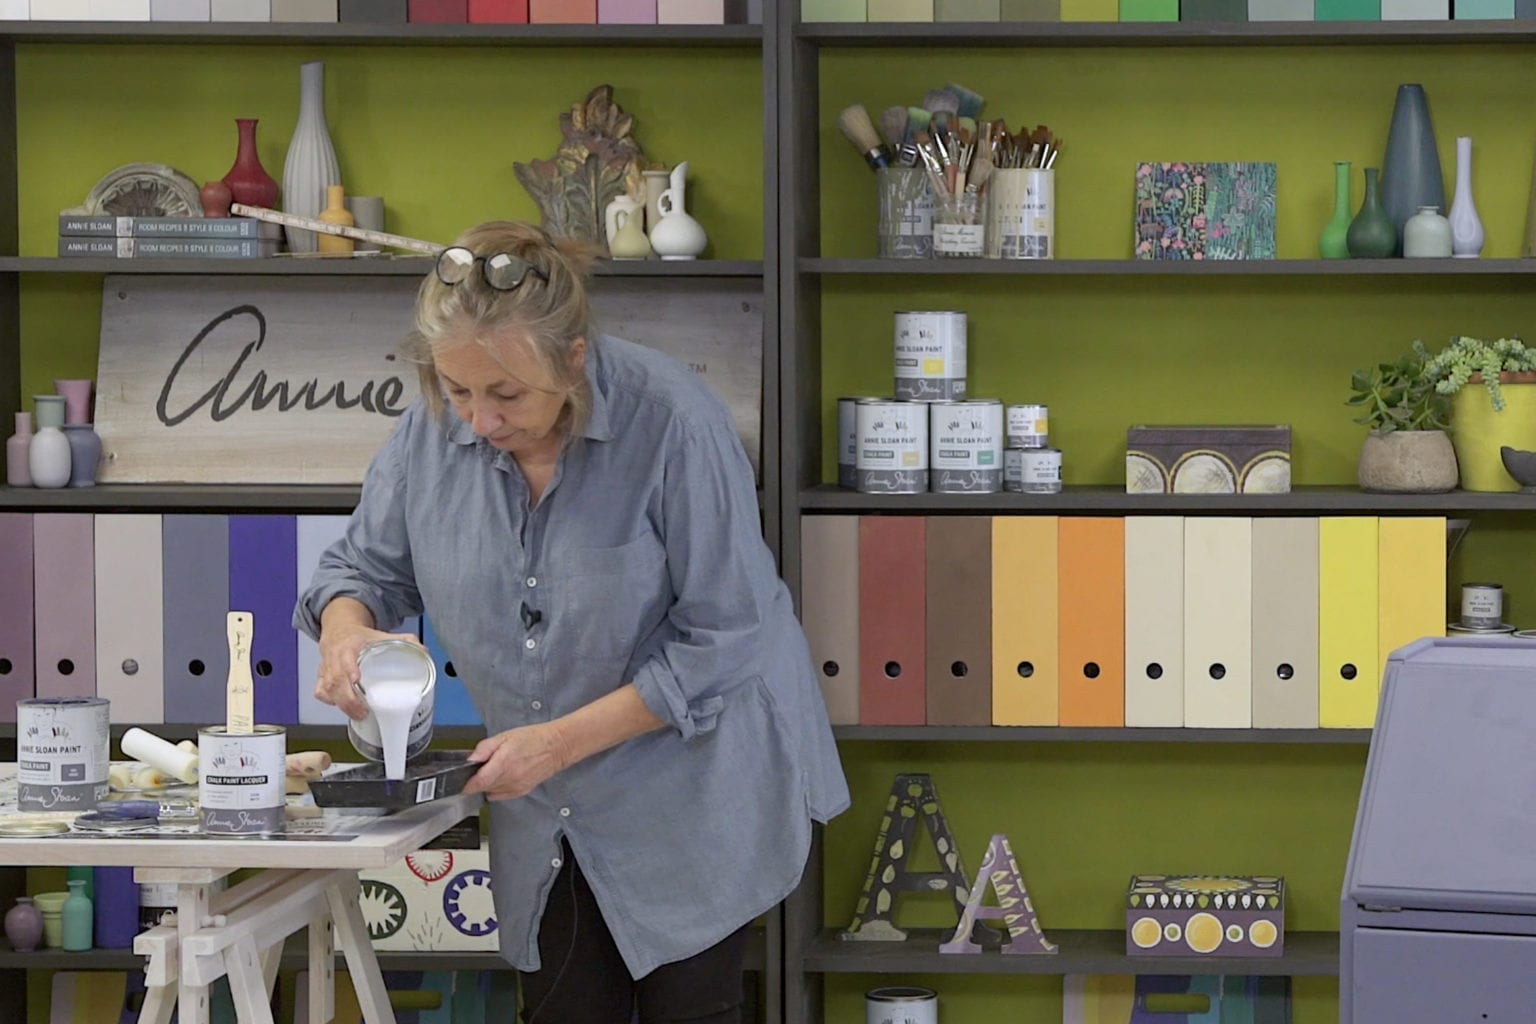
Once you’ve finished painting a piece of furniture with Chalk Paint™, you’re going to want to seal in your paintwork to create a lasting finish. Chalk Paint™ is a decorative paint with terrific sticking power – it can be applied to most surfaces – but it does need protection to withstand general wear and tear. If you’re applying paint to a chair or table, a bedside cabinet or chest of drawers, you know you’ll be handling your item regularly and will want to give it a protective coat before using it. Not only will this help prevent unsightly fingermarks, but also allow you to wipe your painted surfaces clean as and when needed.
Enter Chalk Paint™ Wax! This quiet hero goes hand in hand with Chalk Paint™ to create a strong, durable finish. Using a brush or lint-free cloth, you want to sweep Chalk Paint™ Wax over your paintwork. Smoothing it over almost like applying hand cream and wiping off excess as you go. The Wax will be touch dry within a few hours and slowly harden over time, becoming stronger as it cures.
Step by step guide to using Chalk Paint™ Wax
- Before you start waxing, paint your piece of furniture, working your brush every which way. You don’t want to apply too much pressure. What you’re aiming for is even coverage.
- Allow the paint to dry.
- Using a Chalk Paint™ Wax Brush or a lint-free cloth, apply Chalk Paint™ Wax. Work in large areas, sweeping the wax over the paint.
- You are aiming to cover every bit of paint. Check that you haven’t missed any sections. Go over them with wax, if so.
- Using a lint-free cloth, go over the waxed surface quite lightly in order to remove any excess wax.
- *Optional* If you’d like a polished finish, leave your piece overnight and buff the wax the next day with a clean, lint-free cloth.
- Whilst Chalk Paint™ Wax will be dry within 24 hours, it can take up to 2 weeks to cure (fully harden). You can use the piece during this time, but just with a little caution.
Now you’ve waxed your furniture, you can be confident your paintwork is protected. Any marks can be wiped clean with a damp cloth too. Chalk Paint™ Wax offers enough protection for most applications, but if you’d like to protect your flooring, skirting boards or garden furniture, try Chalk Paint™ Lacquer instead.
For more tips to get you started, take a look at our Chalk Paint™ Fact Sheet. Finally, be sure to visit your local Annie Sloan Stockist to get all the materials you need for your next furniture painting project!