Techniques

How to: Create an Aged Look with Dark Chalk Paint™ Wax

Hello! So what I want to do is show you how to use Dark Wax. It’s probably the thing I get most questions about, but it really is very, very simple. So I’m going to show you how! I’ve chosen this orange piece of pine – I think it’s really quite pretty. I’m going to do it on white and then over the white I’m going to apply a little bit of Dark Wax, so not lots.

I’ve used this brush because it gives you a little bit of texture, not too much. I don’t want it very textured but I do like the idea of having just something so that the Dark Wax can sort of get in and give you a little bit of character. I’m taking big brush marks. I don’t want it to look fussy. The big brush strokes give you a good freedom about it as well, it’ll just make your work look so much nicer. And it’s also quicker.

So now I’m going to do the second coat. I just want to make certain that I’ve got a little bit of texture, but not too much. This is all dry now and I’ve just started to apply wax all over in Clear Wax that seals the whole thing. The thing is if you put Dark Wax immediately on to paint which has got no wax on it at all, you’ve stained it and that’s it, you can’t change it. So this is a way of sealing it so that your next coats… you can play with it and get it darker or lighter and as you want. I’ll just take it with a cloth and wipe the excess, so there’s no lumps or bumps and nasty bits.

What I’m going to do now is I’m going to apply another coat of wax because what I want to do is to be able to work the Dark Wax into the Clear Wax. I don’t want to do it straight on to a dry wax. That gives me time to play. Now I’m going to use brown wax, that’s a Dark Wax, it’s a brownish colour wax. I’m not using my Black Wax. Black Wax is a very different
look it’s a much more modern look, so this is brown and it has a more sort of antiqued look. So don’t need too much, put a bit on there. Don’t worry even if you get lots and lots of it on there because you’ve got Clear Wax underneath it’s not a problem.

Don’t miss any bits – go every which way so you don’t have any white bits showing at all. You don’t want to give the game away. So now I’m going to take a bit of cloth, wipe around, wipe all this off. Now I could leave it like that but I’m not going to because I want something really delicate. See what’s lovely is that it’s gone in, that’s where I sort of stippled it slightly, that’s more brush marks so those initial brush marks that you make are really, really, really important.

So now it’s quite dark, you can see compared to the white paint and that, it’s really quite dark. So I’m going to go back with some Clear Wax and then I’m going to sort of clean it off. Really get it really quite light. I want it to be delicate. So I love this now, I love the way you can see what’s happening it’s like sort of making history really. And what a difference from that yellow pine!

So that’s it! My beautiful antiqued bed.

Discover how to antique pine furniture using Dark Chalk Paint™ Wax. This wax is the perfect and easy way to age and bring out the texture of your paint work.

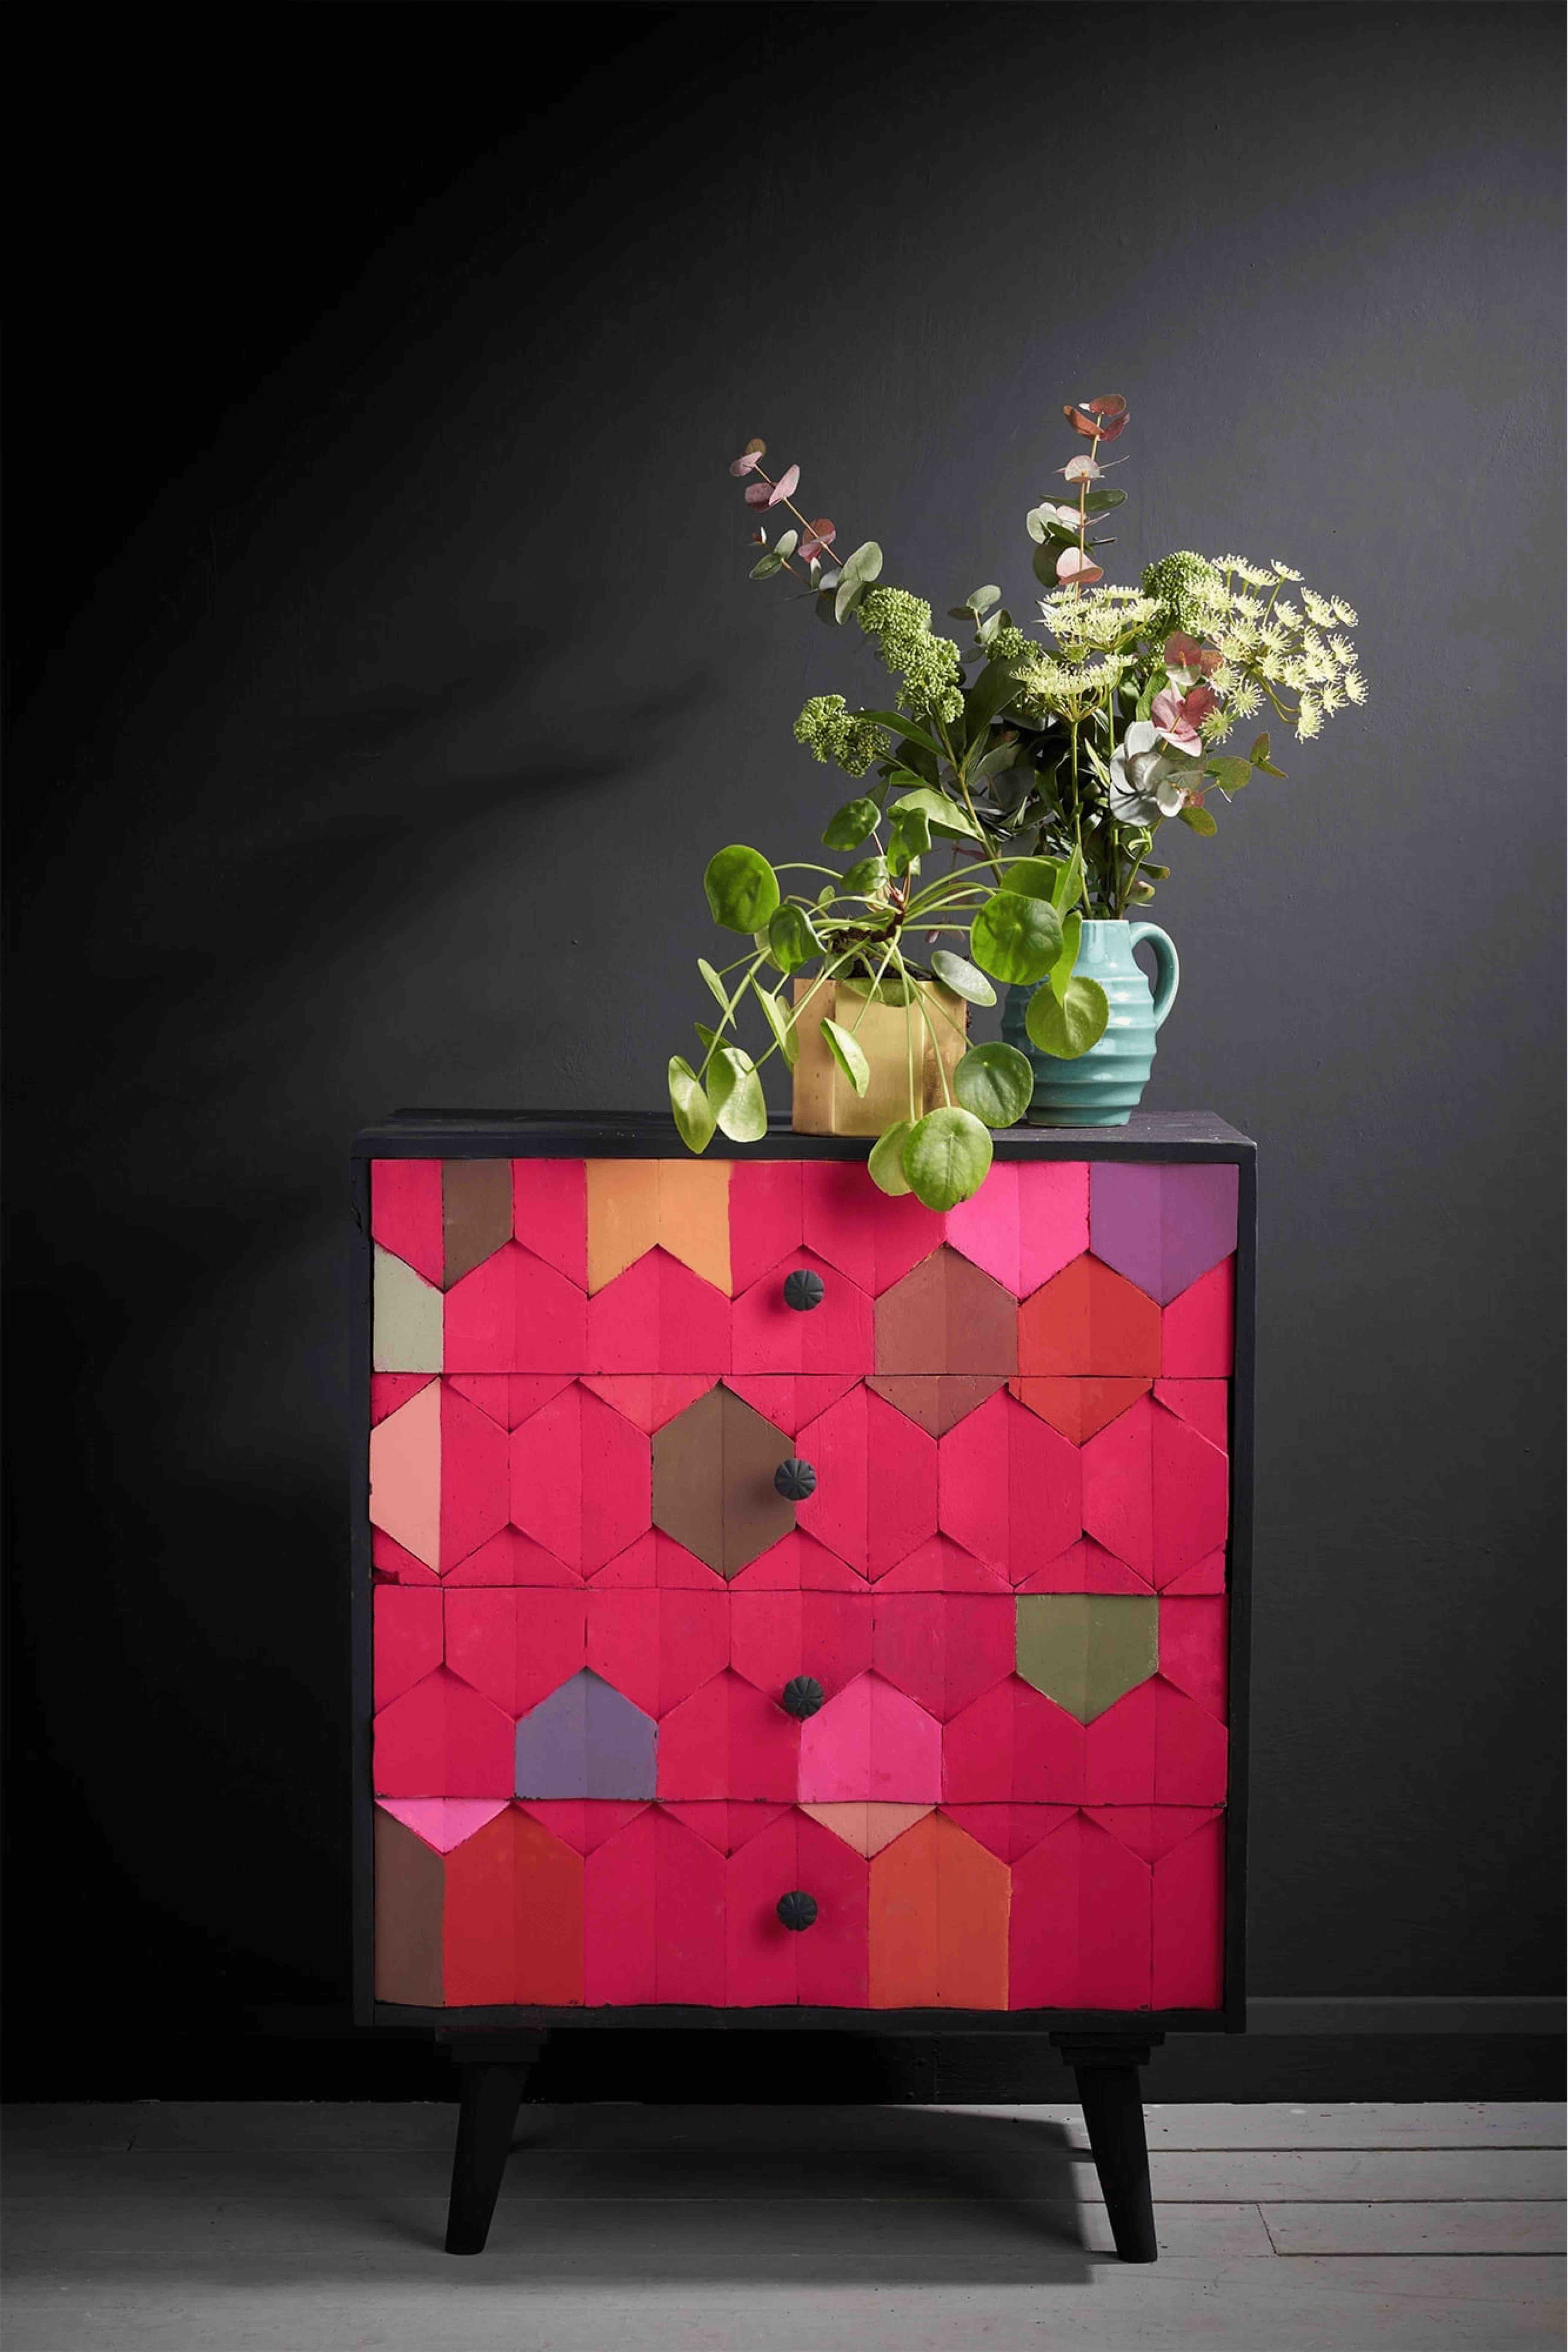
As painted furniture ages, it starts to develop its own unique character. There’s a time and a place for the freshly-painted look of course, but if you want to create an authentic patina, you really don’t have to wait years for your paint work to age. Here’s a technique that can be done in an afternoon and requires very little kit  – simply some Dark Chalk Paint™ Wax – to add bags of character to your painted project.

The secret? For a realistic vintage effect, you want to apply your paint liberally, moving the brush every which way, to create a textured finish. All those lovely brushstrokes will be emphasised by the Dark Chalk Paint™ Wax and help you achieve the most beautiful, natural aged look. If any areas are looking a little too dark, simply use some Clear Chalk Paint™ Wax like an eraser to knock the colour back.

Step by step guide to ageing paint work with Dark Chalk Paint™ Wax

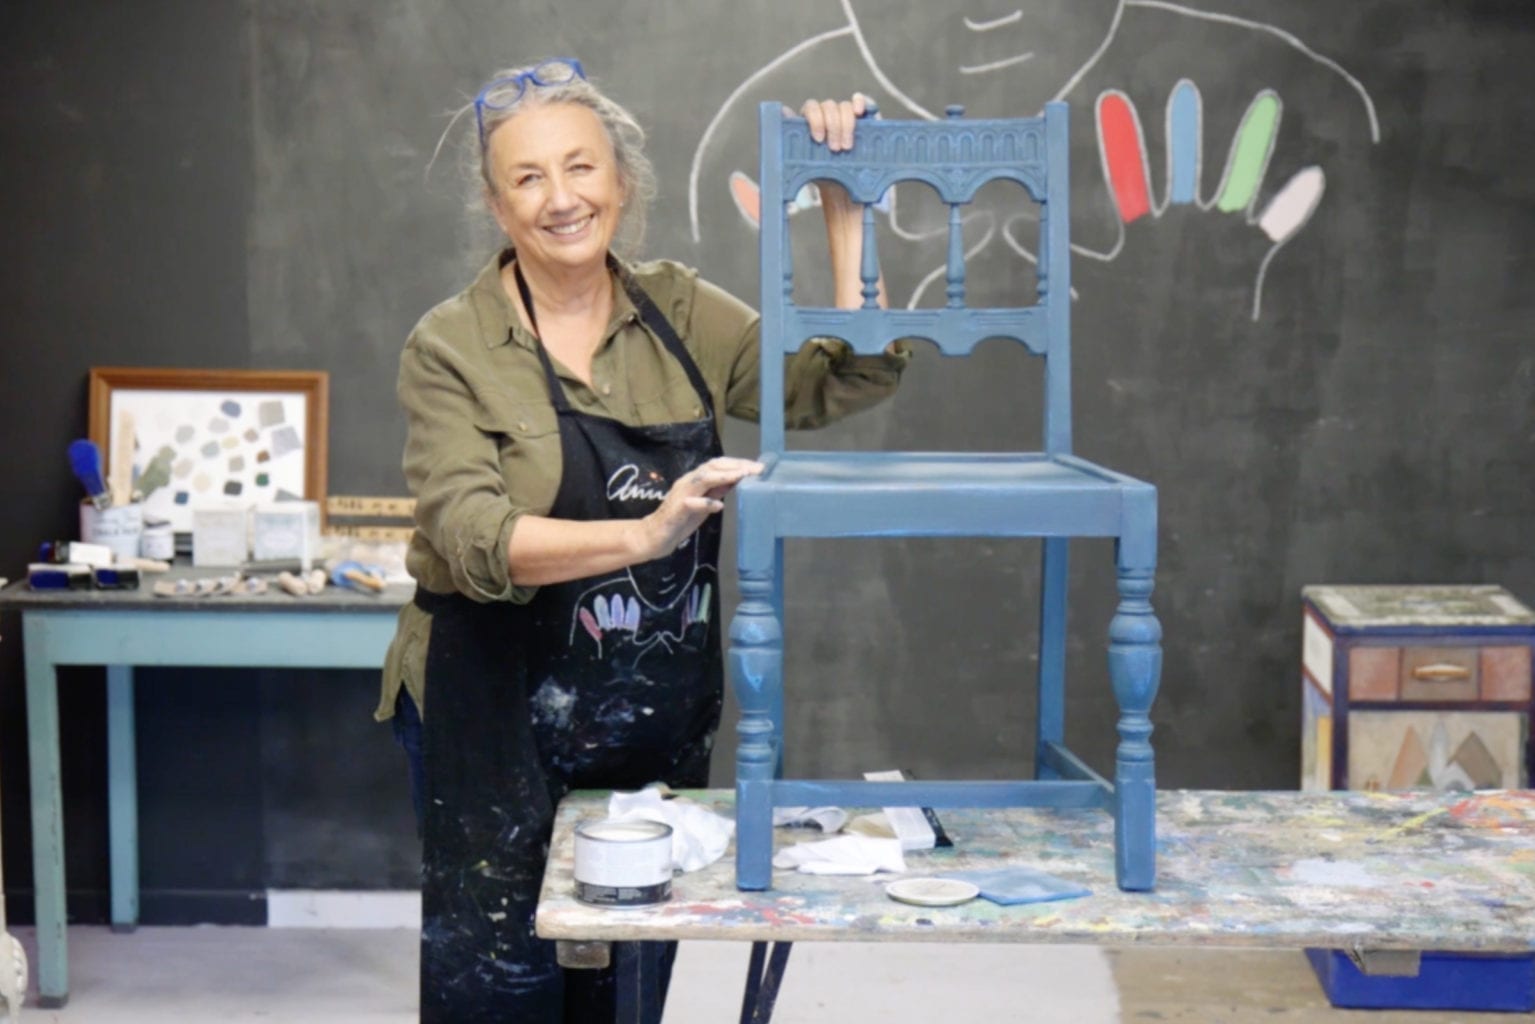
  1. Paint your furniture using the Chalk Paint™ colour of your choice. Use a large Chalk Paint™ Brush, applying the paint every which way for a textured look.
  2. Once dry, paint a second, thinner coat to make sure every part of the piece is painted.
  3. Allow the paint to dry before applying a coat of Clear Chalk Paint™ Wax using a lint-free cloth or a Chalk Paint™ Wax Brush.
  4. Remove any excess wax with a lint-free cloth.
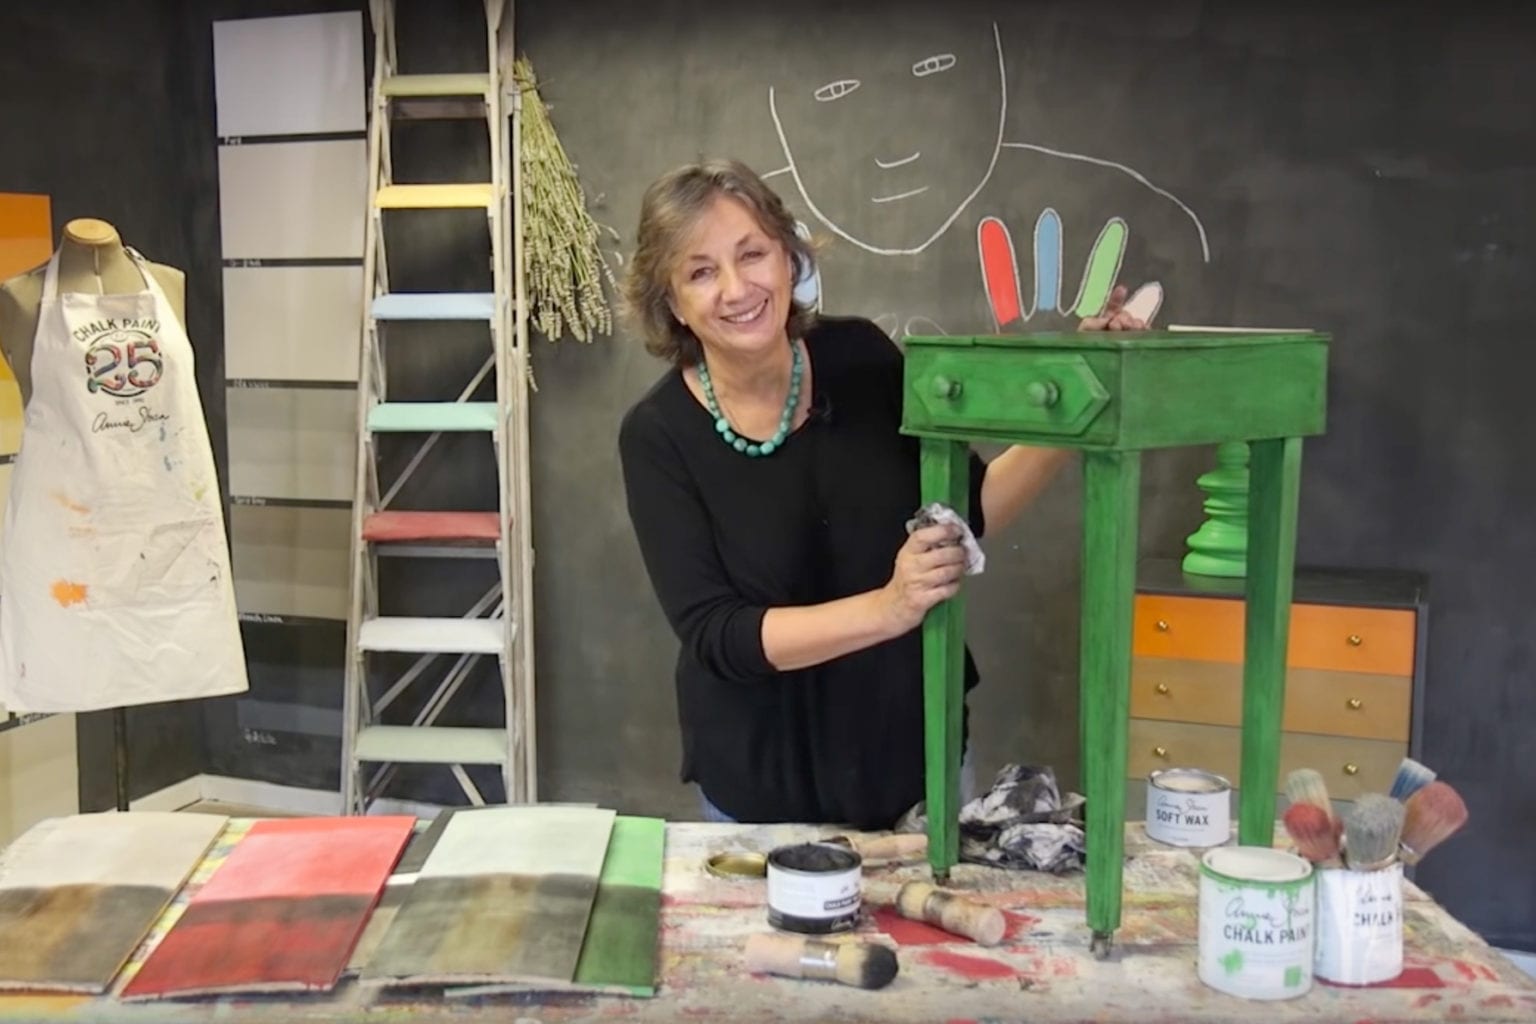
  5. While the Clear Wax is still wet, apply Dark Chalk Paint™ Wax with a Chalk Paint™ Wax Brush, working in small areas at a time. Apply liberally – it will appear very dark, but don’t worry, you will be able to knock this back.
  6. *TIP: If the Clear Wax has dried before you can work in the Dark Wax, you can always apply more.
  7. Using a clean lint-free cloth, wipe back the Dark Wax. You can wipe back as much as you want depending on the look you are going for. The Dark Wax should sit nicely in the brushstrokes you created with the paint. If you want to take even more off, you can use Clear Chalk Paint™ Wax as an eraser.
  8. Finally, once your Dark Wax has dried, ensure that the whole piece has had at least one coat of Clear Wax to seal in your finish.
  9. Allow the wax to cure (harden) before use. It will be touch dry within 24 hours, but will take up to 2 weeks to fully harden. You can use it during this time, but be gentle.

This aged effect is simple to achieve with Dark Chalk Paint™ Wax. But how about experimenting with some other wax colours? Follow the same steps with Black Chalk Paint™ Wax for a more industrial or warehouse look. Alternatively, take a look at Annie’s tutorial on using White Chalk Paint™ Wax for a coastal look. Adding wax to your next Chalk Paint™ project not only seals in the paint, but is also a wonderful way to alter the finish of your painted piece to achieve different effects.

Related Videos

Shop

Browse

Chalk Paint

About
Shop