When you’ve finished painting something with Chalk Paint™, it’s important to think about how you’re going to protect your paintwork. After all, you don’t want all your hard work to go to waste! Sealing Chalk Paint™ with Wax or Lacquer will not only protect your finish, but help the colour last longer. It means you can use your item without worrying about leaving behind marks or taking the paint off when you clean it.
There are several ways to protect your Chalk Paint™ finish. In this complete guide to sealing Chalk Paint™, we’ll go through each of the options and explain when we would recommend using them. Part of it will come down to taste (do you prefer a really matt finish over high shine?) and part of it will be about location (will your painted piece live indoors or outdoors?). Whichever option you choose, make sure you give your finish time to dry completely before putting it to the test.
Do you have to seal Chalk Paint™?
Not all projects need wax. There are of course exceptions to every rule. If you know your paintwork won’t be subjected to daily wear and tear, you can skip the wax. It might be that you’ve painted your walls and want to maintain that chalky, matt finish. Or perhaps you’ve painted a picture frame or home accessory. If it’s something that won’t be touched very often, you don’t need to apply wax after painting. Just be aware that your paintwork will be vulnerable to natural distressing and show up any small stains or finger marks. Cleaning the item can also lead to paint being removed.
Why use Chalk Paint™ Wax?
Chalk Paint™ Wax was developed together with Chalk Paint™. Quite simply, they were made for each other! This power couple bring out the best in each other. Applying a coat of clear wax over Chalk Paint™ will deepen the colour of the paint and create a beautiful, matt finish. It will protect against fingermarks and stains. It’s also water-repellent, so you can wipe any marks away with a damp cloth.
Chalk Paint™ Wax will feel touch dry quite quickly, but the longer you leave it to cure before using it, the stronger it will be. You can also buff wax to a subtle sheen the day after waxing, if you prefer a more shiny look. Curing is a process that can take between 5 days to 2 weeks, depending on the climate. Once fully cured, your waxed finish should last a very long time and withstand normal wear and tear. If any areas of wax start to thin over time (or after particularly enthusiastic cleaning!), simply re-wax and leave to cure again.
Should I use a varnish to seal Chalk Paint™?
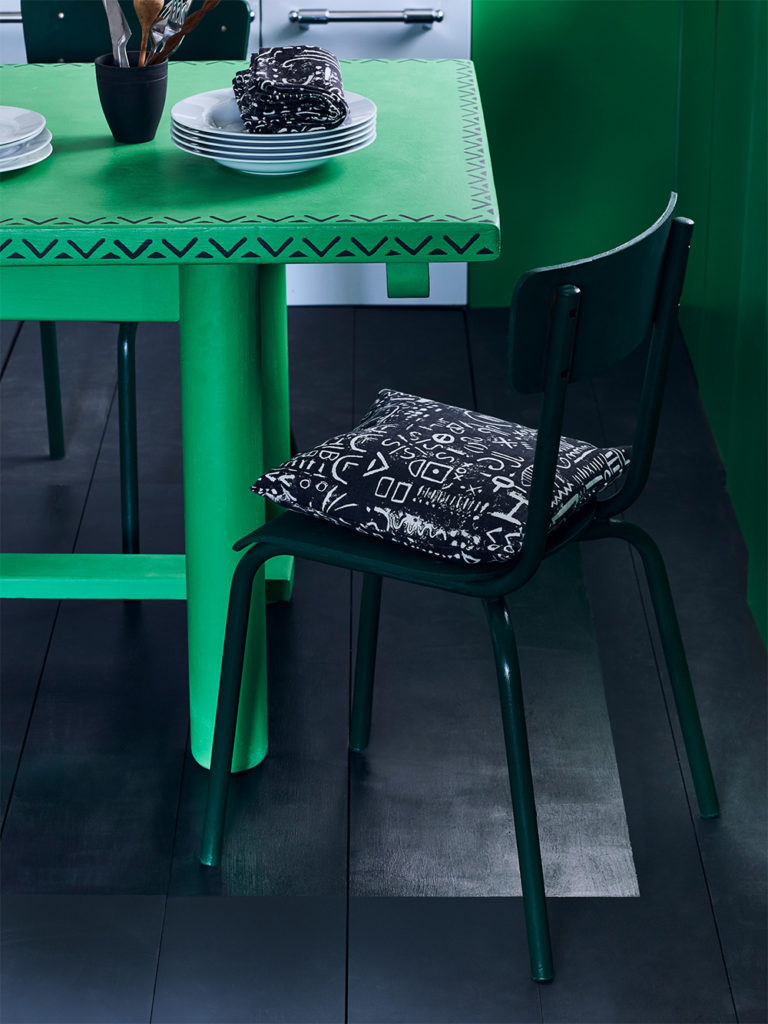
There are moments when Chalk Paint™ Wax simply won’t do. Perhaps you’re painting furniture for your garden. You might want to paint your floors or something in a high-traffic area. If your painted finish will be touched and cleaned frequently – maybe it’s a kitchen cabinet or a dining room table – we’d recommend using a Chalk Paint™ Lacquer to protect your paintwork.
Chalk Paint™ Lacquer is a polyacrylic varnish specifically developed for Chalk Paint™. It’s ultra-hard wearing and dries without yellowing over time. It also has built-in UV protection meaning your paint colour will look as good as new, even outdoors. If you like the matt look of Chalk Paint™, choose Matt Lacquer. It will slightly darken the colour of the paint, similarly to Chalk Paint™ Wax, but with the benefit of extra protection.
For an even stronger finish, choose Gloss Lacquer. It has a light sheen without being ultra glossy and is perfect for places you’d usually use a gloss paint, like skirting boards or kitchen cabinets.
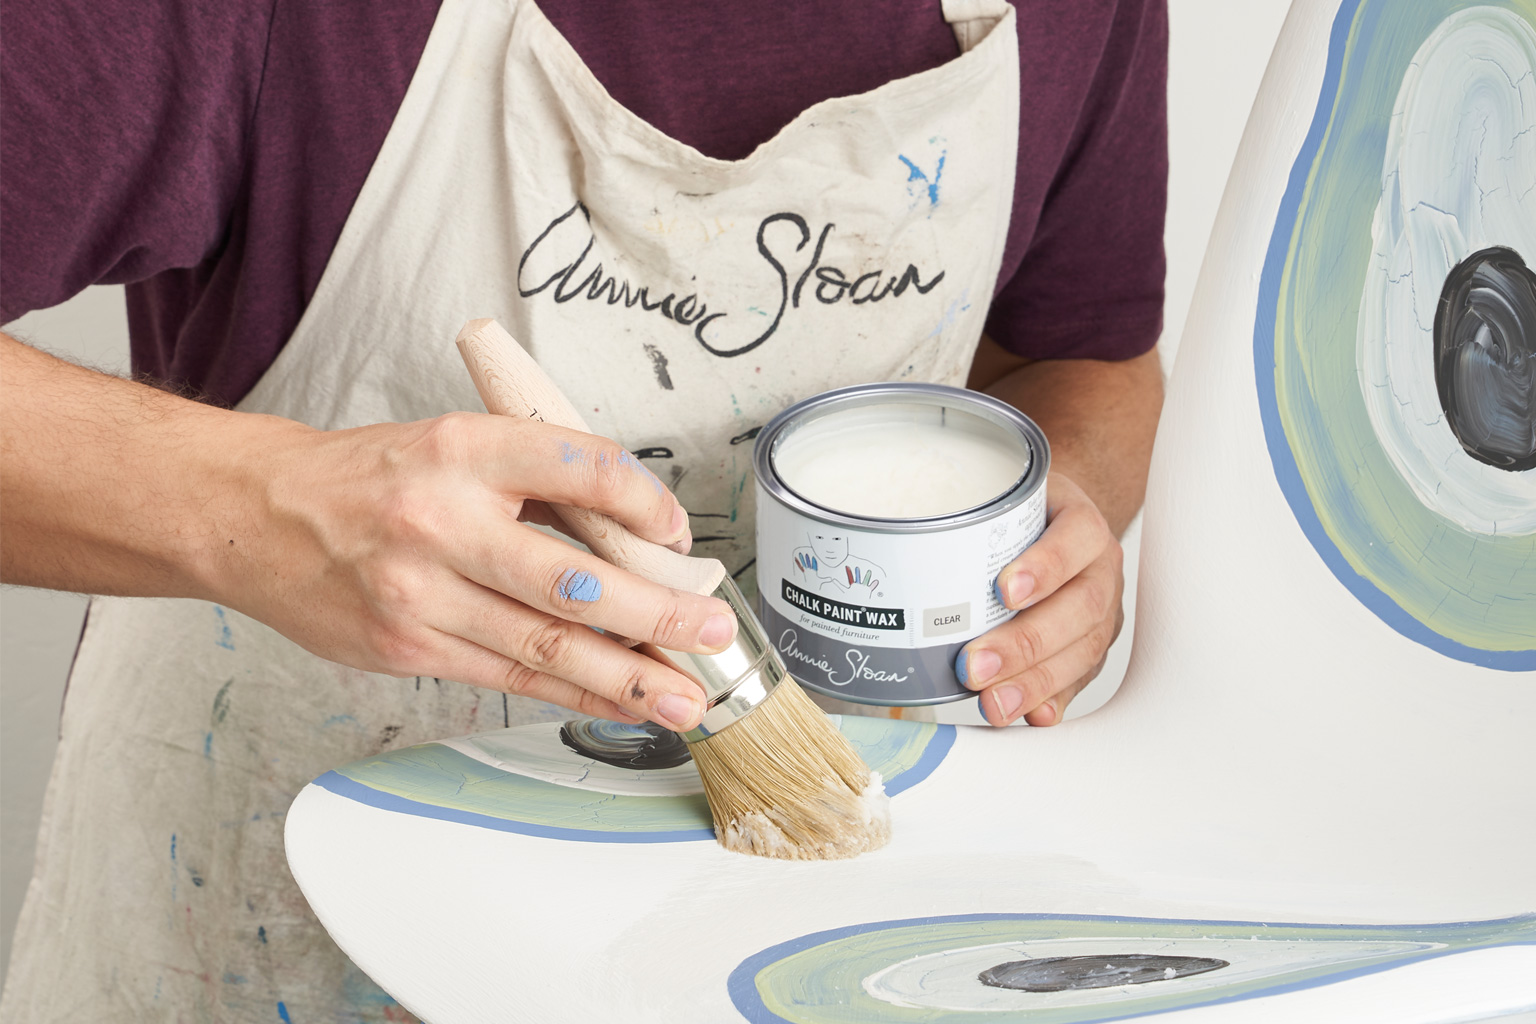
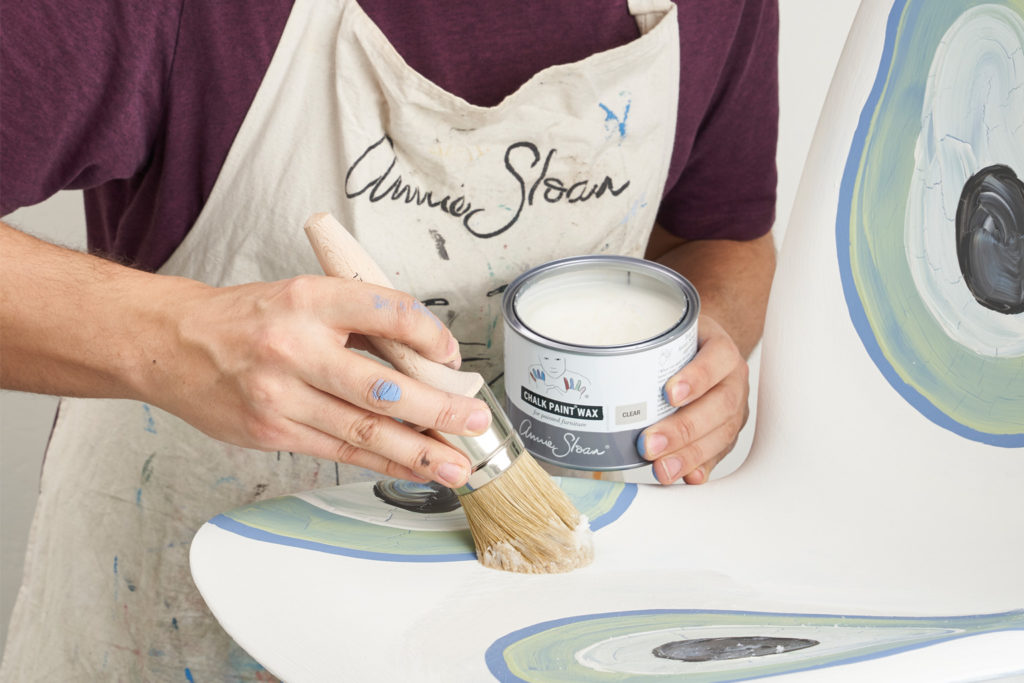
Step by Step Guide to Using Wax
What’s the best way to apply Chalk Paint™ Wax? It’s up to you. You can use an old paintbrush, a lint-free cloth, or a Chalk Paint™ Wax Brush. You don’t have to use an Annie Sloan brush – we would just say it makes waxing a little bit easier. With it’s pointed top, it’s really good for getting the wax into crevices and detailing.
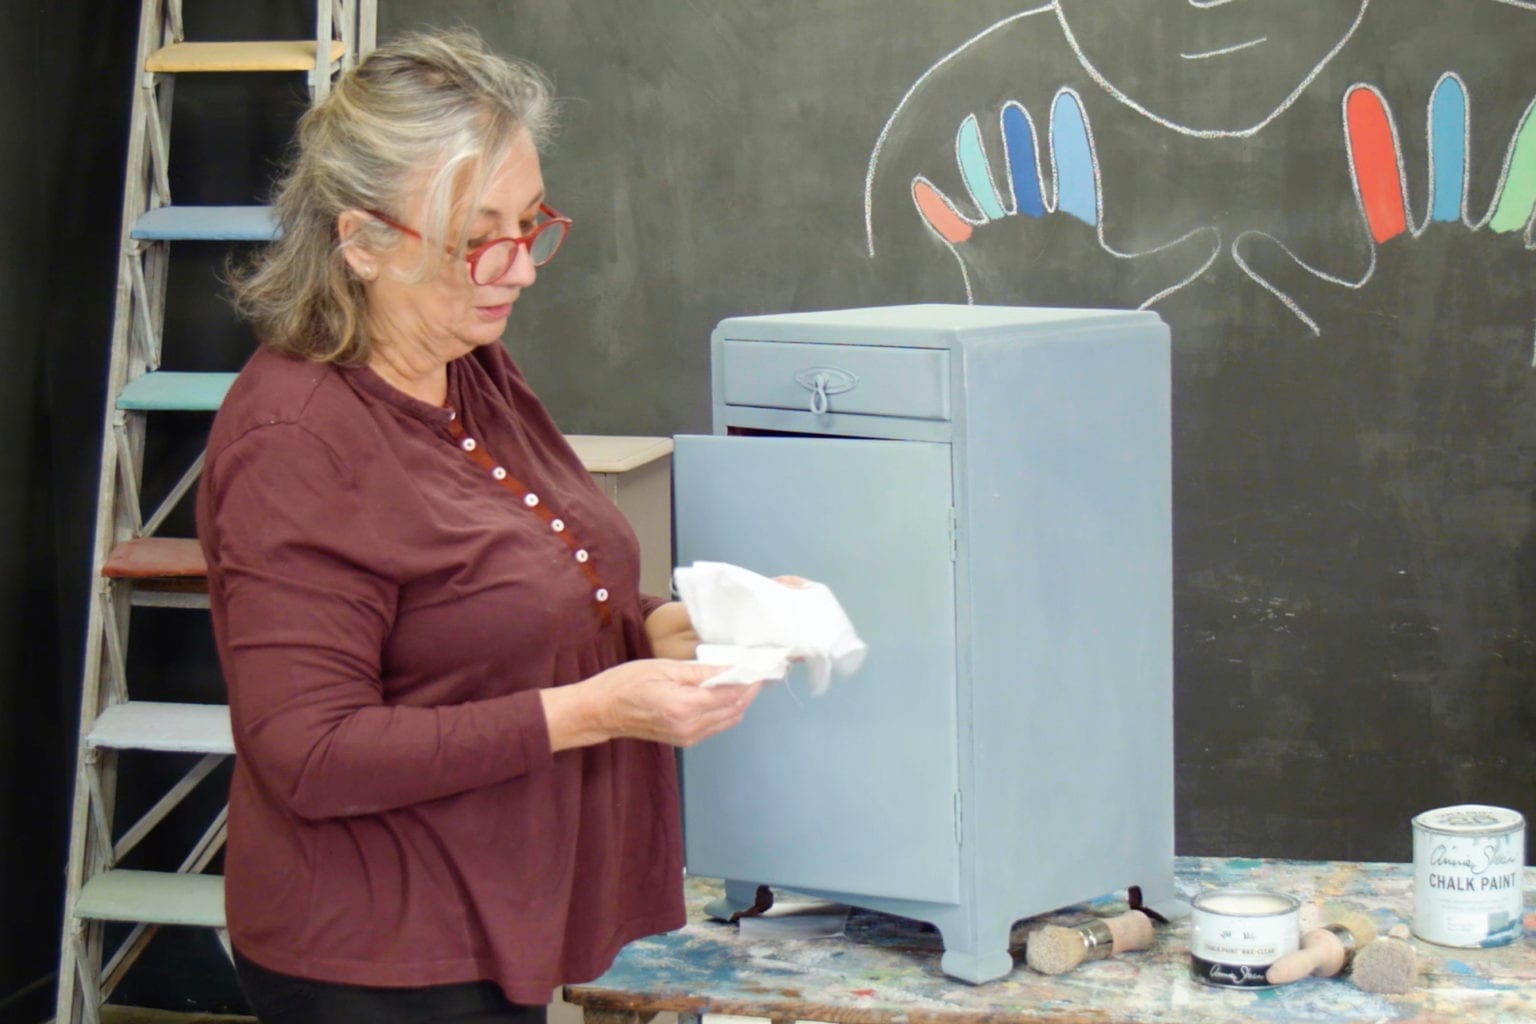
- Apply Chalk Paint™ Wax using a brush or lint-free cloth. Work in sections, moving your brush in all directions and making sure every bit of paintwork has been waxed.
- Remove any excess wax with a lint-free cloth as you go.
- Leave to dry. You can use the piece of furniture as soon as the wax is touch dry, but it will take up to 2 weeks to cure. During this time, be gentle with your finish.
- *Optional* Try buffing your finish the day after waxing to create a glossy sheen. To do this, use a rag or polishing cloth and rub it over the surface in circular motions.
Step by Step Guide to Using Lacquer
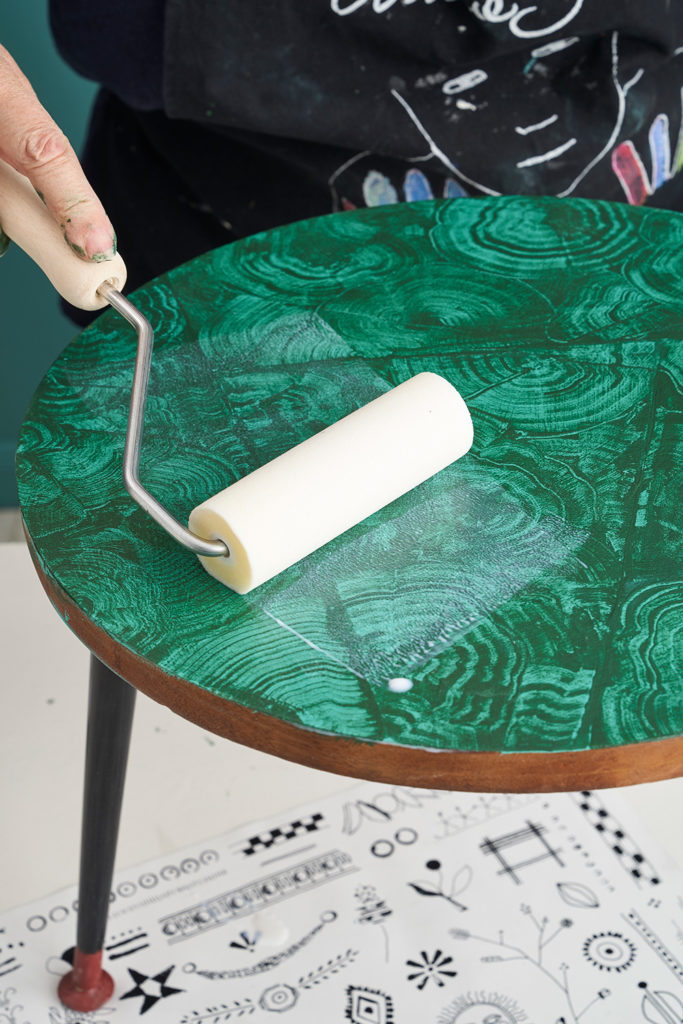
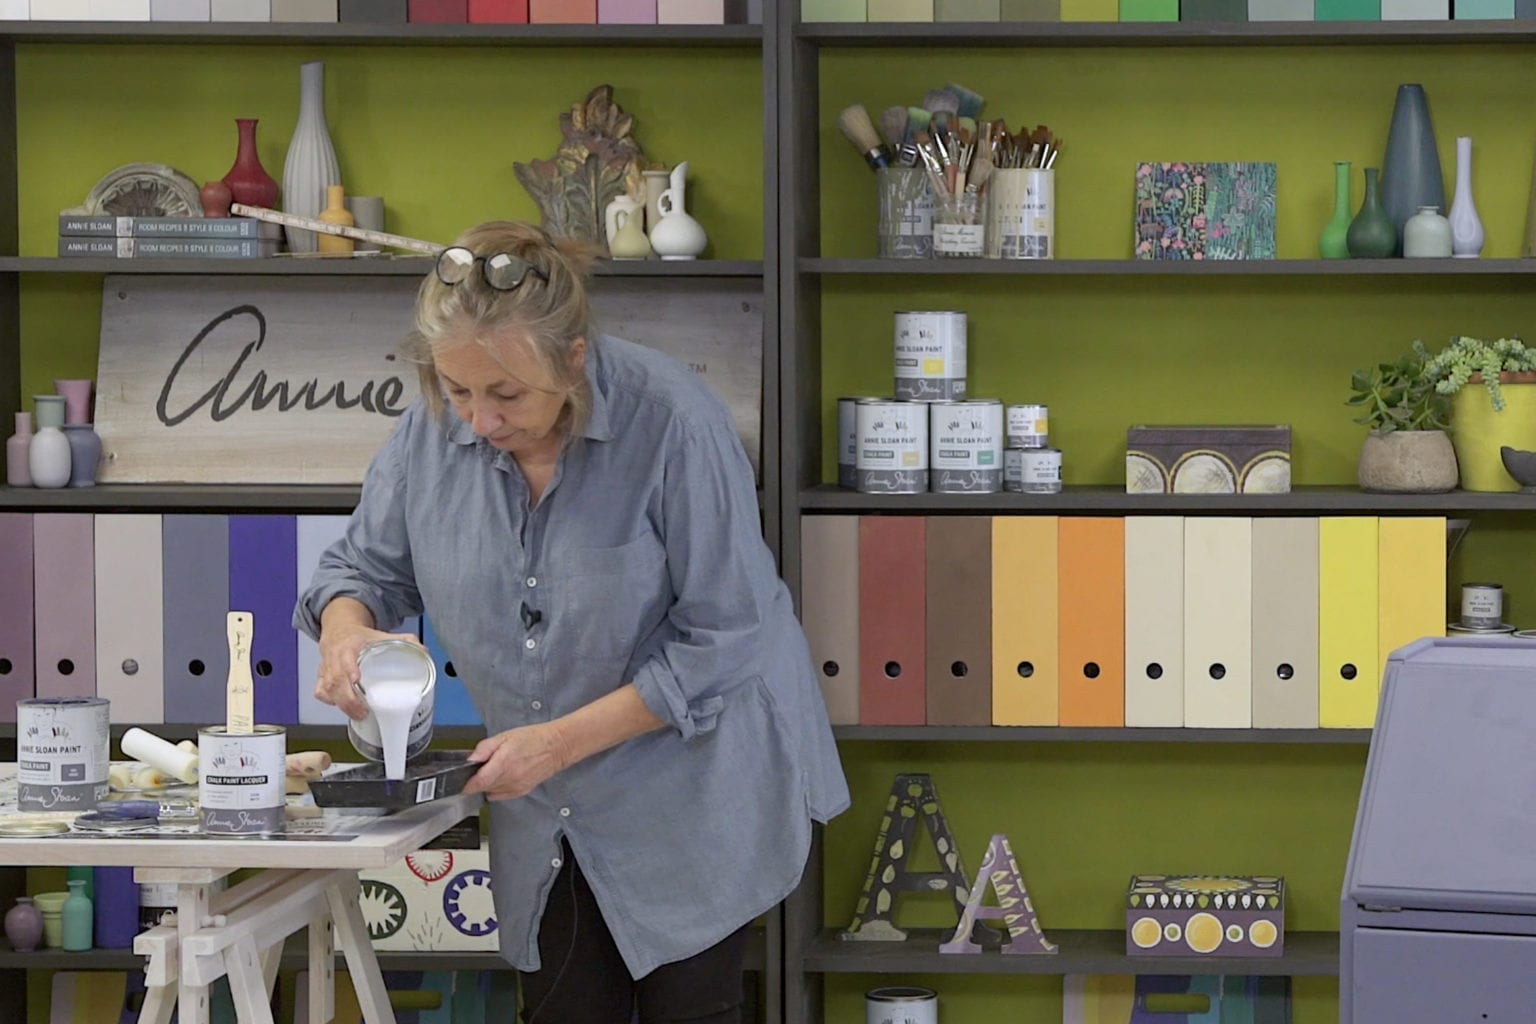
For projects that need even more protection than wax can offer, use our polyacrylic varnish, Chalk Paint™ Lacquer. Apply it with a brush or roller – either is fine. The important thing is to completely seal your piece so no water can get in and damage your paintwork.
- Stir Chalk Paint™ Lacquer well before starting and regularly during use. All the good stuff tends to sink to the bottom!
- Apply a thin coat of Lacquer. Use a brush or roller, working methodically to make sure every part is varnished. To help it go on evenly, you can dilute Lacquer with 10% water.
- Allow to dry for 1-2 hours.
- For added durability, add a second thin coat in the same way as the first.
- Allow to dry before use. This will take 1-2 hours depending on the climate. The finish will be fully cured within 2 weeks.