Techniques

How to: Spray Paint with Chalk Paint™

Hello, I’m Annie Sloan. Welcome to the warehouse studio! So this is Ron Taylor from the Traditional Painter and he’s going to show me and work with me on showing you how to spray using my paint. Ron knows all about it: he’s been experimenting a lot with it and you know all about the percentages of water and all the rest of it. So explain, what is this?

Ron: Right this is a HVLP gun. That means high volume, low pressure. Basically you fill the pot up with paint, you connect the end of the gun to a hose and a turbine. That turbine will force air through the front of the gun, that will atomise the paint, that means break up the paint into small particles. There’s also a tube in here that will pressurise the pot, which will force the paint up through the tube and when you pull the trigger the paint and the air will meet and your spray paint onto the surface.

Annie: So let’s find out how to actually spray paint. Over to you Ron!

Ron: So the paint needs to be thinned for spray application. Not too thin but quite a bit thinner. So if you can if you can lift the stick above the paint and you can swirl those lines, they’re called worm casts, that paint is too thick.

Annie: that is one of the things that people don’t realise that my paint is thick but you can add water to it. That’s the whole point about it; that you can do thin, thick, spray, washes, textured, all sorts of things. That’s one of the great beauties.

Ron: So we we add the paint to the pot. We don’t want to go too full, about just over half full. We add the water slowly, we don’t want to go too thin straight from start. That’s still too thick so we’re going to put a bit more water in there.

Annie: So you would never say I’ve just got to add quarter or whatever, you would just go adding until you feel it’s the right amount, and how do you know when it’s the right
amount.

Ron: we know that it’s the right amount when as you lift the stick it’ll dissipate into itself so you won’t see any of the worm casts, the paint will go straight into itself.

Annie: So actually if it’s a pot that’s been open for a while, you’ll find it’s got thicker, so you’ll have to add a bit more water there.

Ron: It’s not quite thin enough, but we are getting there. That paint is disappearing.

Annie: oh yes, the worm casts are still there. They disappear quickly. But you want to get it so there’s no worm cast at all?

Ron: Or almost none. If it’s a little bit, that’s fine but anything thicker, the paint will come out and splatter.

Annie: Right, that’s so interesting!

Ron: We want to make sure it’s all stirred in. If you’ve got layers of thin paint and thick paint what the gun will do it’ll spray the thick paint and then all of a sudden it’ll hit some thin paint and then it’ll go thin and it’ll alter to the finish.

Annie: So you’ve really, really got to mix well.

Ron: So there we go that’s disappearing almost completely, it’s still got a little bit, but I think that will be okay because it’s a very small amount, so if we go with that, I can I think we’ll be fine. So the paint’s mixed. What we do if we’re going to be spraying downwards, something like a door, we want this tube facing towards the front of the gun.

If we’re spraying up in the air that wants to be at the back because the paint will automatically go to the back of the gun like that.

Annie: Wow! So that could be all covered in paint, so you’ve got to take it out and do that.

Ron: Yes, so it’s best to do it before.

Annie: So this is a door from a cabinet, a kitchen cabinet. So you would have taken them all off and you might have a load of them together. We’ve just got the one here. It’s really important with a kitchen cabinet to clean it because it could be, you know if this has been up in the kitchen it could be very oily and dirty. So use a degreaser, there are loads on the market. You can just use soapy water as long as you make certain you get everything off. So don’t have any residue. So we’ve got the paint all done and so now what’s the next step.

Ron: We fit the cup to the gun. It’s best to do it like this rather than trying to do it up in the air there’s a chance we could spill it. Make sure it’s fairly tight, it hasn’t got to be super tight, but it wants to be tight. Then we connect the turbine to the gun. If you’re right-handed the angle wants to go that way.

Annie: Oh yes, there’s an angle that way. So that goes that way.

Ron: So that’s away from you and if you’re left-handed obviously it wants the other way. It doesn’t want to be down because it’ll get in the way of you spraying.

Annie: Those are really good tips. So we’re already anything else we need to do?

Ron: When we do any spraying you need to wear a mask. The airborne particles are quite dangerous, they’ll get into your lungs and they cause breathing difficulties later on. Right so we’ll put that aside until we start spraying. So this is what they call a bleeder gun. The air is going to constantly come out of the gun at all times.

Annie: It’s called a bleeder gun? Okay.

Ron: So there’s no air adjustment you’ve only got fluid adjustment and that’s done fairly simply through that there.

Annie: So that stops or adjusts the amount of fluid going through.

Ron: Yes, there’s basically a cam in there, it’s a simple adjustment, and as you release it the cam goes further away and lets the trigger go further back. So that’s all you need adjustment wise. You do need to remember that if we are going to spray vertically the horns of the gun need to be in line with the way you’re spraying. So if you’re going down, that needs to be like that. If we’re going horizontally the horns need to be like that. If we go the wrong way and we’ve set that to vertical and then we go that way, you’ll get a big buildup of paint on the surface and it will run. So if I say we’re going to go vertically first, we start off at 2; there’s a 1 there, a large 1 and there’s gradients between. If we start it at 2, and we’ll take it from there.

Right I’m just going to put my mask on to test spray on the rear wall. It’s always best to wear a mask at any time.

Annie: It’s going to be a bit noisy as well, so just fire-away, doesn’t matter. I’m putting mine on too. There, it’s a good look!

[Ron tests spray]

Annie: fabulous, that really looks fantastic. It’s beautiful, really smooth. And then you
changed it…

Ron: Yes that just shows the two widths. That’s the thinnest we can go right and that’s as wide as we can go.

Annie: So now let’s go and do the cabinet.

Ron: Okay. What we remember when we’re spraying is we want to get a line of paint down and then we want to overlap it 50%, which means we aim the horns of the gun at the last line, and then everything will get two coats. If we just spray in lines you’ll get misses along there.

[sprays paint onto cabinet door]

Annie: Beautiful! Love it. So for some of you, sharp-eyed, you’ll see that actually this
is quite stipply, it looks stipply, it doesn’t look completely smooth. What would you say about that?

Ron: Because we’ve thinned it, that paint will will settle. It has gone a little bit stipply, but as the paint tightens up, it will go back it will go back smooth.

Annie: Completely smooth. So a second coat, do I need to wait for it completely and
utterly to dry? How long do you think that that’s going to take with it being quite thin paint?

Ron: I think you’ll be looking about about an hour for the second coat. We don’t want to be putting… if you put the second coat straightaway I think that would be okay. But if once the paint started to dry you’ll get different finishes in different areas.

[One hour and one coat later…]

Annie: So there you are! That’s it done. Very simple! We’ve had two coats of paint on there, beautiful finish. What I need to do now is either wax it or lacquer it.

Learn how to spray Chalk Paint™ using a spray gun for a smooth and even finish

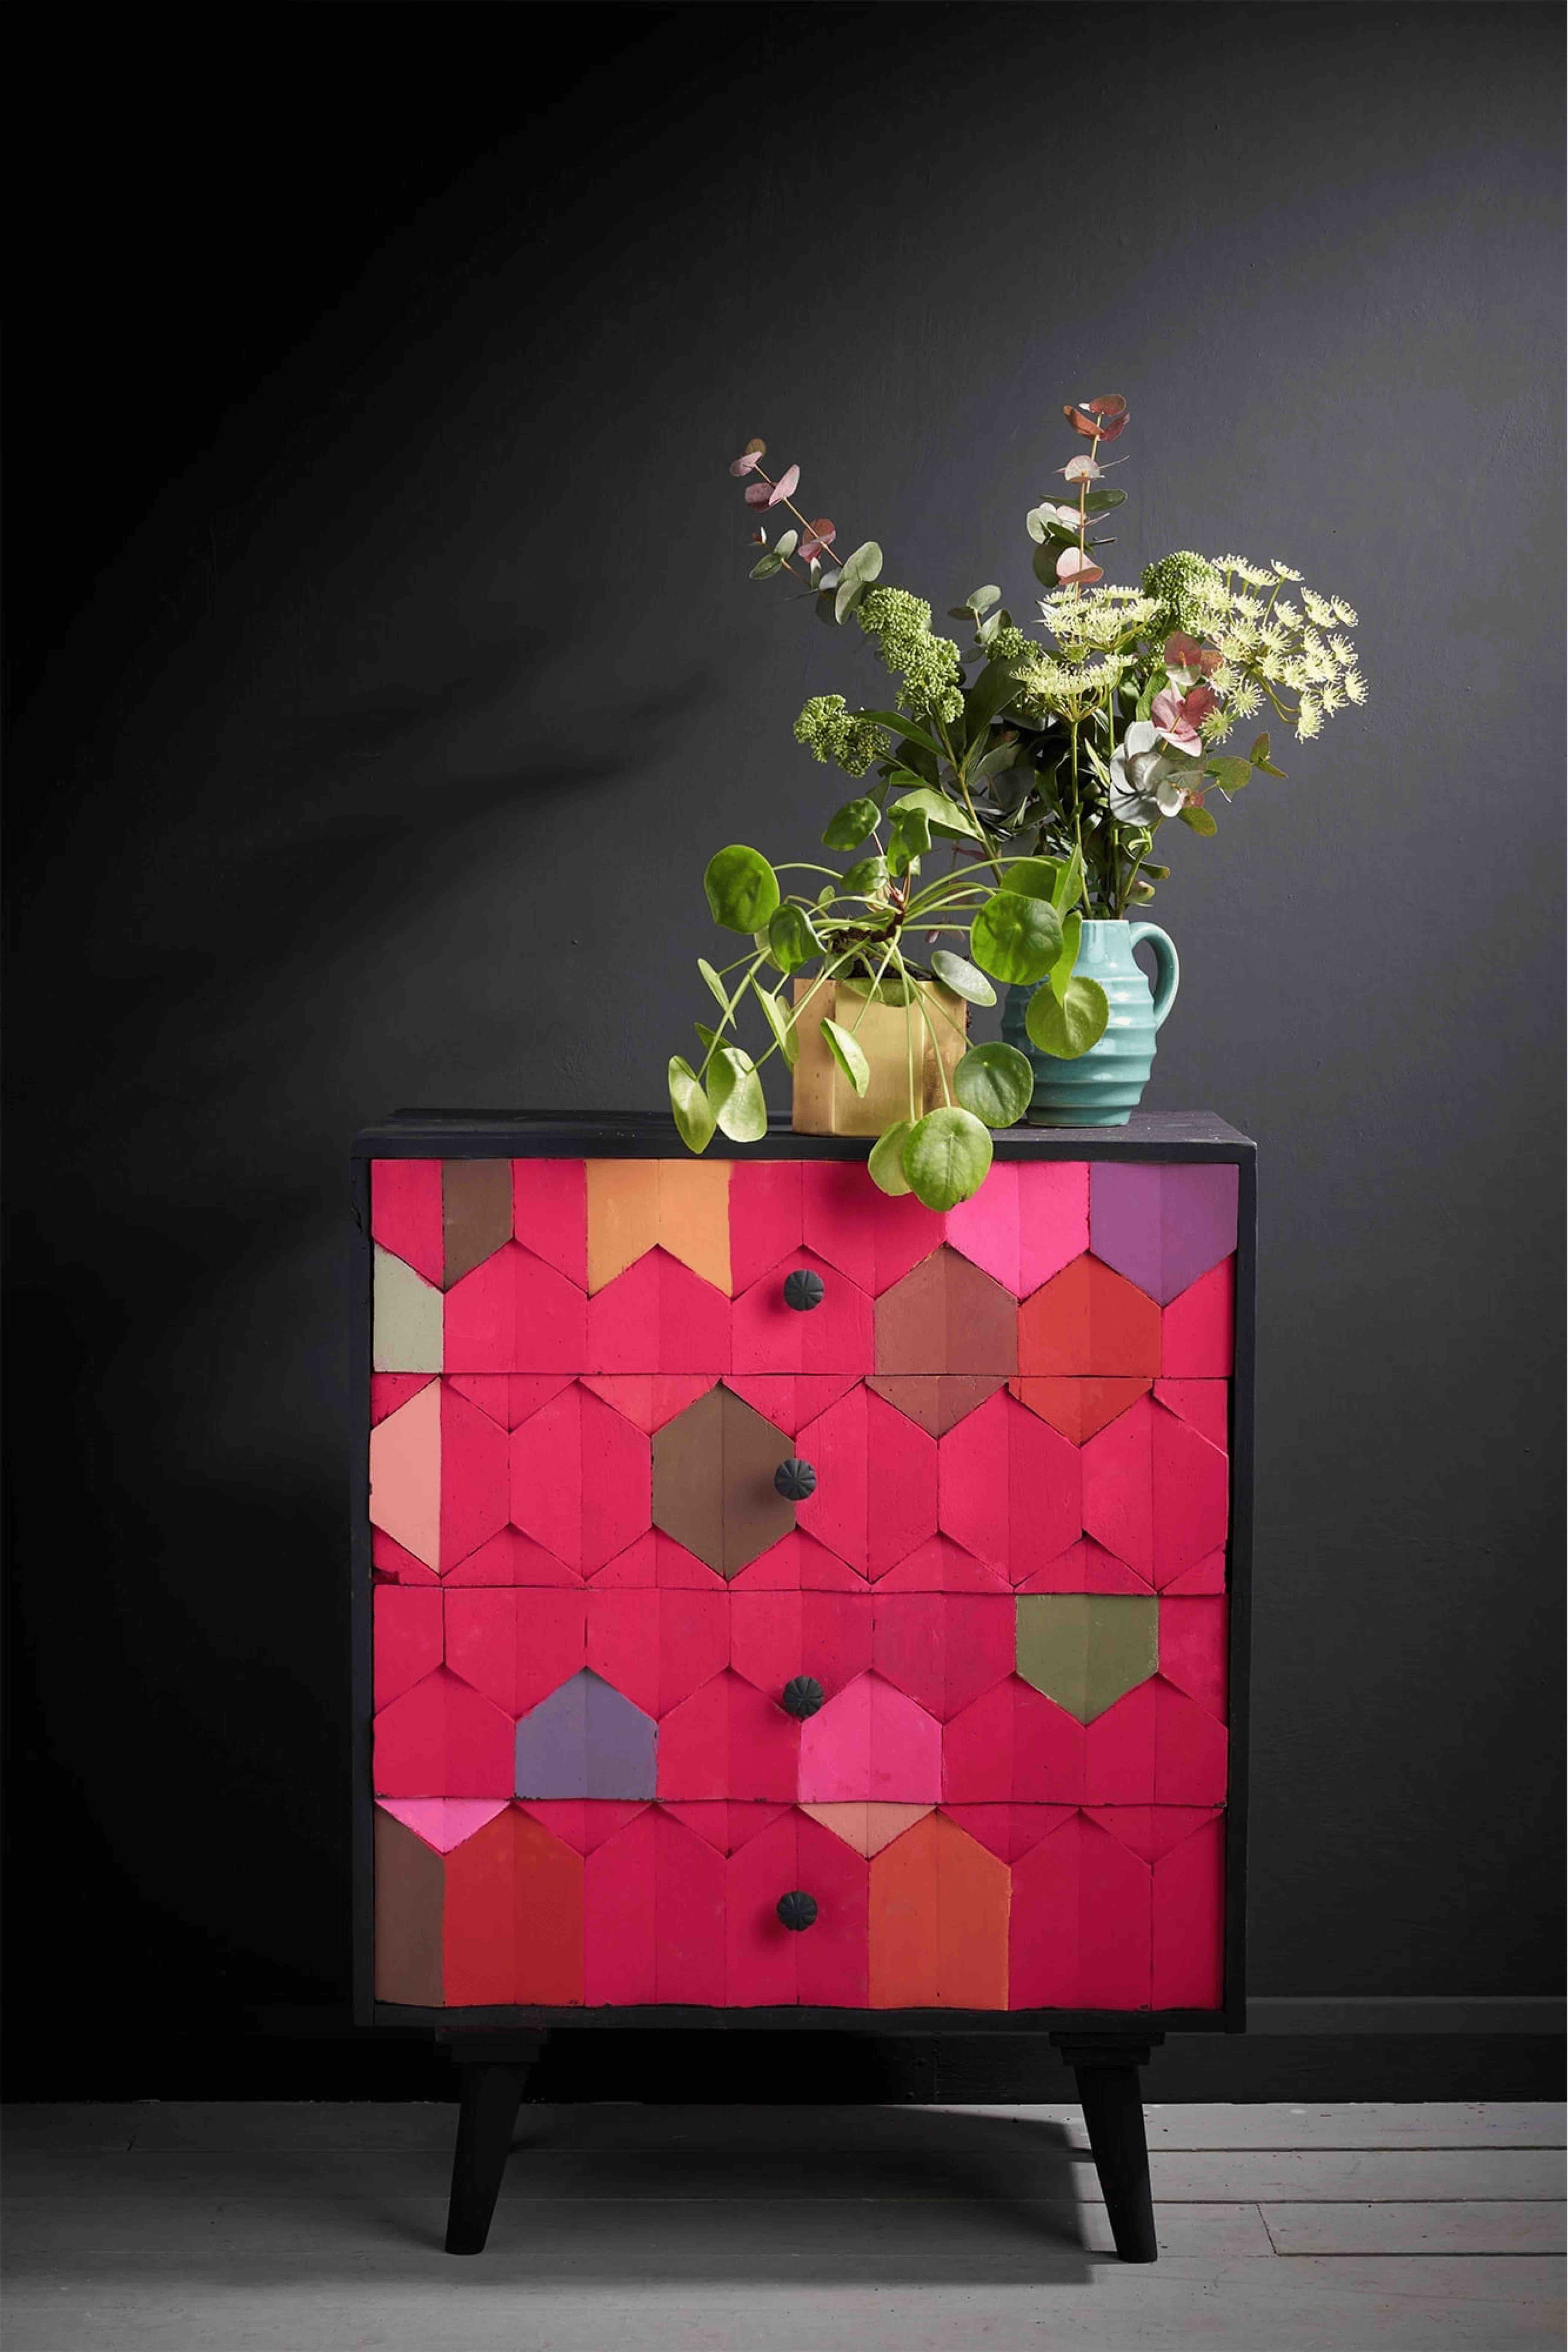
Too many cabinets and too little time? Follow this tutorial to learn everything you need to know about spraying Chalk Paint™ for a smooth finish. Using a spray gun to apply paint is a more advanced technique – you’ll need some specialist kit – but is a great way to paint large areas quickly and to a high spec.

If you don’t like the textured look, this is an effective way of achieving a silky smooth, uniform finish. Lots of people do this to paint their kitchen cabinets – it’s much more cost effective than investing in a whole new kitchen! Spray on your Chalk Paint™ first and then finish by applying Chalk Paint™ Lacquer with a spray gun, too.

This tutorial is long and detailed. We’ve covered as much as we can to cater for all abilities and to make sure you get the best result possible. Make sure you watch this video first and then follow up with our tutorial on spraying Lacquer next.

You will need:

Chalk Paint™
• Water
• A spray gun (in this tutorial, we’ve used the Wagner 2370386 Studio Home Décor Sprayer which is an HVLP spray gun)
• Respirator mask / partical mask

How does it work?

A spray gun works by combining pressurised air and paint. The paint is atomised into small particles which are sprayed onto a surface for an even finish. It’s a quick and effective way to paint large areas, but does require forethought and preparation. If you’re a beginner, we recommend painting with Chalk Paint™ first.

Firstly, paint is added to the pot of the gun. The gun is connected to a hose and a turbine which provides the air stream to spray the paint. That turbine will force air through the front of the gun and atomise the paint, breaking it into small particles. A tube connecting the paint pot and gun pressurises the paint forcing it up the tube, and when you pull the trigger, the paint and the air meet and are sprayed onto the surface.

The spray gun we are using is called a ‘bleeder’ gun; there is no air adjustment only a fluid adjustment. This means the amount of air travelling through it is constant. It’s the amount of paint flowing through the gun that affects the rate of spray. You can change the rate of flow with a numbered dial. On our spray gun, we set the dial to 2 for Chalk Paint™.

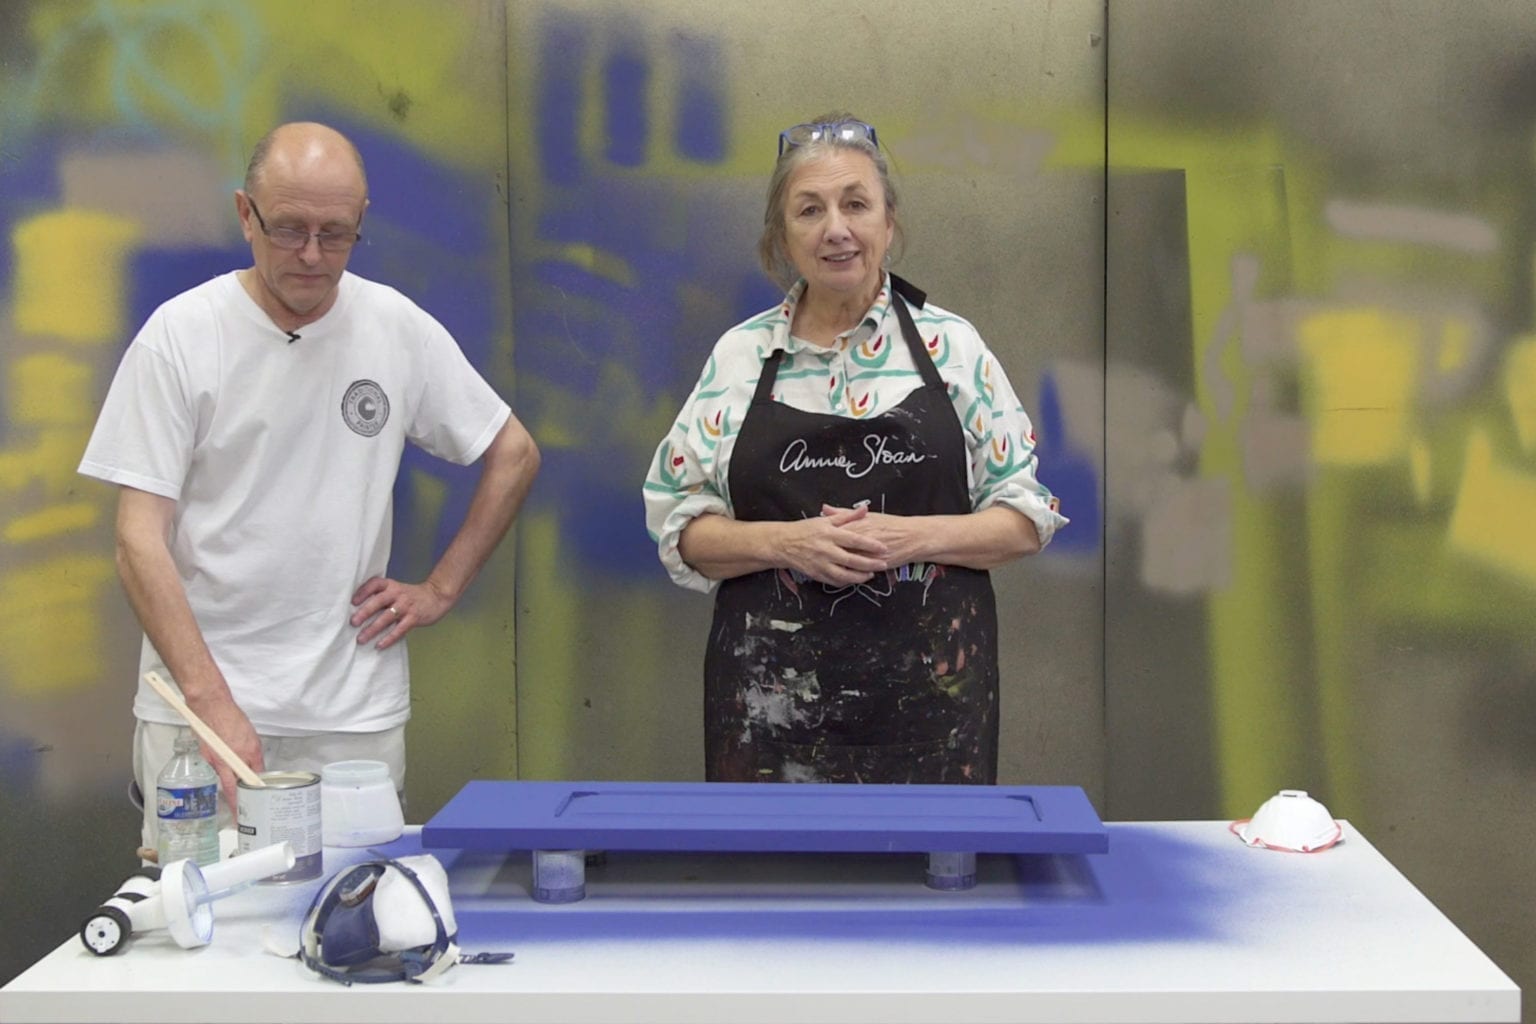
How to spray with Chalk Paint™

  1. Fill the spray gun pot about halfway with Chalk Paint™.
  2. Now thin the paint by adding very small amounts of water at a time, stirring thoroughly to ensure the paint and water is fully combined. It’s important not to thin the paint too quickly. An indicator of viscosity is lifting the paint from a height and watching it drop back into the tin. If it leaves a 3D trail on the surface of the paint, called a ‘worm cast’, then it is too thick. When the paint is lifted up and there are no worm casts left behind, it is the right consistency and ready for application.
  3. Once the paint is mixed, it’s time to prep the gun. First, orientate the paint tube to face downwards when you’ll be spraying. Gravity will dictate the paint to fall to the bottom of the pot which will change depending on the angle you are spraying at. So if you’re spraying downwards, you want the tube end to face downwards too. If you are spraying up, you will want the tube facing the other way, so it’s always immersed in paint.
  4. Next, attach the pot to the gun. It’s easiest to do this on a table surface when it’s full of paint – less room for spillages! Make sure it’s attached tightly.
  5. Connect the turbine tube to the gun.
  6. Change the angle of the nozzle horns to the direction you will be spraying. If you’re spraying left to right, the horns want to be horizontal. If you’re spraying up and down the horns want to be vertical. If the opposite is done, a build-up of paint will occur on the surface. You can reach a happy medium in the middle if you need a thinner width spray.
  7. Put on your mask. It is crucial to wear a respiratory mask at all times when spraying paint. The airborne paint particles can cause respiratory problems if inhaled and no mask is worn.
  8. Set the flow dial to 2 and spray the paint on a test surface. You are testing the consistency of the paint is right and that the gun is working as expected before
  9. Once you’re satisfied, you’re ready to spray your piece. Do the edges and tricky bits first. Then apply the paint in lines, working in a logical motion. It’s important to overlap each line of paint by 50%, to ensure complete coverage. Be consistent with the coverage so as to keep the finish even.
  10. Apply a second coat in the same manner to make sure no area has been missed. When applying a second coat, you can either spray immediately after the first coat, before the paint has started to dry. Or, wait an hour or so for the first coat to fully dry. The surface will begin to dry after 2 minutes, so if you don’t start applying the second coat immediately after the first, you will need to wait the full hour or you won’t achieve an even finish.
  11. Apply the second coat in the same manner of the first.
  12. Leave to dry in an area where your painted pieces won’t need to be moved, as any contact with the dry paint will blemish the surface.
  13. Once fully dry, either apply Chalk Paint™ Wax or Lacquer. Apply the wax with a brush, and apply the lacquer with either a brush, roller or spray gun.

Now you’ve followed the tutorial, you can see how effective spraying Chalk Paint™ can be for achieving an even finish, quickly and to a professional standard. For extra durability, especially if you’re working on surfaces that will be frequently handled, make sure you follow our tutorial on spraying with Chalk Paint™ Lacquer. This is a particularly handy how-to if you want to achieve a smooth and uniform finish on kitchen cabinets and doors.

Related Videos

Shop

Browse

Chalk Paint

About
Shop