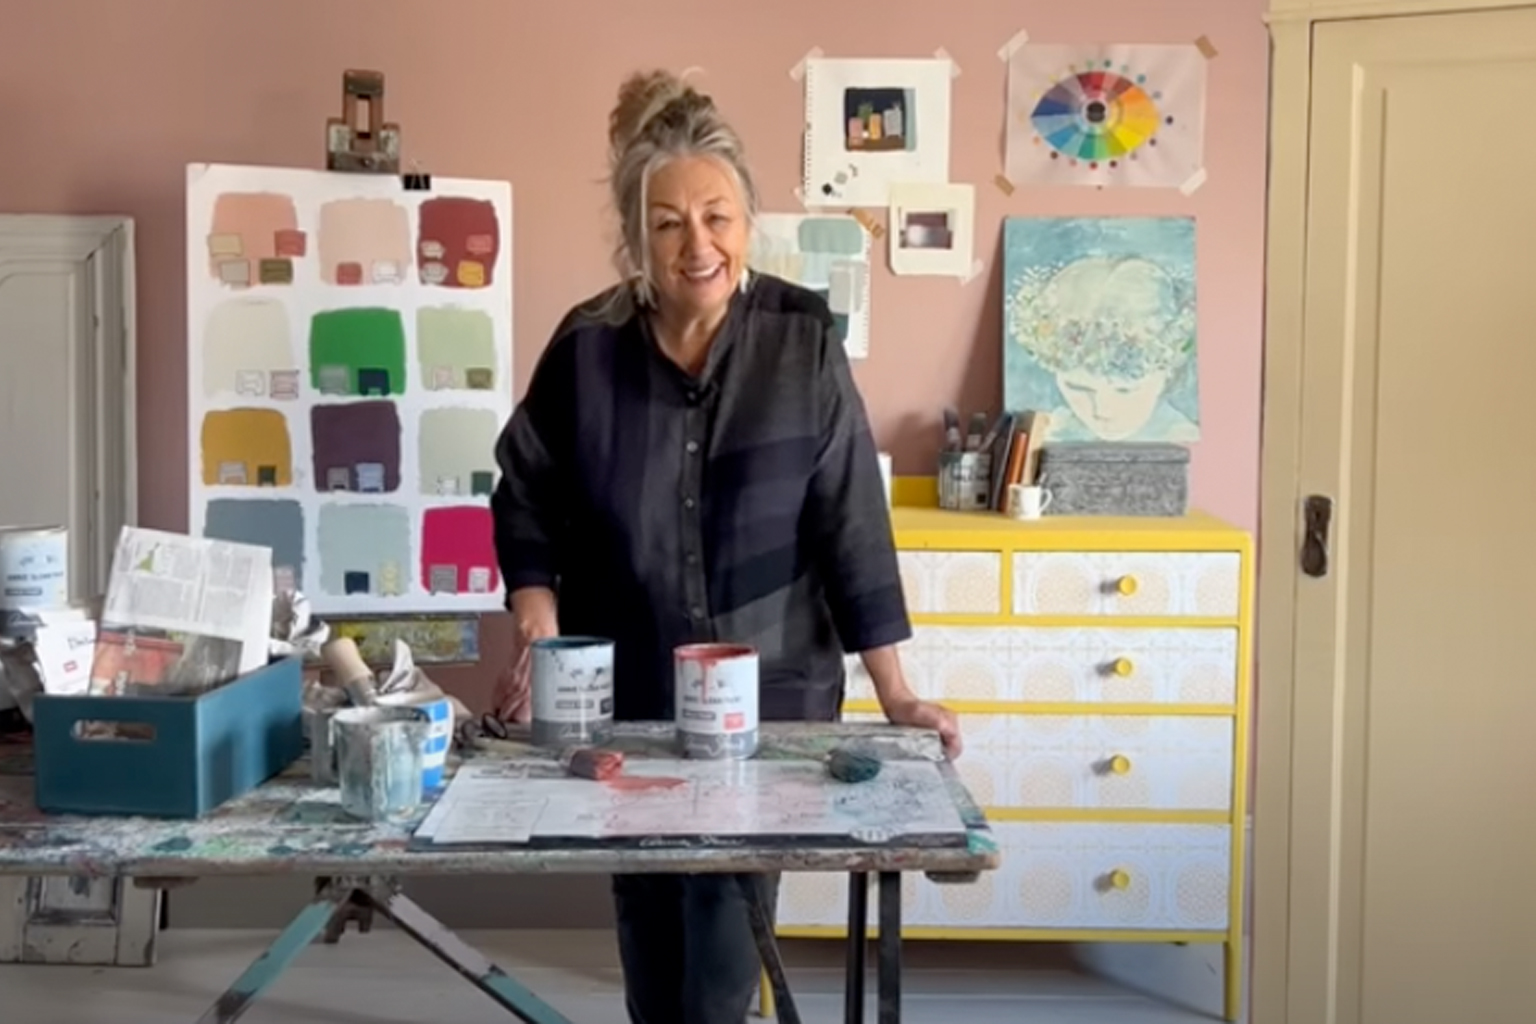
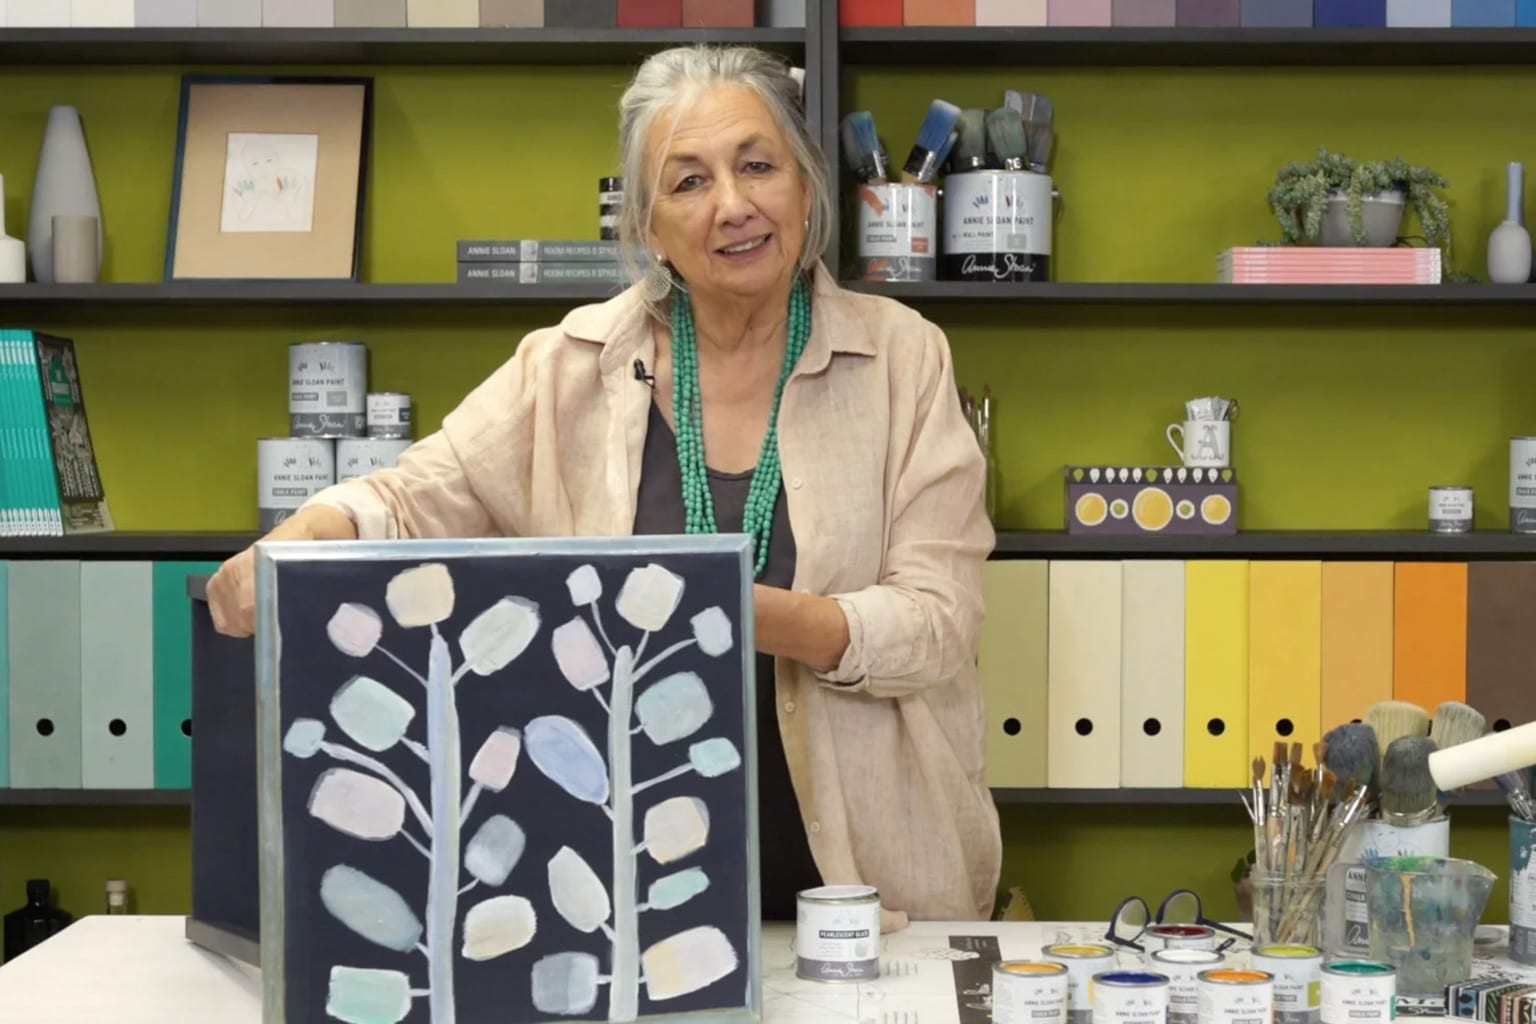
Hello, I’m Annie Sloan. I’m in my studio in Oxford and I’m here to show you a really wonderful technique.
It’s something that I don’t think is seen nearly enough and I’ve never done a video about it so this is the first time. So it was in this book: the Colour Recipes for Painted Furniture. This whole book is set in, we’re very lucky to have a house in France. One of the pieces of furniture is this: it’s an armoire with glazed doors. Um, and I painted it Greek Blue inside, and on the outside I did this finish, which is using wet wax. It’s a whole technique which I think is great. I painted it first in French Linen and then over it I put Paris Grey, but in between is wet wax.
So I’m going to show you on this piece. I’ve already painted this in Olive. So the first step is to apply the wax. This is my Clear Wax and (I’m going to get my glasses so I can see what I’m doing), and so I’m going to put a good layer of wax onto here, because I want the wax, the wax to be as you’d say wet. I’m not going to spread it as I might normally do, I’m going to have quite a bit.
When I say wet, is when you first put wax on it is actually sticky and so that is, I’m sort of sliding about because the wax is wet and it’s spreading around. So that’s what I want.
Normally I’d probably spread the wax a little more further but this time I’m not going to. Of course I do the whole thing but I’m going to just do this front part so you can see what I’m doing.
And make certain you go everywhere. Don’t miss any bits.
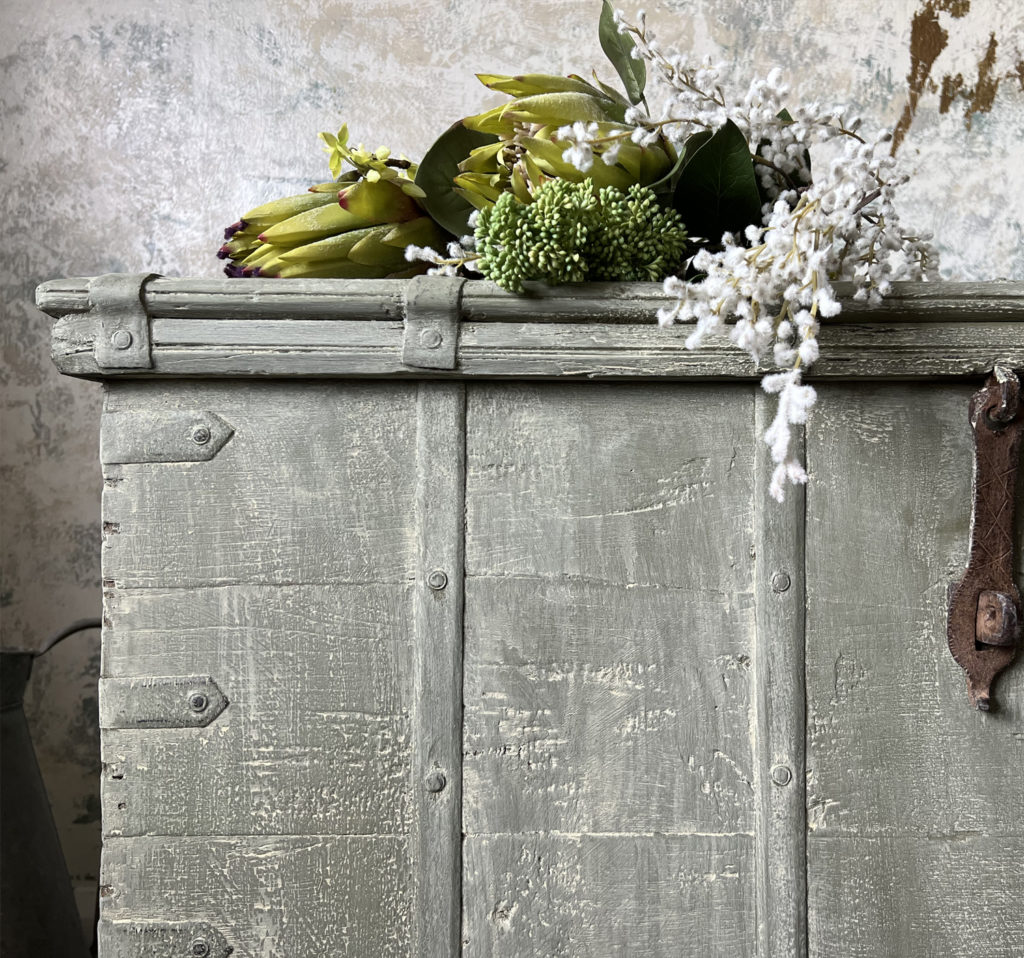
This is all finished now. I’ve waxed everywhere. I’ve been quite generous. There are some bits there that are not waxed, because it’s quite rough, the wood there. This is actually a perfect piece for it because it is a bit rough, whereas the piece I did before was very smooth and very beautiful. Why I like it when it’s a little rough is that it will bring out, my technique will bring out some of this texture.
So done, finished, wax away.
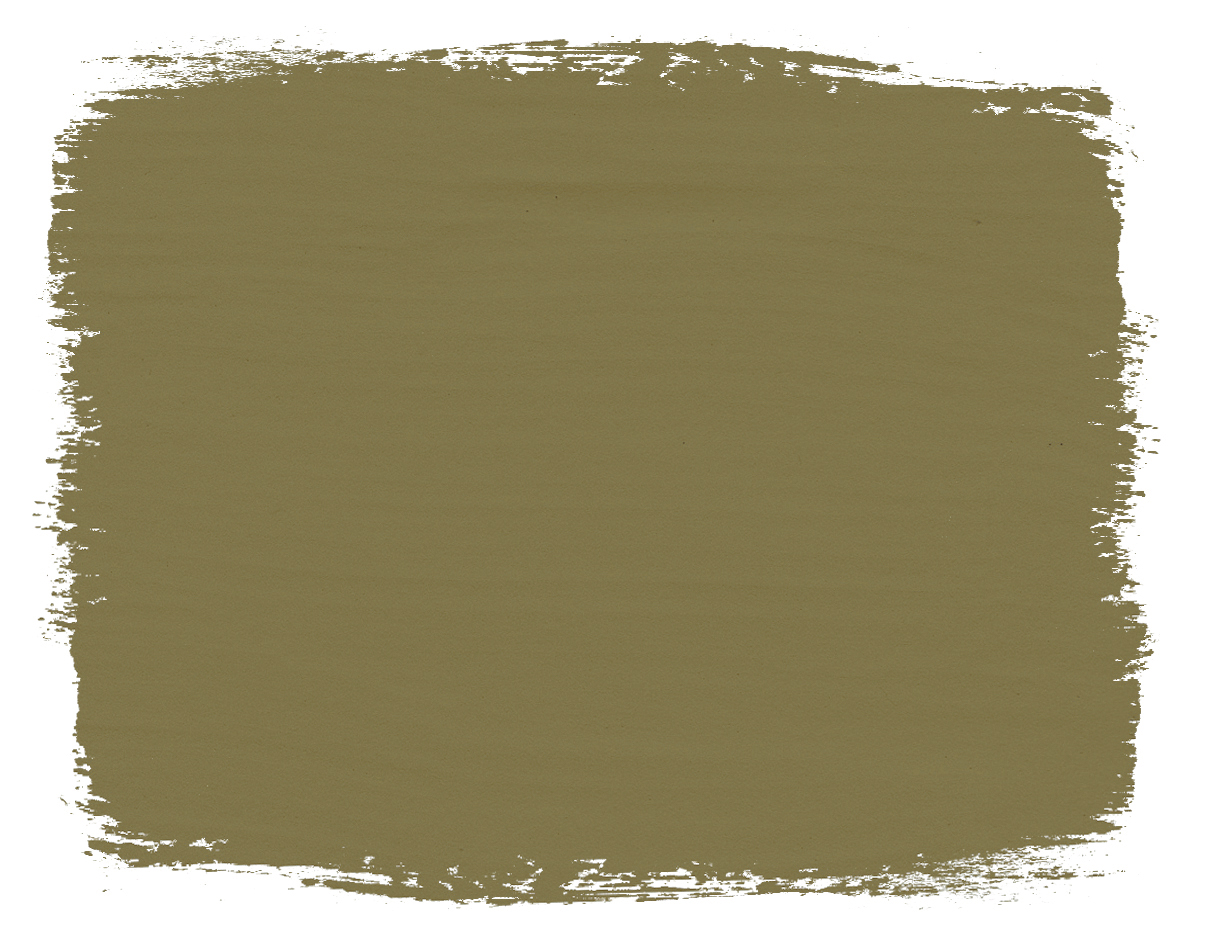
So my next coat on here is going to be Versailles. The reason I’m using Versailles is that they’re the same colour almost, but different tones, so it will look good. But this is a lot lighter.
So I’m putting some paint down. I’m going to get a Medium Brush, some water, so it’s, it’s quite, quite wet. And then I’m going to get some cloth. This is cotton cloth. It’s actually old sheets so they’re really absorbent. They don’t have any lint on them or anything, but you will need plenty so be armed.
Now, again, whenever you’re doing any work you never know how absorbent the piece of furniture is. This is probably quite absorbent. The wax has already gone on. I hope it will be fine. So now I’m putting the wet paint over here. Now you can see wax is oil based, and the paint is water, and so they’re sort of – they’re not liking each other. And that’s what I want. That is the good look I want. And then I’m going to get my cloth, and sort of doing a wash over it, but streaking it so that you get it slightly separating and you get just lovely texture. That’s all you want.
So you can have some areas a little bit stronger, but then you wipe it so that you get them separating. You can always put more wax on it to make them separate more. The more water you’ve got in there, the better it is for it to sort of separate and work together, work away from each other but that makes it work. Because the amazing thing about Chalk Paint™ is that it will absorb wax. The waxes will help, they will join together which shouldn’t happen because one is oil and one is water, but it’s all working for me.
I love that where it sort of slightly separates. I want the paint to go over it so I don’t want to just do a wash, I want there to be as though the paint is quite stripey.
So basically that’s it. It’s a really simple technique, it isn’t difficult at all.
You might wonder if you have to seal it. It’s probably got enough wax there and so you don’t need to put any more wax on it. I would wait for it all to dry and then I would just very gently take a cloth and start wiping it and just polishing slightly. I’d leave it to the next day because you don’t want to start moving it too much, but just be gentle with it.
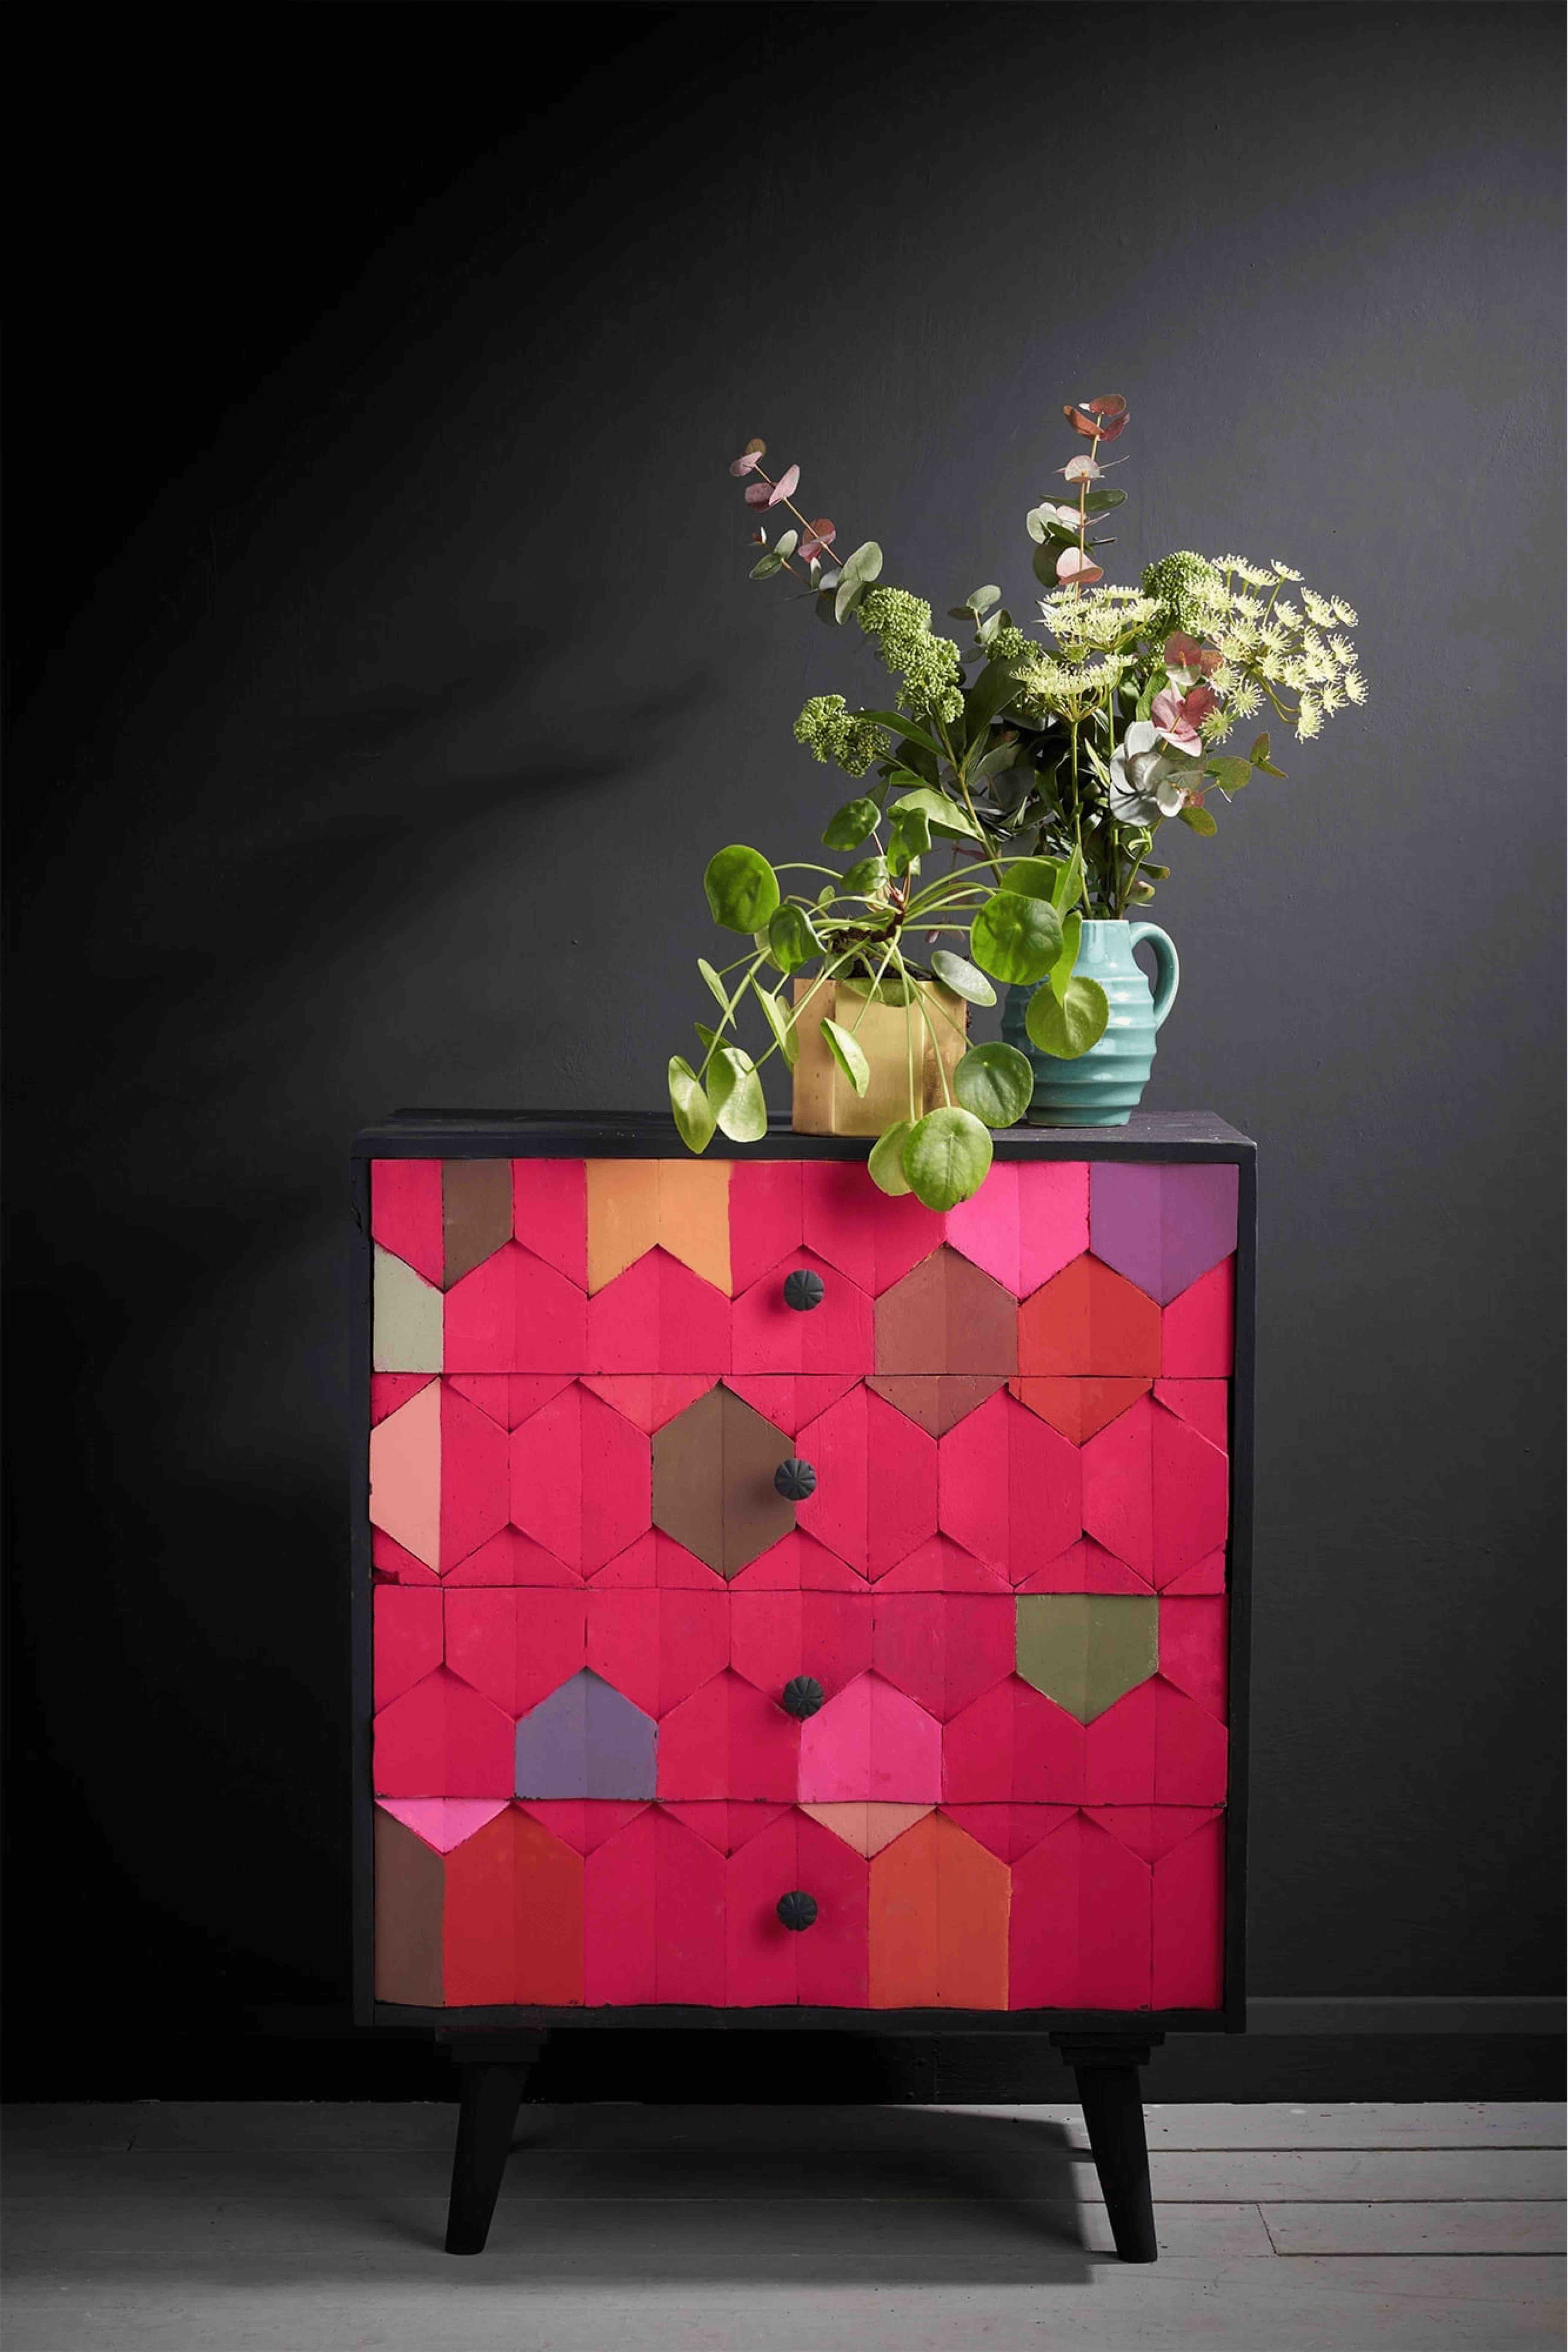
And that’ll be it, hey presto. So this is all about giving your work that different sort of textures. So some pieces need a frottagey technique, quite strong. Some need something a little bit more subtle like a wash, and some need something in the middle which is like this, which I think is really really beautiful, and it suits so many nice pieces of furniture. So I hope you’re inspired by this and think of using it in some of your pieces of painted furniture. Thank you for watching!