1. Do I have to wax my furniture?
In short: yes. Yes, you do have to Wax your furniture. If you don’t, it’ll get marked. Water could damage the Chalk Paint™. It could be scratched or otherwise compromised if left unprotected. (The exception to this rule is mirrors, frames, ornaments and anything that is not touched or moved frequently!) I devised the wax specifically to work with Chalk Paint™ to offer not only protection but also to give a beautiful mellow sheen to your furniture. It beautifies as it protects. Alternatively, you can use Matt or Gloss Chalk Paint™ Lacquer. Matt will give a slightly clouded finish whereas Gloss Chalk Paint™ Lacquer will give a high-end sheen.
2. How do I remove excess Chalk Paint® Wax?
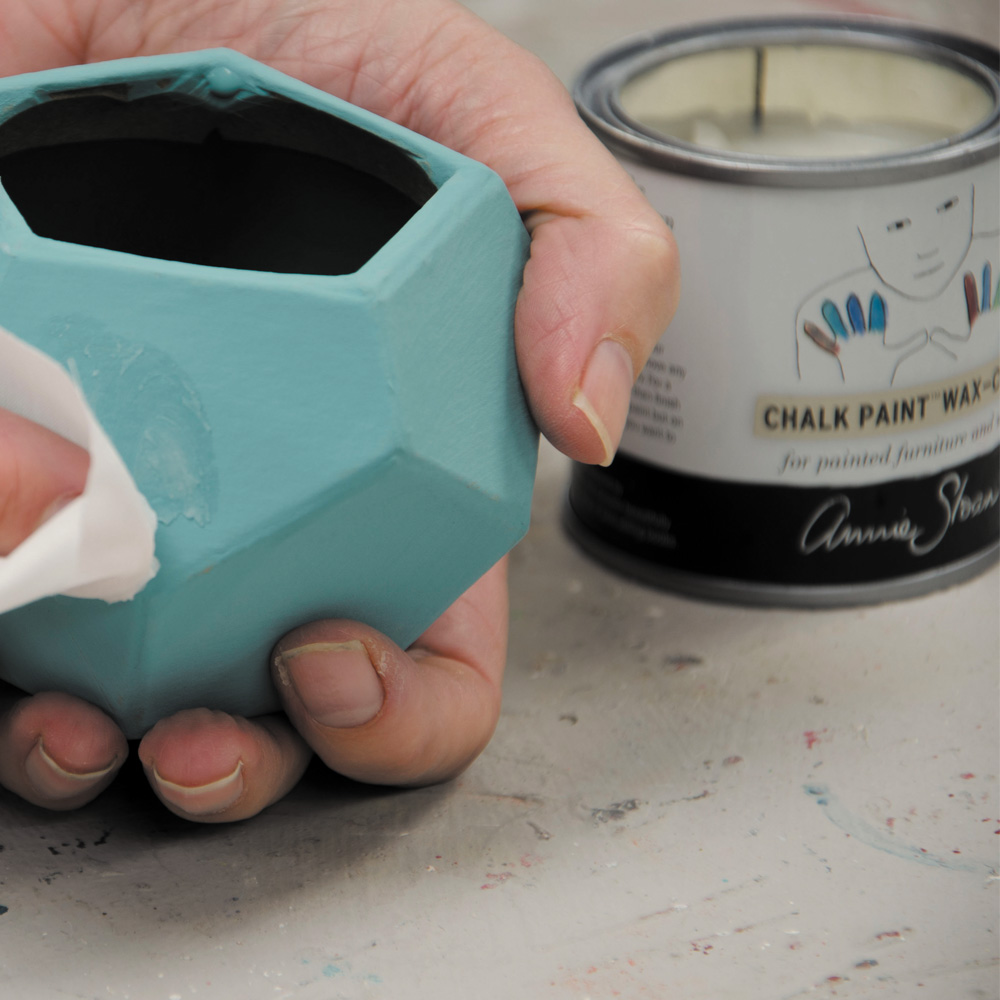
“I’ve applied too much wax”, “Help! I’ve used too much Chalk Paint™ Wax – how do I fix it” and “how can I undo overwaxing” are frequent emails to the Annie Sloan customer service team. Fixing this issue is easiest done when you’ve first made the mistake. You can tell you’ve used too much Wax because you’ll see opaque white lumps or streaks. Just wipe away using a lint-free cloth. If you’ve applied too much Chalk Paint™ Wax and not really realised until it’s dried, you can still correct the issue. Some people recommend white spirits/mineral spirits but these are full of nasty chemicals. The safest way to remove Chalk Paint™ Wax is to just apply another thin coat of wax. It sounds counterintuitive, but the oils in the new layer will ‘wake up’ the underlying wax, making it easy to remove all of the excess. Wipe away the excess using a clean absorbent cloth in a slow steady motion. Have extras on hand so you can replace the one you are working with when it becomes clogged with wax. After all of the excess is removed, treat as you would any freshly waxed piece of furniture. Allow to dry overnight and then cure over the next few weeks.
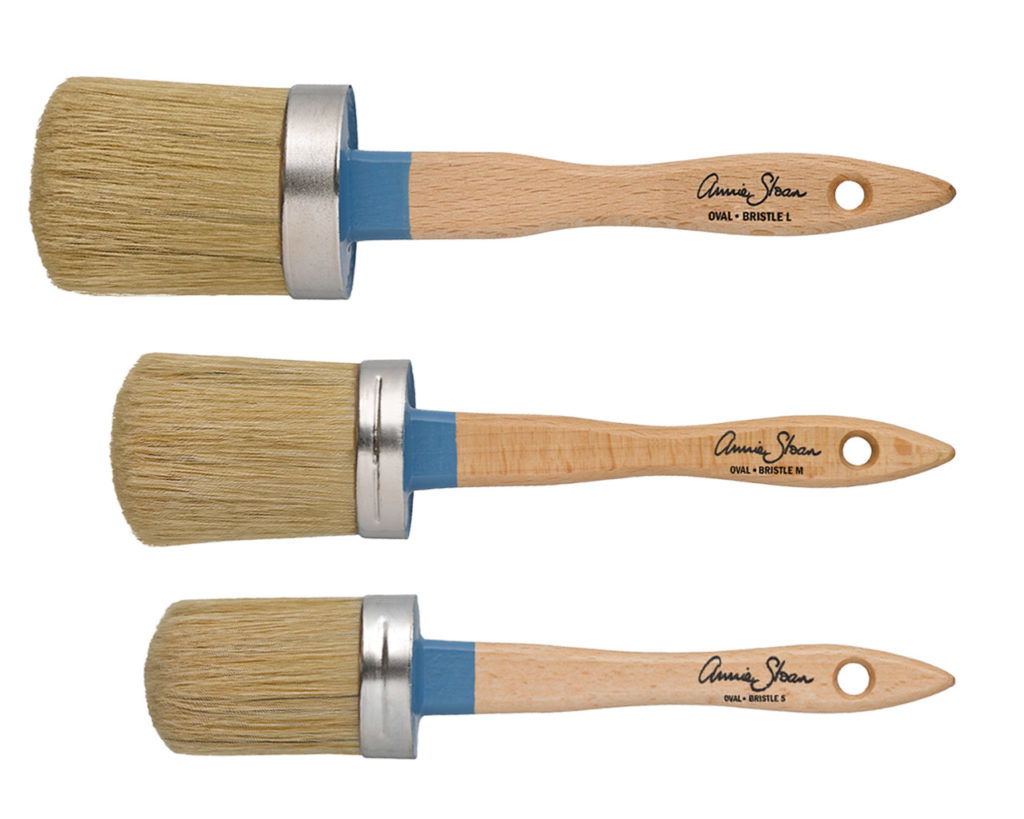
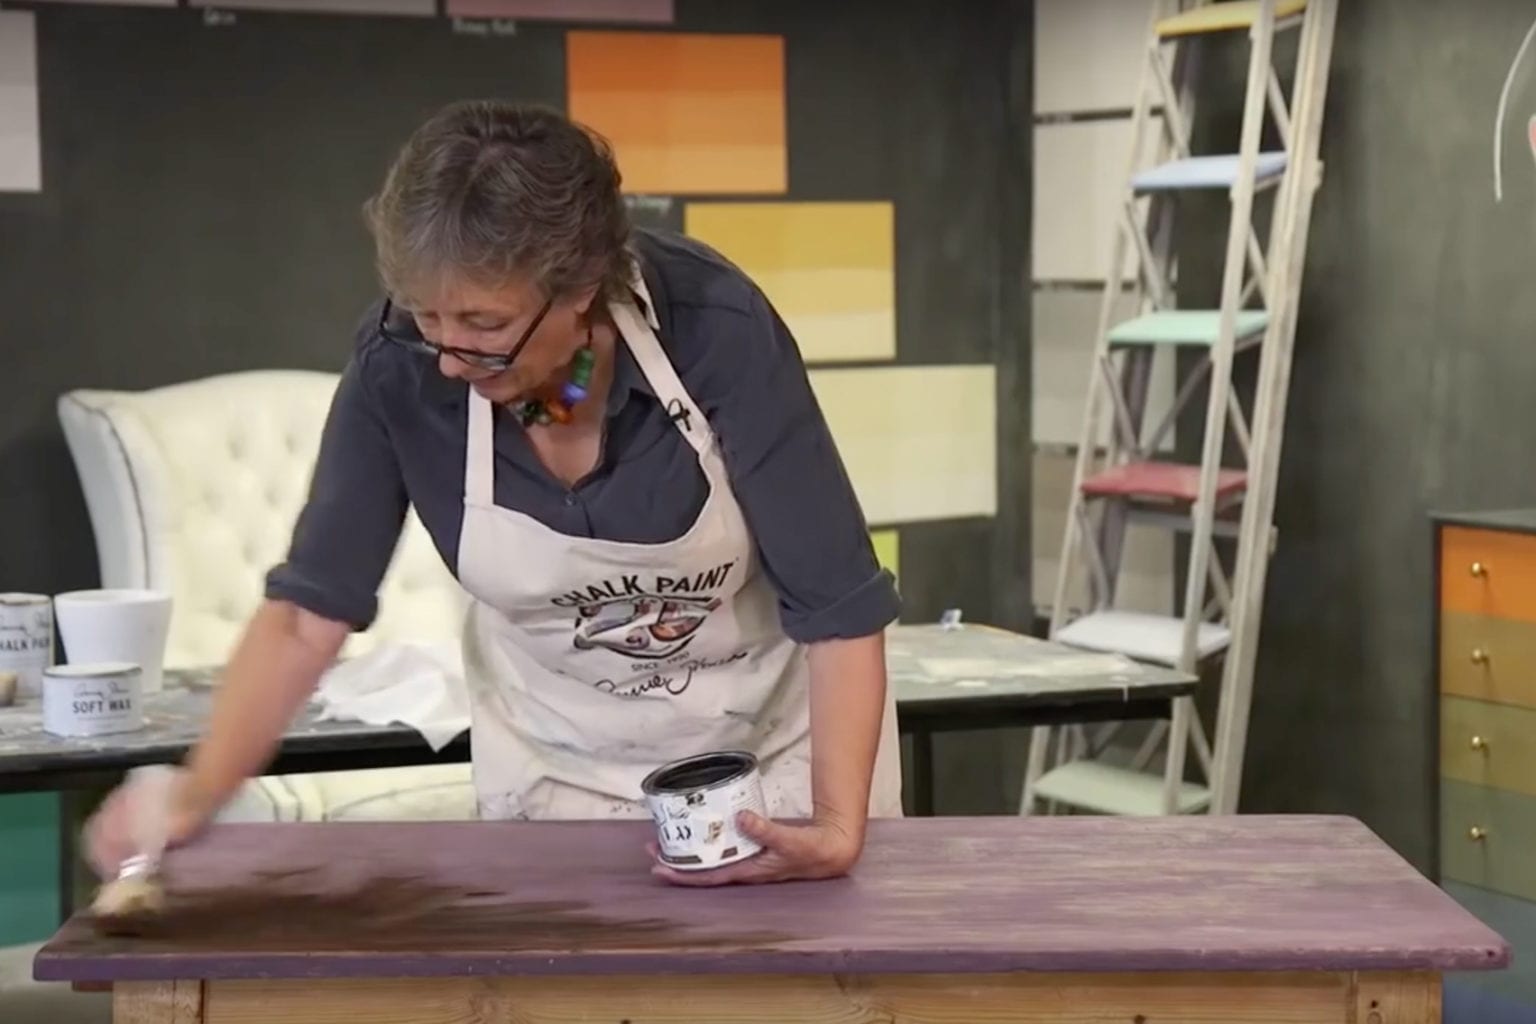
Application Tips: Annie always uses her Wax Brush and loads it up with quite a lot of product before applying in long strokes. She brushes in every direction and works quickly to move the Wax around and cover every part of a small area before moving onto the next patch. You can easily see where you’ve waxed because the colour of your furniture will be slightly darker.
3. How long to wait before waxing?
Usually about an hour. This can be longer or shorter depending on the temperature and humidity of where you are, as well as other variables such as how thickly you’ve applied the paint. That said, Chalk Paint™ is designed to dry quickly. Use your fingers to test.
4. What’s the difference between buffing and removing excess wax?
Removing excess Wax from your paint project and buffing are totally different. You should always use a lint-free cotton cloth to remove excess wax, whereas choosing to buff is a decorative choice. Buffing creates a shine on your furniture and is only possible once the Wax has dried. Leave your furniture overnight to allow the Wax to dry fully, and don’t attempt to buff until the following day. If you don’t wait 24 hours you’ll find you’re simply removing the wax or wiping it around. You can use a lint-free cloth or a polishing brush to buff, do so with firm pressure and circular or back and forth motions on the same spot until you’ve achieved the desired level of shine. The more you buff, the shinier your finish will be.
5. What if I don’t like the finished result? What if after Waxing my furniture it looks bad.
Sometimes people will say, “I used Chalk Paint™ and it looked perfect. Then I waxed and the Wax has made it look terrible”. “It was the Wax that did it”. I have bad news: this is a Chalk Paint™ error. The mistake will have been in the paint application and the application of Wax simply emphasises these errors. Any inconsistencies in paintwork will be highlighted by wax. Repaint after a couple of days, try diluting the paint with water if it’s going on too thickly. It’ll apply more evenly, dry less quickly and won’t hold onto brush marks and textures so much.
Featured Products
