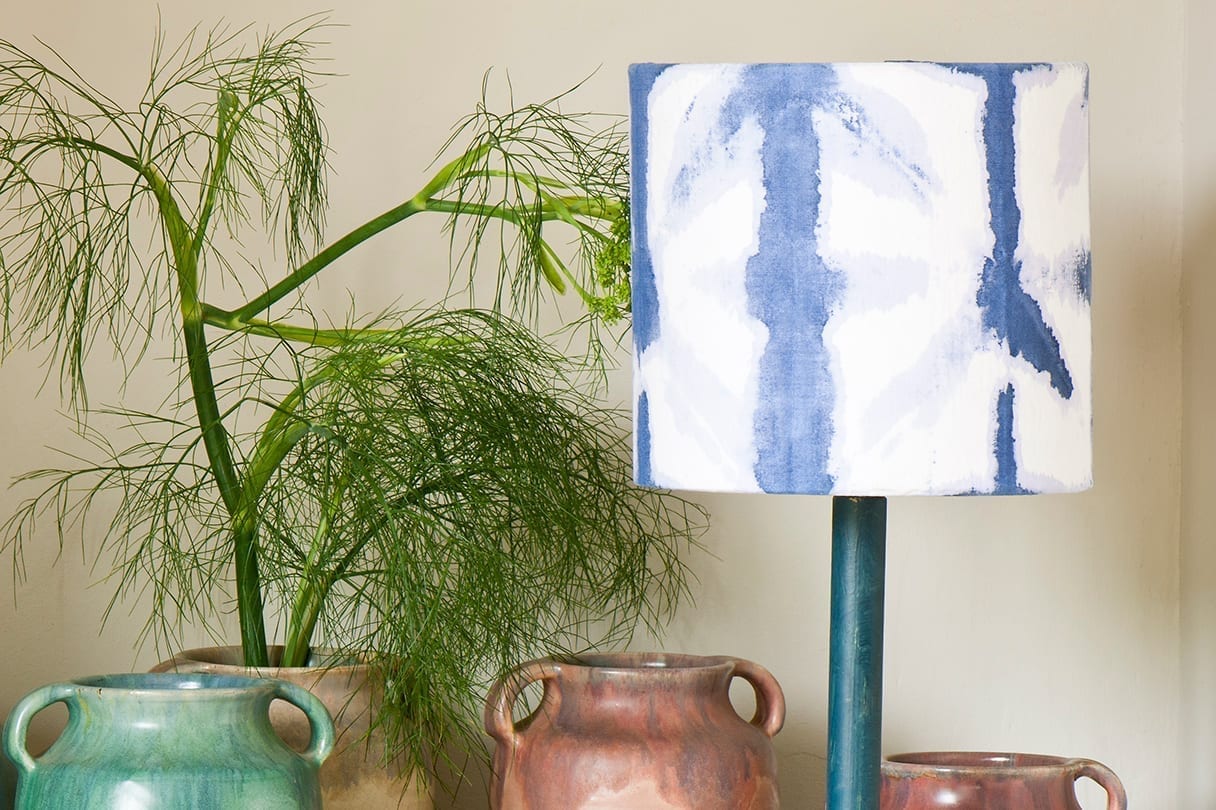
You can have a lot of fun painting, printing and dyeing fabric with Chalk Paint™. But once you’ve created your own fabric design, what will you make with it? Here you can learn how to make your own lampshade using fabric and a DIY lampshade kit. This technique is simple to follow – no specialist skills required! – so you can focus your creative energies on the fun task of making your lampshade fabric.
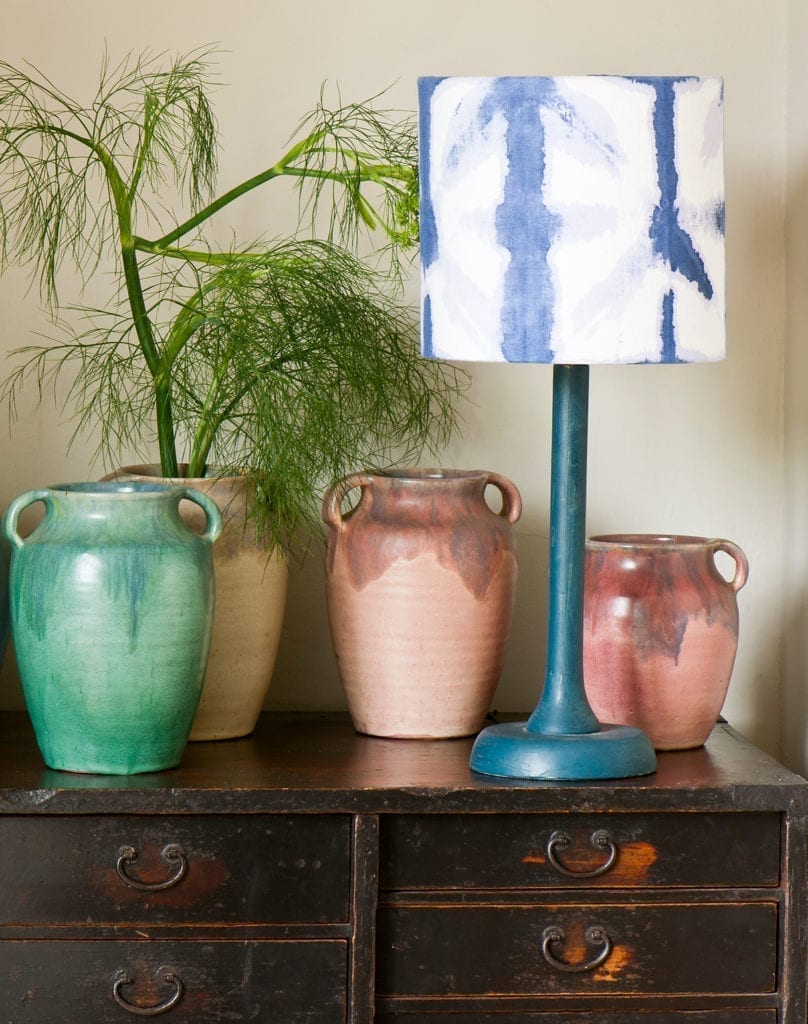
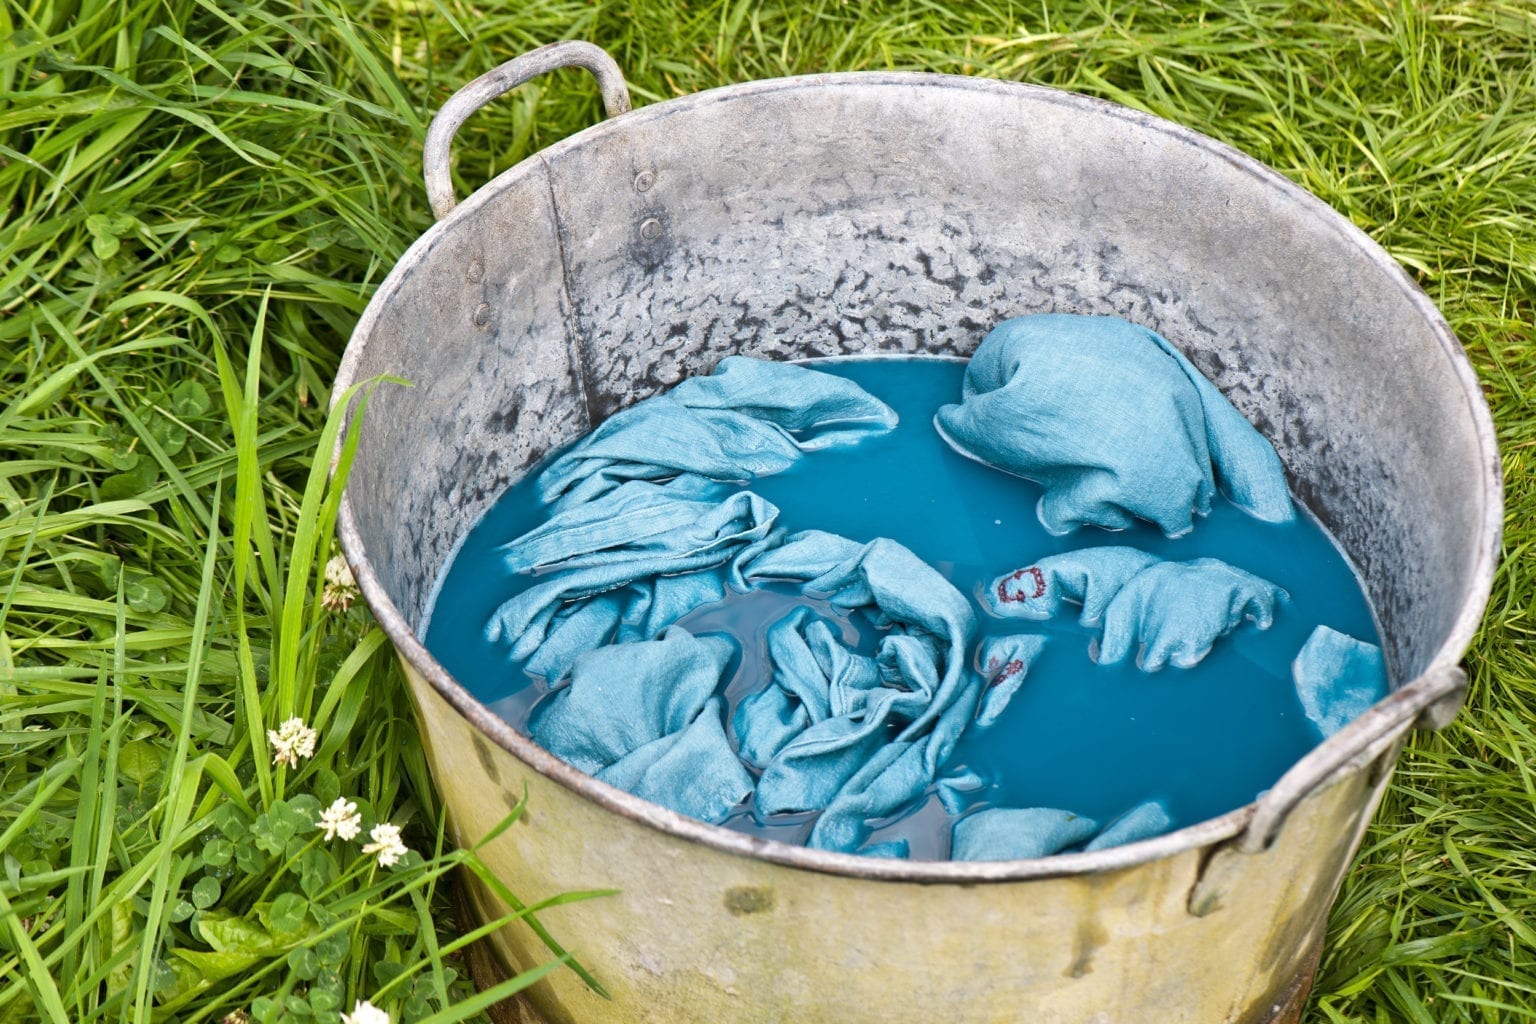
For this tutorial, we dyed our fabric using a shibori technique, but you can also try tie-dye or potato printing to create your own unique patterns. Any will work beautifully on a lampshade – and remember you can also paint the lamp with Chalk Paint™ too!
Step by step guide to making a DIY lampshade
- Using a lampshade making kit, make certain that your fabric is a little bigger than the adhesive panel by laying the panel down over the fabric and cutting it out. Iron the fabric so it’s smooth and without any loose threads.
- Lay the fabric pattern side down, making certain the design is placed in the right position.
- Peel back the non-adhesive paper from the panel by about 10cm.
- Position the adhesive side down onto the fabric, leaving 2cm of fabric at the end.
- Pull the non-adhesive paper back, and the adhesive side down press firmly, smoothing out any potential creases.
- Cut the fabric around the panel leaving the 2cm allowance along the width.
- At the top and bottom of the panel you will see a semi-perforated edge. Fold it to ‘break’ it and then peel it off, which will expose the fabric underneath.
- Now stick the double-sided tape along the outer edges of your two lampshade rings.
- Peel off the other side of the double-sided tape to expose the second sticky edge.
- Place the rings on the fabric along the edge of the end of the panel and roll the two rings along. (It’s a good idea to have two people at this stage!). The ring with the inner circle to attach to the lampbase should be at the base of the design with the angles facing upwards.
- When you reach the end, there will be a small overlap. Apply some double-sided tape to this edge so that the ends of the panel can be stuck together.
- Fold and tuck the fabric under the hoop to create a nice clean edge.
So there you have it, a simple step-by-step guide to making your own lampshade. For inspiration on painting and dyeing fabric for your lampshade, see Annie Sloan Paints Everything published by CICO Books 2016. Once you’ve finished your project, be sure to share it with the Annie Sloan community online using #anniesloan.
Photography by Christopher Drake © CICO Books.