Techniques

How to: Create an Antique Paint Effect

I’m going to use my paint, showing you some very simple techniques. I’m using here the smallest of my brushes. I could be using the bigger one. I just picked up one, it doesn’t really matter, what ever feel comfortable with.

First of all, I’m going to show you how to do it using a smooth-ish brush stroke. So I’m painting, if you noticed, every which way. I’ll just slow that up. I do these sort of techniques like that because i’m going for a sort of distressed look.

I prefer to paint over these things [points to hardware]. Also it’s a lot quicker! The other thing I can do is to take it and sort of stipple with it dabbing it fairly hard and quite dry, so can you see that bit there where the paint is thicker and it’s more three-dimensional.

You’ll now need to wait aproximately 20 minutes for the paint to dry depending on the temperature and the thickness.

So now the next step is to show you how to do the wax, and of course the wax has been the thing that people have been the most intrigued by. So here’s my brush covered in wax, and I’ve got a cloth here as well. I’m painting over with the wax and you can see the lack of paint has brought that up because I only did a thin coat. This is not laying a layer of wax on the paint, but it’s a bit like – someone came up with the idea – when you put hand cream on… you put hand cream on so it absorbs right in. You don’t put hand cream on and leave a layer so you walk around with really greasy hands.

When I’ve waxed enough, I will then go in wiping it. Because it’s metal underneath, just a
little bit without really much work is coming through, and you can see a little bit of the metal and I think it looks quite nice.

So this is my Dark Wax. I know it looks really dark. What i’m doing now is something you will probably be very scared of… but as long as you’ve got clear wax underneath that is not a problem. Now I’m just going to wipe that off. Quite lightly take it off. That’s where I did the stipples. What I tend to do is I work… sort of painting it really. Take a little bit of clear wax, just very lightly go over the top, leaving the top lighter, and the darkness really in the cracky bits.

This is a sand paper which is quite fine. You can get finer. Just showing a little bit of the wood maybe.Bring out that nice bit of gold on there. And I might just do a little bit more clear wax on to there.

A classic antique look is easy to achieve using just one Chalk Paint™ colour and a touch of Chalk Paint™ Wax.

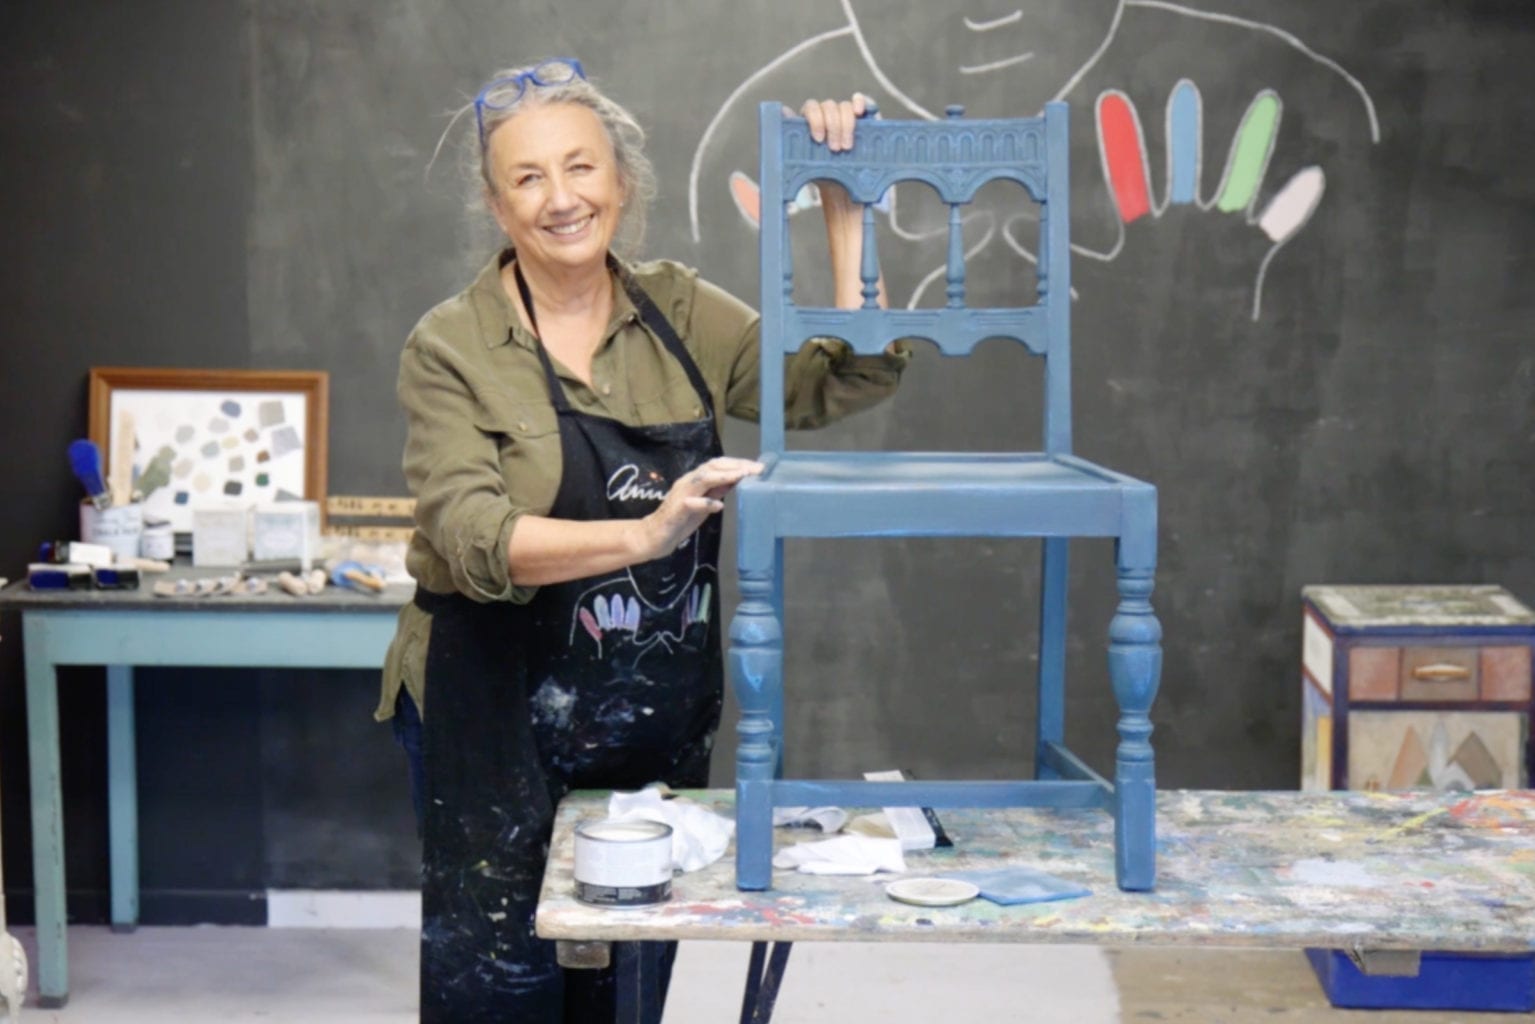
So you’ve just painted a piece of furniture with Chalk Paint™ but it’s looking a little too ‘new’ for your tastes. How do you age your paintwork in a matter of minutes, rather than years? It’s easier than you think! The secret is in working with Dark Chalk Paint™ Wax. This will instantly age the paint, creating an authentic antique look. You can then use Clear Chalk Paint™ Wax as a sort of magic eraser to wipe back any parts that appear too dark – creating exactly the right level of ageing to suit your style.

When it comes to sanding, you’re trying to recreate the natural wear and tear a piece of furniture will sustain. Focus on those places your furniture will naturally get knocked or handled. When you’re finished, people will think that dresser has been passed down from generation to generation – not painted yesterday!

Step by step guide to ageing your paintwork for an antique effect

  1. Apply a coat of Chalk Paint™, moving the brush in all directions.
  2. Apply Clear Chalk Paint™ Wax with a brush, working the wax into the paint like hand cream and removing any excess as you go with a lint-free cloth.
  3. Sand the paint back a little using a fine or medium-grit sandpaper until you achieve the finish you always imagined.
  4. To age the paintwork further, use Dark Chalk Paint™ Wax. Work it into your (still wet) Clear Wax and spread. Wax small areas at a time, and remove excess wax with Clear Wax as you go.
  5. Finish by making sure that every part of your furniture has been waxed at least once with a lint-free cloth.
  6. Allow the wax to cure (harden) before use. It will be touch dry within 24 hours, but will take up to 2 weeks to fully harden. You can use it during this time, but just be gentle.

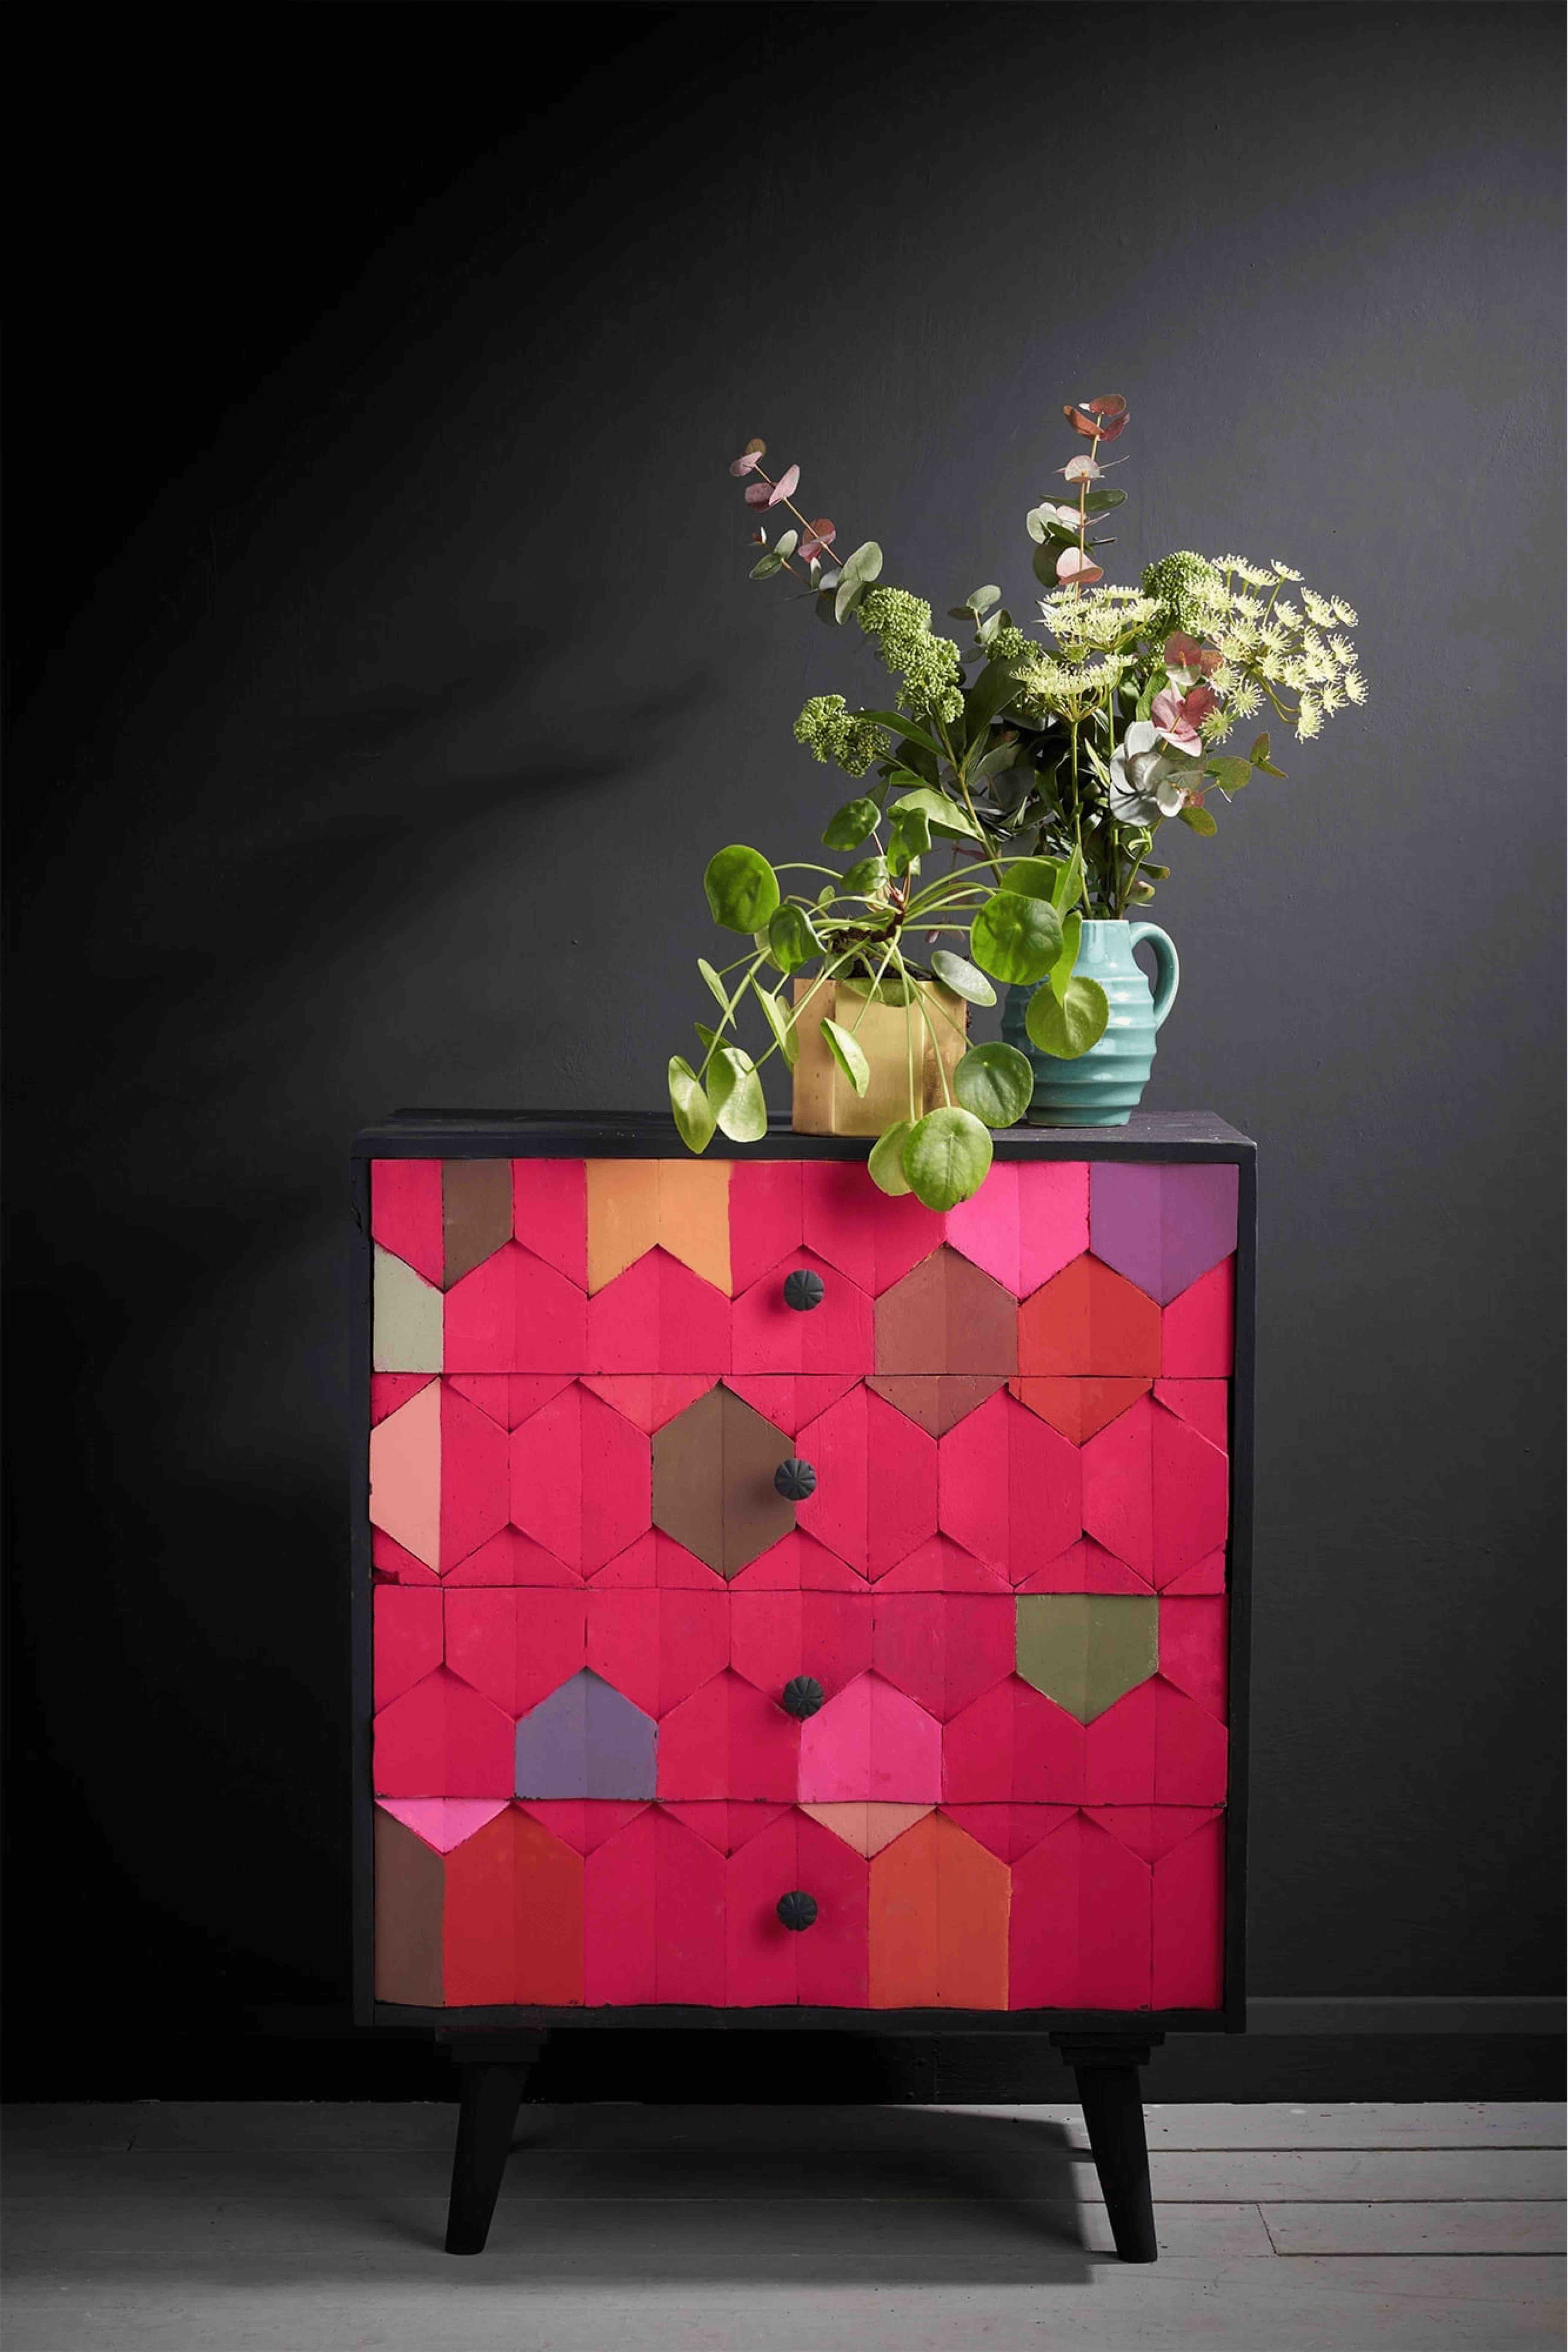
Ageing your paintwork is a great way to create add unique character to your furniture. Maybe your working with mass-produced pine furniture or perhaps something you found at a junk shop that just isn’t to your taste. Either way you can make that piece of furniture your own by following these steps. Your brushstrokes are what makes that furniture feels all that more special to you. Not only that you can make it feel like it’s been yours for decades, not days!

Ready to get started? Each Annie Sloan Stockist is trained to offer you workshops and practical advice on this and other techniques using Chalk Paint™. When you’re done, take a picture of your finished project and share it with the Annie Sloan community using #AnnieSloan.

Related Videos

Shop

Browse

Chalk Paint

About
Shop