One of the questions we get asked most frequently is whether Chalk Paint™ really is no prep. Well, the answer is yes! In the vast majority of cases, you can get straight on to painting without having to do any preparation. Where traditional decorative paints required priming and sanding, Annie Sloan developed her own brand of furniture paint to adhere to most surfaces without the need for prep. Of course, there are always exceptions. So how do you know when to prepare a surface for Chalk Paint™? And how do you do it?
In this guide, we’ve listed out what to look out for before you start painting and what to do if it turns out you do need to prep your surface first. There’s no need to fret though – even if a bit of preparation is needed, you’ll still be able to get to the fun bit and start painting in next to no time.
Why should you prep a surface for Chalk Paint™?
Before you start painting with Chalk Paint™, check the surface you’re intending to paint onto. Most wood furniture won’t need any prep, but there are exceptions. First, if your piece is particularly dusty or grubby, it’s a good idea to give it a wipe down with a damp cloth. You can use soapy water but avoid any harsh chemicals. Ensuring your surface is clean is particularly important for kitchen cabinets where you’ll find grease residue from cooking that will affect the finish.
If you’re painting vintage furniture, check if it’s from the 1930s or ‘40s. Furniture from that period often has an oil-based finish that will create a stain to bleed through. The same can happen if you’re working with new, untreated pine. As Chalk Paint™ adheres to the surface, it will draw out any oil stains or tannins in wood, even if they aren’t visible to the eye.
Do I need to sand furniture before using Chalk Paint™?
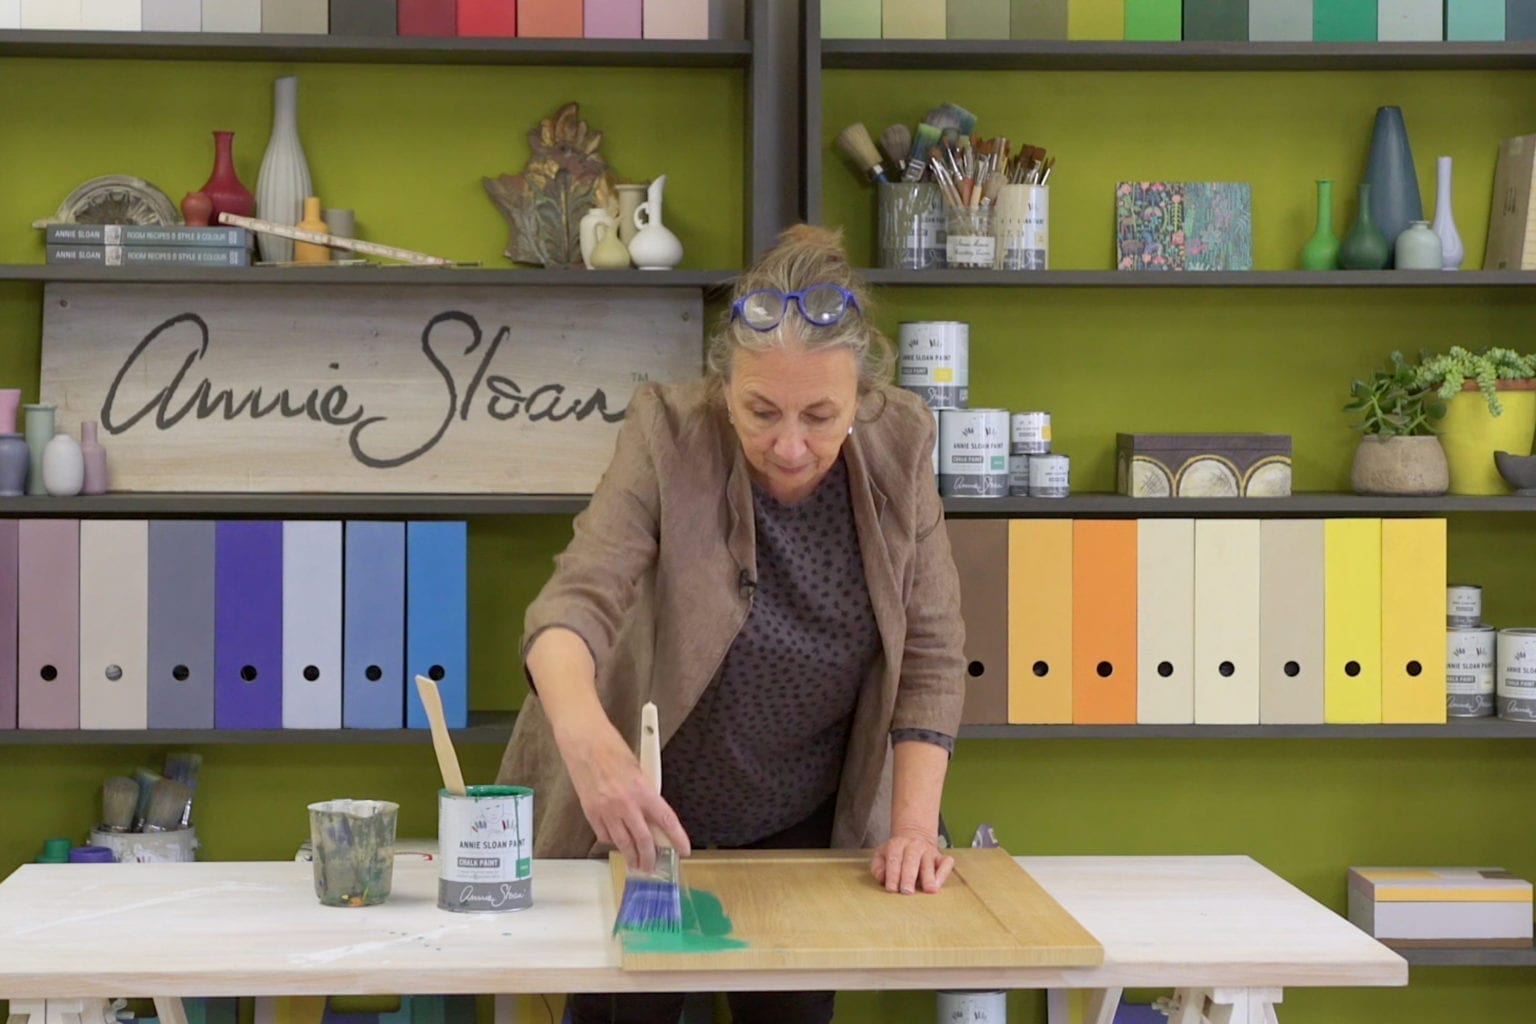
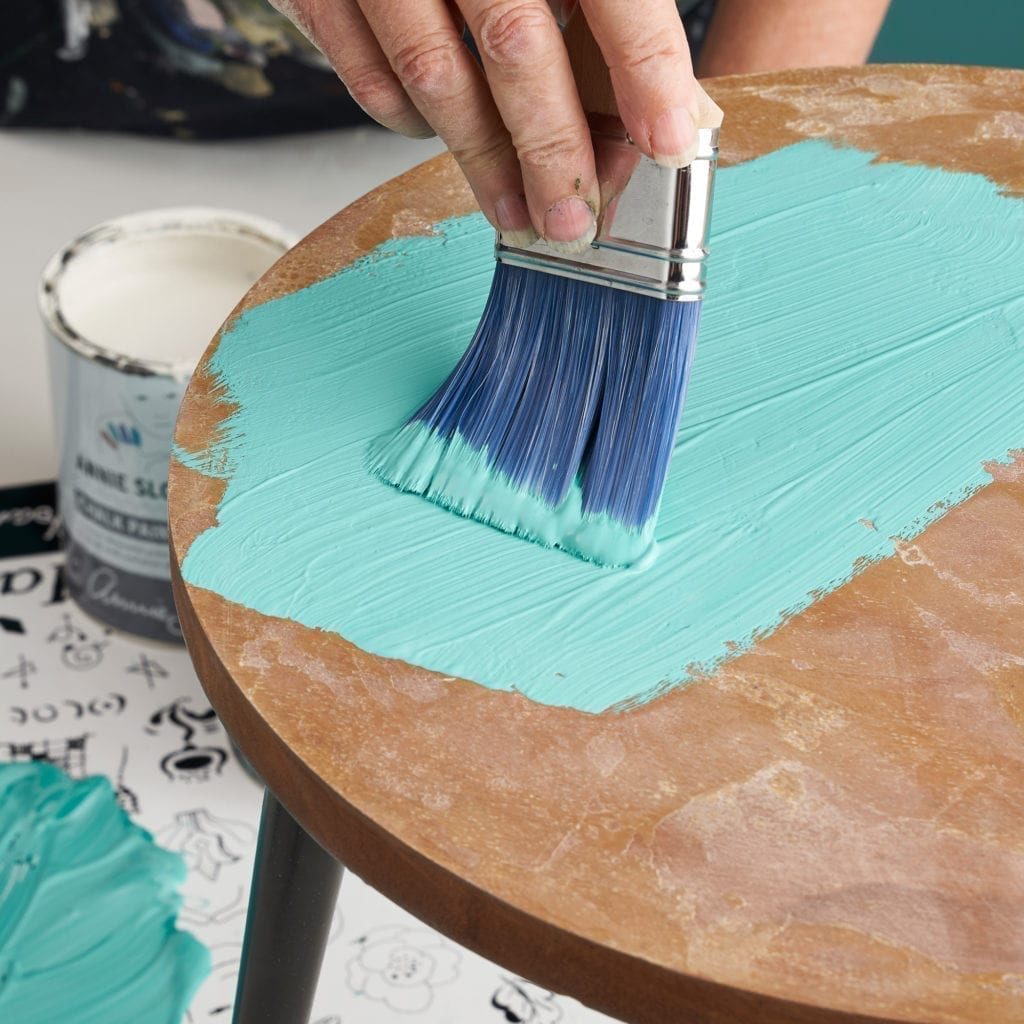
Where traditional paints require sanding before you paint furniture. Annie Sloan’s brand of furniture paint will adhere to most surfaces without any sanding first. Chalk Paint™ has incredible sticking power so it really doesn’t need any surface prep in the vast majority of cases. You can even paint directly over hardware, if you wish.
The only exception is if you’re dealing with a particularly shiny surface, such as laminate. A light sanding here will ensure the paint has a textured surface to adhere to.
Some customers also like to sand first if they want to smooth out an uneven or particularly damaged surface. This is something you might want to do if you want your painted finish to be especially sleek and modern at the end. You really don’t need to bother if your end-goal is to create a textured or distressed paint finish.
What materials do I need to prep for painting?
Whatever the scale of your painting project, it’s a good idea to have a few materials to hand to help you prepare a surface for Chalk Paint™:
- A cleaning cloth or sponge and warm soapy water
- Shellac or knotting solution
- Sanding pads
Step by step: how to prepare a surface for Chalk Paint™
- To clean your piece of furniture before painting, use a damp cloth and wipe over the surface. For stubborn dirt and grease, use warm soapy water but avoid harsh chemicals.
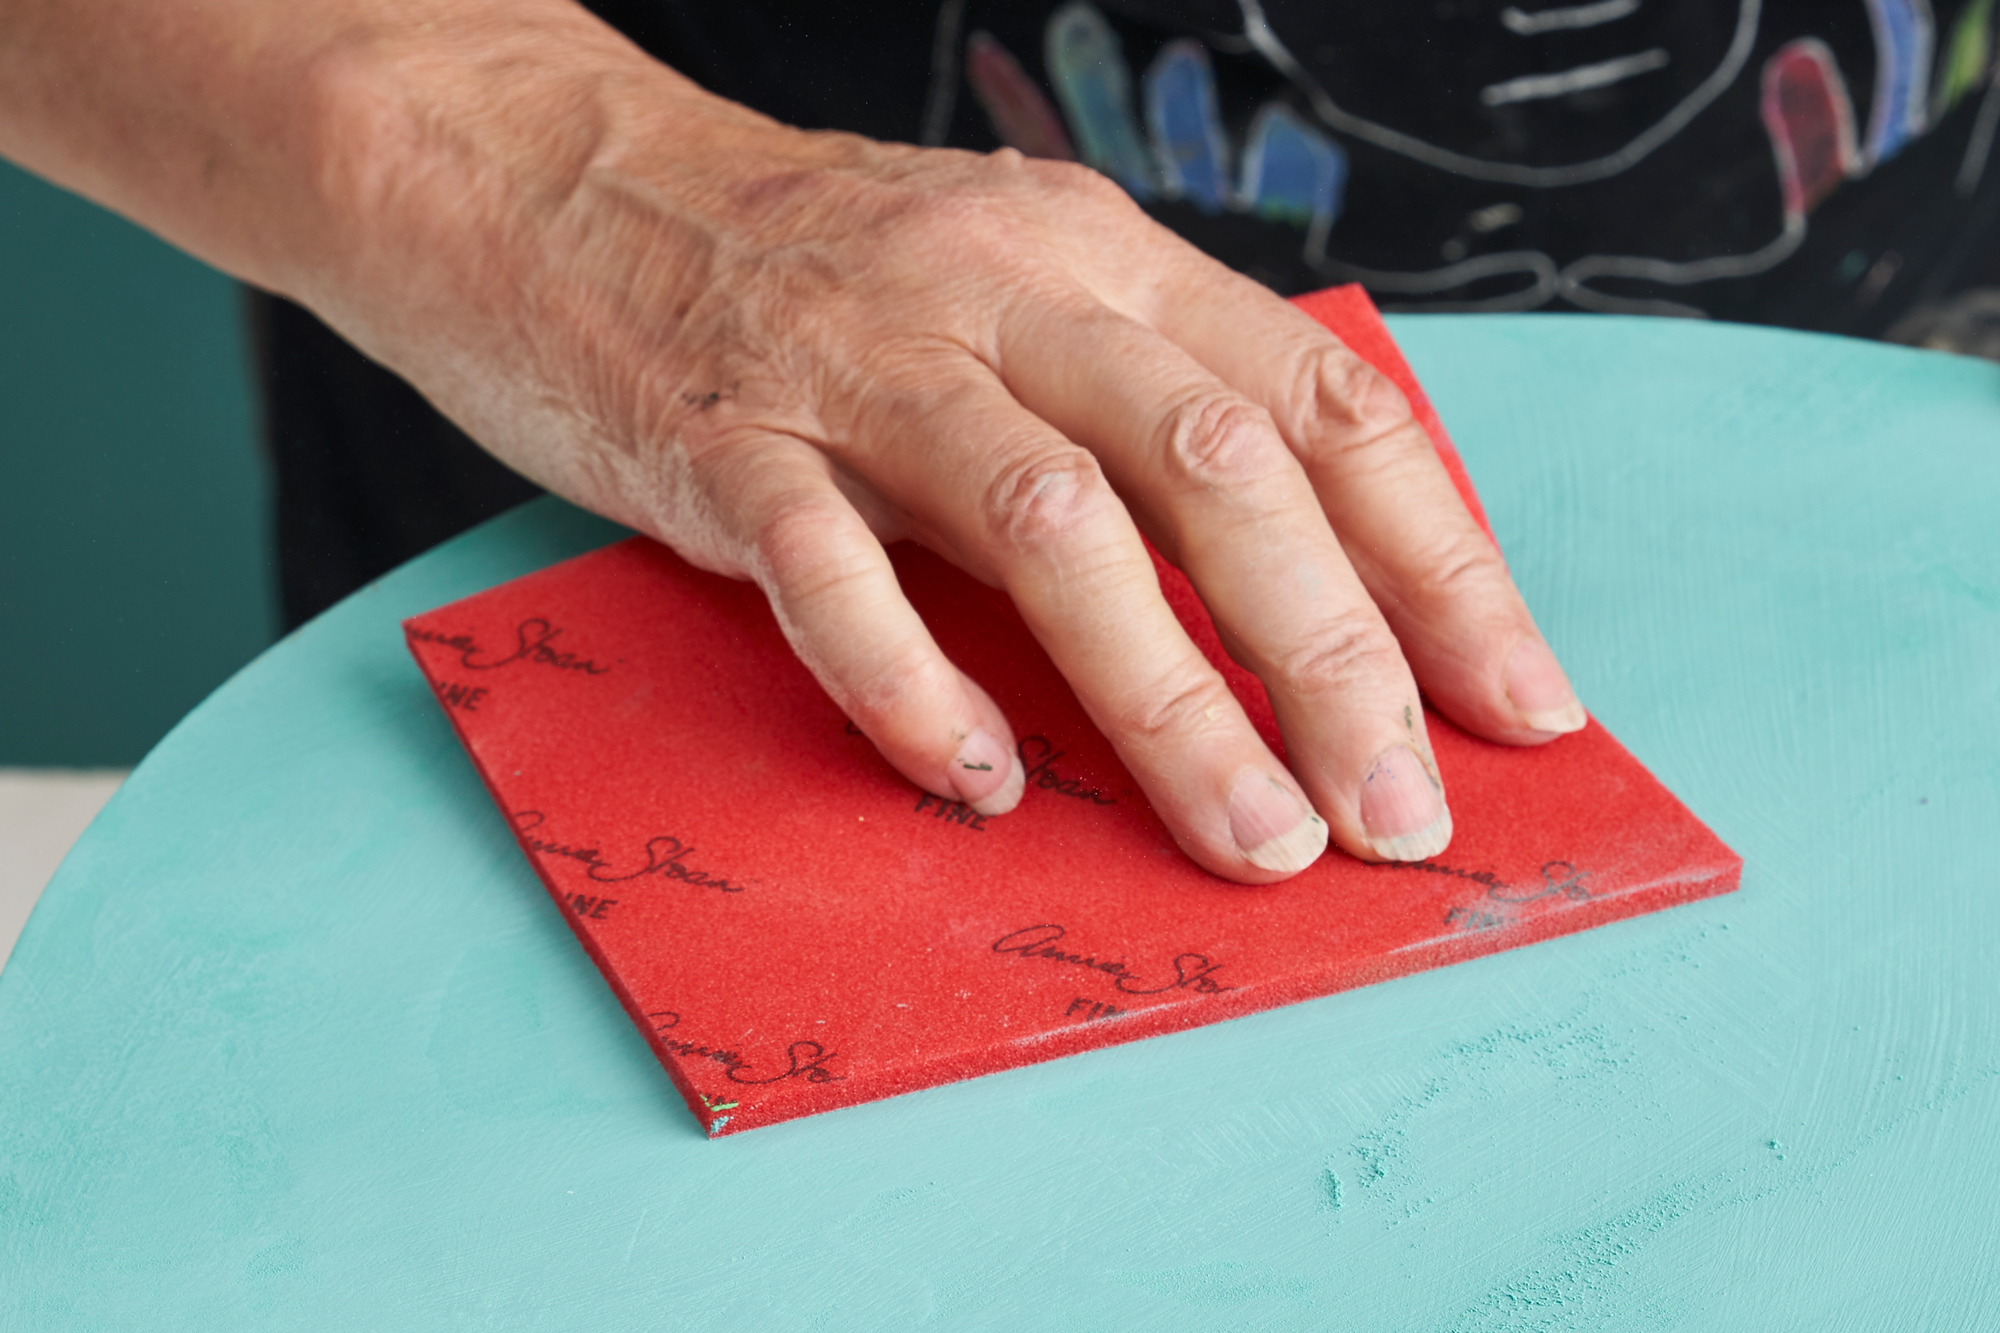
- For shiny laminates, use a sanding pad and lightly sand the surface. Wipe away any sanding dust before painting.
- If you’re painting onto new, untreated wood, apply knotting solution onto any knots or open grain.
- If you see a stain bleeding through after you start painting, apply a clear shellac or stain blocker. One or two coats of shellac applied evenly with a cloth pad will block the stain. It dries in minutes, and then you can get on with your painting.
- Testing before painting on wooden floors is crucial. Stains and tannins can bleed through the paint as soon as you apply varnish. If you are planning to paint your floorboards, be sure to check out this tutorial first.
Now you know how to prepare a surface for Chalk Paint™, you’re ready to deal with any exceptions to our ‘no sanding, no priming’ motto. In most cases, you won’t need to give prep a second thought, but if a little quirk arises, you know what to do. Follow our steps to preparing wood for Chalk Paint™ and you’ll be on track for creating the most beautiful, long-lasting painted finish.
As soon as you’re ready to start painting, be sure to buy all the materials you need from your local Annie Sloan Stockist. Shopping with them means supporting small independent business in your community. Finally, when you’re done painting, be sure to share your finished project with us using #AnnieSloan.