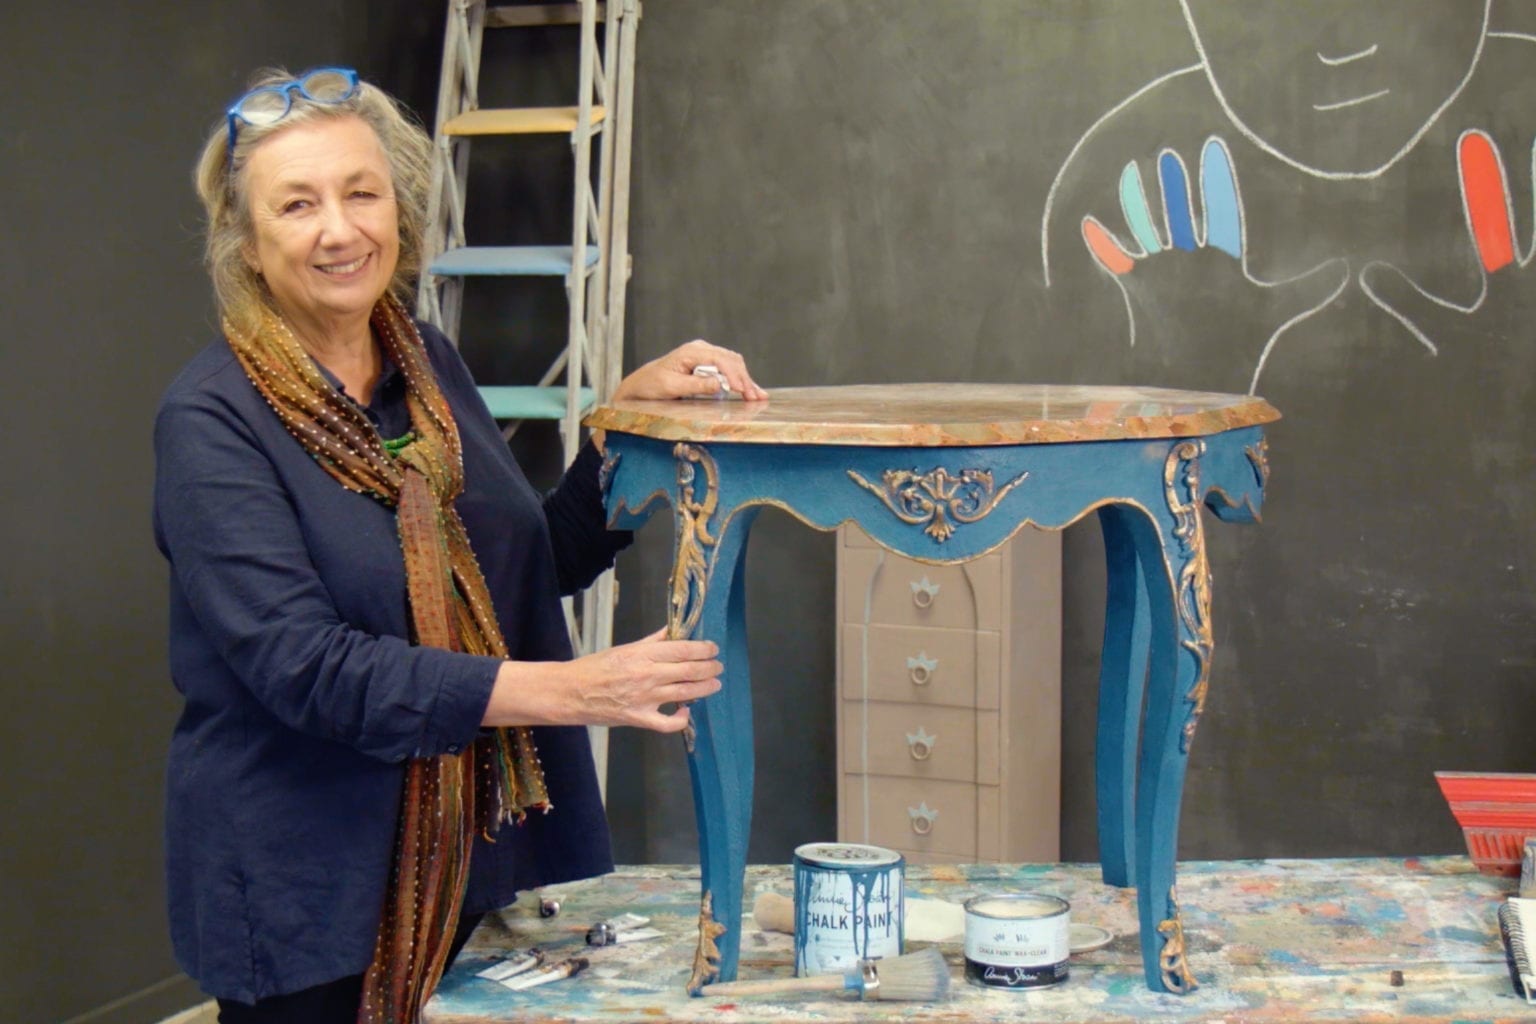
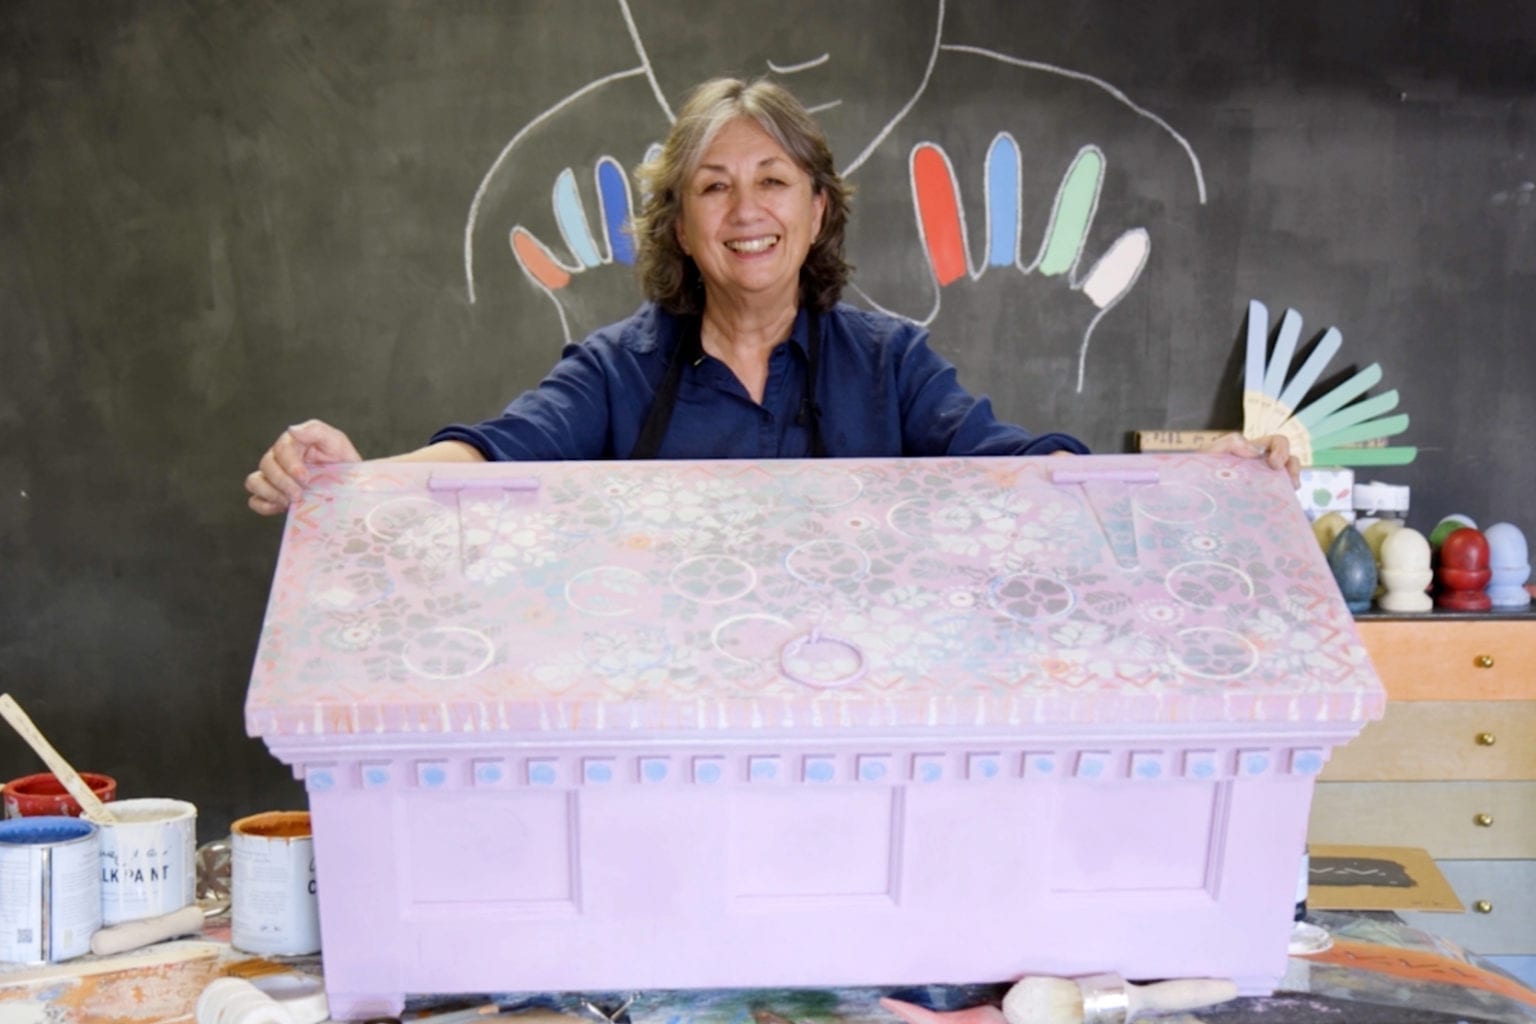
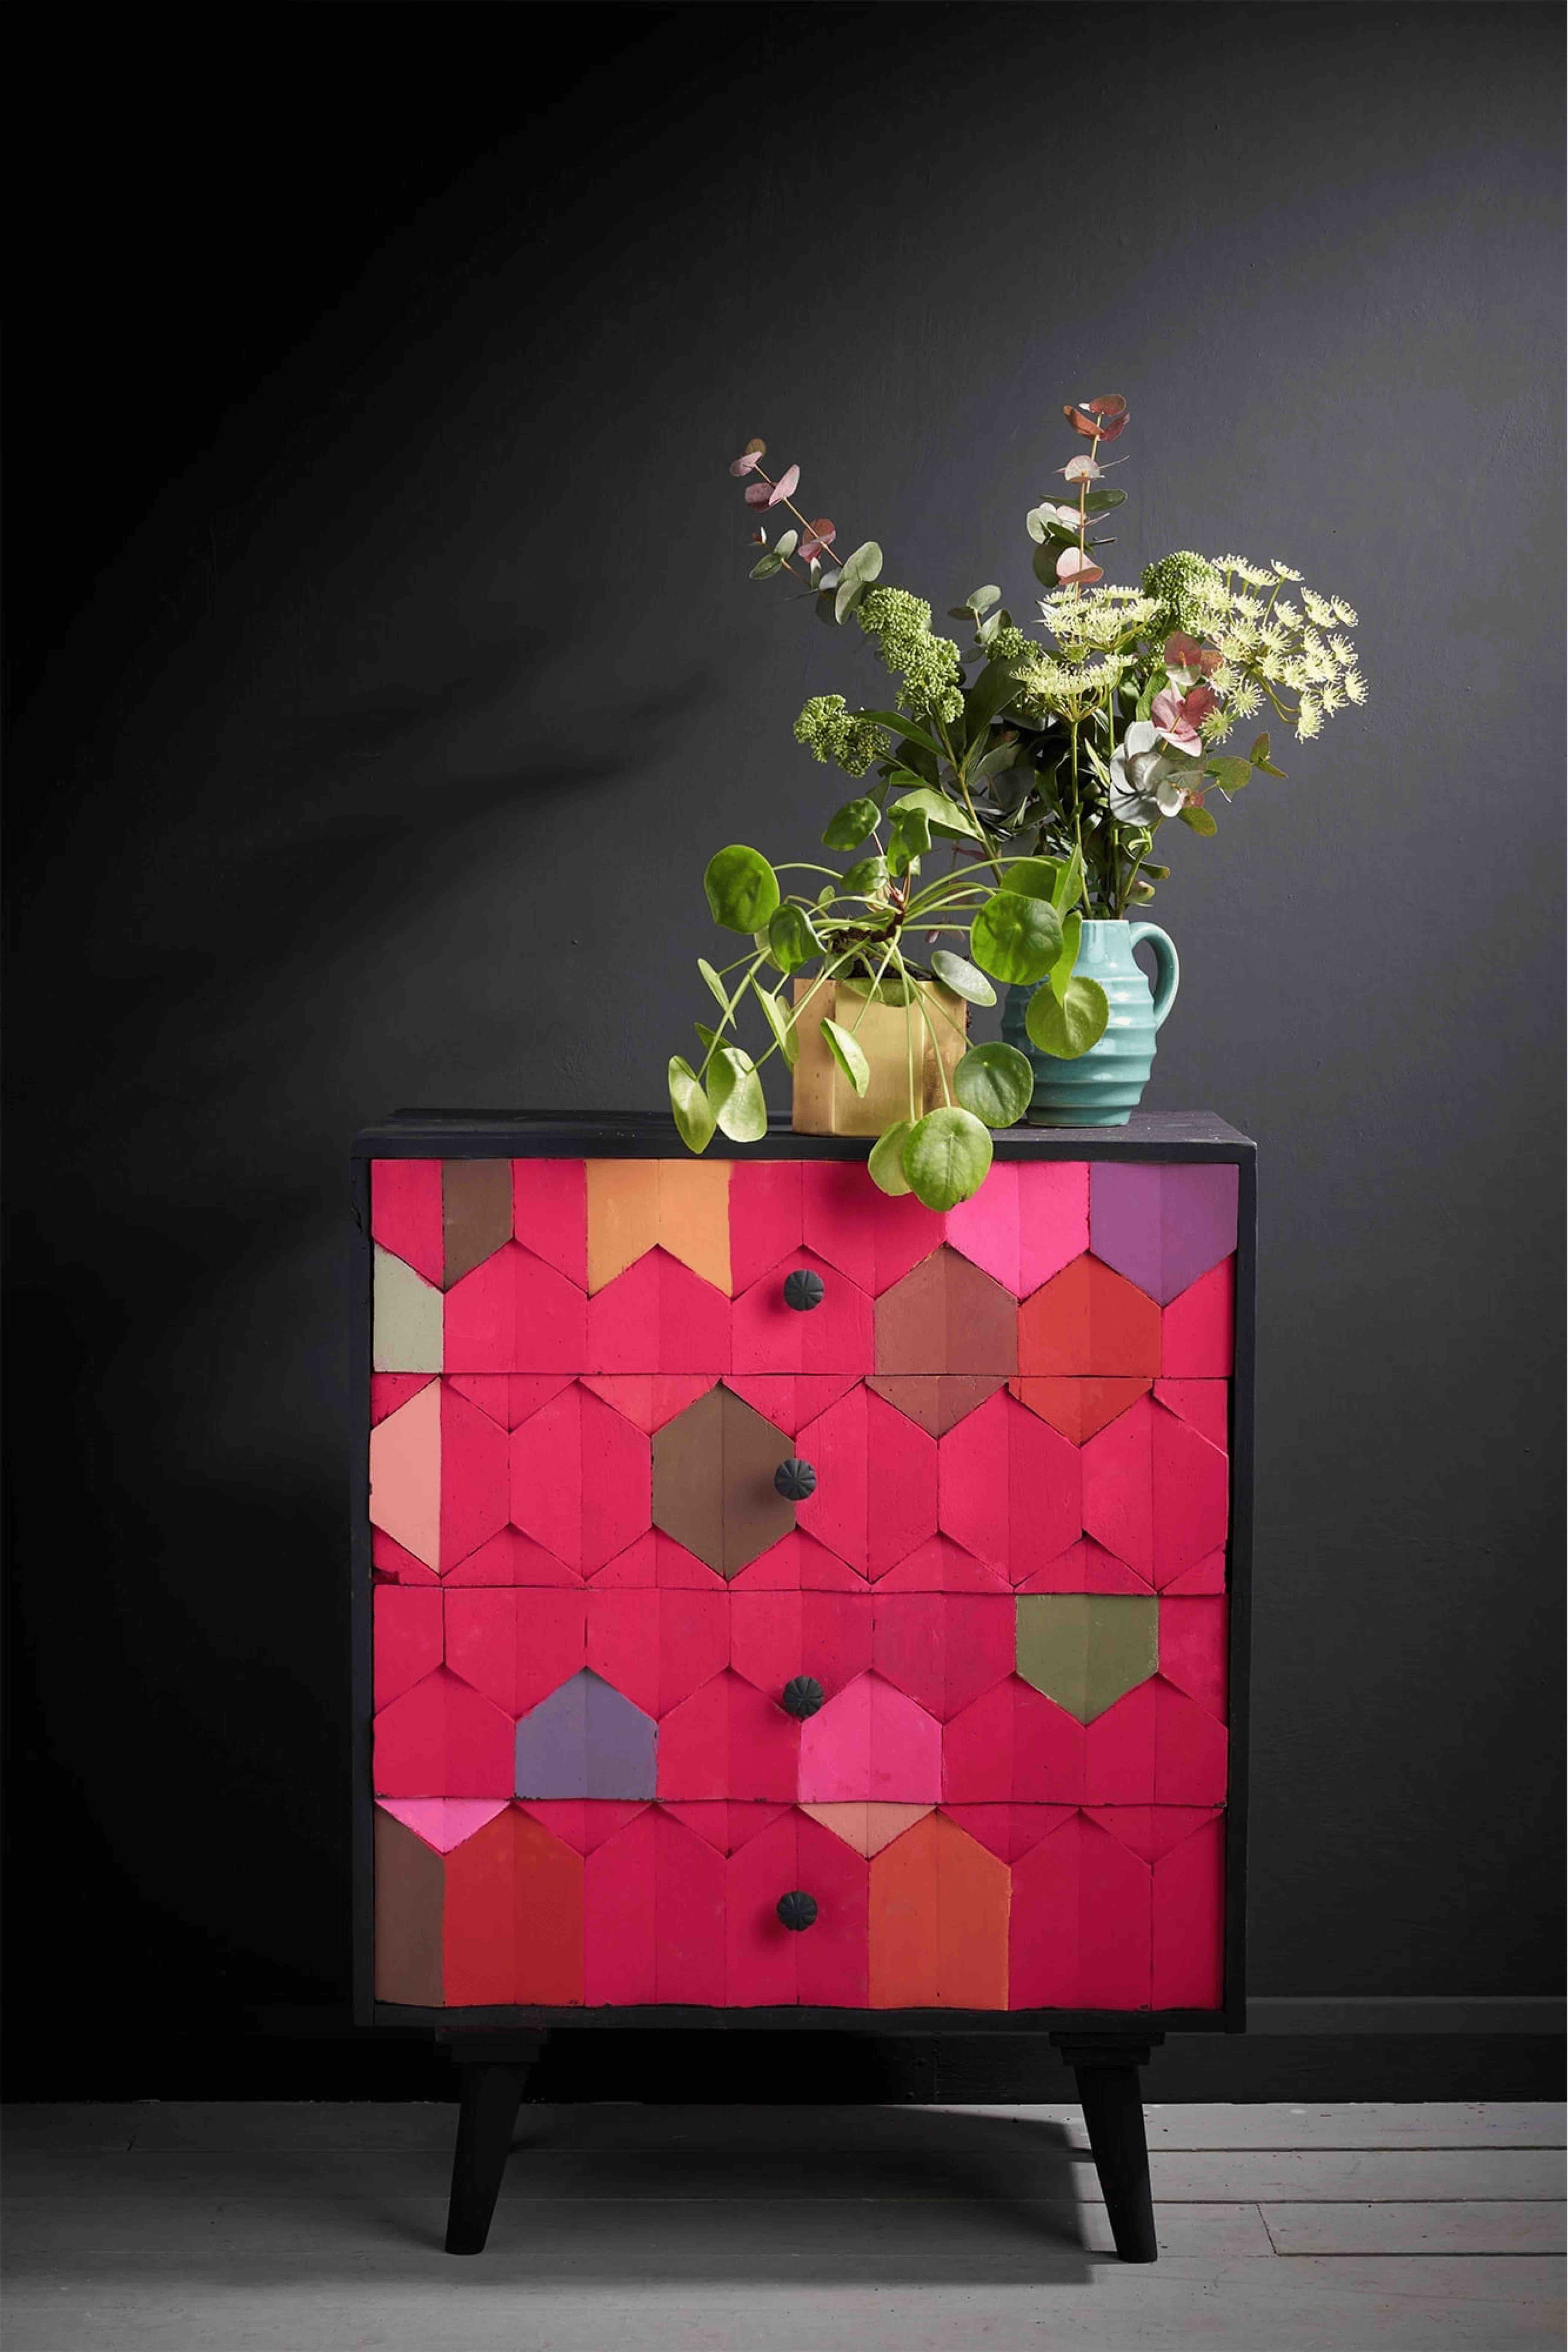
A touch of gold here, a hint of silver there – sometimes painted furniture just screams out for a little extra oomph. If your painted piece is looking a little plain or perhaps you have some beautiful carving work you’d like to bring out, then gilding is the technique for you. Gilding with loose leaf might feel a little daunting, so why not try gilding wax instead?
The lovely thing with gilding wax is it requires no specialist skills. You can use it on furniture, but why not try it on decorative items or on walls, too? You can create your own pattern on flat surfaces with masking tape or use a stencil instead. Choose a metallic to match your chosen Chalk Paint™ colour and then all you need to apply the wax is a lint-free cloth or a small brush.
Step by step guide to using gilding wax
- Use masking tape to mark off the area you would like to gild. You could do the same using a stencil, if you wish.
- Squeeze a little bit of Gilding Wax out onto a palette or MixMat.
- Use a small brush to start applying the Gilding Wax onto your painted and waxed furniture. Work in thin coats, adding layers of Gilding Wax to achieve the coverage you are after.
- Remove the masking tape or stencil when you’re done applying the Gilding Wax and leave the piece to dry overnight before polishing.
Once you’ve tried Gilding Wax, you’ll see how simple it can be. If you want to take it up a level, why not experiment with mixing and matching different metallics to create contrast. Perhaps highlighting raised details in a lighter metallic, for example. Remember that, with Gilding Wax, a little goes a long way! In every tube of Annie Sloan’s wax, there’s enough to cover a standard dining room chair. If you’re ready to get started, try to shop local by buying Gilding Wax from your nearest Annie Sloan Stockist.


