DIY CHALK PAINT™ CHRISTMAS BAUBLES
Nothing says ‘getting in the Christmas spirit’ quite like hand-painting your own Chalk Paint™ Christmas baubles! Keep reading for our step-by-step.
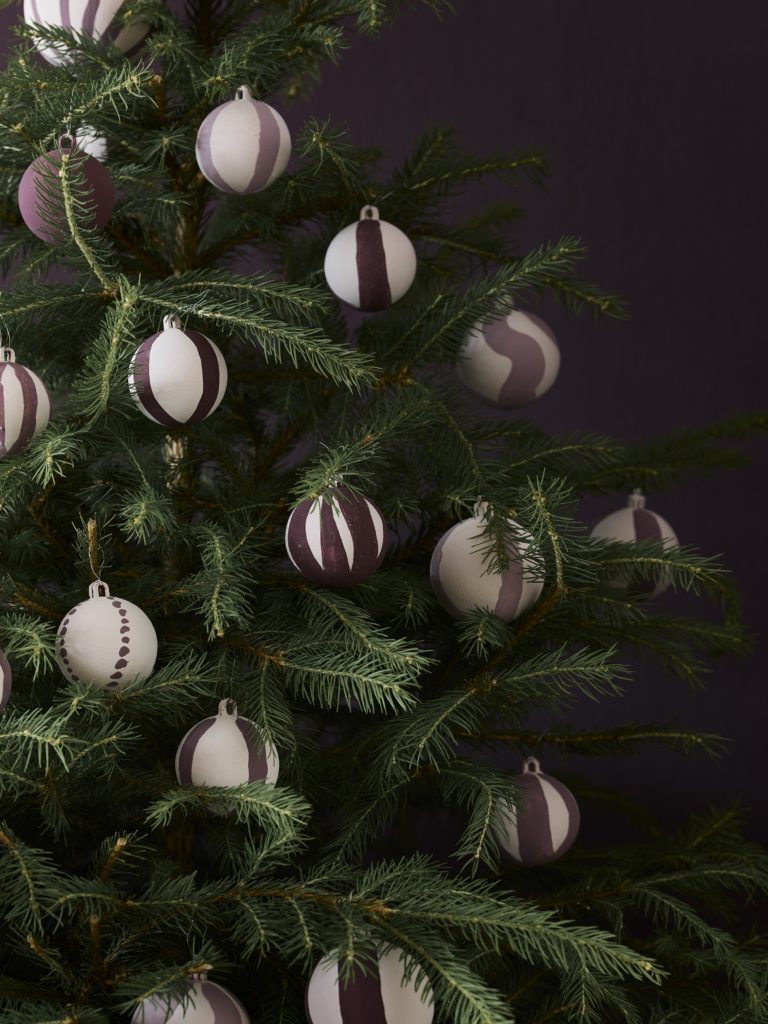
This project uses Antoinette, a custom purple Chalk Paint™ mix, and features a stripe design, but you could use any colours or patterns you like. Think stars, spots, or scallops. You could even choose a motif (let’s say stripes), and adapt it slightly for each bauble (maybe some are thicker, thinner, straight, or curved). It’s the perfect chance to get creative!
Browse our full range of Chalk Paint™ colours here, or keep scrolling to get started.
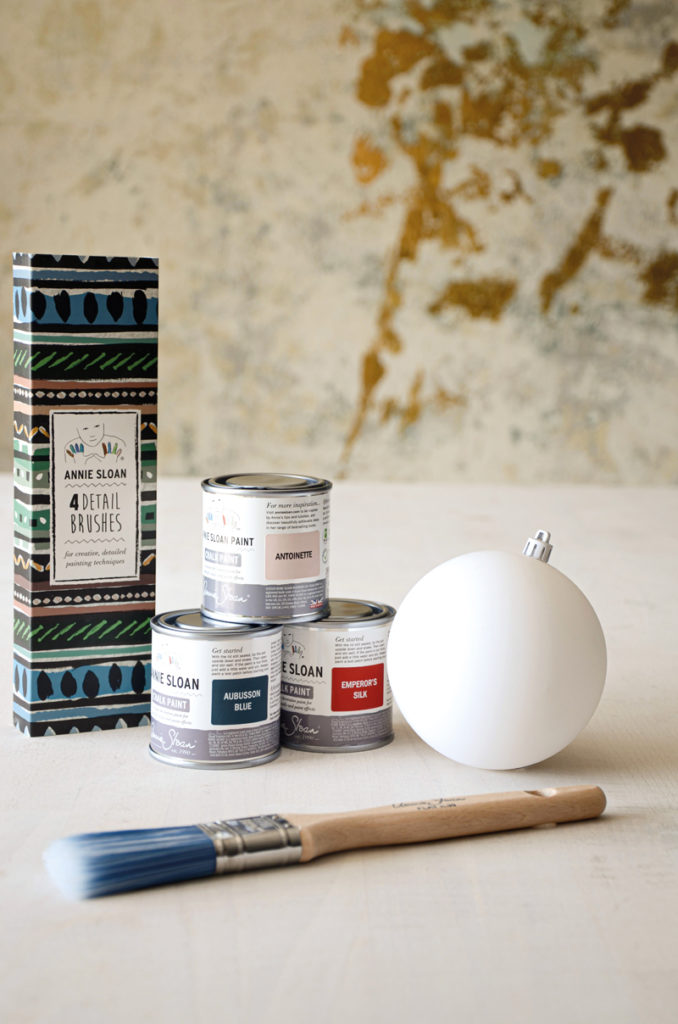
For this project, you’ll need:
- Baubles
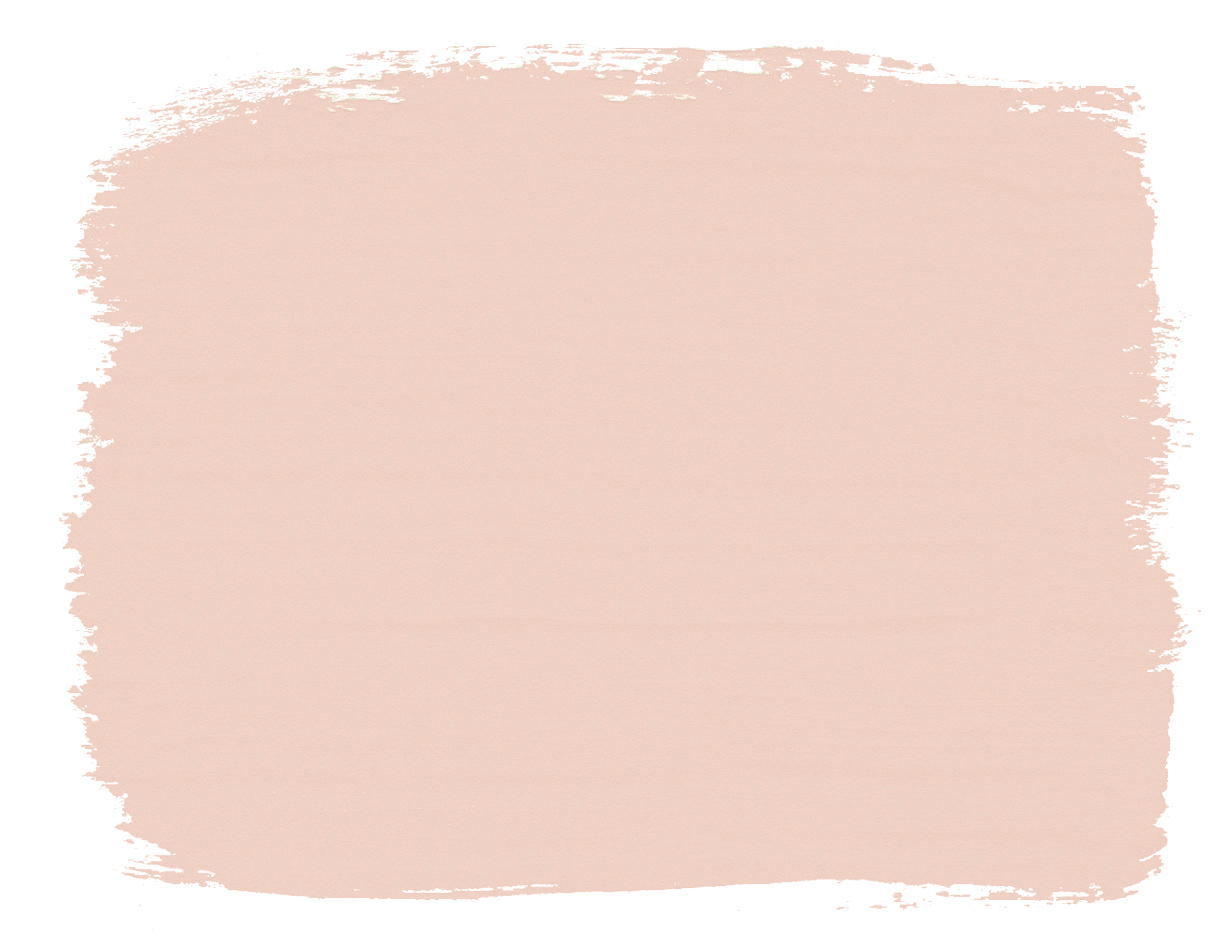
- Chalk Paint™ in Antoinette
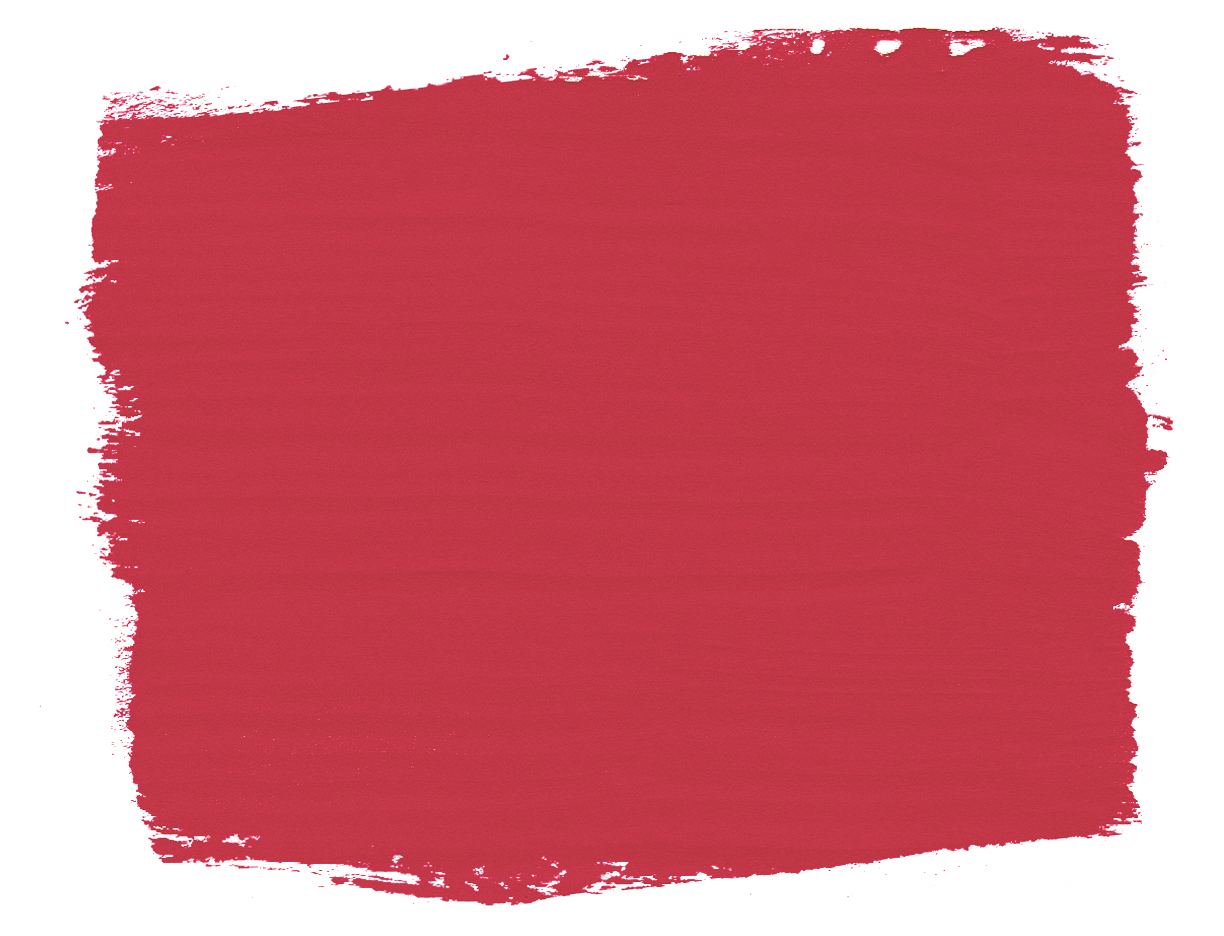
- Chalk Paint™ in Emperor’s Silk
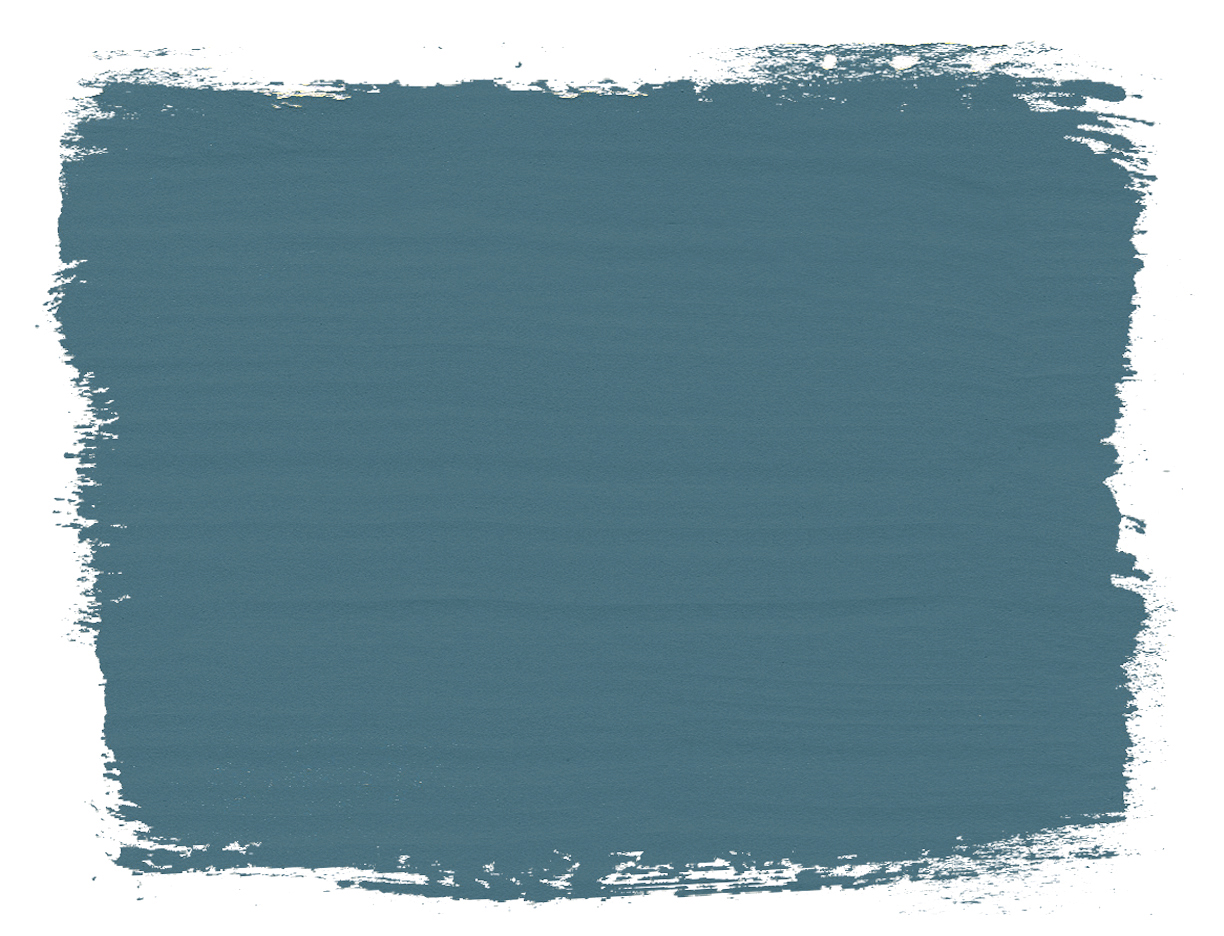
- Chalk Paint™ in Aubusson Blue
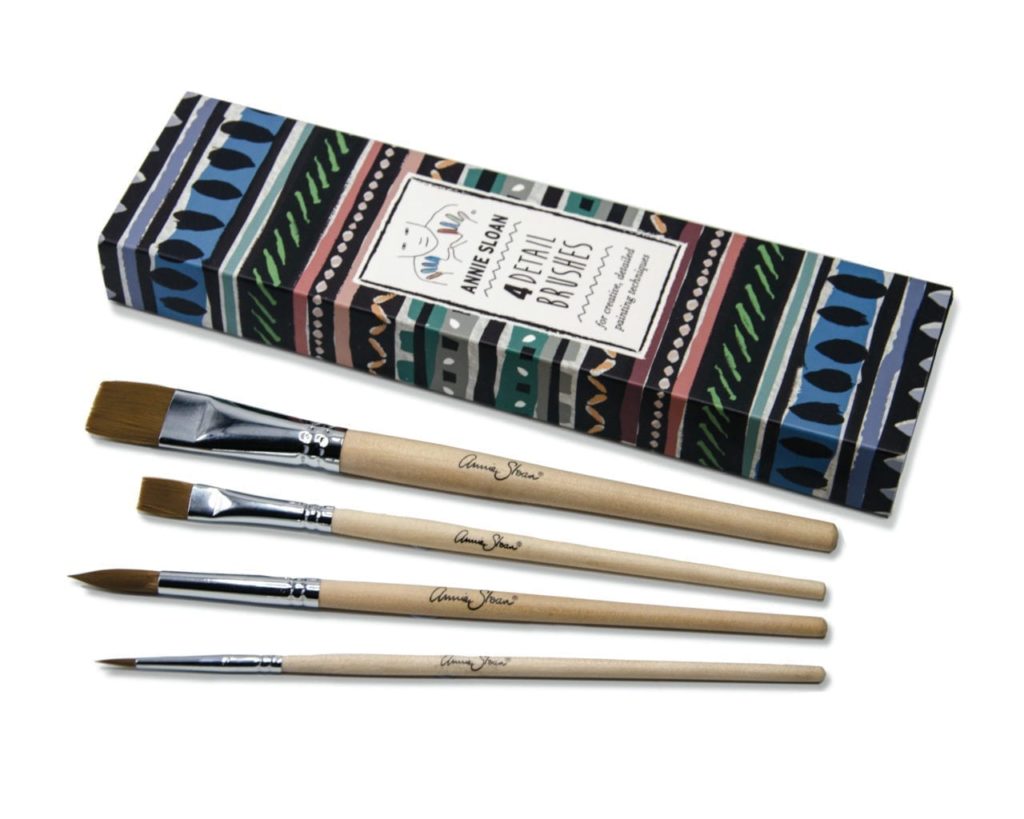
- Annie Sloan Detail Brushes
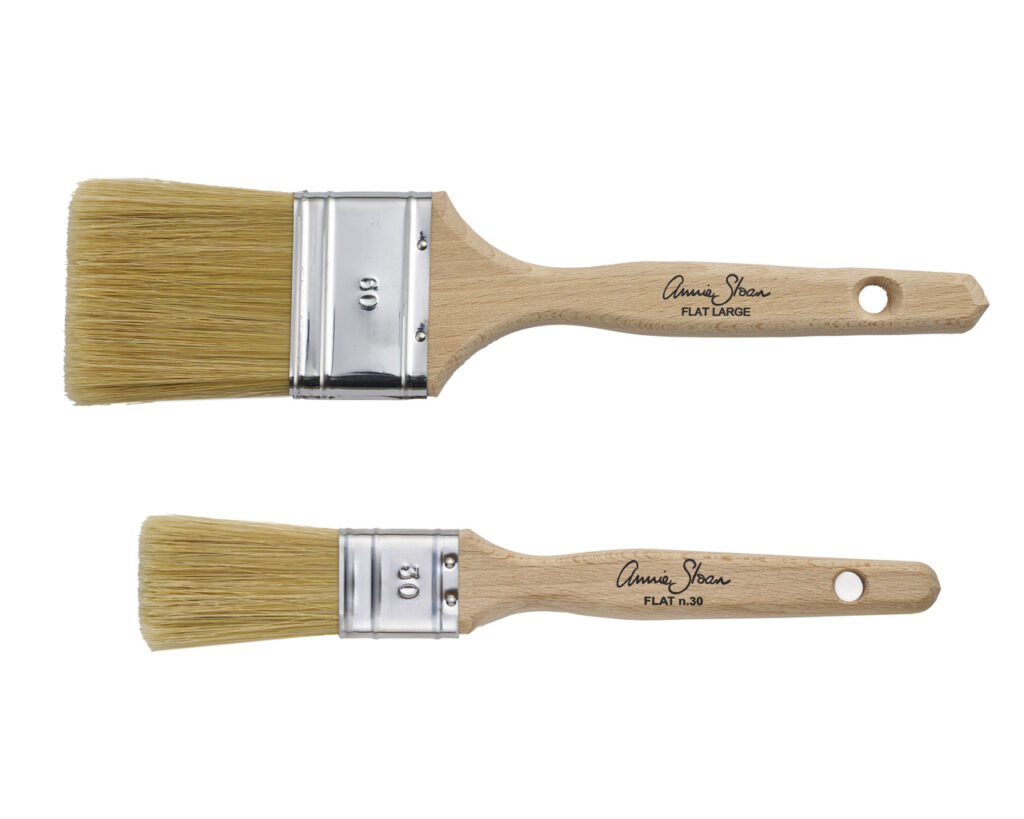
- Annie Sloan Small Flat Brush
- Clear Chalk Paint™ Wax
- Water
- Containers
Step 1: Apply Antoinette Chalk Paint™
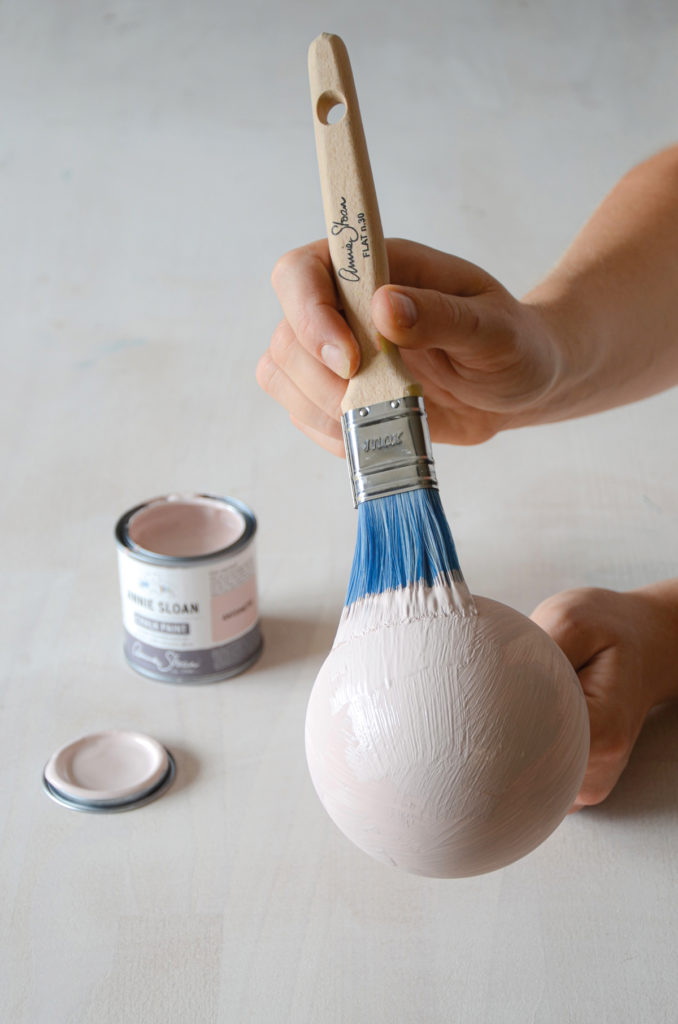
Start by painting each bauble (as many as you’d like!) in Antoinette Chalk Paint™ using your Annie Sloan Small Flat Brush. This may need two coats to achieve an even colour. Leave to dry. Try adding string to the top of your baubles before painting to make them easier to dry hanging.
Step 2: Mix Chalk Paint™ in Emperor’s Silk and Aubusson Blue
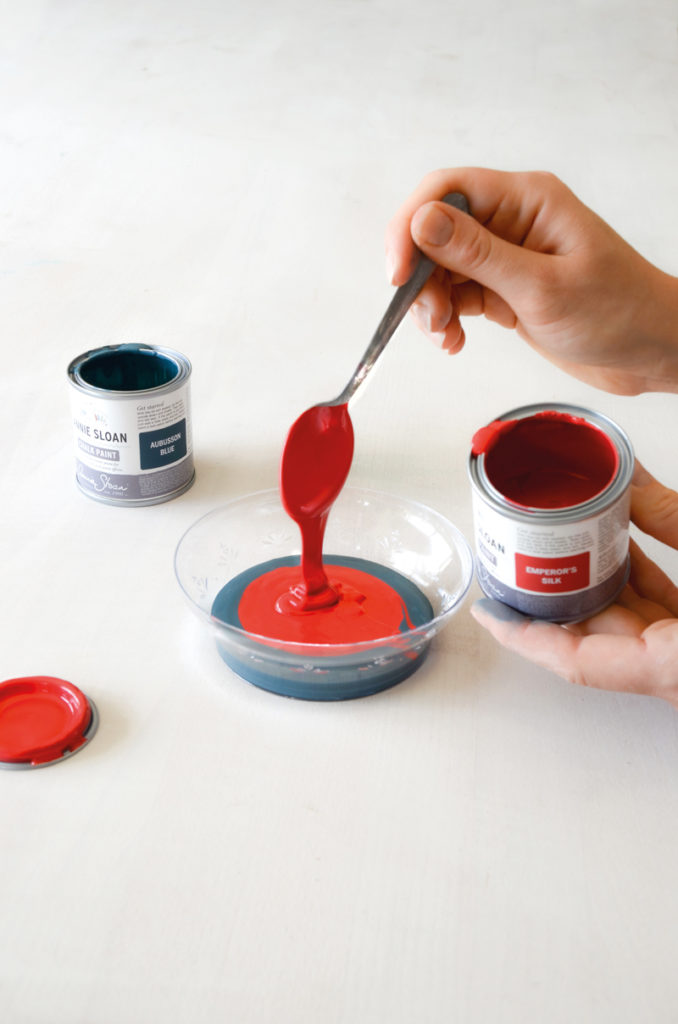
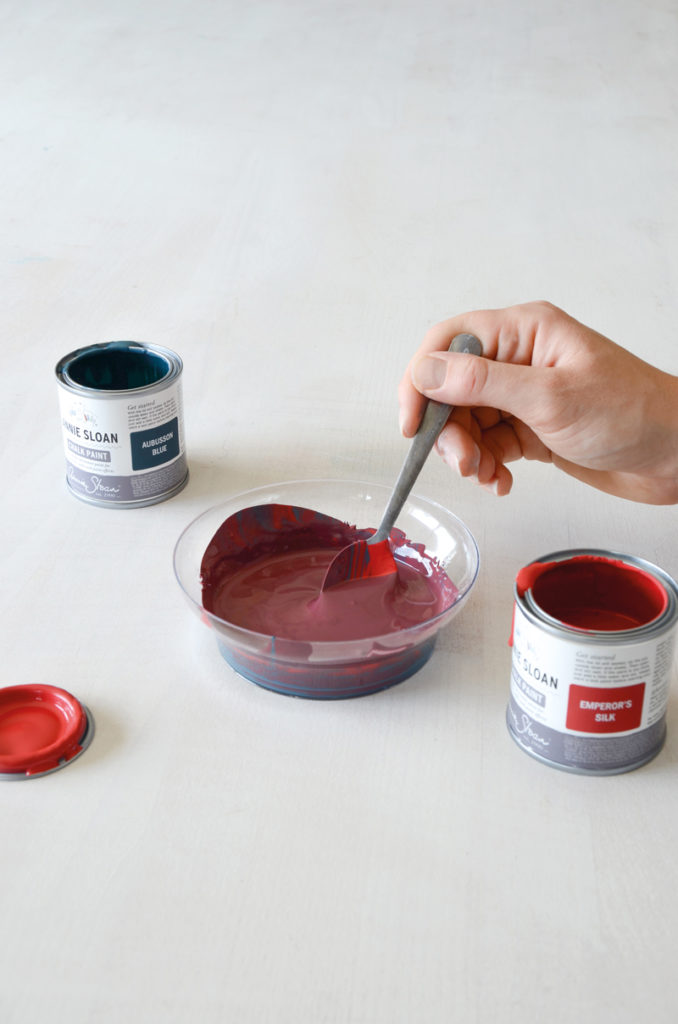
Next, in a small container, mix 1 part Emperor’s Silk Chalk Paint™ and 1 part Aubusson Blue Chalk Paint™ to create a deep, aubergine purple.
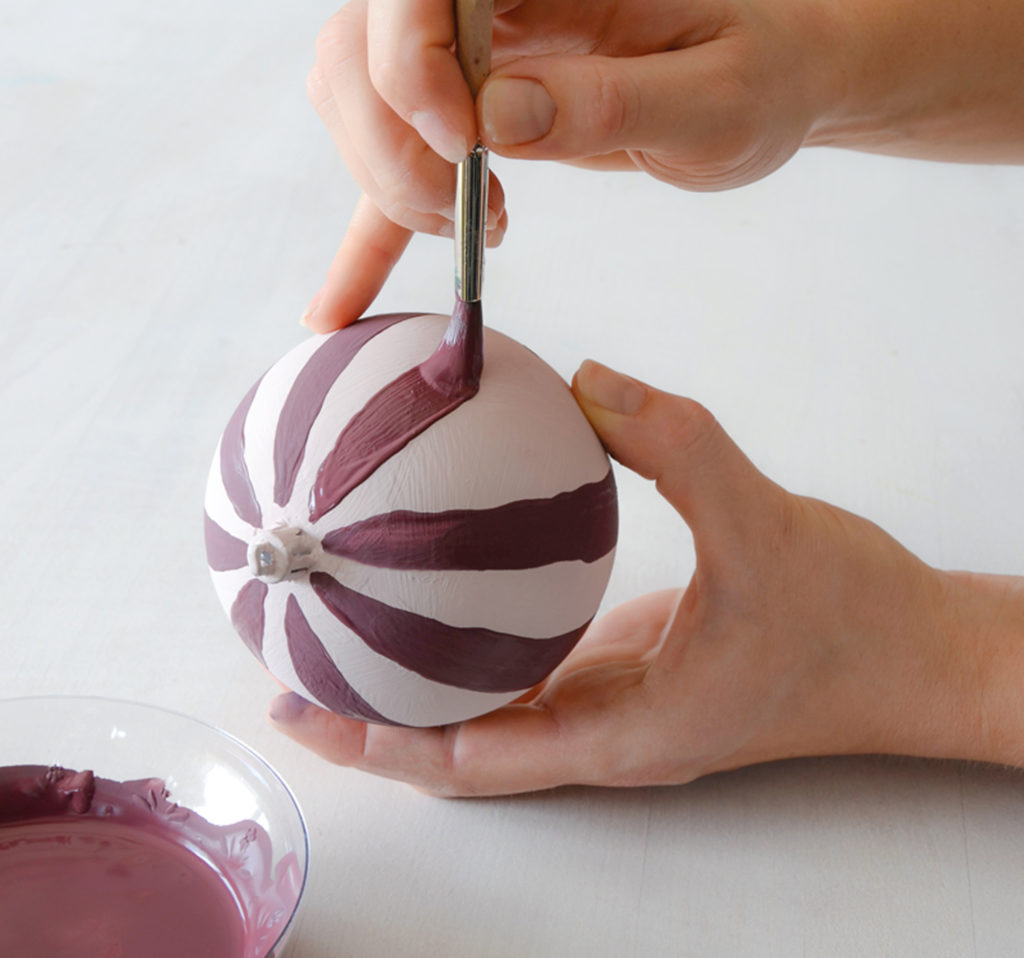
Step 3: Add Chalk Paint™ Detail
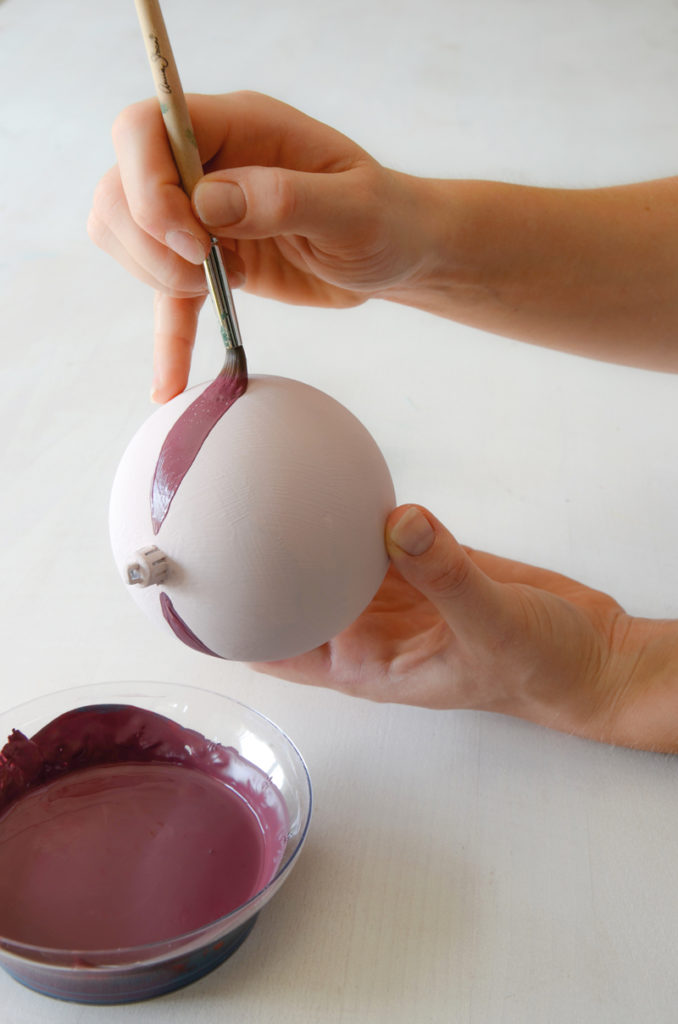
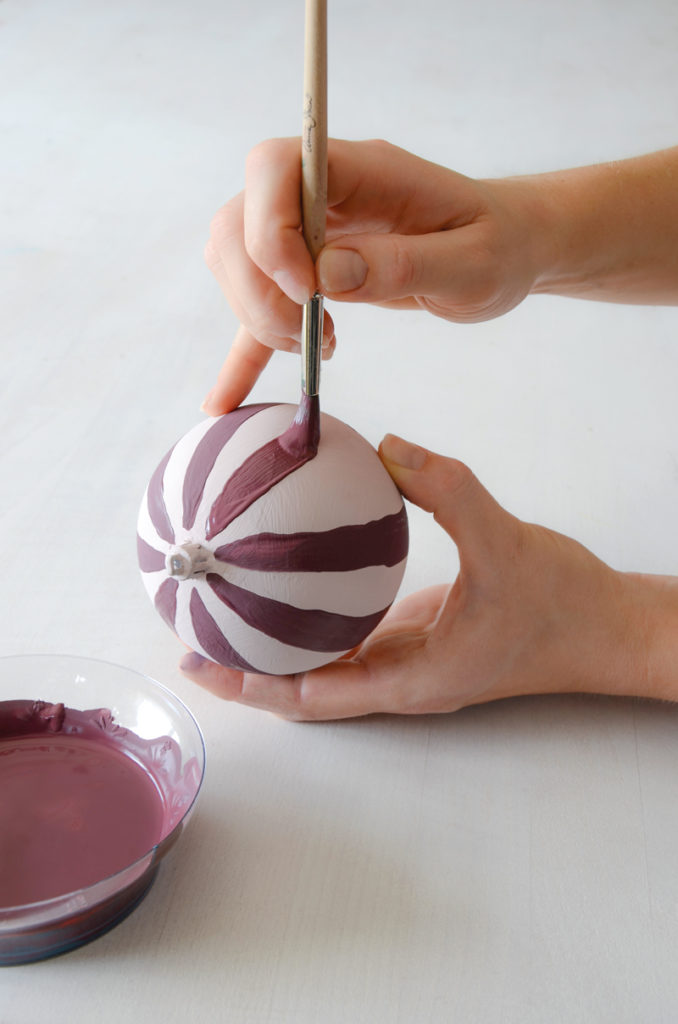
Then, using your Large Round Detail Brush, paint the purple mix in an even line from the top of the bauble to the base. Use your finger to steady your hand on the bauble to create a neat line but don’t try and be too perfect. It’s a painterly, handmade effect you’re trying to achieve! Repeat to cover the bauble in stripes.
Our top tip at this stage is to add a little bit of water to your purple mix before painting. This gives the paint a smooth texture and makes the lines sharper!
Step 4: Apply Chalk Paint™ Wax
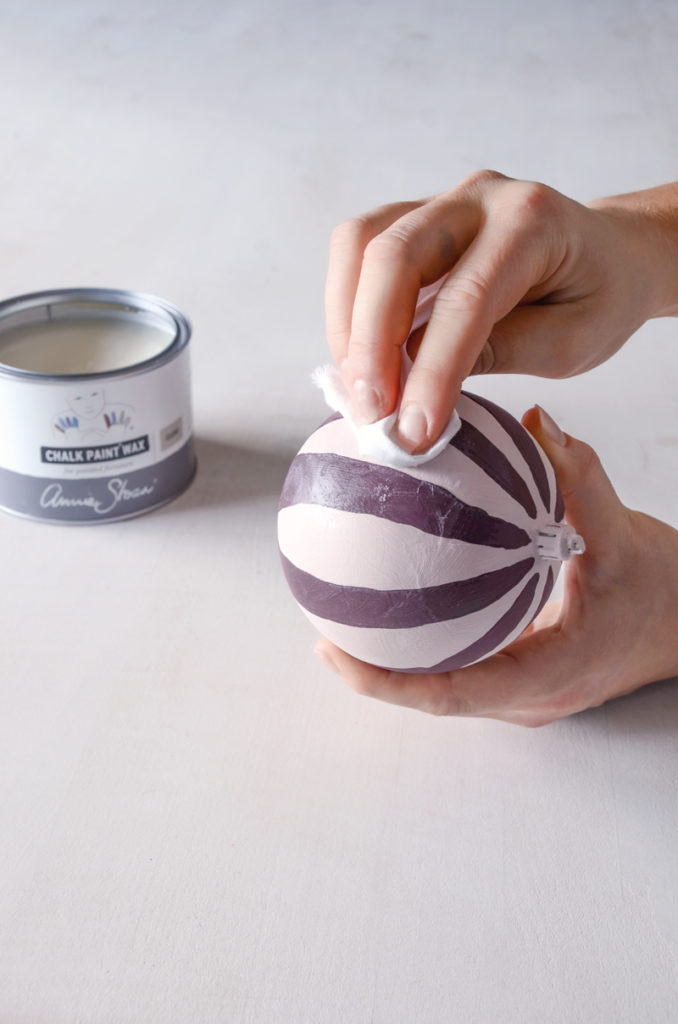
Lastly, leave to dry, and then add Clear Chalk Paint™ Wax all over to deepen the colour, seal in your design, and prevent smudging. This ensures your baubles last for many Christmases to come.
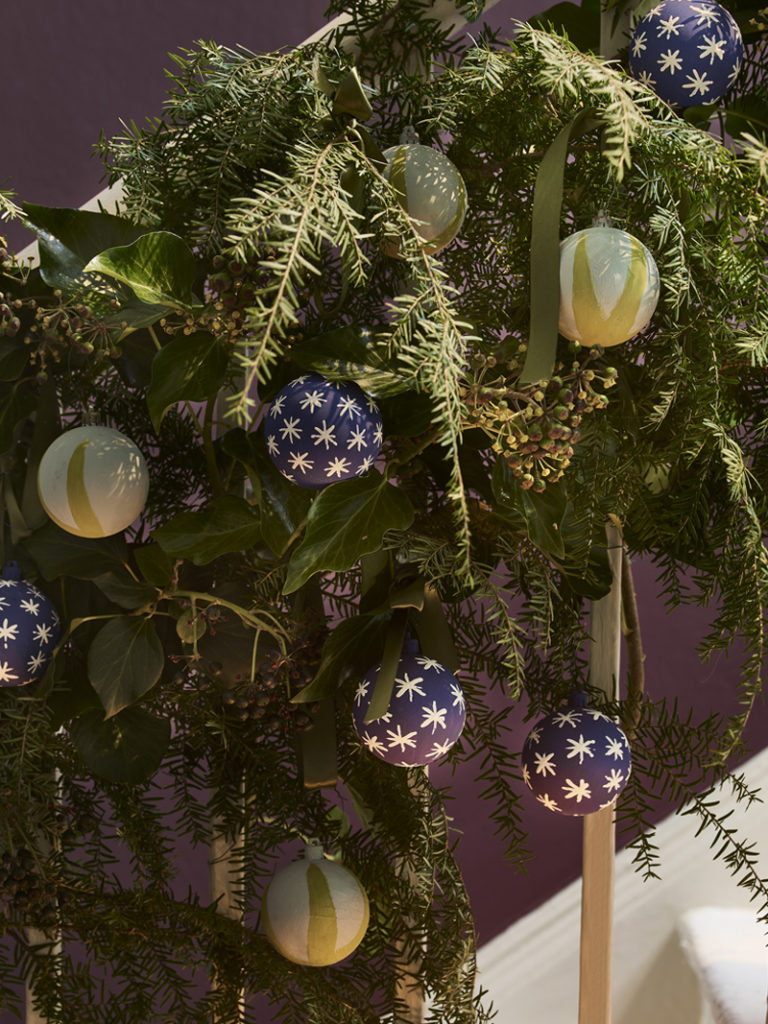
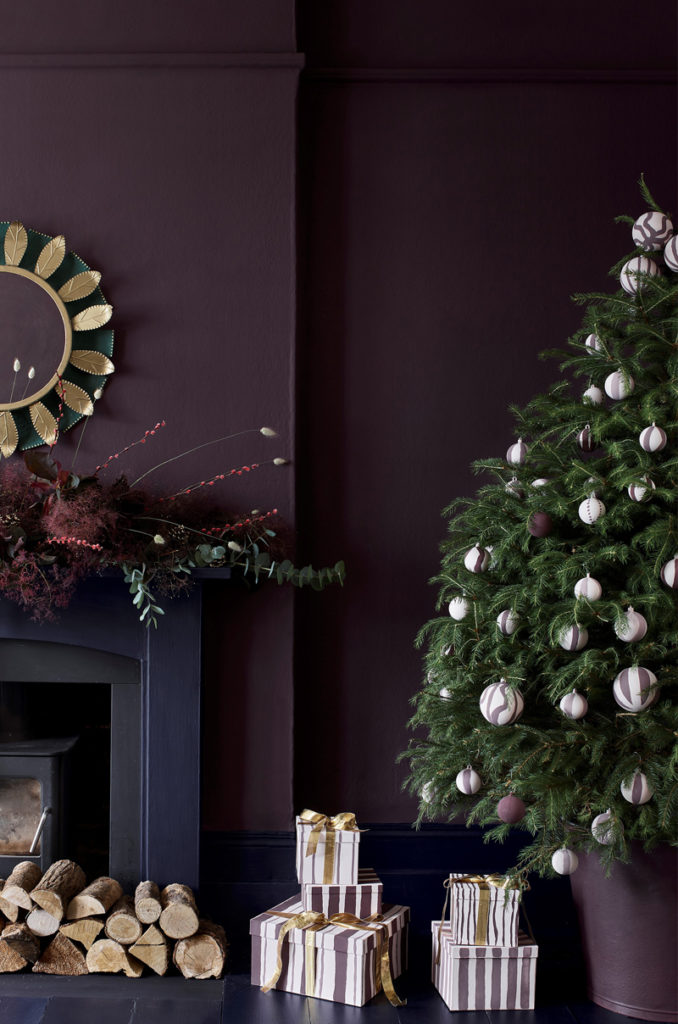
Repeat steps 1-4 for each of your baubles. Et voilà, your Chalk Paint™ Christmas baubles are complete and ready for displaying!
Browse the Featured Products section for all the products used here. Or, if you’re looking for more DIY Christmas inspiration, head over to @anniesloanhome on Instagram!
Featured Products
Related Inspiration
Related Inspiration

Use of cookies
AnnieSloan.com uses cookies to improve your experience when you browse the site.
