Techniques

How to: Paint a Kitchen Table with Chalk Paint™

Hello, I’m Annie Sloan and this is my studio. I’m going to paint this kitchen table. It’s not a great table but it’s actually really serviceable and it was cheap so we love it. So this is going to be a kitchen table where children are eating. We’re going to be… it’s messy! Homework, just everything really. Wine, hot things…

So what we’re going to do… This is pine… I’m going to paint it with Original: this is my creamy slightly creamy, ochre-y like colour. It’s beautiful. I love this colour. I’m going to use a brush… you don’t have to. I’m a brusher. I love to brush! Some people would prefer to use that [a roller], but for me I want a little bit of texture, a little bit of… I don’t know… what is it? It’s some sort of character, I suppose. So I would paint every which way.

This will need two coats. This is actually… you’d think this isn’t a very strong colour, but these piney, orangey yellows are really, really strong and they keep coming through. So I would do two coats. I do every which way. I’m a fast painter! I’m not doing, you know… some people are like little tiny brush strokes. No, that’s not for me. And it takes forever. Don’t worry about it!

If you do want a smooth finish, you could brush first or you could do it with a roller, as I’ve said. Then you might want to end up with sanding, if you want it really smooth. I don’t know why you would because this is quite a rustic looking table for me and I would want to have a little bit of character in it.

So I’m doing right around. I just want to be careful that I get paint underneath here. If I do get paint somewhere I don’t want, just take a wipe and wipe it off, it comes off really easily. So I’m going to do two coats, this will be the first coat, and this will be dry pretty quickly, and then I will do my second coat.

So here’s my kitchen table, it’s going to be used for eating, cutting, chopping… all sorts of liquids on here… so I wanted to be easily wipeable and cleanable. Wax would be fine but actually we’re going to Lacquer it because it’s going to make it extra strong.

I’ve done two coats on here so it’s all looking really beautiful. I’m going to use this Lacquer. I’ve already done two little tests here because I wasn’t sure. I’ve just got to check there’s nothing bleeding through. So sometimes you get the stain from the wood or the stain from a varnish that’s underneath it. If a stain does come through, use a coat of shellac to seal the stain in, re-paint with Chalk Paint™ once dry, and Lacquer finally over the top.

So a stir is always good. We’re ready to go! And glasses on… and I think you’ve got to do it in a way which means that you know where you’ve gone. So I will go every which way and I’m going to go in strips, so you don’t miss anything out.

I’m going every which way and I always end up with a feathering approach to it. So that’s all done. Now the next one. I’ll do it in strips all the way down. So smoothing it all out, so where it’s been heavier – making certain it’s spread out and I will do the edges to finish off. I’m using Matt Lacquer here, I could have used Gloss, nice and shiny, but I didn’t think that something which is like a rustic table should be glossy, doesn’t seem right to me, should be matt.

Now finally I’m now going to do all around in the edges and there will be a second coat so it’s extra smooth and lovely. So there you are; a beautiful table, we just need a second coat which I would recommend… not absolutely necessary, but I think two would be good. And then that’s it!

You can use it right away but be just a bit gentle for a couple of weeks because it needs to cure. It takes two weeks to cure really well. And then after that wash and clean is normal, just don’t use anything really harsh like bleach. And after that, that’s it! Takes whatever life throws at it – kids and everything – and there you have a really beautiful table.

Learn how to paint a kitchen table so that it can survive years of mealtimes, hot plates, homework and whatever else your family throws at it!

When painting a kitchen table, you need to make sure your paintwork can withstand the wear and tear of daily life. Whether your dining table is going to double up as a desk for homework or working from home, it needs to be hardwearing. After taking the time to paint it, you want to take the necessary steps to make it last.

To create a durable finish, you need a varnish that is strong enough to seal and protect your paintwork. That’s where Chalk Paint™ Lacquer comes it. This water-based varnish is robust enough to hold up against daily use, whether you choose a Matt or Gloss finish. It also goes on perfectly clear and dries quickly without yellowing over time.

Step by step to creating a lasting finish for kitchen tables with Chalk Paint™

  1. Wipe off any dust and dirt from your table top with a damp cloth.
  2. Perform a patch test before using Chalk Paint™ and Lacquer. The ingredients in Lacquer can draw tannins or stains in the wood, leaving unsightly marks. If you notice any such “bleed-through”, don’t be alarmed! Apply a stain blocker, like shellac, over the entire table and allow to dry before proceeding.
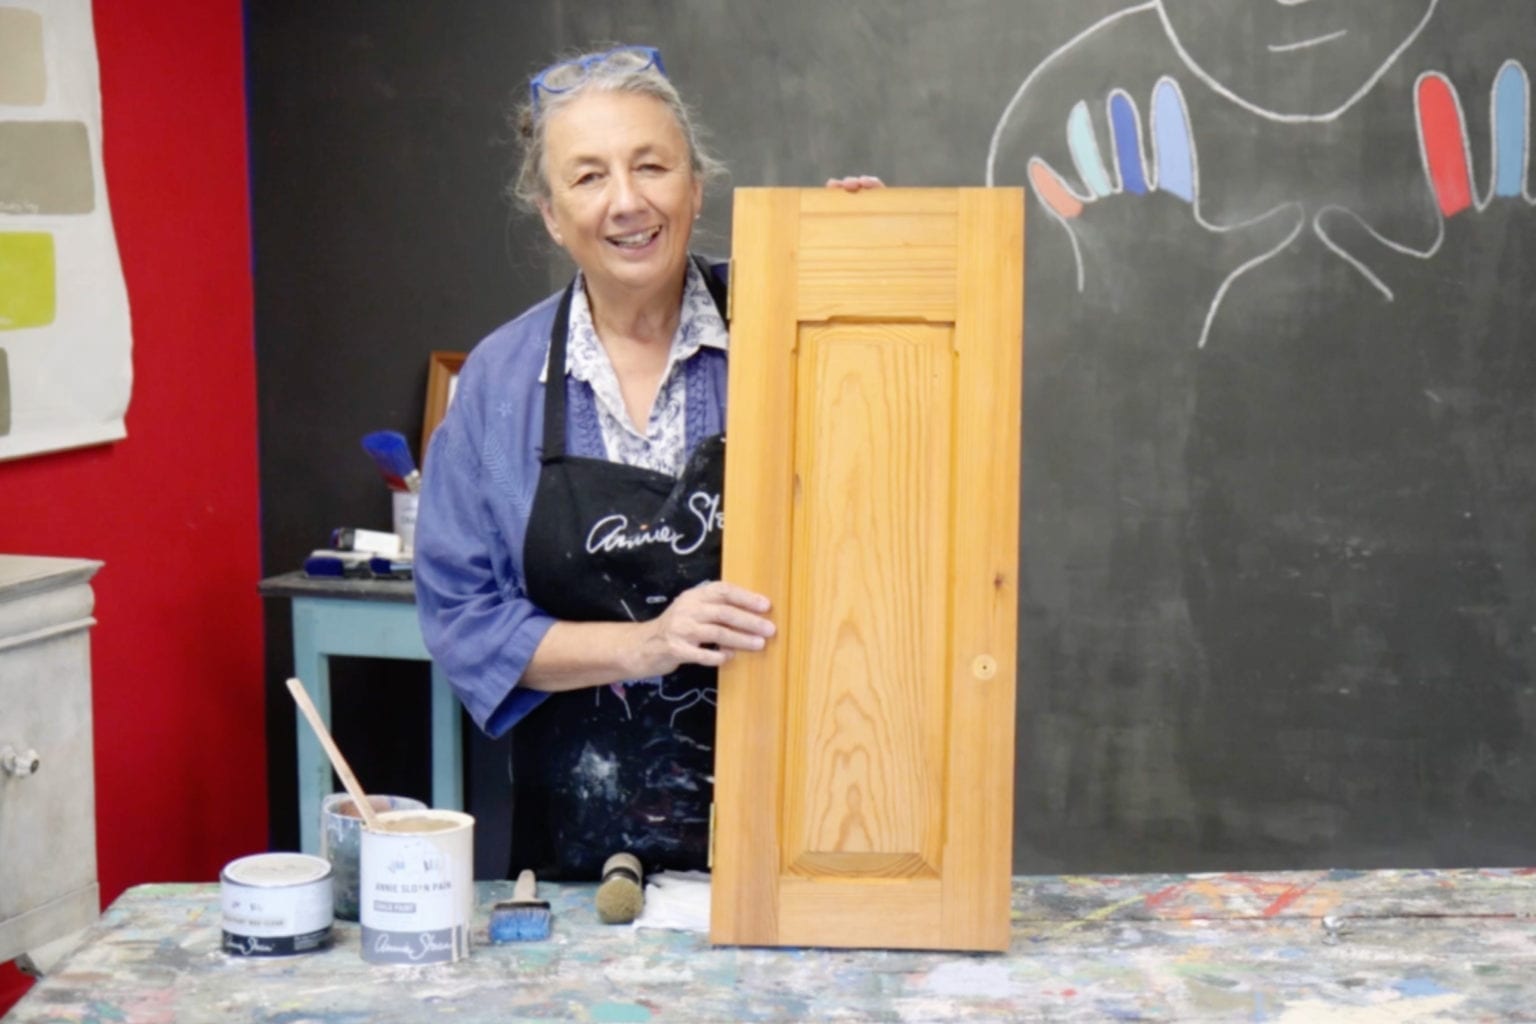
  3. Paint your table with Chalk Paint™. Be aware that pine often has a yellow-orange tint so you may need to apply a second coat of paint, particularly if you’re using a paint colour that is lighter than the wood.
  4. *Optional*: If you want an ultra-smooth finish: dilute Chalk Paint™ slightly with water. Use a roller and apply the paint in thin, even layers. Sand gently between coats.
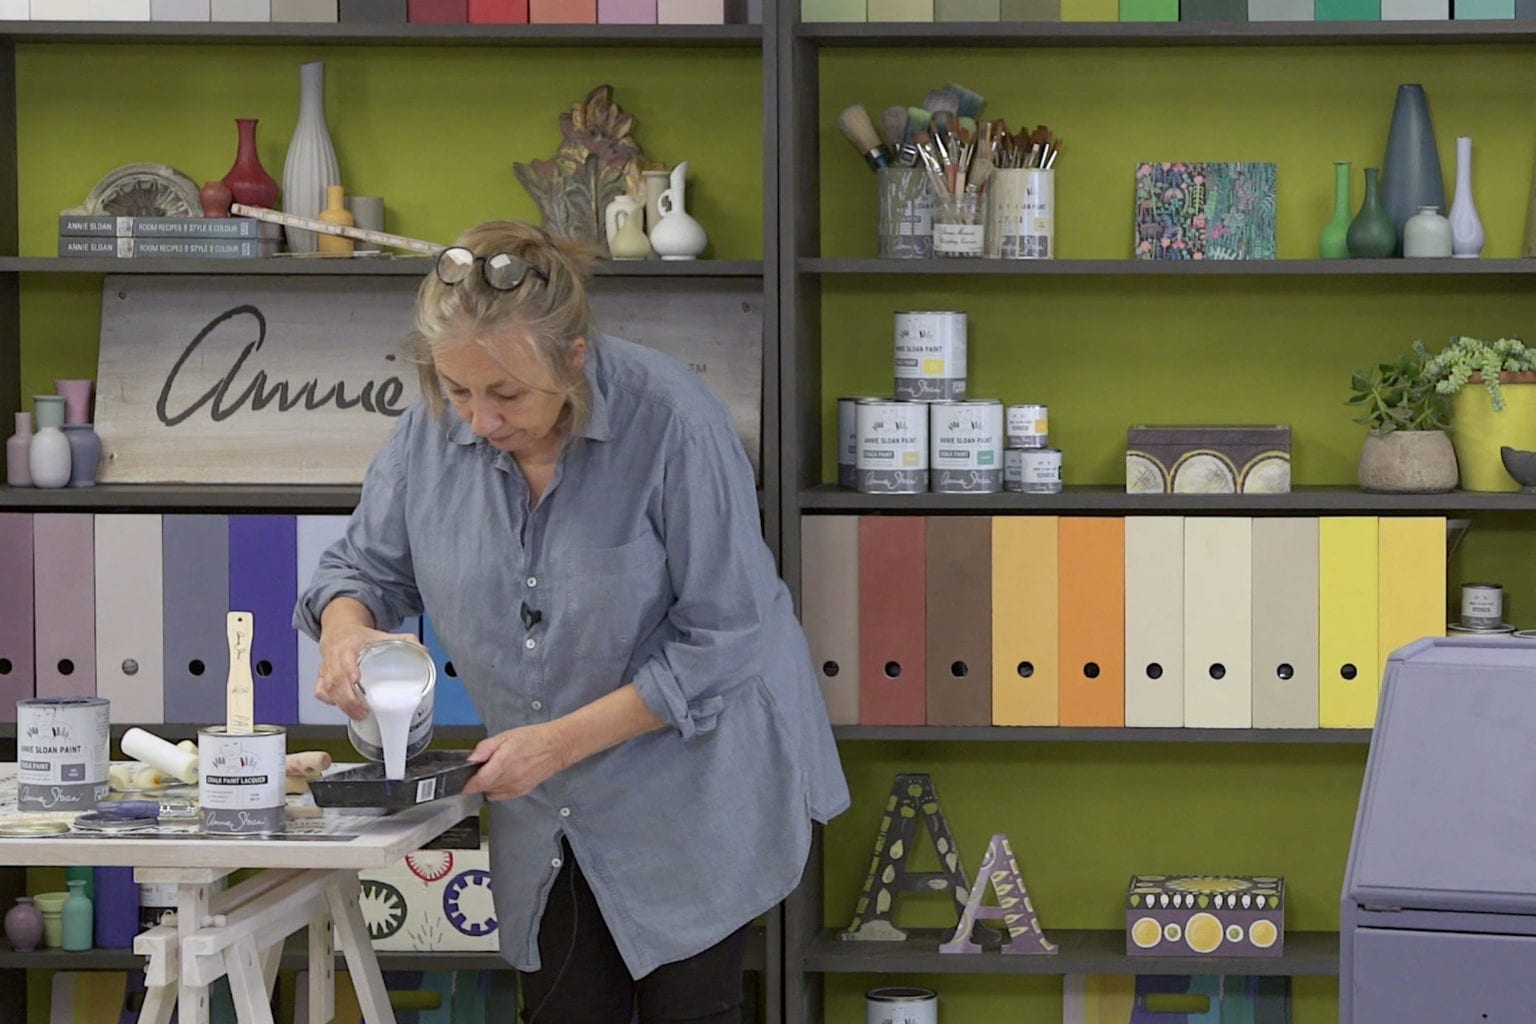
  5. Ensure the paint is completely dry before applying Lacquer. Stir Chalk Paint™ Lacquer thoroughly before use.
  6. Apply Lacquer using a Flat Brush or roller. When applying Lacquer, work methodically to make sure the whole surface is covered. Any gaps in the finish will compromise the protection of the whole table.
  7. Allow to dry for 1-2 hours and then apply a second coat, using the same methodical approach.
  8. Once dry, the table will be ready to use but the Lacquer needs two weeks to harden to maximum strength, so be gentle with it at first.

With this tutorial, you’re ready to paint and varnish your kitchen table for a finish that will last and last. The whole technique can be done with minimal effort and in very little time. To extend the life of your revamped table, wipe away spills and clean marks with soapy water, but avoid harsh chemicals. If you do notice the varnish begin to wear over time, simply reapply. And when you’re ready for a makeover, you can always paint over it again with Chalk Paint™!

When you’re ready to get started, remember to support local by purchasing all the materials you need from your closest Annie Sloan Stockist. For more handy tips, check out our Chalk Paint™ Lacquer Fact Sheet.

Related Videos

Shop

Browse

Chalk Paint

About
Shop