Techniques

How to: Use Chalk Paint™ Lacquer – The Basics

Hello, I’m Annie Sloan and welcome to my studio! I’m going to talk about lacquer. So you know I love waxes – they’re fantastic – but I love lacquers too. So I’ve got two lacquers here: one is Matt, and this one is Gloss. They’re water-based and you would use them in different ways.

So why use Lacquers? One is that it’s really, really strong so you could use it on something like a kitchen, kitchen table, kitchen cabinets and it’s wipeable and all the rest of it, you could use gloss or matt it wouldn’t matter. Another great feature of this Lacquer is that it has UV protection so that means you can use it outside and, on furniture what-have-you, and the colours won’t fade.

So how to apply the Lacquer. You can use these brushes here, or you can use a roller which I really, really love. First thing you would do is stir it – stirring is really really important because a lot of the goodies go down to the bottom. So you must do that first of all. Then I’m going to put some into here. So this is the Gloss and I’m going to pour some into here [pours lacquer into paint tray].

[Charges roller with lacquer] I’m just going to squash it a little bit so it’s not too fat with varnish.

[Starts applying lacquer] I’m going to do that – and I’ll probably do every which way. It will be best to do two layers, I’m doing my left hand here, because if you’re not careful you end up with some lines. So just roll gently over those.

Now I’m just gonna show you how you might take a brush, and so edges here, I won’t open it up, but you can do edges like that. This is a nice soft brush which doesn’t have lots of bristly stuff on it, so it will help to make it smooth.

And that’s it really! So I go every which way and then finish off as I always do using this, and sort of feathering it. So you’re doing that. Not… not that. That’s what I mean. The difference between that, which will probably give you brush marks, and that sort of feathering look.

The big thing with varnishes and lacquers is that you don’t want to get any drips. So you’ve got to always be looking around for any white bits… so I could see some white bits there. That’s no good. Get rid of them. And then finish off.

So I’ve just been doing this bit and now I can touch this and it’s almost dry. It’s just a little bit… but it’s all touch dry completely.

Although Chalk Paint™ Lacquer can feel touch dry within hours, it will take up to 2 weeks to reach its full hardness. Keep your furniture relatively protected until then. So this isn’t about waiting hours, and hours, and hours. I might wait a little bit longer and I’ll do a second coat. And the second coat will just be exactly as I did the first coat and… yep, just going over again!

Another reason you’d use lacquers is it’s a good style look. So something mid-century modern… something very modern you want something very slick, then I would use the Gloss one and that would be absolutely fantastic.

So now it’s going to be the Matt Lacquer. Why would I use Matt? Well, you can do it just because you like matt. Lots of people don’t like that real shine on anything. So certain colours I think just suit it. I don’t… whites seem to be really lovely because they’re very absorbent. It’s purely choice. I just want to show you the difference and how it looks. So I better do exactly the same as I did before so you can compare like with like.

So there you have it. Whether you go with a Matt or Gloss finish, lacquering just helps extend the life of your furniture and the Chalk Paint™ finish. So have a go and let us know what you create.

Learn how to apply Chalk Paint® Lacquer with Annie Sloan

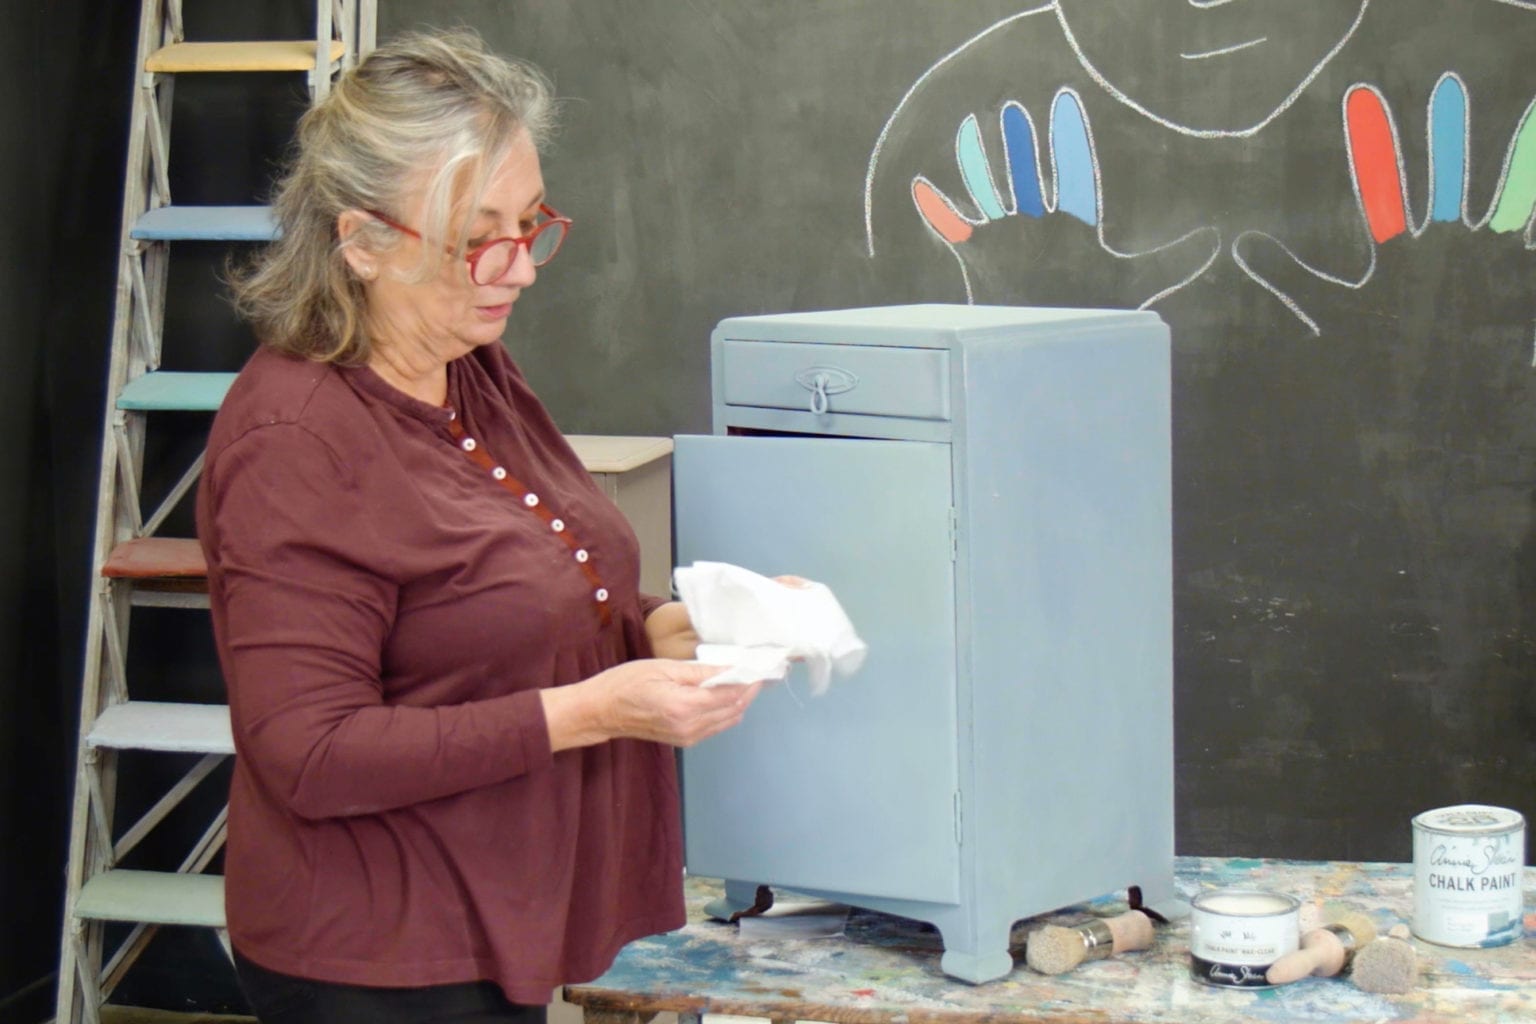
When you’ve finished painting something, it’s important to think about how you’ll protect your finish. Chalk Paint™ has great sticking power and can be applied to most surfaces, but it needs to be protection. In most cases, Chalk Paint™ Wax will do. It is strong enough to withstand general use and can be cleaned gently with a damp cloth. But if you’ve painted something in a high traffic area or for outdoor use, you should think about using a varnish instead.

Chalk Paint™ Lacquer is a water-based polyacrylic varnish. You can apply it directly over Chalk Paint™ for a hard-wearing finish on pieces like dining room tables, kitchen cabinets, floors and skirting boards. With built-in UV protection, it’s also perfect for outdoor furniture. It goes on perfectly clear and dries quickly without yellowing over time. For a matt finish, choose Matt Lacquer. Alternatively, for a higher shine and an even stronger finish, choose Gloss.

Chalk Paint™ Lacquer can be applied with either a Sponge Roller or a brush, the choice is up to you. Either way, be sure to mix the Lacquer thoroughly before starting.

How to Apply Chalk Paint™ Lacquer with a Sponge Roller

  1. Mix the Lacquer thoroughly and decant some Lacquer into a roller tray.
  2. Load the roller with the Lacquer. Squash the roller down to remove excess Lacquer – too much Lacquer can give a slightly opaque, whitened look.
  3. Roll the Lacquer onto the piece of furniture, moving in every direction and making sure every part is covered in the Lacquer.
  4. Finish the edges off with a small brush, making sure not to leave any drips visible.
  5. It’s crucial to not overwork Lacquer as this can give an uneven finish.
  6. Apply a second coat as soon as the first coat is dry (about one-two hours depending on the climate).

How to Apply Chalk Paint™ Lacquer with a Brush

  1. Mix the Lacquer thoroughly and either decant some into a tray or apply straight from the tin.
  2. Brush the Lacquer on lightly, moving the brush in every direction to make sure every part of your piece is covered.
  3. Once you’ve applied a full coat of Lacquer, create a smooth finish by feathering the wet Lacquer with a flat brush. This is done by holding the brush at a 90° angle to the surface and very lightly brushing up and down. This will remove some of the larger brush marks, but is not essential to the finish.
  4. Apply a second coat as soon as the first coat is dry (about one-two hours depending on the climate).

Now you’ve applied two coats of Lacquer – whether rollered or brushed on – your paintwork should be fully protected. Your varnished piece will be safe to use immediately once dried. Bear in mind that Chalk Paint™ Lacquer can take up to two weeks to fully harden (known as curing), so do be careful with it until then. When destined for outdoor use, make sure it stays out of prolonged rainfall until two weeks after application.

Once you’ve followed this tutorial, you should feel confident about attaining a lasting finish with Chalk Paint™ Lacquer. Your beautiful paintwork will be protected and should withstand the wear and tear of daily life, be it indoors or out. As soon as you’re ready to try this technique out for yourself, be sure to get all the materials you need from your local Annie Sloan Stockist and support a small independent business in your community.

Related Videos

Shop

Browse

Chalk Paint

About
Shop