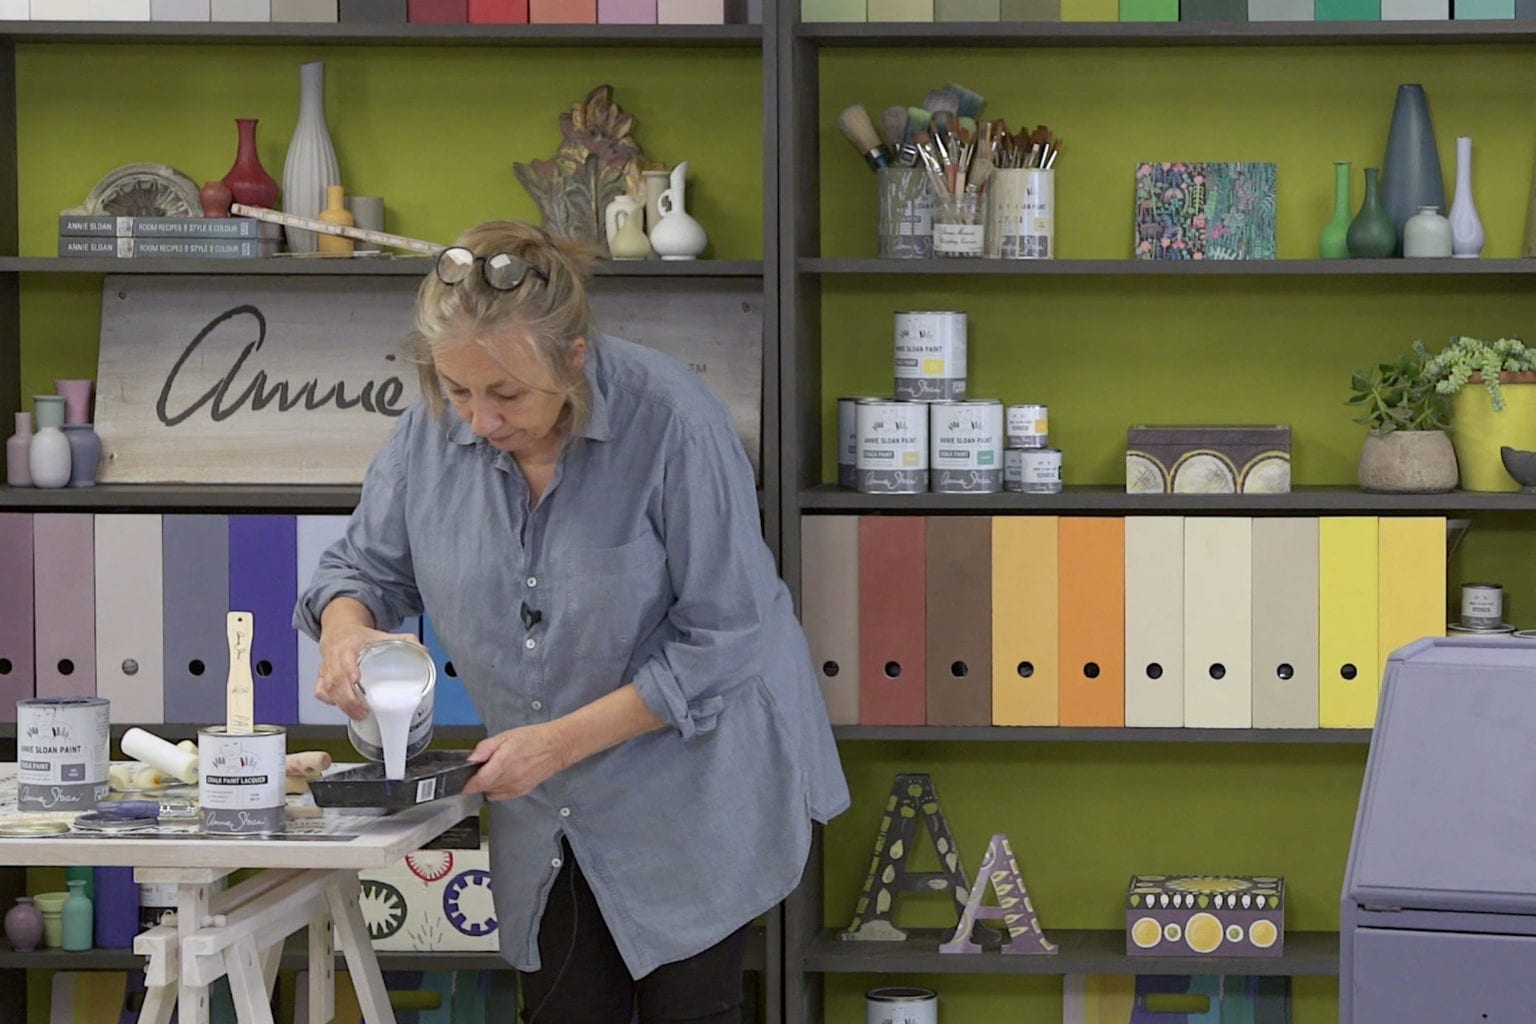
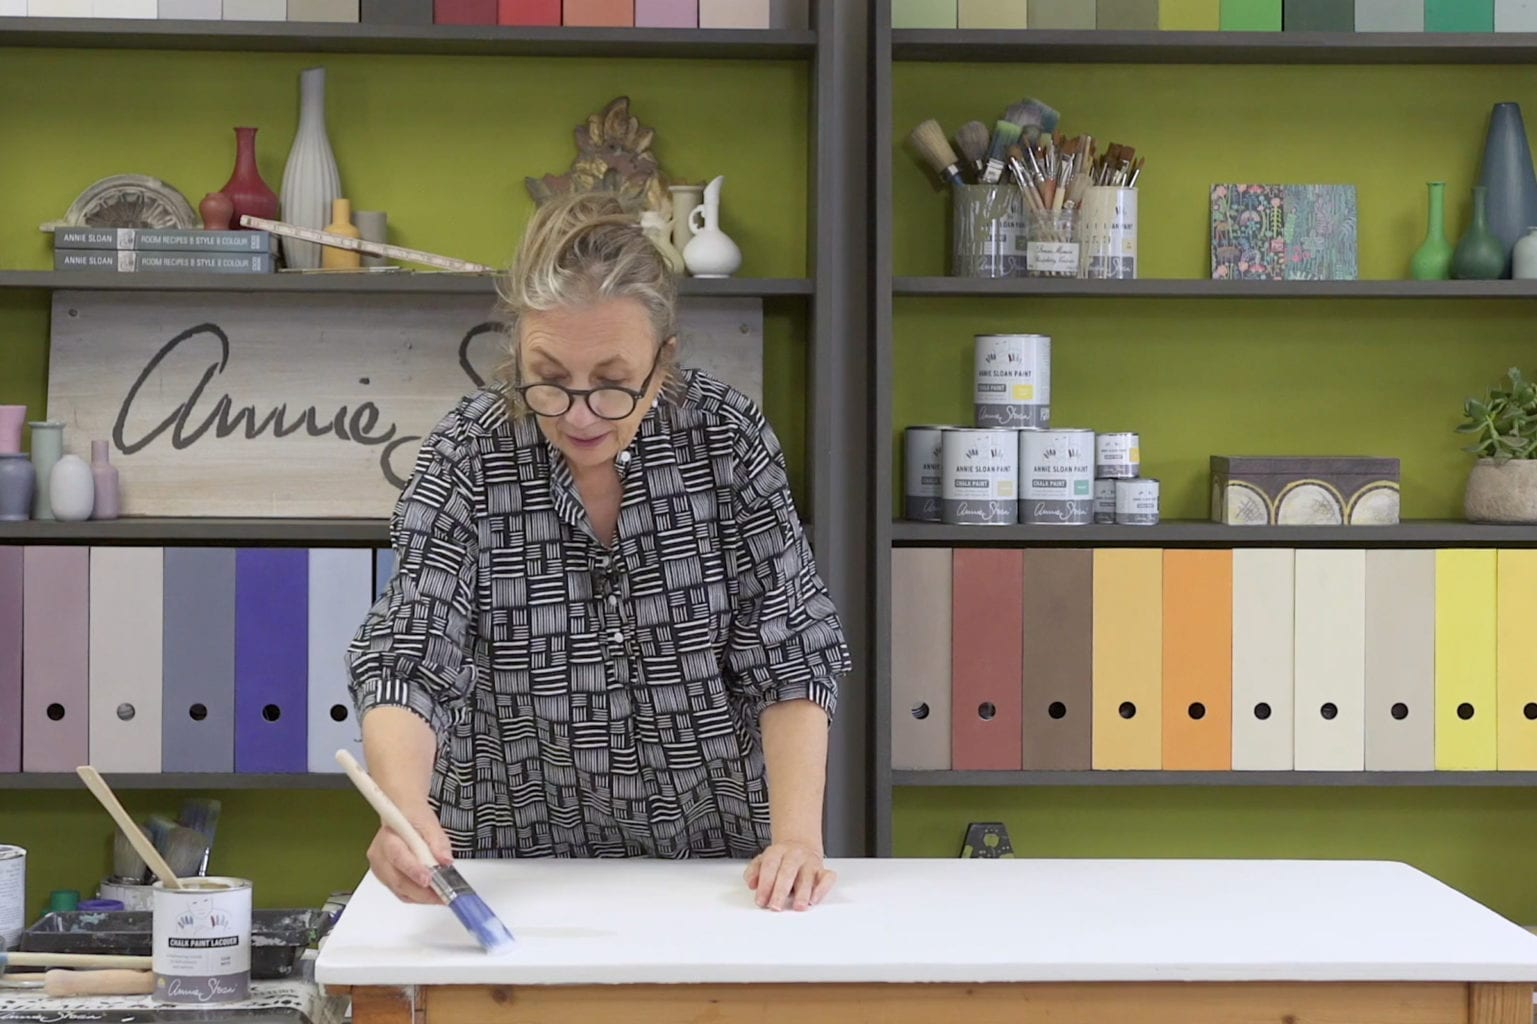
Chalk Paint™ is an extremely functional furniture paint that can be used on almost any surface; making it the perfect solution to painting floorboards. In this tutorial, Annie will show you what to look out for when painting wooden floors, the quickest ways to fix any issues, and how to protect your paintwork so it can withstand wear and tear.
The secret to creating a lasting finish? Chalk Paint™ Lacquer. This hard-wearing, water-based varnish is available in both Matt and Gloss. Between the two, Gloss is stronger than Matt. Either varnish will work on floorboards – it’s down to you whether you prefer a slightly shinier, glossy finish. However, if you’re painting floors in a particularly high traffic area you may want to opt for Gloss regardless.
How to Test Chalk Paint™ and Lacquer on your Flooring
Before you start painting, it’s important to test how Chalk Paint™ and Chalk Paint™ Lacquer perform on your flooring. Floorboards are often old with no previous known history of exposure to varnishes, spillages or stains. When you apply Chalk Paint™ Lacquer to a surface, it can draw out old stains from through the paint and create marks in your finish.
To test the flooring, apply two coats of your chosen Chalk Paint™ colour in a few small areas. It’s a good idea to test several different areas of the floor to give a better estimate of its condition: some areas may have different stains or additional water damage.
Once dry, apply a coat of Chalk Paint™ Lacquer to each of the patch test areas. This is the really important step. Chalk Paint™ alone will cover stains etc; it’s only when Lacquer is applied that any damage to the floor will become apparent. The same chemicals in Lacquer that make it durable will pull any stains and spills up to the surface, causing a yellowing effect.
Check your test patches. If they look clean and clear, then you’re ready to paint. If they have yellowed or drawn out a stain; fear not! Here are your options:
1. Use a dark Chalk Paint™ colour such as Graphite, Aubusson Blue, Athenian Black, Amsterdam Green or Oxford Navy. Stains that appear in light coloured paints, won’t show through on darker colours. This is a quick and easy solution to the issue, although we would still recommend testing the darker colour for reassurance.
2. If you want to stick with your initial design plans for a light Chalk Paint™ colour, your course of action should be to apply a stain blocker or shellac to your flooring. These usually come as either transparent or opaque and can be purchased from most hardware stores. Annie prefers transparent stain blocker. Apply all over your floor, and then follow the next steps.
Step by step guide to painting floorboards with Chalk Paint™
- Now you’re ready to get painting, make sure your floors are clean. Use warm soapy water and a sponge. Do not use products containing harsh chemicals such as bleach when pre-washing your floors, as these can prevent Chalk Paint™ and Lacquer from performing properly.
- Apply Chalk Paint™ and Lacquer using a paint brush or roller.
- *TOP TIP*: try an extending handle or even attach the roller or brush to a long stick to save your back and posture during the painting process.
- Start by painting the edges of the room, applying Chalk Paint™ with a brush along all the sides and corners, cutting in a few centimetres. Then paint the rest of the floor.
- *TOP TIP*: Start from the furthest point away from and work backwards towards the door so you don’t literally paint yourself into a corner.
- Depending on the colour you’ve chosen you may need two coats of paint. Apply the second coat in the same manner as the first.
- Once the Chalk Paint™ is completely dry, it’s time to apply Chalk Paint™ Lacquer. Stir the Lacquer thoroughly before use.
- Apply Lacquer in the same manner as Chalk Paint™; using a brush for the edges and a roller or brush for the middle section. The Lacquer is faster drying than Chalk Paint™ so be sure to work quickly and avoid over brushing. In other words, try not to brush or roll over drying Lacquer as this may drag the finish.
- *Top Tip*: The additional matting agents in Matt Lacquer can sometimes cause a cloudy effect on darker paint colours. Therefore, if you are applying Matt Lacquer onto a dark Chalk Paint™ colour, we would suggest applying a coat of Gloss Lacquer first.
- Apply two to three coats of Chalk Paint™ Lacquer for full coverage, strength and peace of mind. The more coats the better! Leave plenty of time between coats for the Lacquer to fully dry.
- Once touch dry, the Lacquer will go through a further curing process over about 14 days where it will fully harden. You can use the floor during this period, but please be gentle with it.
Now you’ve followed this tutorial, you can feel confident about painting your floorboards and keeping your paintwork protected. Chalk Paint™ has fantastic sticking power so it will go onto wooden boards old and new, you just need to make sure you seal in that colour with Lacquer when you’re done. Whichever paint colour you choose, make sure you buy all the materials you need from your local Annie Sloan Stockist. Each Stockist is trained to offer expert guidance and support on everything from painting techniques to colour selection.


