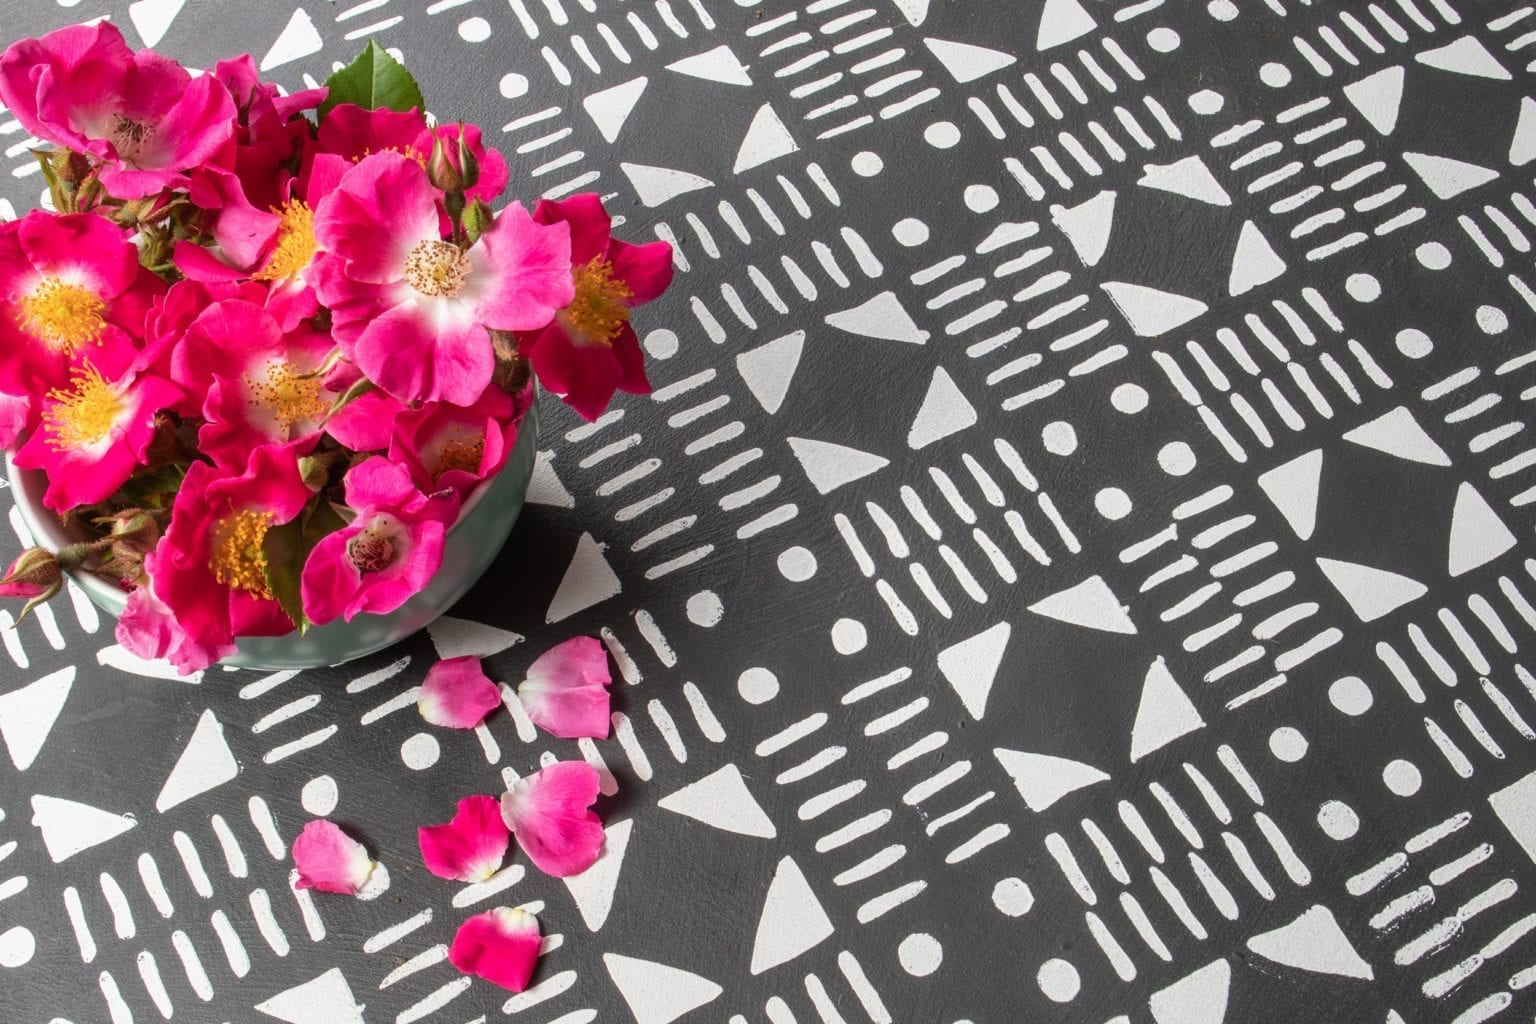
The playful use of patterns and colours can really give you the opportunity to flex your creative muscles and make your furniture truly your own. If you want to create your own patterns with paint, you can do this using all sorts of found objects. You can use a piece of cork or the rubber on the end of a pencil as a stamp. Fold some cardboard and use its edges. Perhaps try string, or use the tines of a fork. Lots of people love the rustic simplicity of potato printing for creating repeating patterns (this works on fabric, too!). You could also use stencils, for instance isolating parts of the design you really like.
All of these objects with Chalk Paint™ to give your furniture a whole new look. Have fun experimenting – try out different patterns and colour combinations on paper first – and really let yourself go. If you want to build up your confidence, why not start small? This technique is just as effective on a picture frame as it is on a whole chest or dresser.
Step by step guide to creating paint patterns
- First, paint your furniture piece in a Chalk Paint™ colour of your choice.
- Experiment with colour on the Annie Sloan MixMat, using Chalk Paint™ colours in different combinations. Adding Pure will brighten and lighten colours.
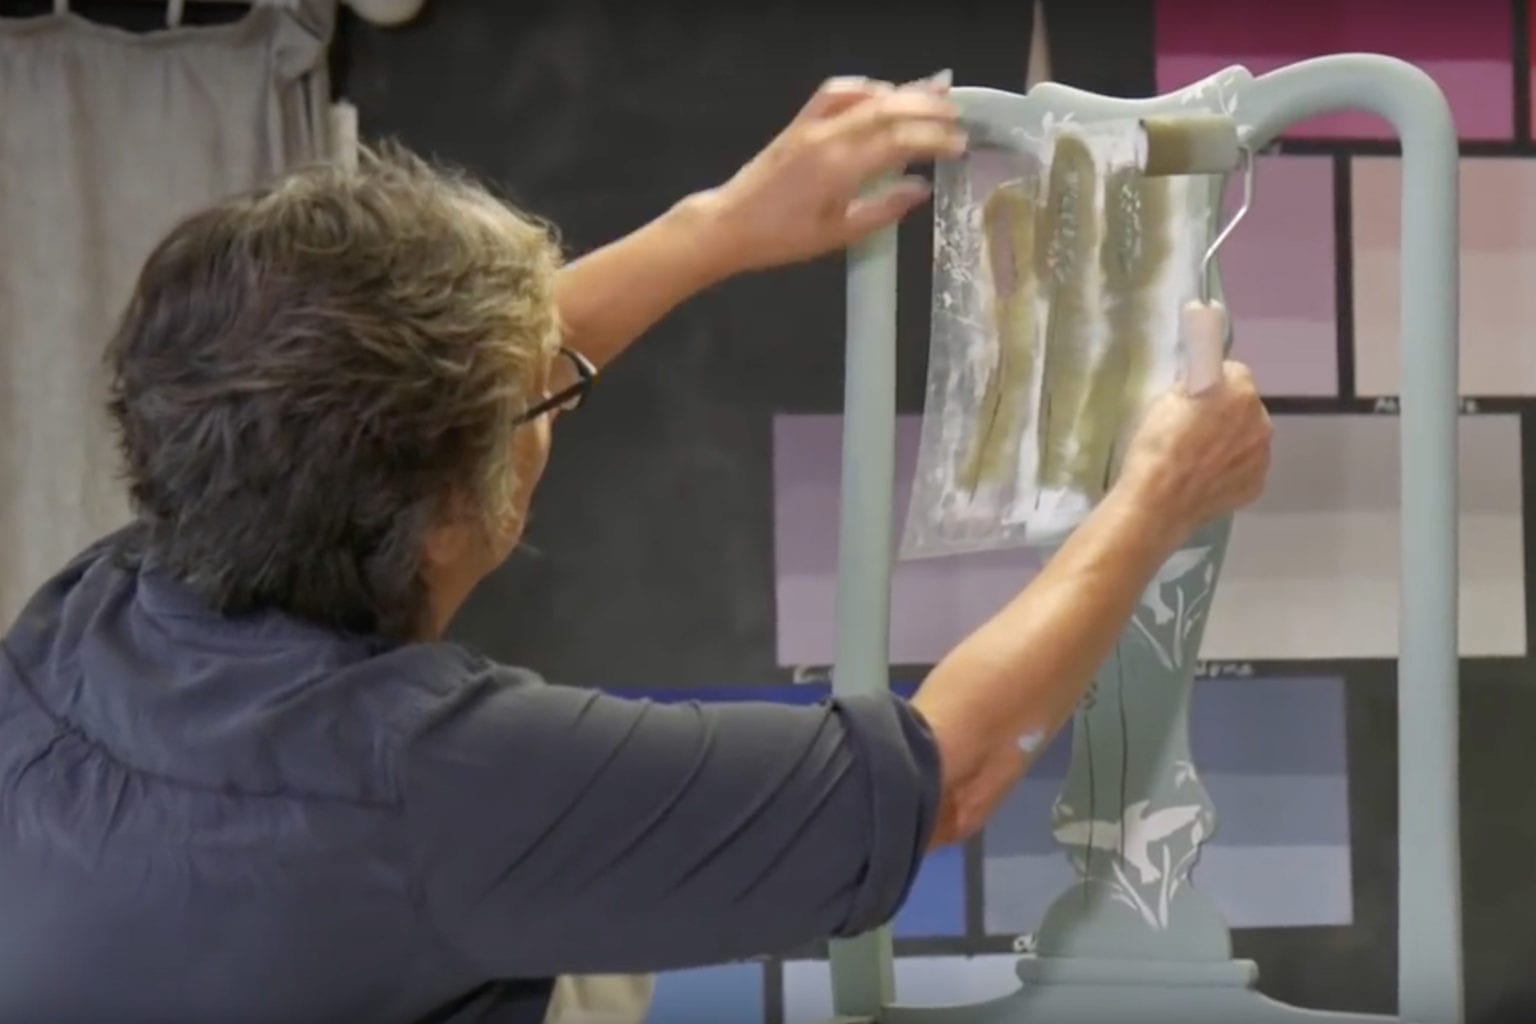
- After your base coat is dry, then you’re ready to add patterns to your piece. Try using an Annie Sloan Sponge Roller to apply different stencils in random placements.
- Patterns can be created from anything. Annie has wrapped string around a rectangle of cardboard in varying angles and painted the string to stamp a pattern around the edge of the chest.
- What else can be used to apply paint? Try using the end of a bolt dipped in Chalk Paint™ for a random circular motif.
- Then, once you’re happy with the pattern you created, sand down the painted piece using a fine Annie Sloan Sanding Pad. This will reveal the layers of patterns you have painted, creating a pared-back look.
- Finally, apply Clear Chalk Paint™ Wax directly on the paint with the Chalk Paint™ Wax Brush to seal in your paintwork. If you want to change the appearance of the colours, why not try a coloured wax too?
There’s no limit to the ways in which you can create patterns with paint. Try out different techniques to see what works for you and the piece of furniture you choose to paint – does the shape of the chair inspire a pattern in any way? Is there a nice flat surface on your blanket chest that’s just crying out for an interesting pattern? Perhaps there’s a colour palette you really want to work with to go with the rest of your room? Enjoy the process and don’t worry if it goes wrong – you can always paint over any mistakes and try again.
Now you know what to do, make sure you support local by buying Chalk Paint™ from your nearest Annie Sloan Stockist. When you’re done, take a picture of your finished painted pattern and share it with the Annie Sloan community using #AnnieSloan.