Most homes will have a piece of pine furniture – perhaps a bedside table or a whole chest of drawers. This orange pine – often varnished or waxed – can be particularly hard to paint over, especially if you’re working with a pale paint colour. Your secret weapon? Chalk Paint™. With its incredible sticking power, this unique furniture paint can be applied to almost any surface without sanding or priming. So you don’t have to worry about your colour choice. Even pale paint colours will cover pine beautifully.
What is the best paint for upcycling pine furniture?
Traditional furniture paints require a lot of prep work before you can start painting pine. To create a lasting finish, these paints won’t work well on pine unless the surface has been sanded and primed first. If you’re looking for the best paint to upcycle pine furniture, look no further than Chalk Paint™. Annie Sloan first developed this brand of furniture paint in 1990 specifically to go over surfaces like varnished pine without the need for priming first. It’s the perfect solution for people who don’t have the time (or patience!) to spend on prep. It means you can jump straight into the fun bit!
How to upcycle pine furniture using Chalk Paint™
Want to learn how to upcycle pine furniture? In this short tutorial, Annie has chosen her pale green colour Lem Lem – a colour created in support of Oxfam. Even this soft colour will cover most pine in the first coat. Work your brush every which way to maximise coverage and for a rich, textured finish. For a smooth finish, feather the second coat with a Flat Brush. Finish with Chalk Paint™ Wax and you’re done!
What materials do I need for painting on pine?
The first thing you need to upcycle pine furniture is Chalk Paint™. If you’re painting a small piece, like a bedside table, a sample pot size will be sufficient. If you’re unsure about quantities, check out our handy Chalk Paint™ Coverage Guide.
We love painting with Chalk Paint™ Brushes. The larger the brush, the more you’ll be able to work quickly. Remember to paint in every direction – this will make the paint application faster and help you achieve a lovely textured finish. If you prefer a smooth finish, choose a Flat Brush and feather the paint to minimise brush marks.
Finally, you will need Chalk Paint™ Wax to seal your paintwork. You can apply this with a Chalk Paint™ Wax Brush or a lint-free cloth if you prefer. It’s good to have a few rags handy anyway to help remove any excess wax when you’re done.
6 simple steps to upcycling pine furniture
- Choose your piece of furniture, Annie has chosen a pine side table. As ever, there’s no need to sand or prime.
- Using a Chalk Paint™ Brush, paint your chosen Chalk Paint™ colour onto the wood – painting in every direction. Leave to dry.
- Apply a second a coat of Chalk Paint™, if necessary, to achieve full coverage. Leave to dry.
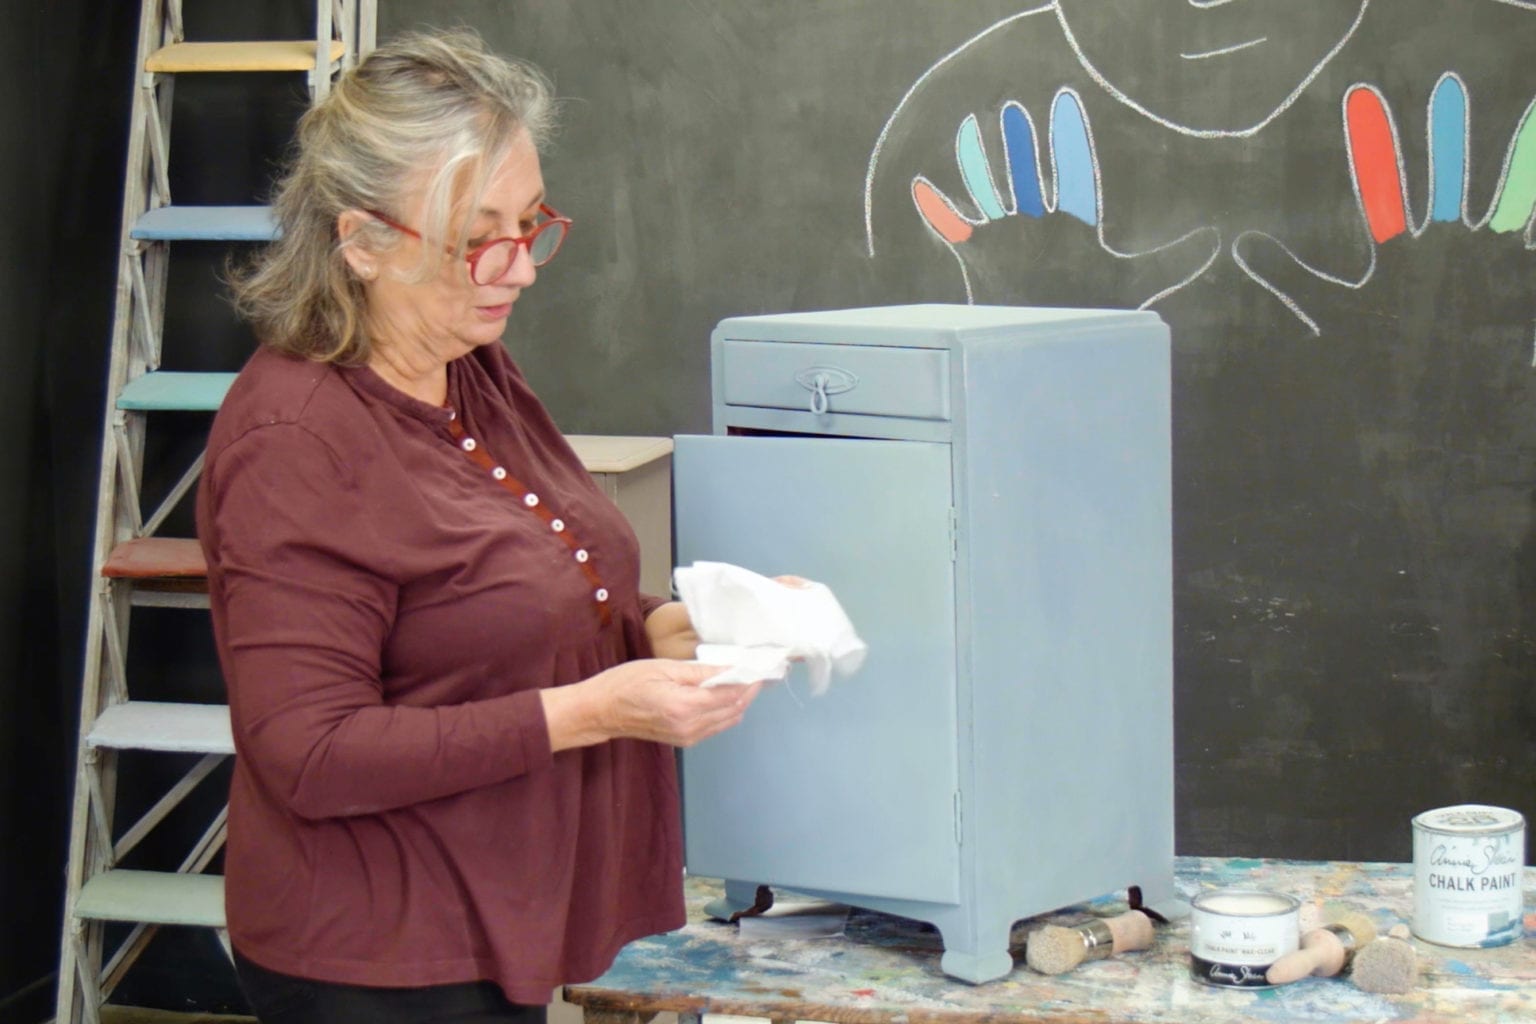
- Use a Chalk Paint™ Wax Brush or a lint-free cloth to apply Clear Chalk Paint™ Wax all over the piece. Make sure you cover all of the painted surface, getting into the nooks and crannies.
- Remove any excess wax using a lint-free cloth.
- Treat your finished piece with extra care while the wax cures and hardens – this can take between 5 – 21 days.
So there you have it! Gone are the days of worrying about painting over varnished pine. Whether you want to paint over it with a pale colour or not, Chalk Paint™ is your friend. It will go straight over the pine, giving your plenty of room to unleash your creativity. A quick second coat will make sure no wood is left unpainted. And what if you change your mind about the colour? You can always paint right over it again. No sweat.
Now you’re ready to get painting, be sure to find your nearest Annie Sloan Stockist. Not only will they have all the tools you need for your next furniture transformation, but they will be able to give you all the guidance and support you need to start your first project. Once you’re done, why not share your project with the Annie Sloan community online by using #AnnieSloan.