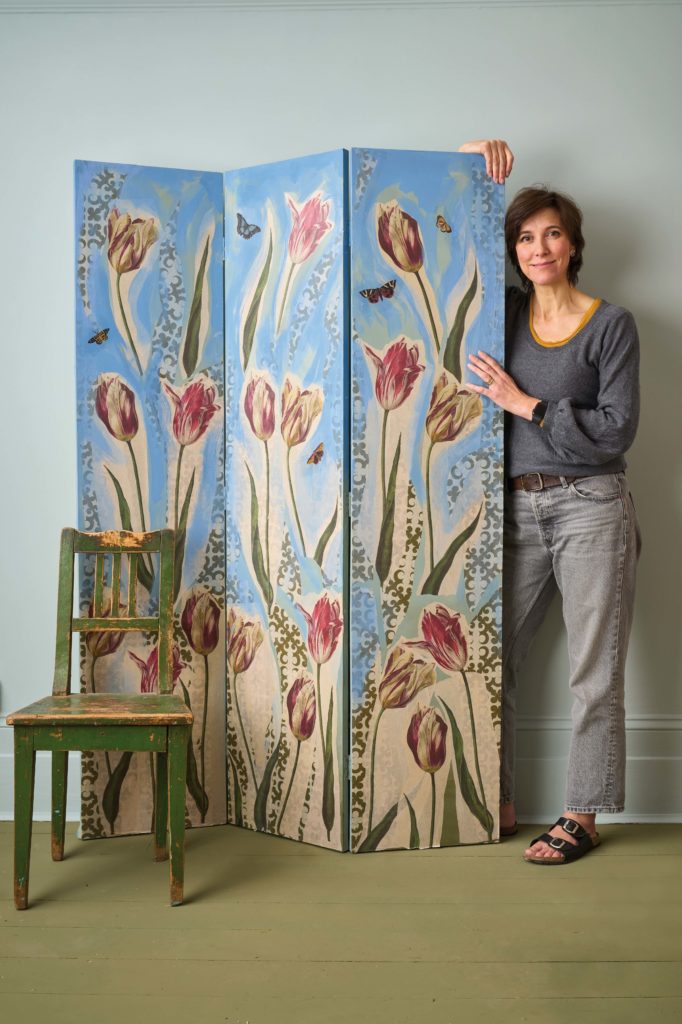
HOW TO CREATE A DECOUPAGE SCREEN
In this step-by-step, Joanna, one of our Senior Graphic Designers here at Annie Sloan HQ, transforms a reclaimed panelled screen using Decoupage Papers from our exclusive Annie Sloan with the Royal Horticultural Society (RHS) Decoupage Paper Collection.
Browse Annie’s full RHS Decoupage Papers collection here, or keep scrolling to be inspired!
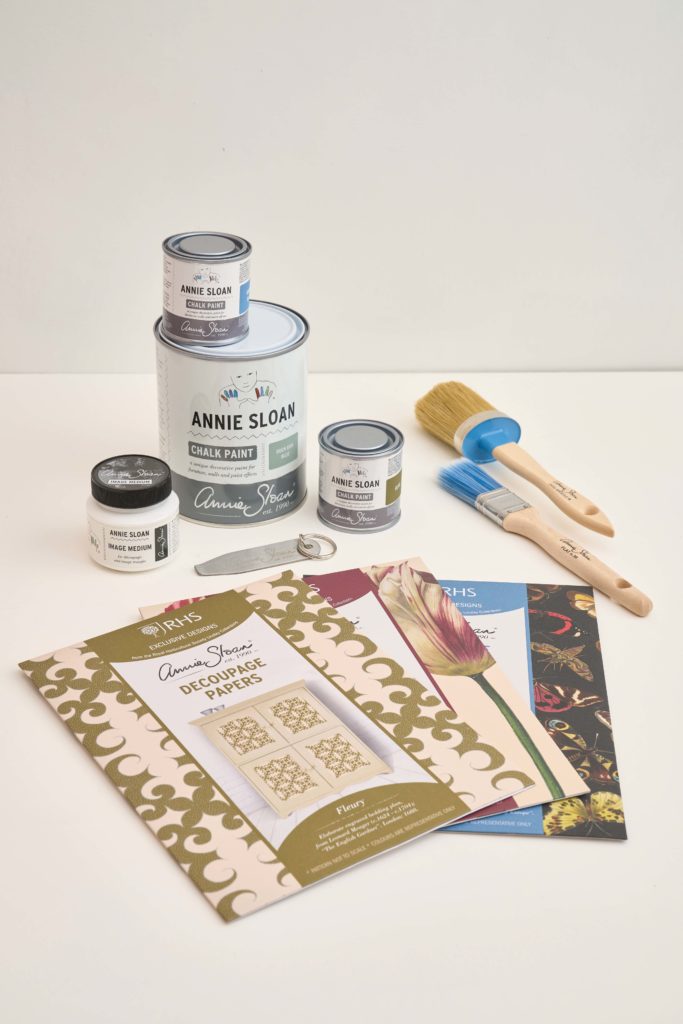
For this project, you’ll need:
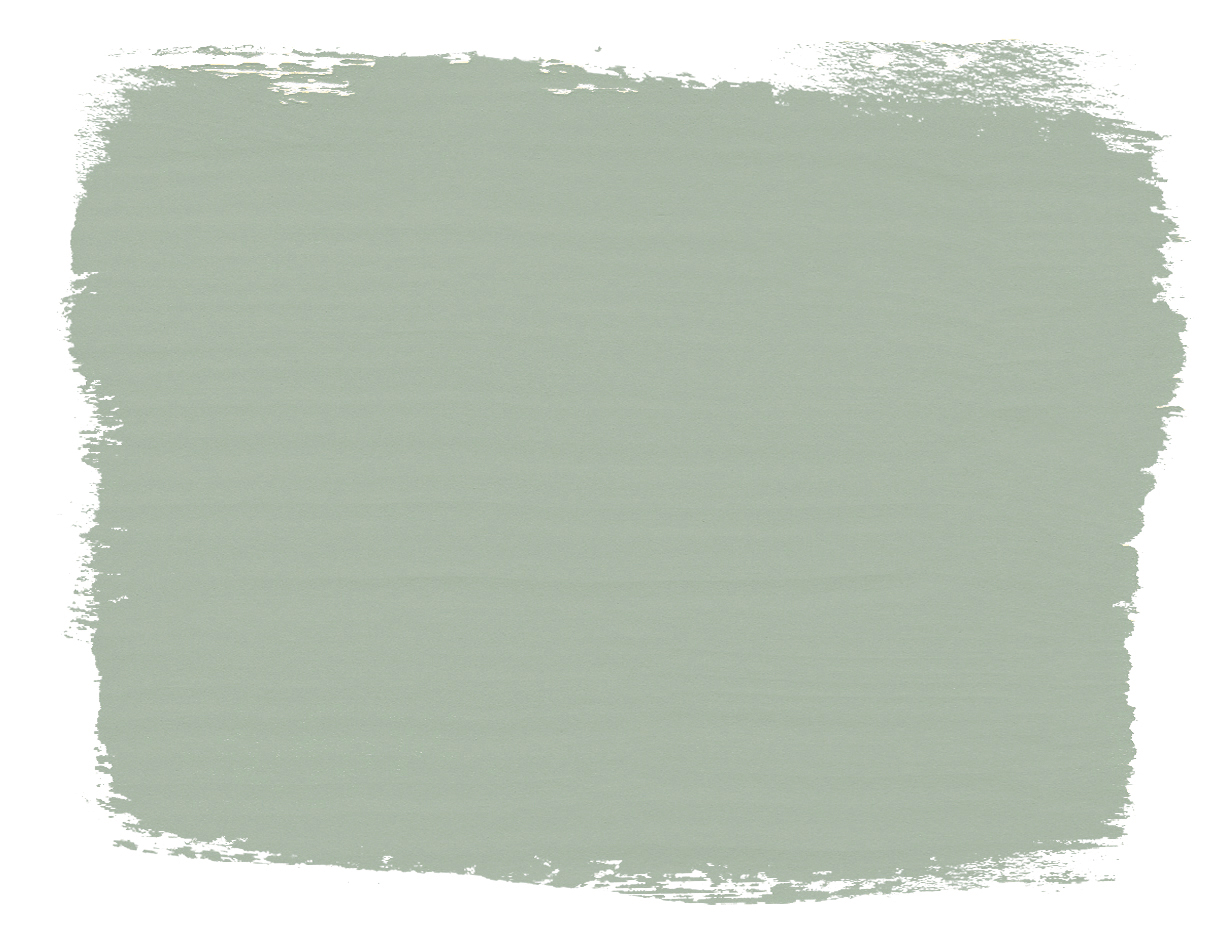
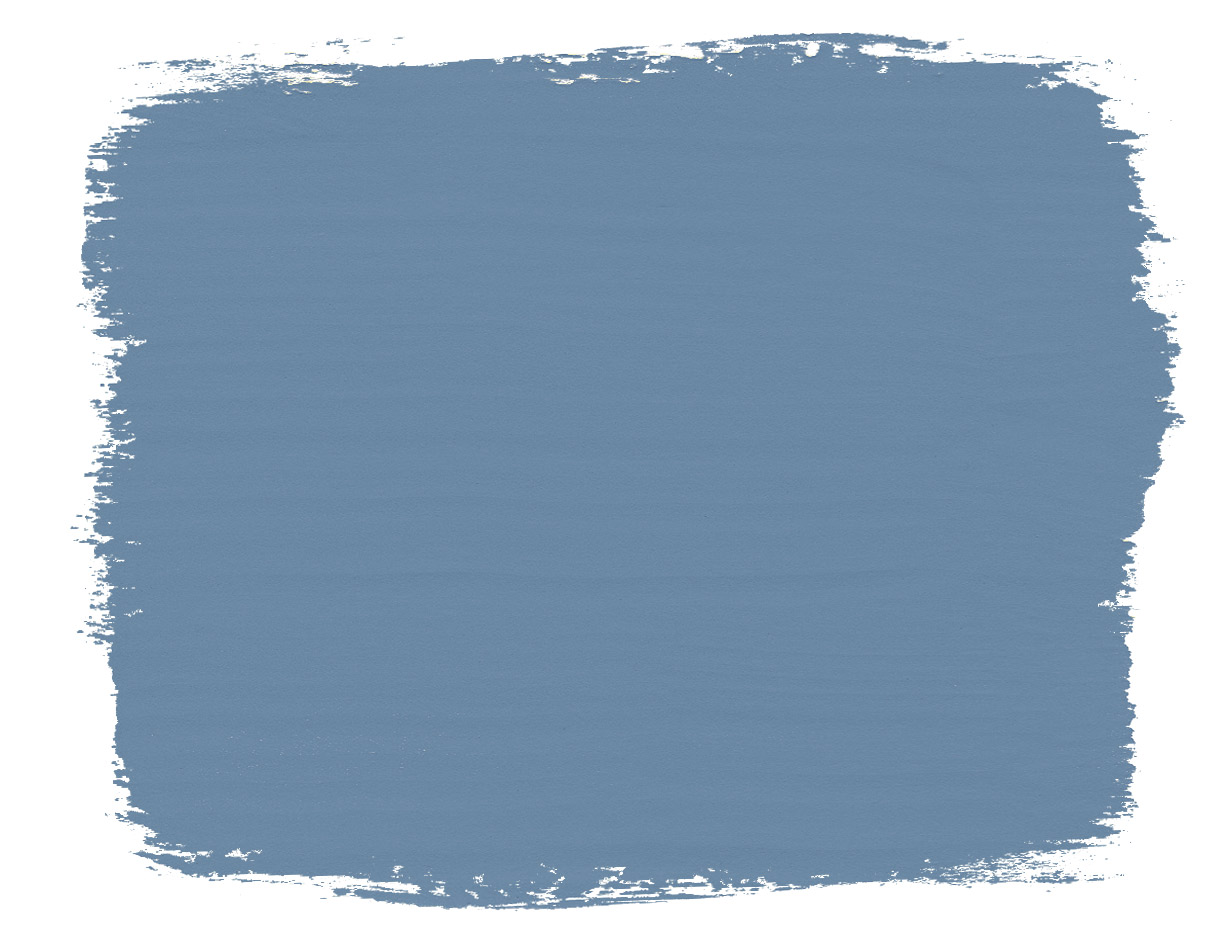
- 1x 1L Chalk Paint™ in Duck Egg Blue
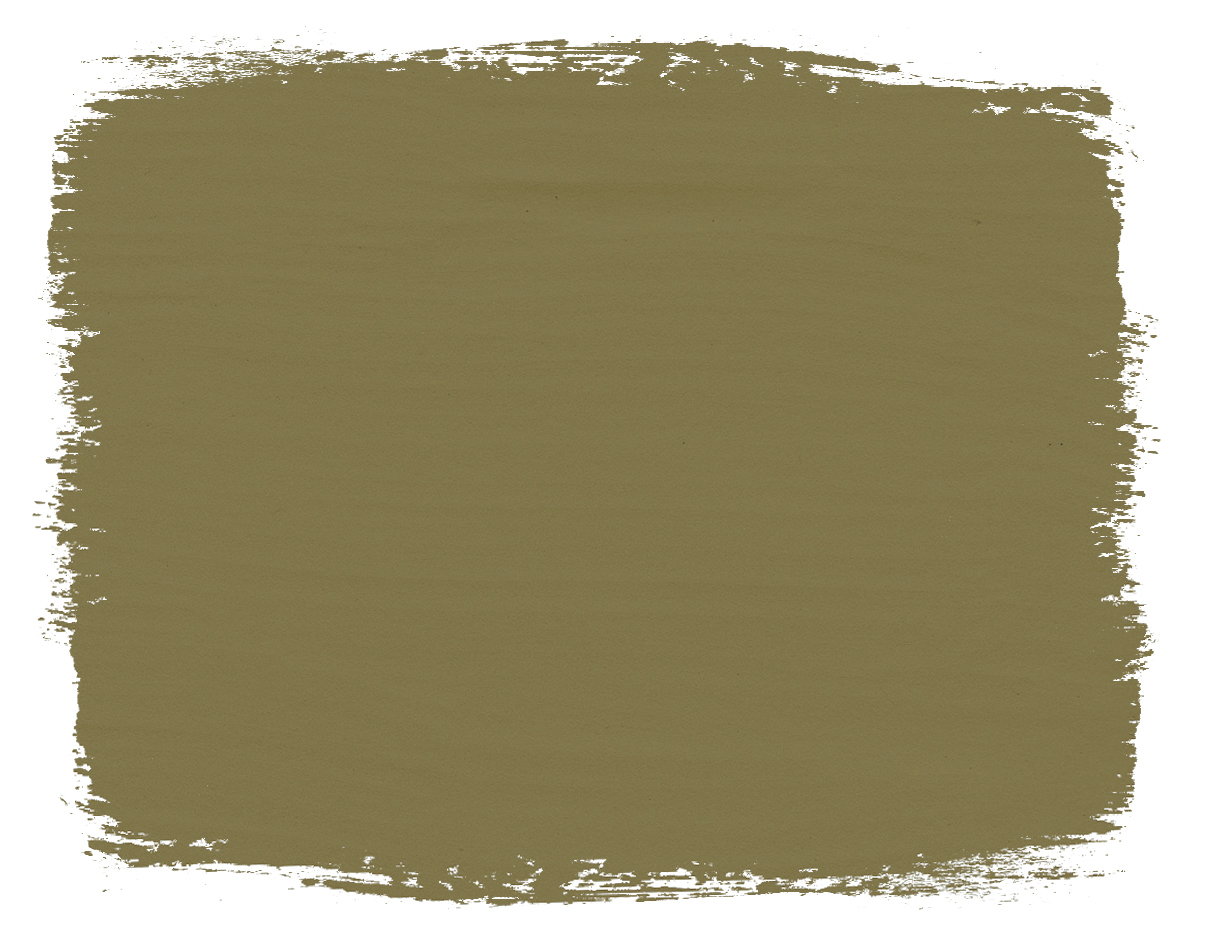
- 1x 120ml Chalk Paint™ in Olive
- 1x 120ml Chalk Paint™ in Greek Blue
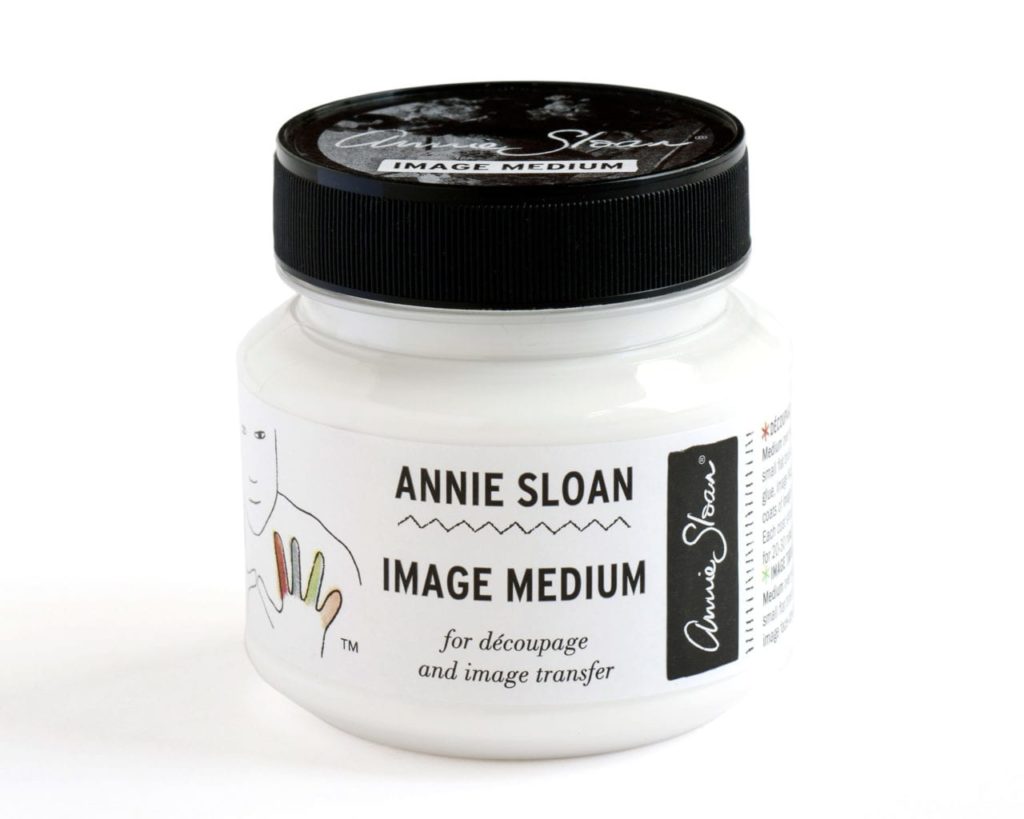
- 1x Image Medium
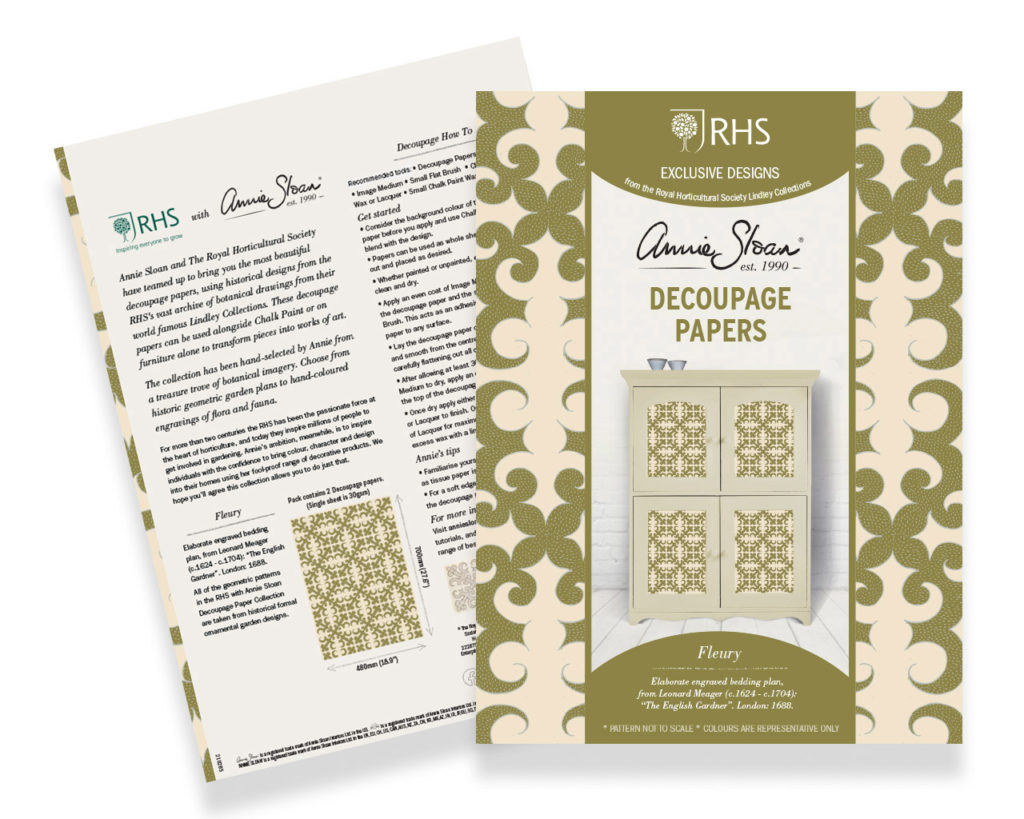
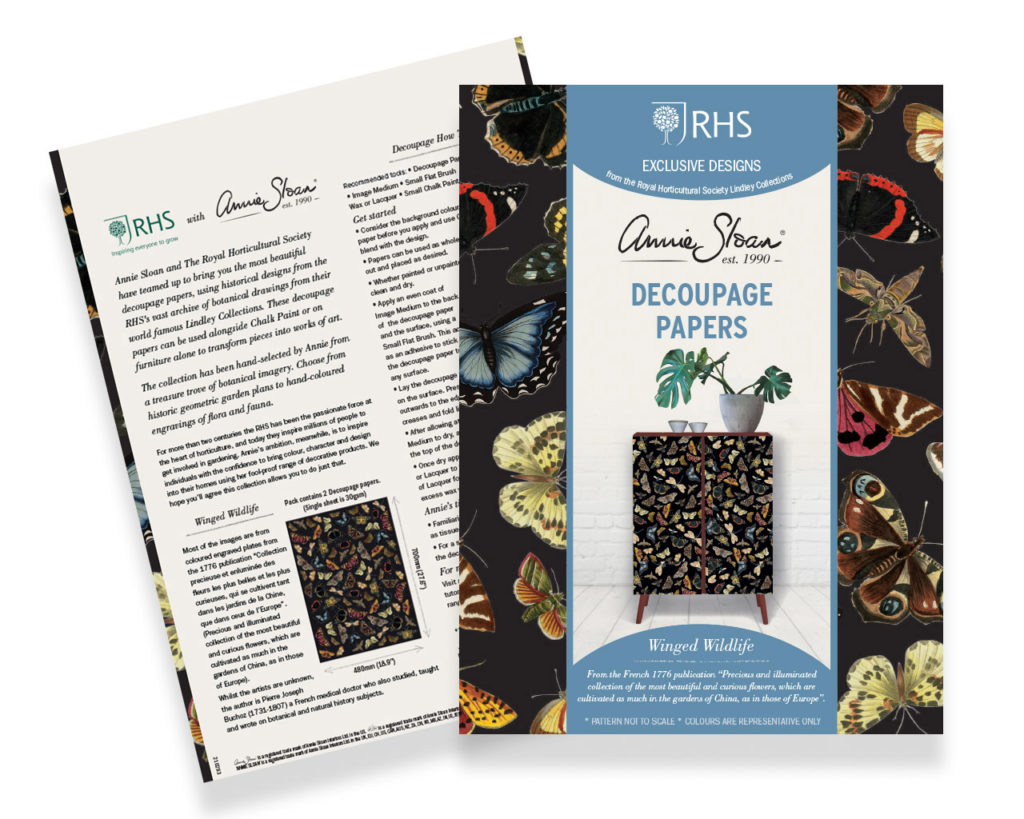
- Annie Sloan with the RHS Decoupage Paper Fleury
- Annie Sloan with the RHS Decoupage Paper Winged Wildlife
- Annie Sloan with the RHS Decoupage Paper Dutch Tulips
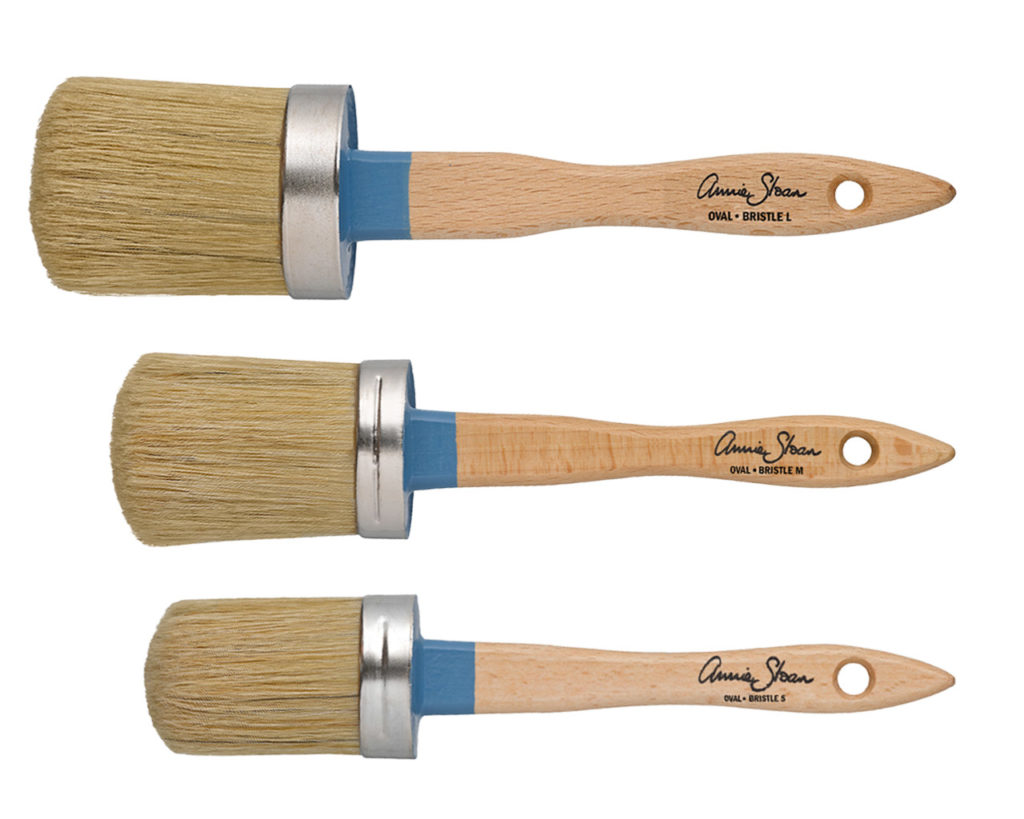
- 1x Medium Chalk Paint™ Brush
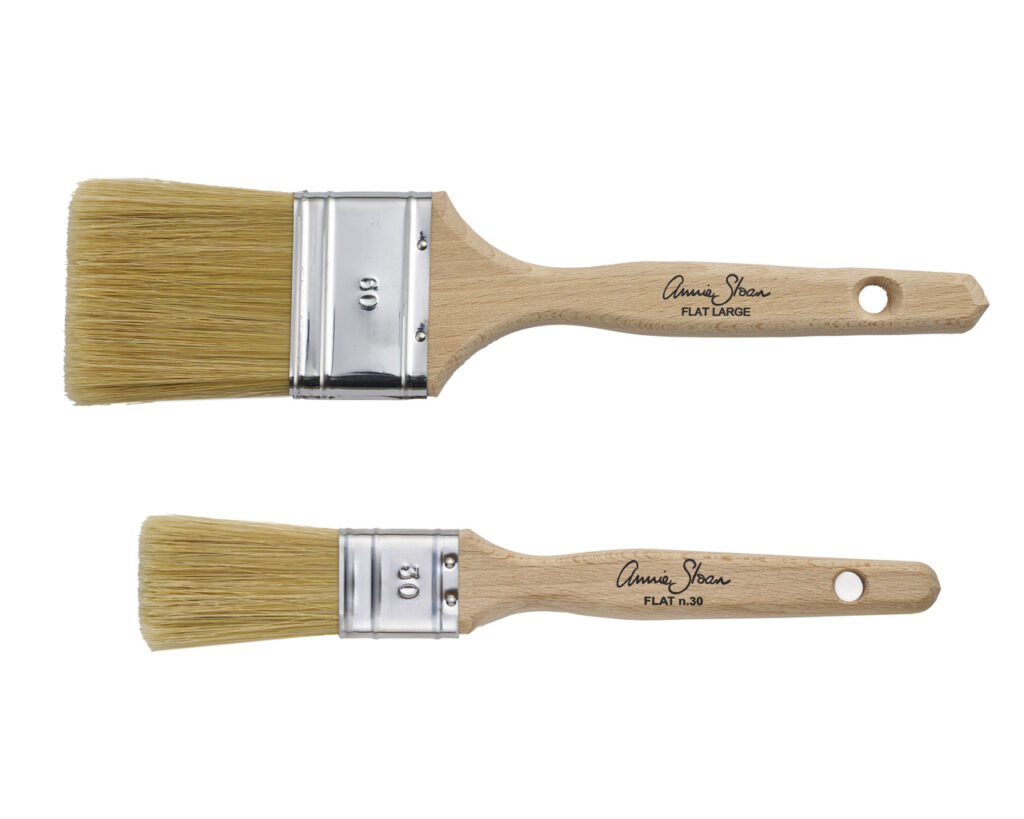
- 1x Small Flat Brush
- Annie Sloan Tin Opener
- Scissors
Step 1: Chalk Paint™
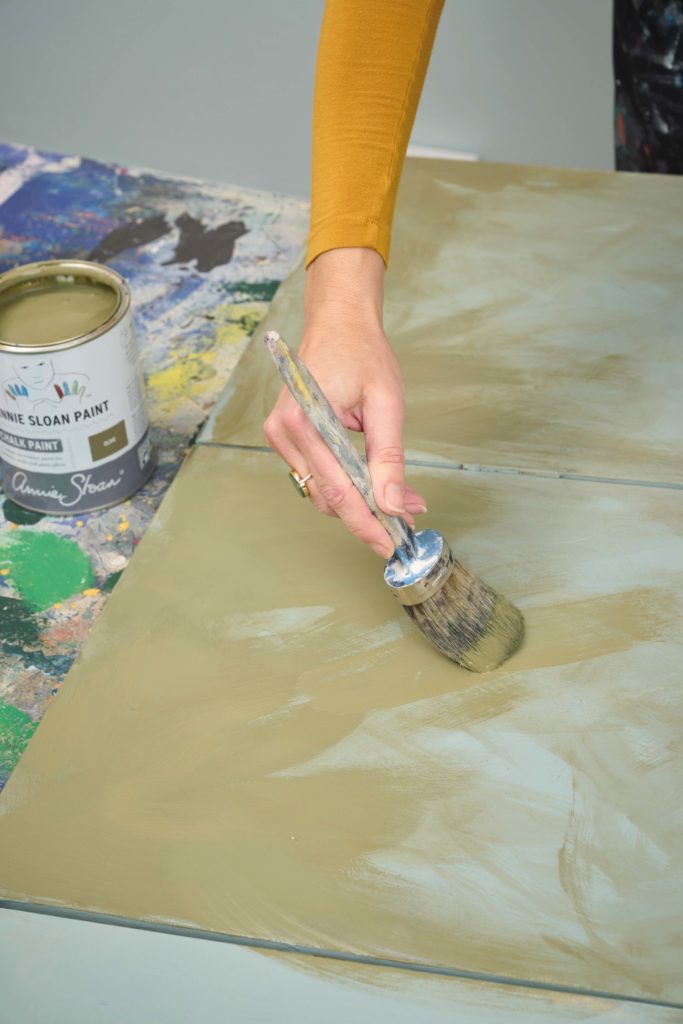
Start by painting the screen with Chalk Paint™ in Duck Egg Blue. Then, splodge and blend the Olive Chalk Paint™ onto the bottom sections of the screen to create the effect of sky and ground.
Step 2: Prepare your RHS Decoupage Papers
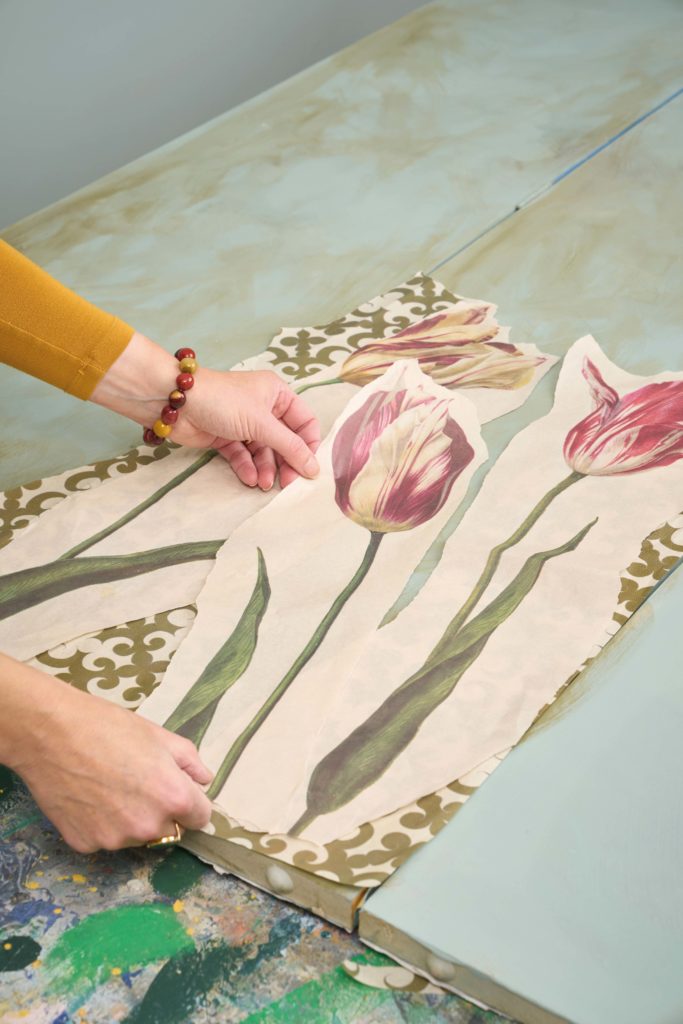
Next, carefully tear around each Dutch Tulip so you don’t have any hard lines. Then, tear the Fleury paper, leaving some straight edges to line up to the edges of your screen. Imagine the Fleury is your trellis.
Then, lay your papers into position to create your design, taking time to find the perfect combination. Joanna’s top tip at this stage is to take a picture of your chosen design on your phone to refer to throughout.
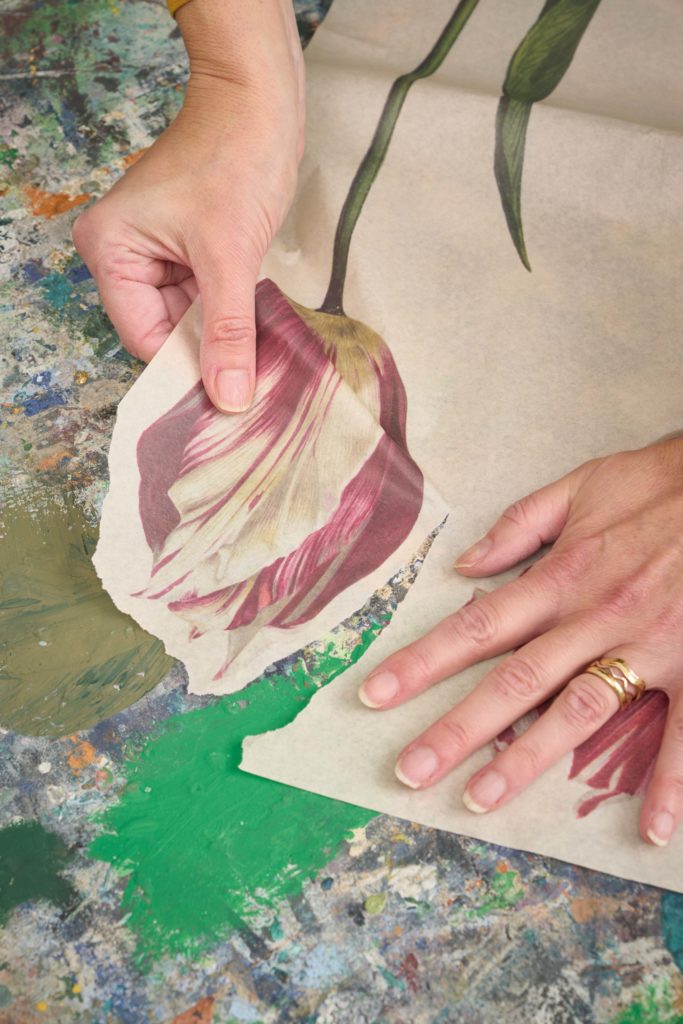
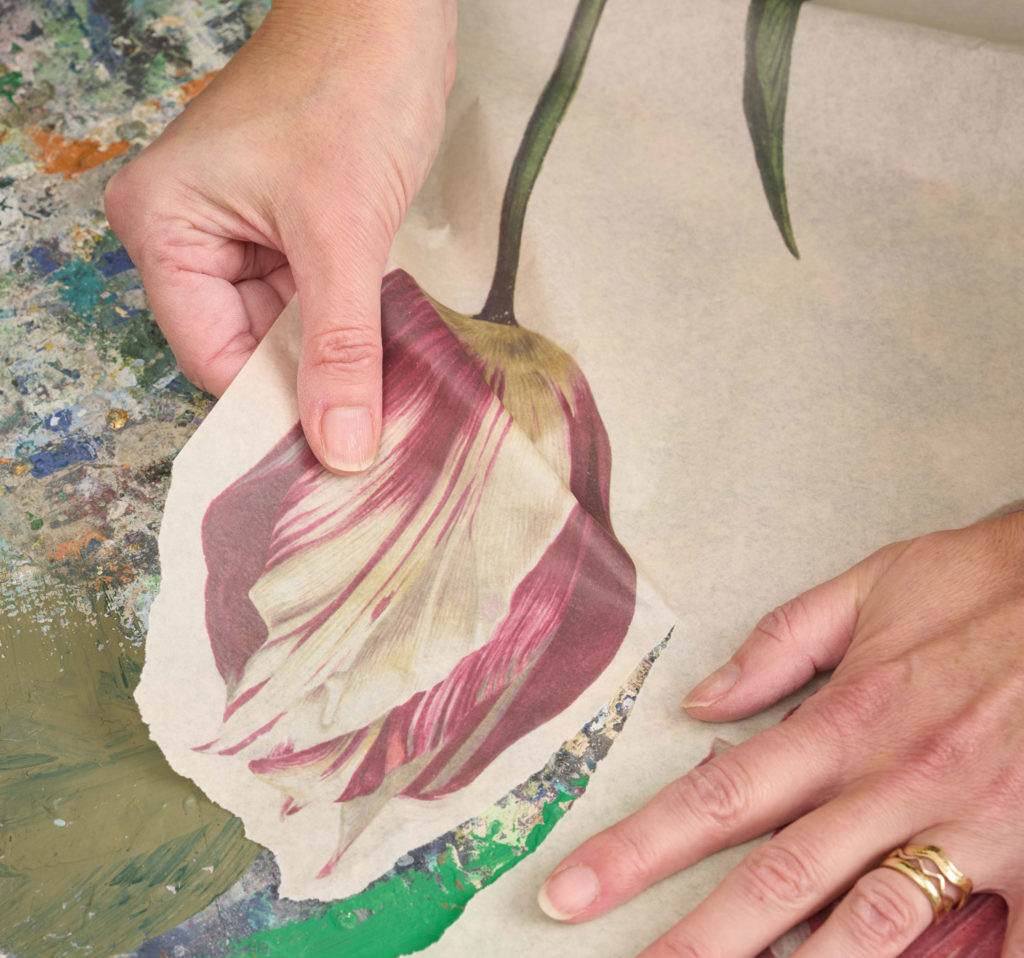
Step 3: Apply your RHS Decoupage Papers
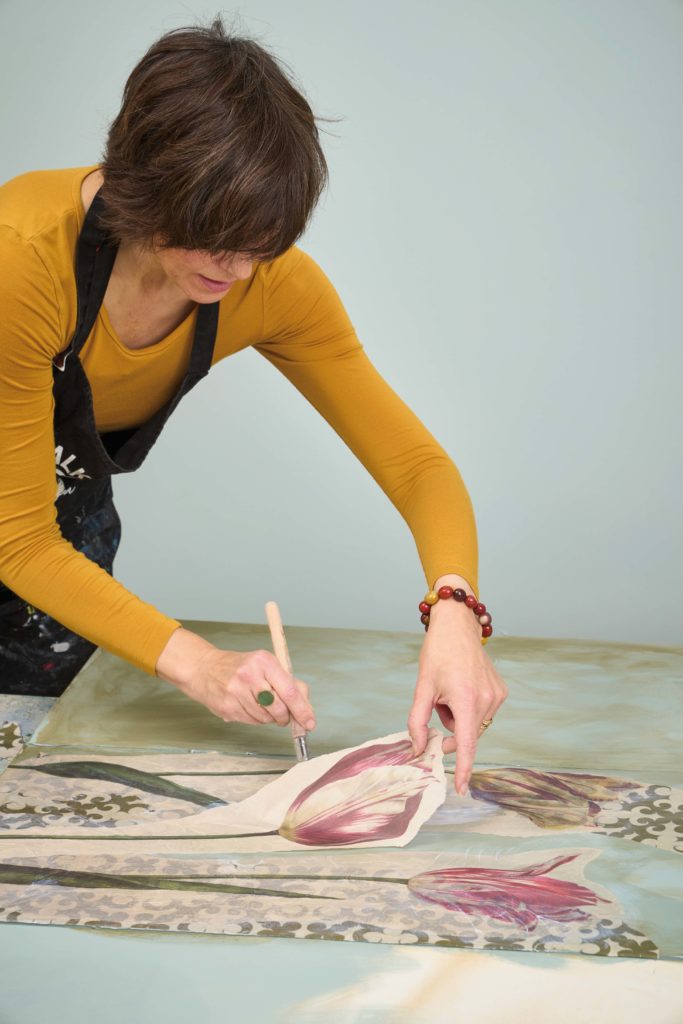
Once you’ve decided on your design, glue your papers into place using Image Medium. Hold one edge of the paper and smooth the Image Medium out from that point to prevent tearing.
Cover each section in Image Medium as you go along. Make sure not to overwork it and not to panic if bigger pieces look crinkly; they’ll shrink and smooth out as they dry!
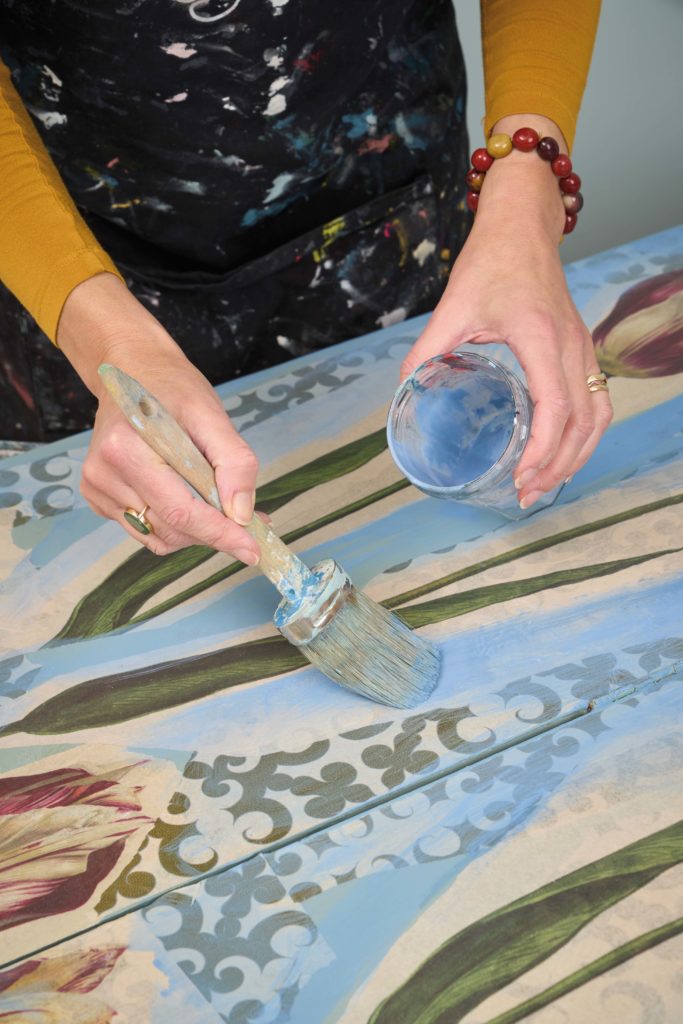
After all your Dutch Tulip and Fleury pieces are applied, use watered-down Chalk Paint™ in Greek Blue to paint expressive marks over your finished pattern. This is to create movement and energy in the design.
Step 4: Finishing Touches
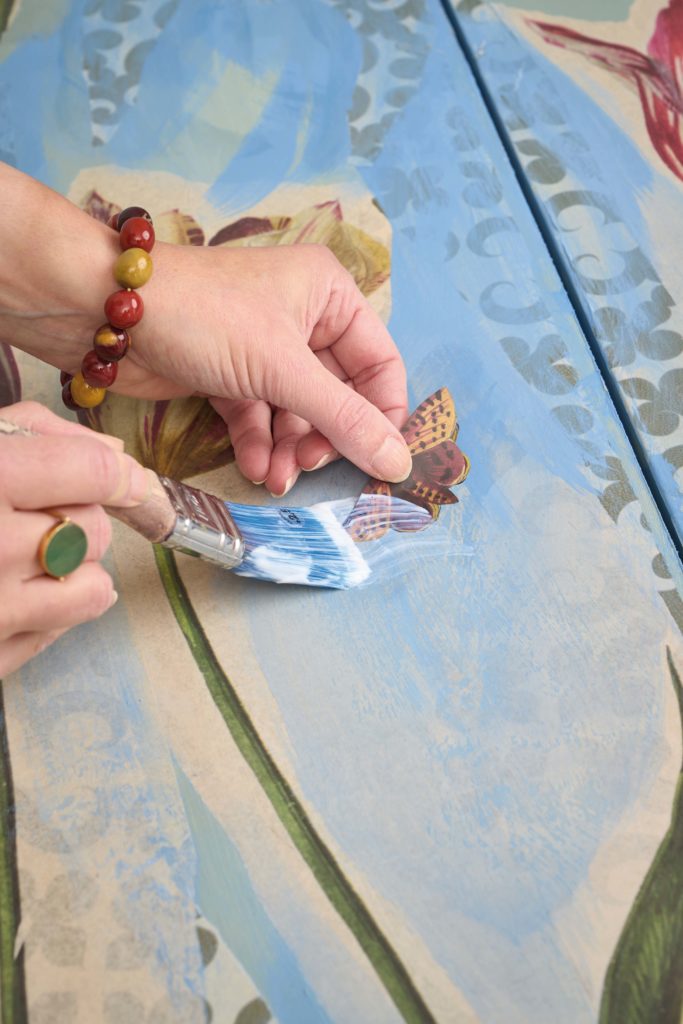
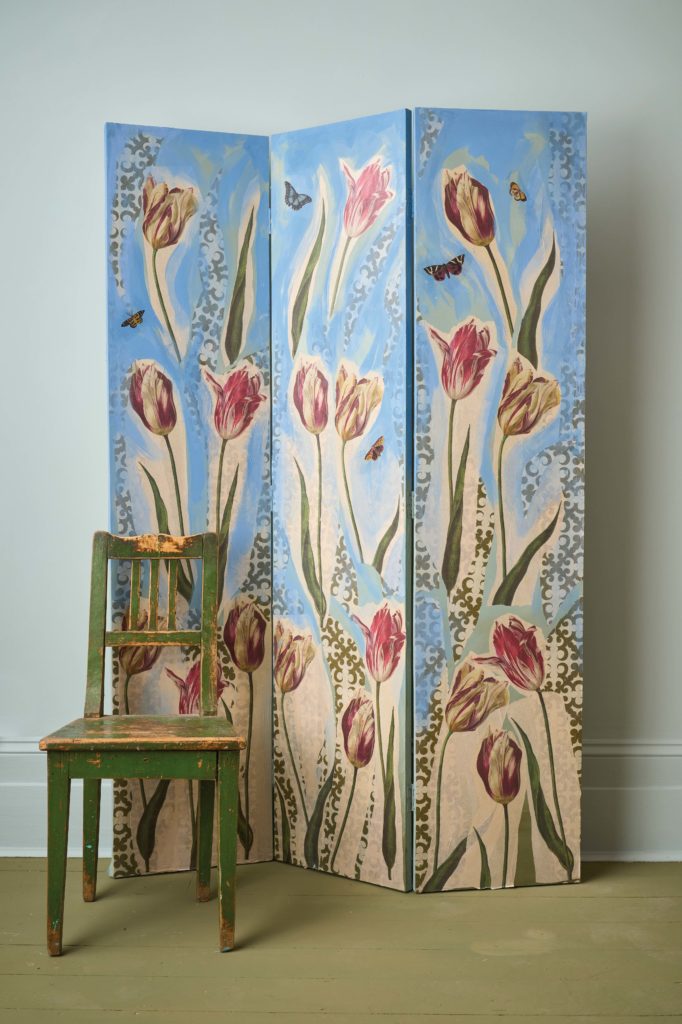
Lastly, cut out some butterflies from the Winged Wildlife paper and scatter them throughout your design. Once positioned, fix them in place using Image Medium.
Finish the piece by applying one final coat of Image Medium over the entire screen. Then step back and admire!
Get started by browsing all the products used here in the Featured Products section. Or, if you’d like to read more about Annie’s exclusive collaboration with the RHS (including her experience of combing the magnificent RHS Lindley Collections to create these Decoupage Papers!), head over to our Collaboration page, here.
Featured Products

® The Royal Horticultural Society. The Royal Horticultural Society, and its logo, are trade marks of the Royal Horticultural Society (Registered Charity No 222879/SC038262) and used under licence from RHS Enterprises Limited.
Related Inspiration
Related Inspiration
Use of cookies
AnnieSloan.com uses cookies to improve your experience when you browse the site.
