Woodland Christmas Candle Holders
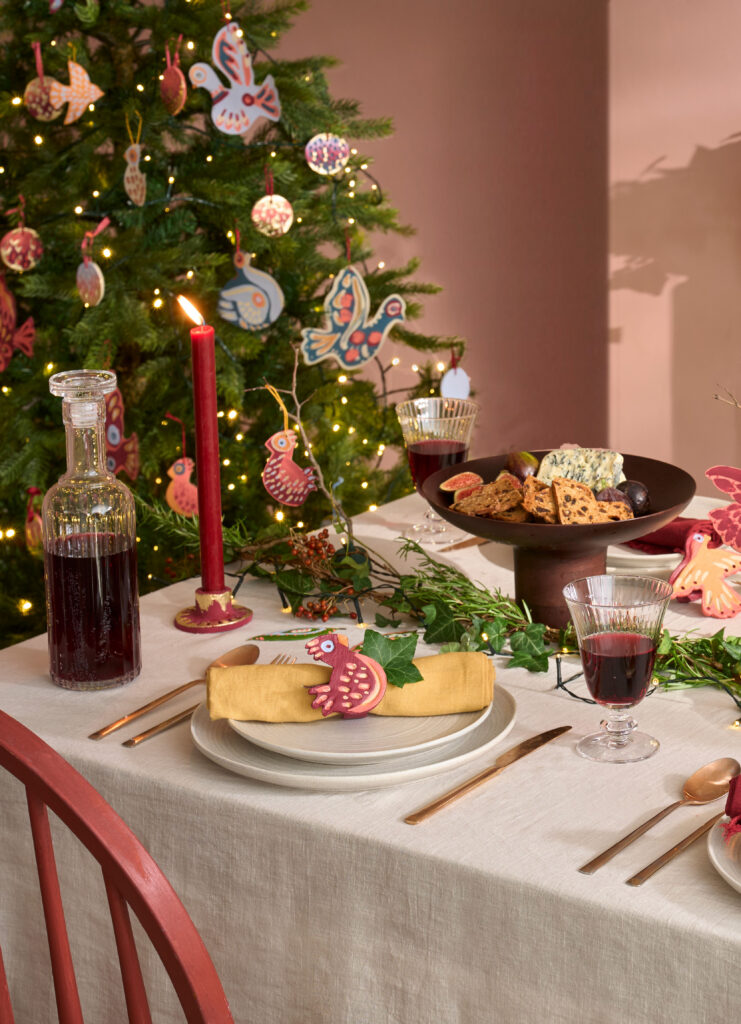
Create these colourful candle holders to decorate your Christmas table setting or mantelpiece.
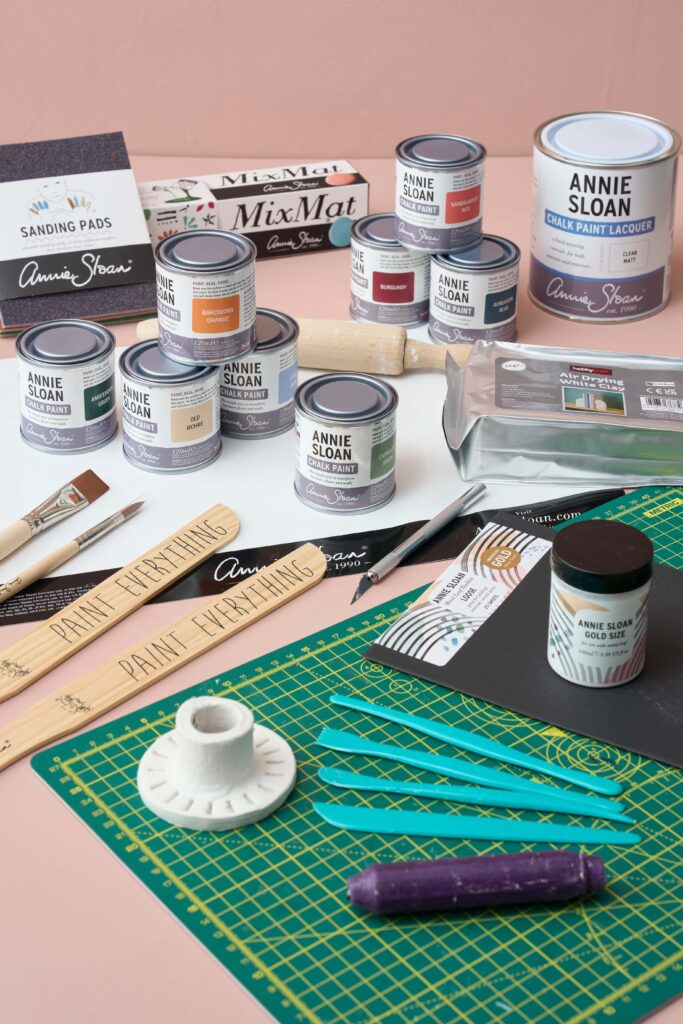
YOU WILL NEED
- 120ml Chalk Paint in your chosen colours
- Matt Lacquer
- Detail Brushes
- Craft knife/scalpel or scissors
- Cutting mat if using a craft knife or scalpel
- Air-drying clay – 500g
- Clay modelling tools
- MixMat or similar non-stick mat
- Rolling Pin
- 4 Mixing Sticks or similar
- Sandpaper
- Glass or cookie cutter
- Candle
STEP BY STEP
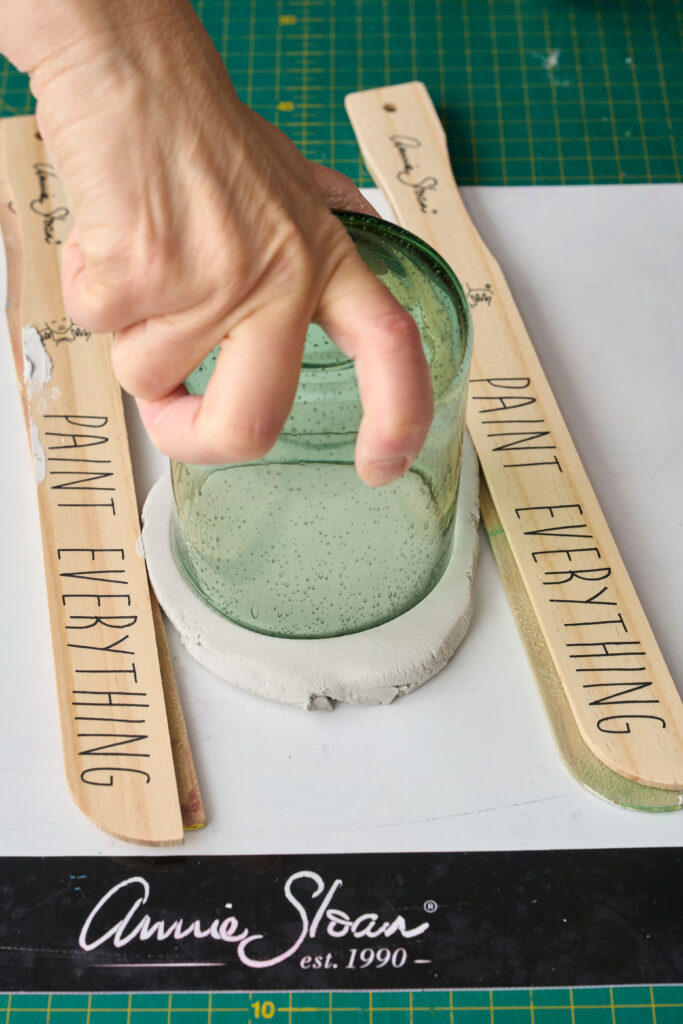
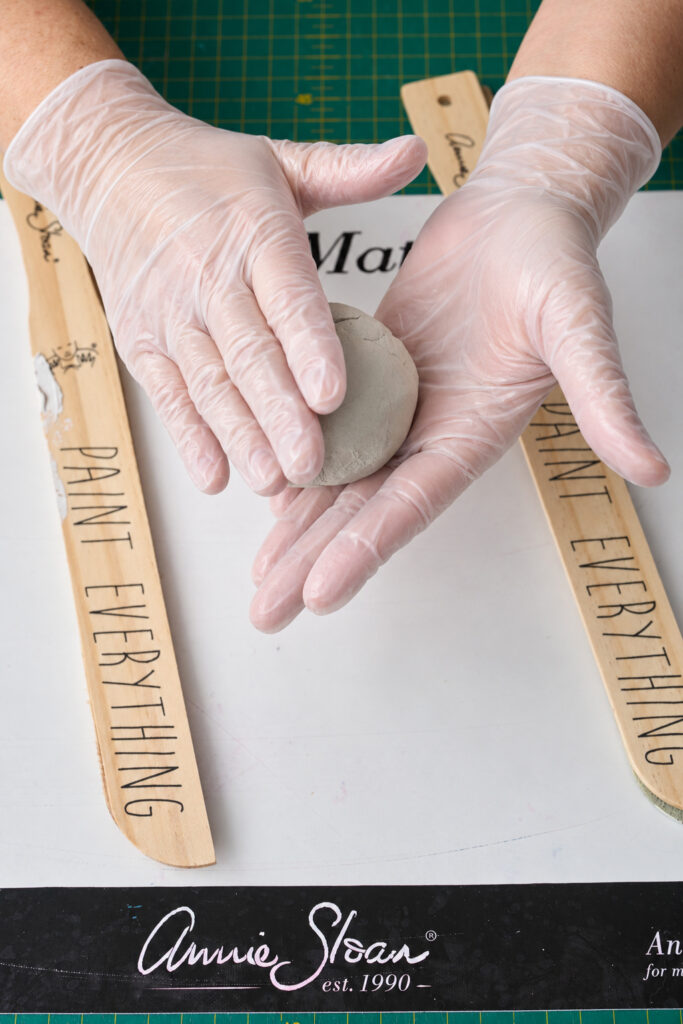
On a protective, non-stick surface such as a MixMat, roll out a large handful of air-drying clay to 7mm thick, using Mixing Sticks as guides. Cut out a disc using a glass or cookie cutter and tidy the edges.
Wear gloves to avoid the clay drying out your hands. Keep any offcuts and remaining clay in an airtight container to prevent it drying out.
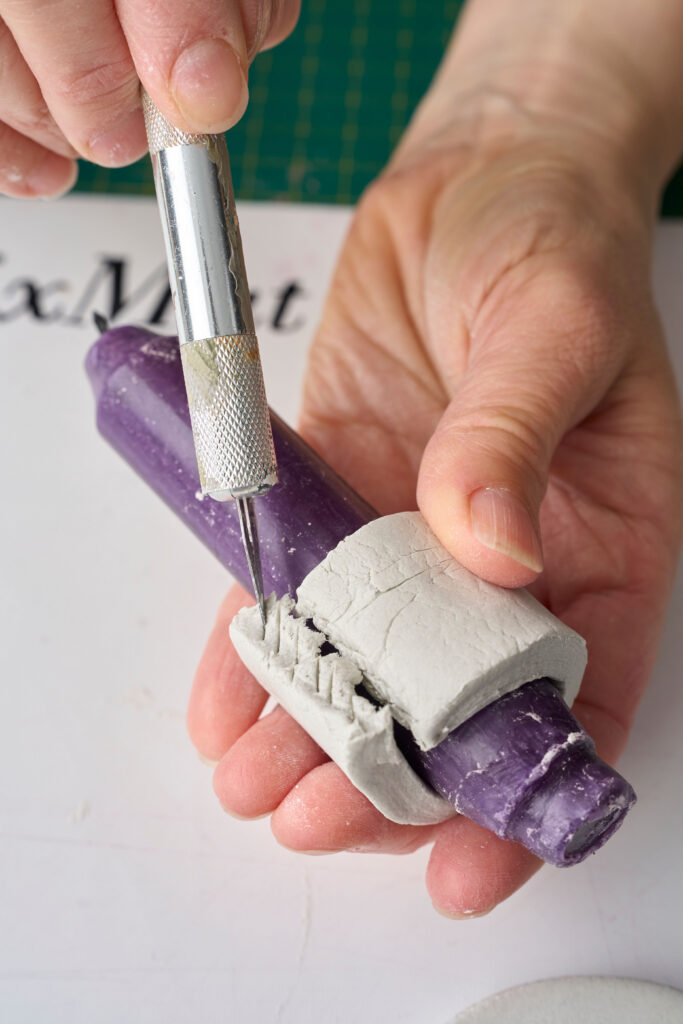
From the remaining 7mm thick clay, cut a strip 30mm wide and long enough to wrap around your candle. Make it slightly longer to allow for shrinkage as the clay dries. Score and add clay slip to the ends, then join to form a tube.
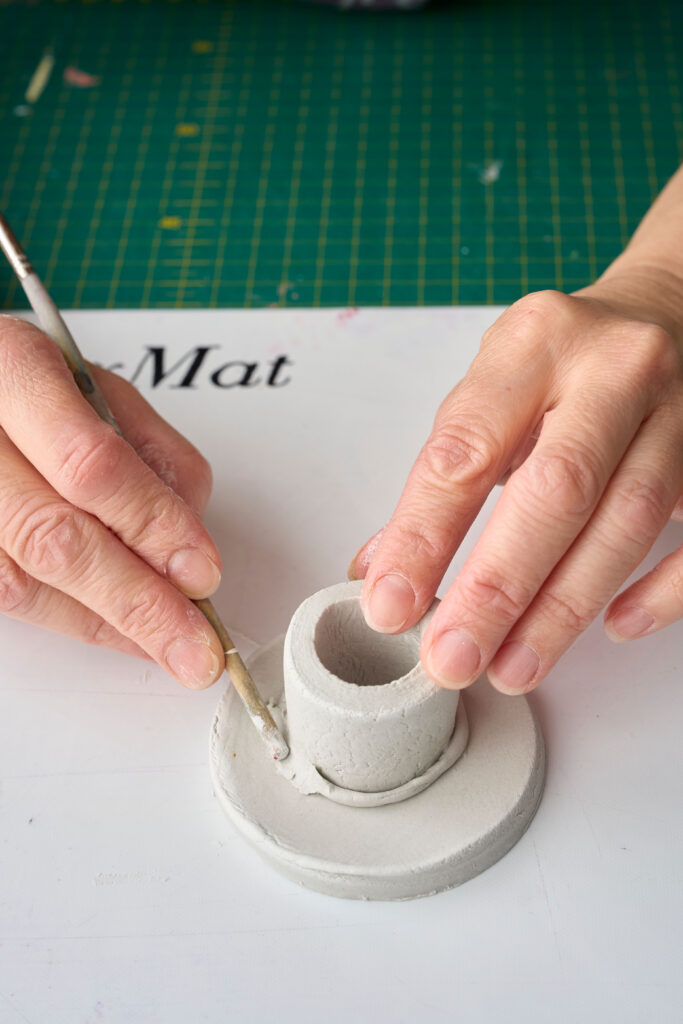
Score and slip the base of the tube and join it to the centre of the clay disc to make your holder. Roll out a long, narrow strip of clay and wrap it around the base of the tube where it meets the disc.
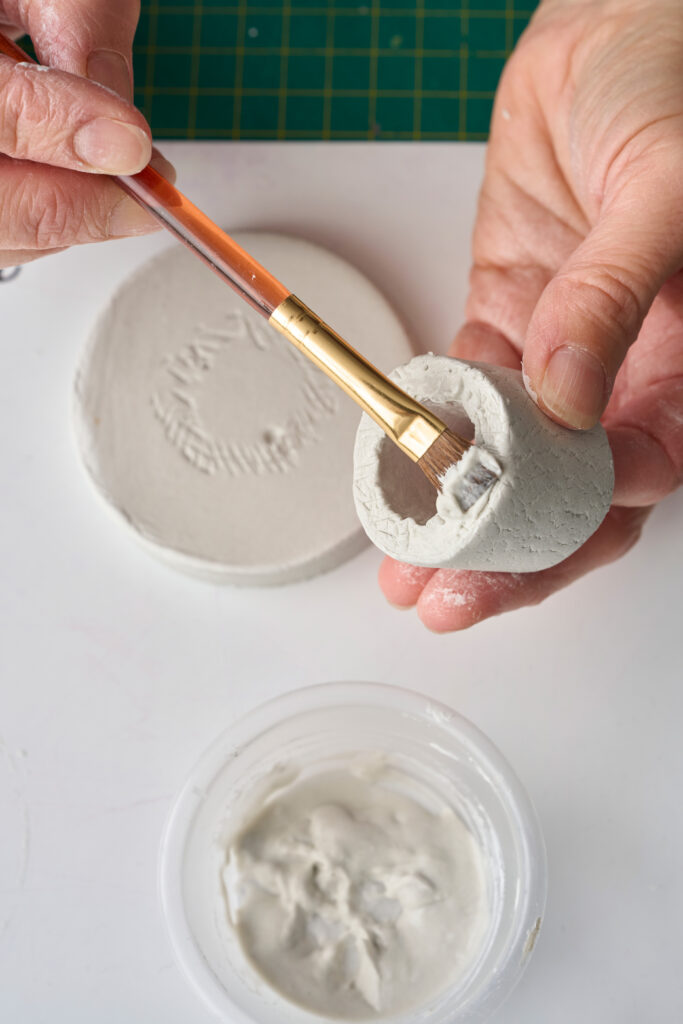
Press and smooth the strip into place using water or slip, to create a seamless join. Use the end of a paint brush or similar tool to press patterns into the clay, then smooth any rough edges with a brush and water.
Allow the candle holder to dry for 24–48 hours, turning it halfway through. Once dry, gently sand any rough edges and remove dust. Paint with your chosen Chalk Paint colours.
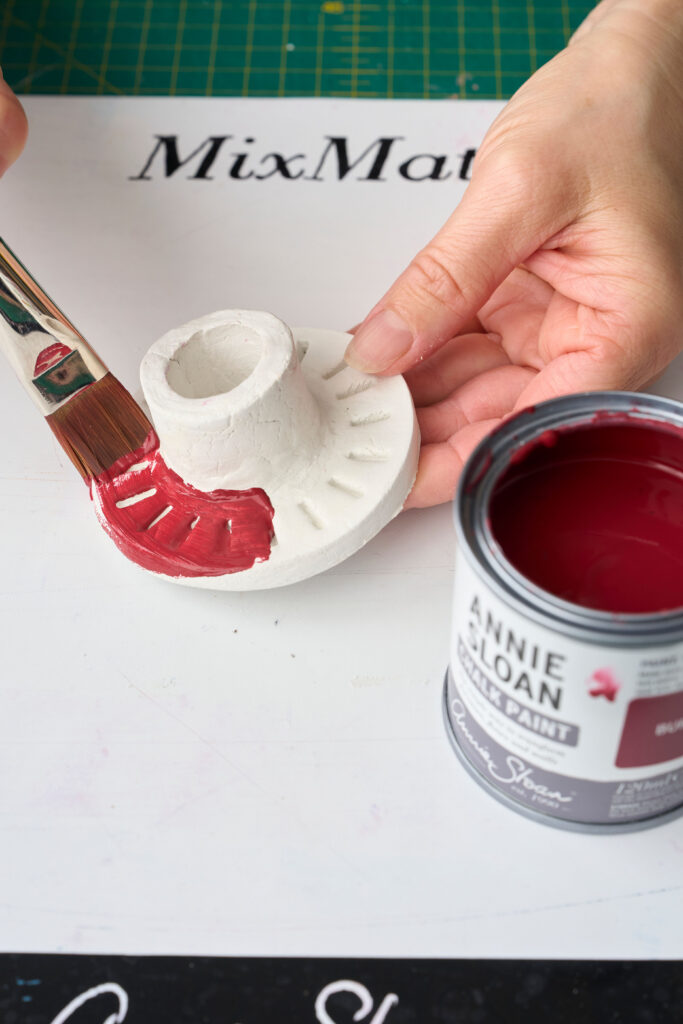
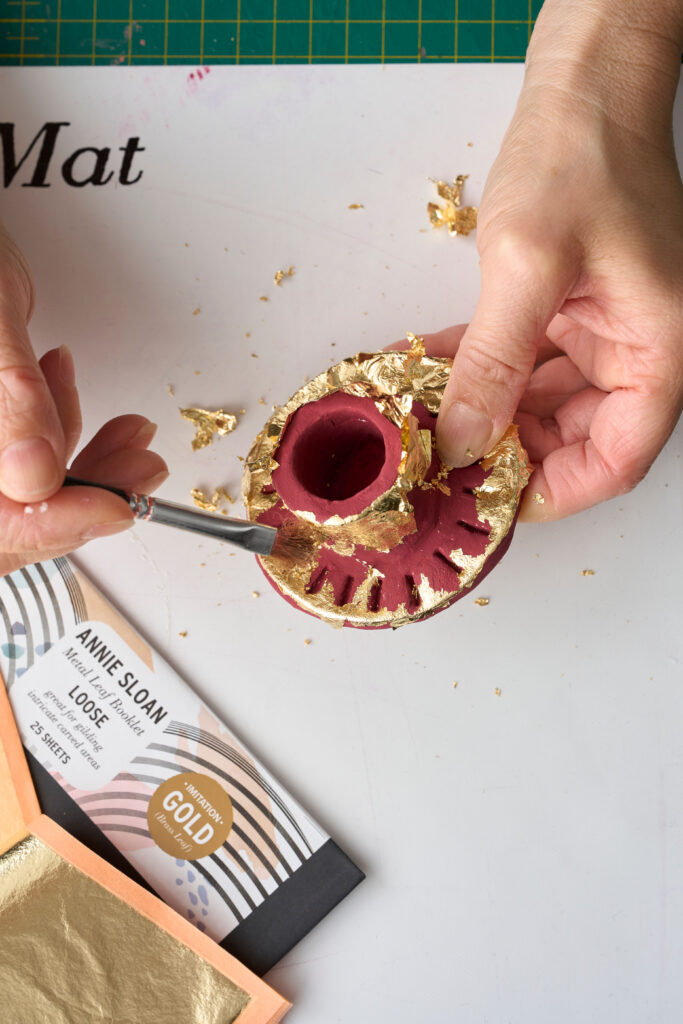
Once the paint is dry, add Gold Metal Leaf using Gold Size. Seal the candle holder with Matt Lacquer. Paint or seal the underneath too, to prevent it marking your table or mantelpiece.
Related Inspiration
Related Inspiration
Use of cookies
AnnieSloan.com uses cookies to improve your experience when you browse the site.