Techniques

How to: Paint with Chalk Paint® – The Basics

Hello, I’m Annie Sloan and welcome to my beautiful studio! It’s back to basics time. I’m going to be painting this piece. It’s quite shiny, it’s a sort of 30s little cabinet, I’ve taken the handles off so I’m ready to paint.

A lot of people use white, this is my Old White. Ooh, look at that, it’s beautifully thick paint isn’t it? Look at that! If you want to – if it’s very hot weather – you might add a bit of water. If it’s cold – really, really, really cold – you might let it get up to room temperature. But apart from that, we’re ready to go!

Here’s me with my paintbrush and glasses on… and ready to go. So actually I’d probably open the drawers up, but I’m not going to bother this time. Really, we’re just talking about painting. So hold the brush like that – you’re not doing this and don’t flip it back and forward. So if you’re holding it like that… even touching there, so you’ve got real purchase. And just brush over, every which way, be quick, it’s not little tiny, tiny brush strokes – it’s big brush strokes and cover it all over.

You might have noticed there’s no sanding, no priming. I’m just directly on. So no priming, no prepping, no sanding, just paint!

Why? How? How did all this happen? So I was a mother of three small children and they were at school. And what I needed was something that would be quick to do, so that when I collected them in mid afternoon it would all be back to normal. So that’s what I was trying to do – something quick and something that would be easy to do, and that’s what it is.

Second coat now and it’s the same as the first coat! So lots of people say ‘Gosh, you make it look so easy and it’s not so easy’ – it really, really is easy. Remember, if you paint it and you go ‘Oh, I don’t like it’… Well, maybe it’s the wrong colour, and it’s to do with the room you’re in. So maybe it needs to be blue or red or green or pink…try another colour, it won’t take long. This won’t take long at all.

So now it’s back to basics with the waxing, and the waxing is a really, really important part of my whole thing. It’s paint and wax – they’re just two really brilliant bits. So you can put wax on with anything you like. You can do it with an old paintbrush that you’ve got, you can do it with a cloth or you can use this [holds up wax brush]. You don’t have to use this, I would just say that it does make life a little bit easier.

If I don’t wax it at all, my hands will mark it. So you’ve got to wax it to seal it. So it’s to do with look and it’s to do with protection as well. Here’s the Clear Wax. It is wax that works with the paint and it absorbs into the paint really easily. So this is clear – looks white, it’s clear. And you need to put on plenty. And again you’re not doing this thing of going … very careful, really careful. No, go for it! Absolutely go for it! Don’t worry about… you can do whatever direction you want, you don’t have to do it all in one direction.

So I’m doing it in lots of different ways. And you need plenty of it on there. So every which way. And then here’s some cotton cloth. Needs to be lint-free as they say, and then I’m going to wipe over. So take the excess off.

So that’s it! All very very simple: paint, wax, done!

Welcome to the beginner's guide to Chalk Paint®! Learn the basics of painting furniture with Annie Sloan.

If you’re looking to paint you furniture for the first time, look no further than this step-by-step tutorial. Chalk Paint® is a fantastic tool for giving your furniture a whole new look in next to no time. You don’t need to be a professional painter to achieve stunning results – you just need the paint colour of your choice, a brush and some Chalk Paint® Wax to protect your finish.

Whichever piece of furniture you’re painting, you don’t have to worry about sanding or priming first. You can get straight into the fun bit! Chalk Paint® has incredible sticking power and will go onto almost any surface, even varnished pine or laminate. You can apply it thickly for a rustic, textured look or smoothly for a slick modern look. Once you’re happy with the paintwork, it’s time to seal it in for a lasting finish: choose Chalk Paint® Wax for indoor use or Chalk Paint® Lacquer for high traffic areas or outdoor use.

Step by step guide to painting furniture with Chalk Paint®

  1. Remove any hardware, such as handles, from your furniture if possible.
  2. Give your piece a quick clean with a damp cloth (avoid any harsh chemicals).
  3. Stir your chosen Chalk Paint® colour. You can use a stir stick or anything else you have to hand.
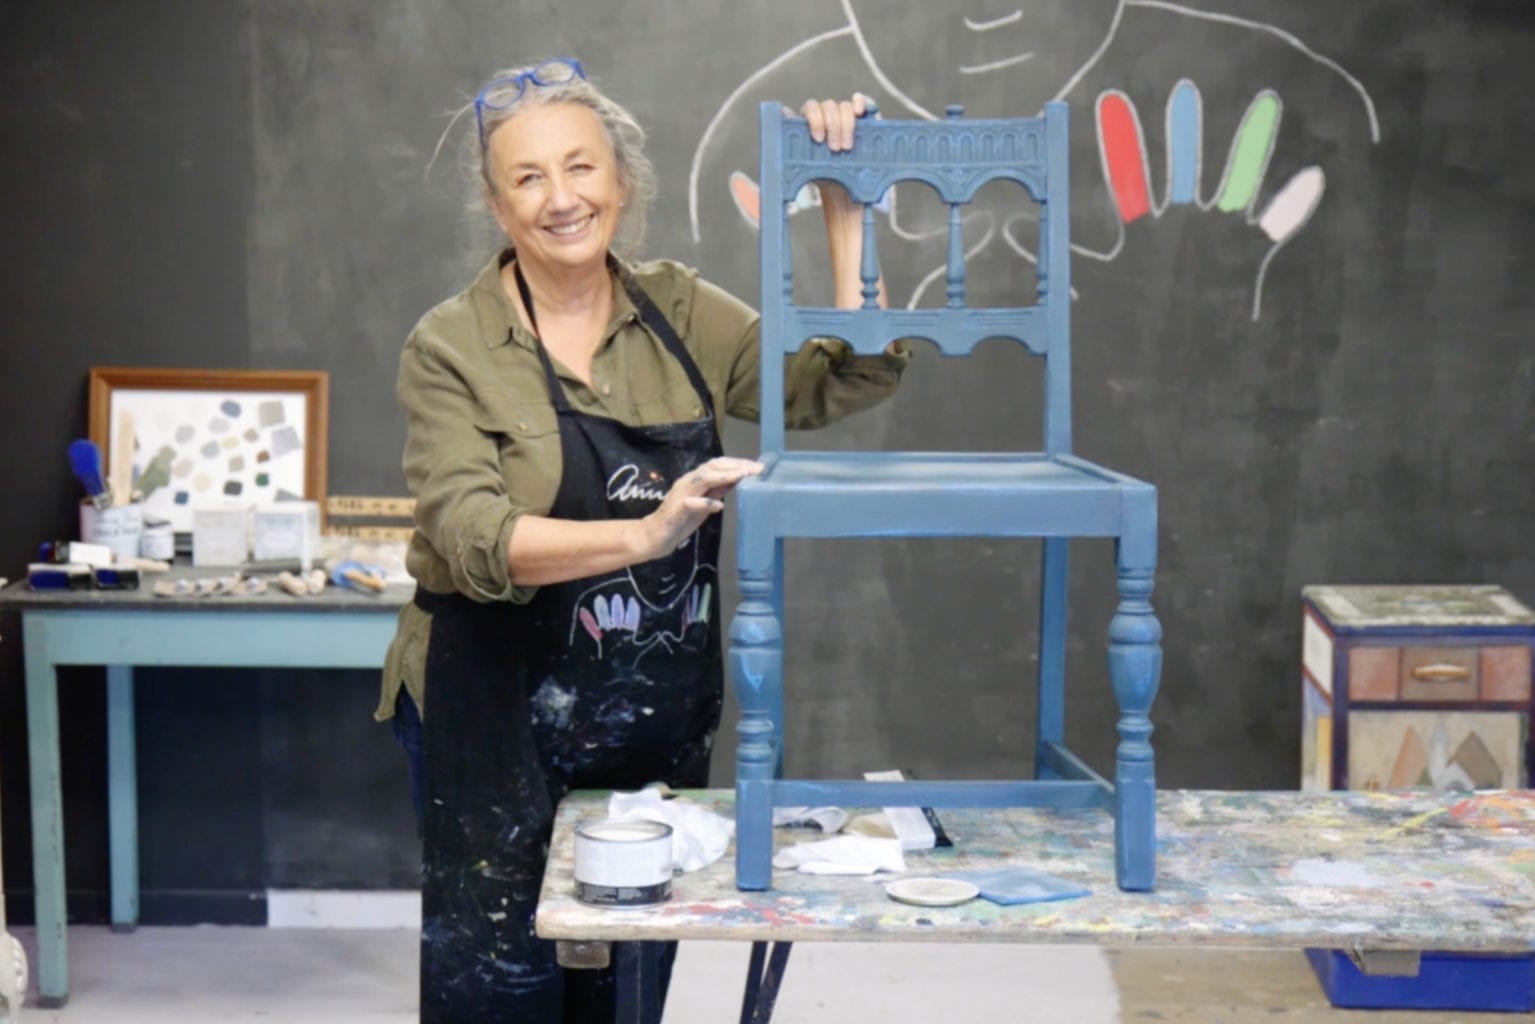
  4. Dip your brush in, and apply the paint straight onto the furniture. As you paint, move the brush in every direction and all over the piece.
  5. Wait for the first coat to be touch dry. Depending on the climate, this could take 1-3 hours.
  6. Once dry, apply a second coat in the same manner.
  7. Wait for the paint to be fully dry.
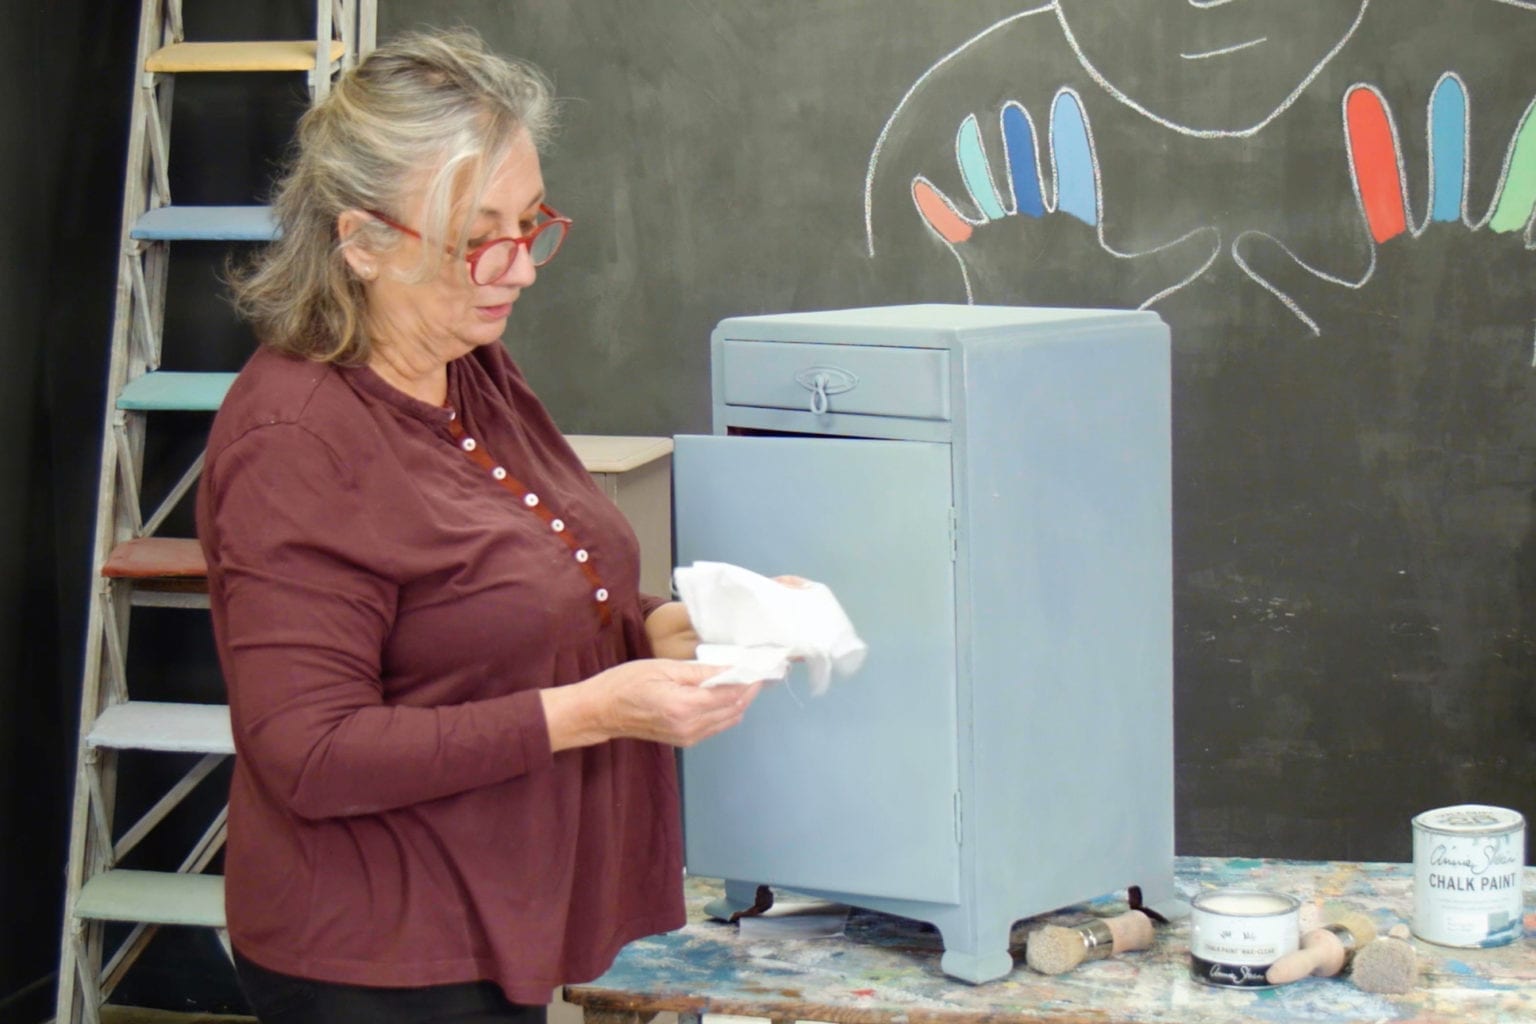
  8. Next, apply Chalk Paint® Wax in the same manner as the paint. Use a brush or lint-free cloth to apply in all directions. Work in sections removing any excess with a lint-free cloth as you go. You want to make sure every bit of paintwork has been waxed.
  9. And that’s it! You can use the piece of furniture as soon as the wax is touch dry, but please note it will take up to 2 weeks to reach its full hardness (known as the ‘curing period’). During this time, take extra care with the piece.

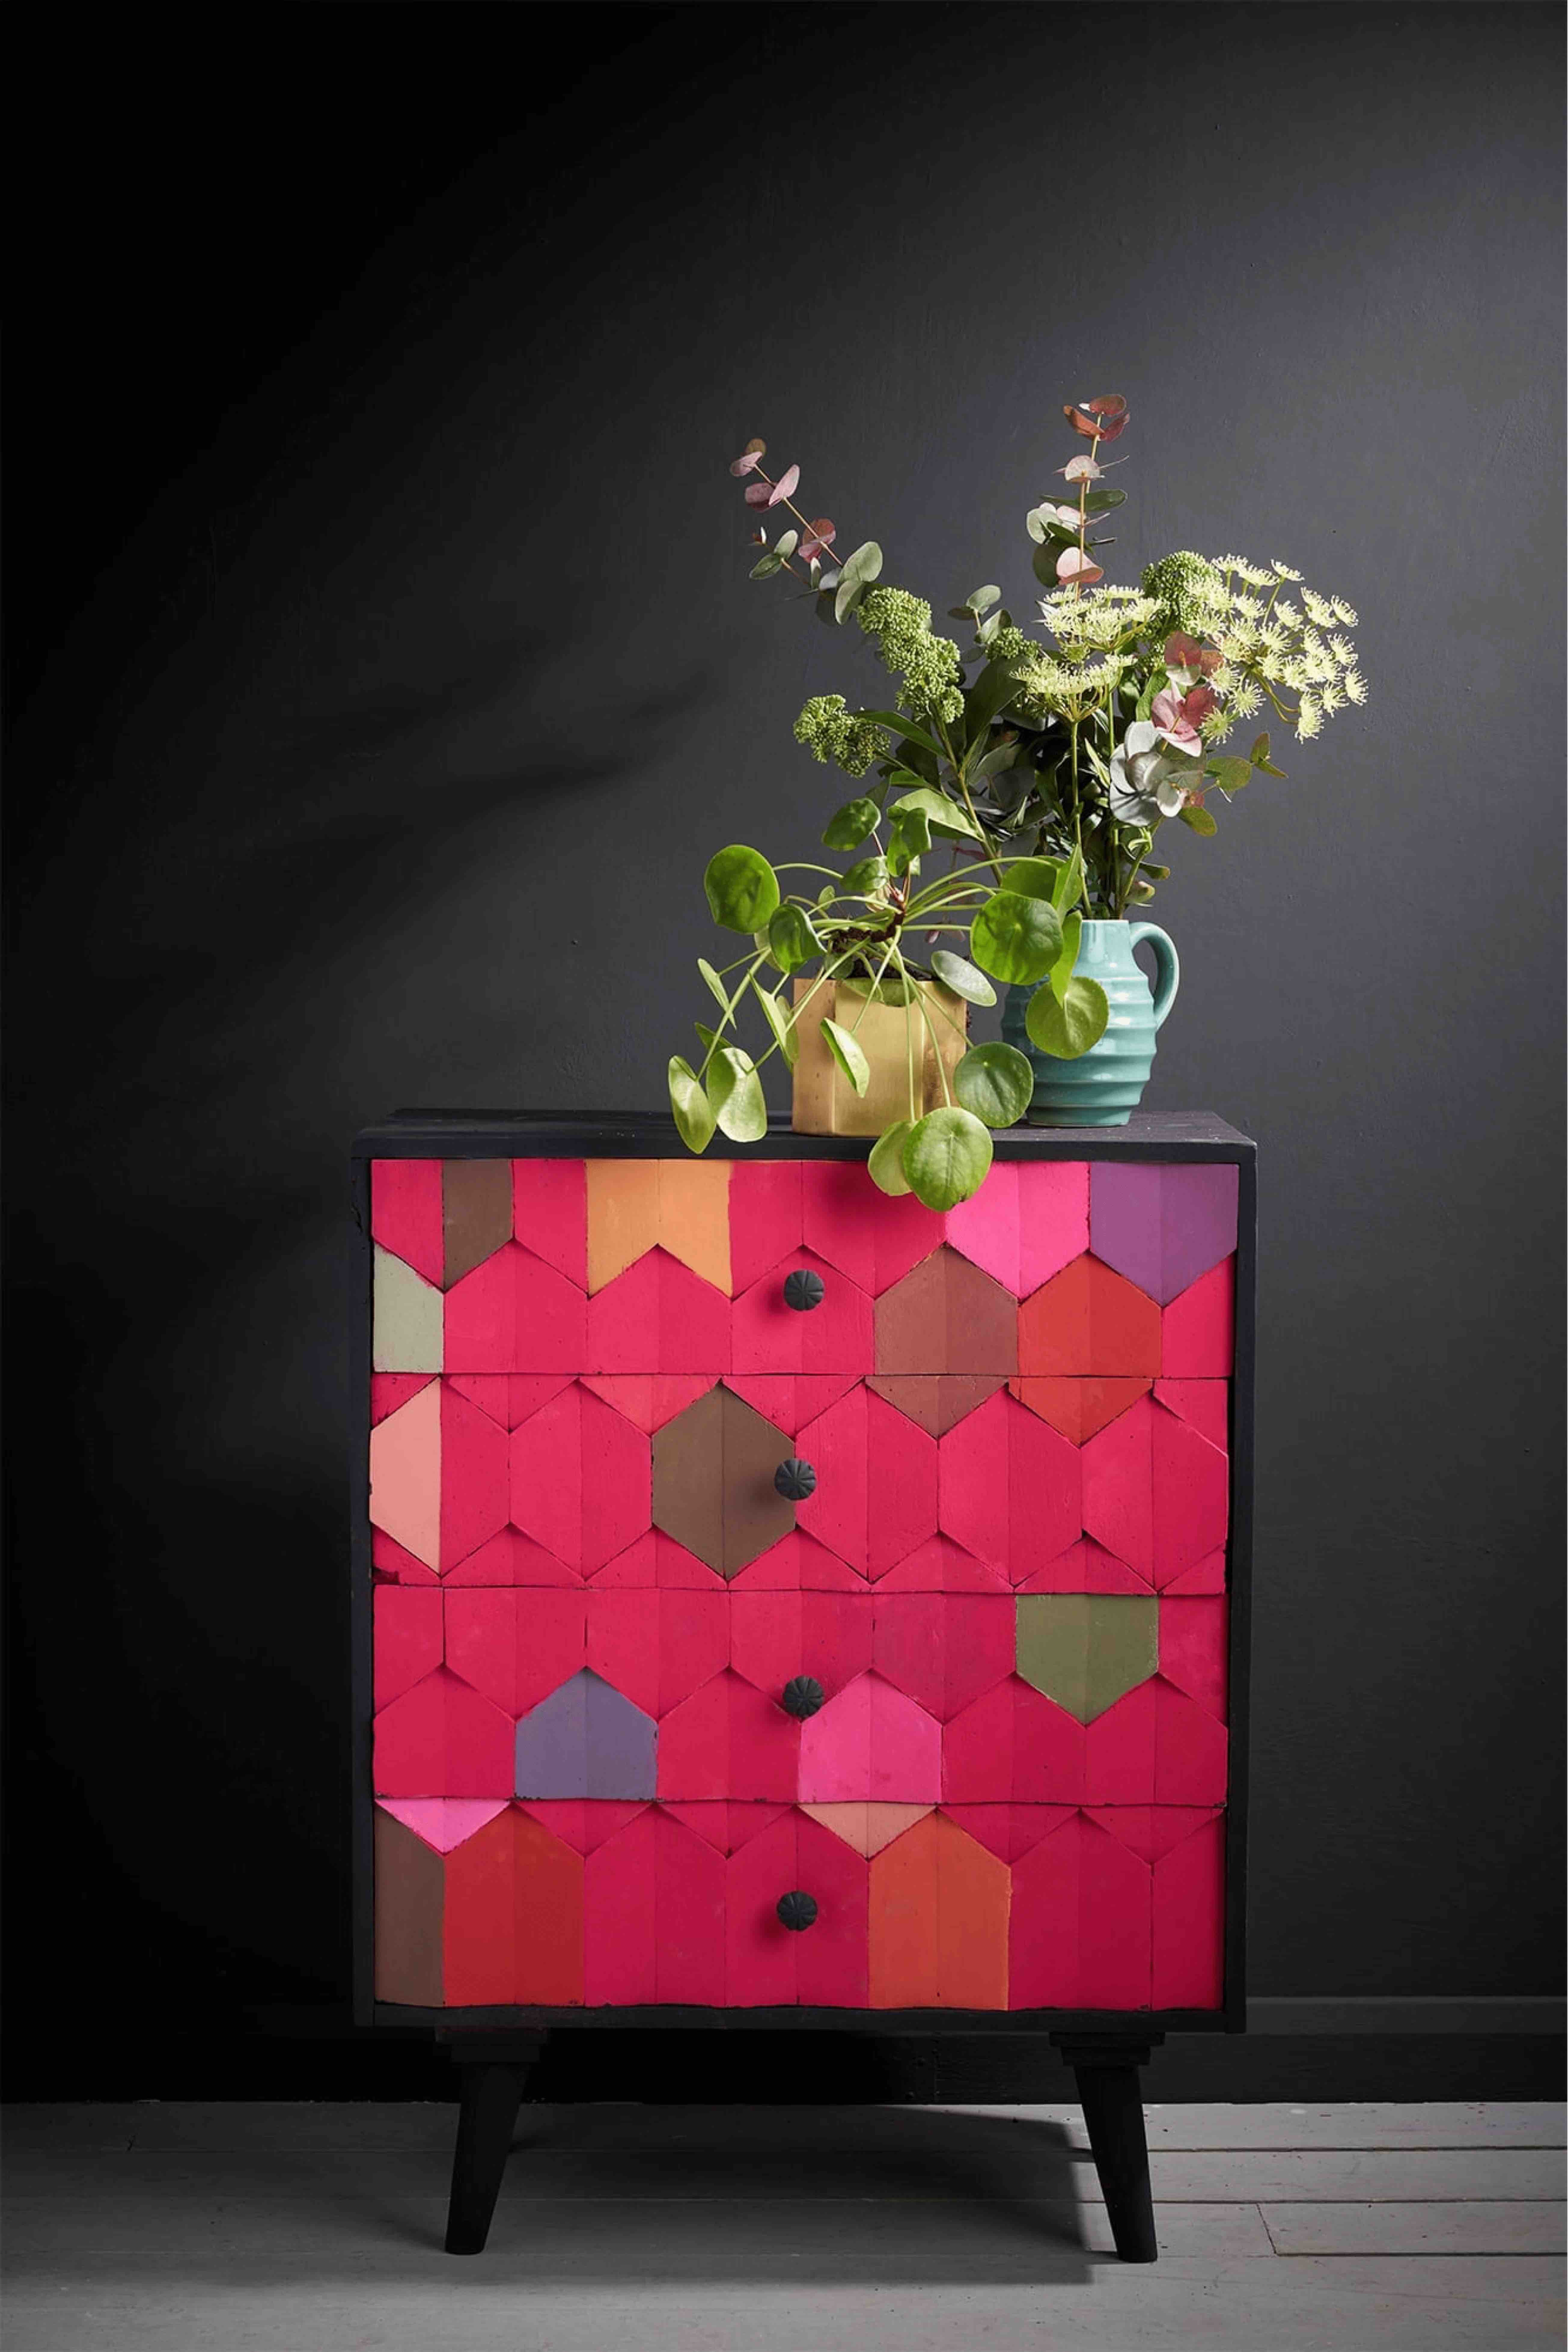
Now you’ve followed these simple steps, you’re ready to get painting. It’s easy to update furniture with Chalk Paint®, whether you’ve inherited an old piece of furniture or found one at a flea market. Perhaps you simply want to update something you already own that doesn’t suit your style anymore. Whatever you choose to paint for your first project, make sure you support your local Annie Sloan Stockist by sourcing all the tools you need from them. You can also find plenty of ideas for your project in our Inspiration pages.

Related Videos

Shop

Browse

Chalk Paint

About
Shop