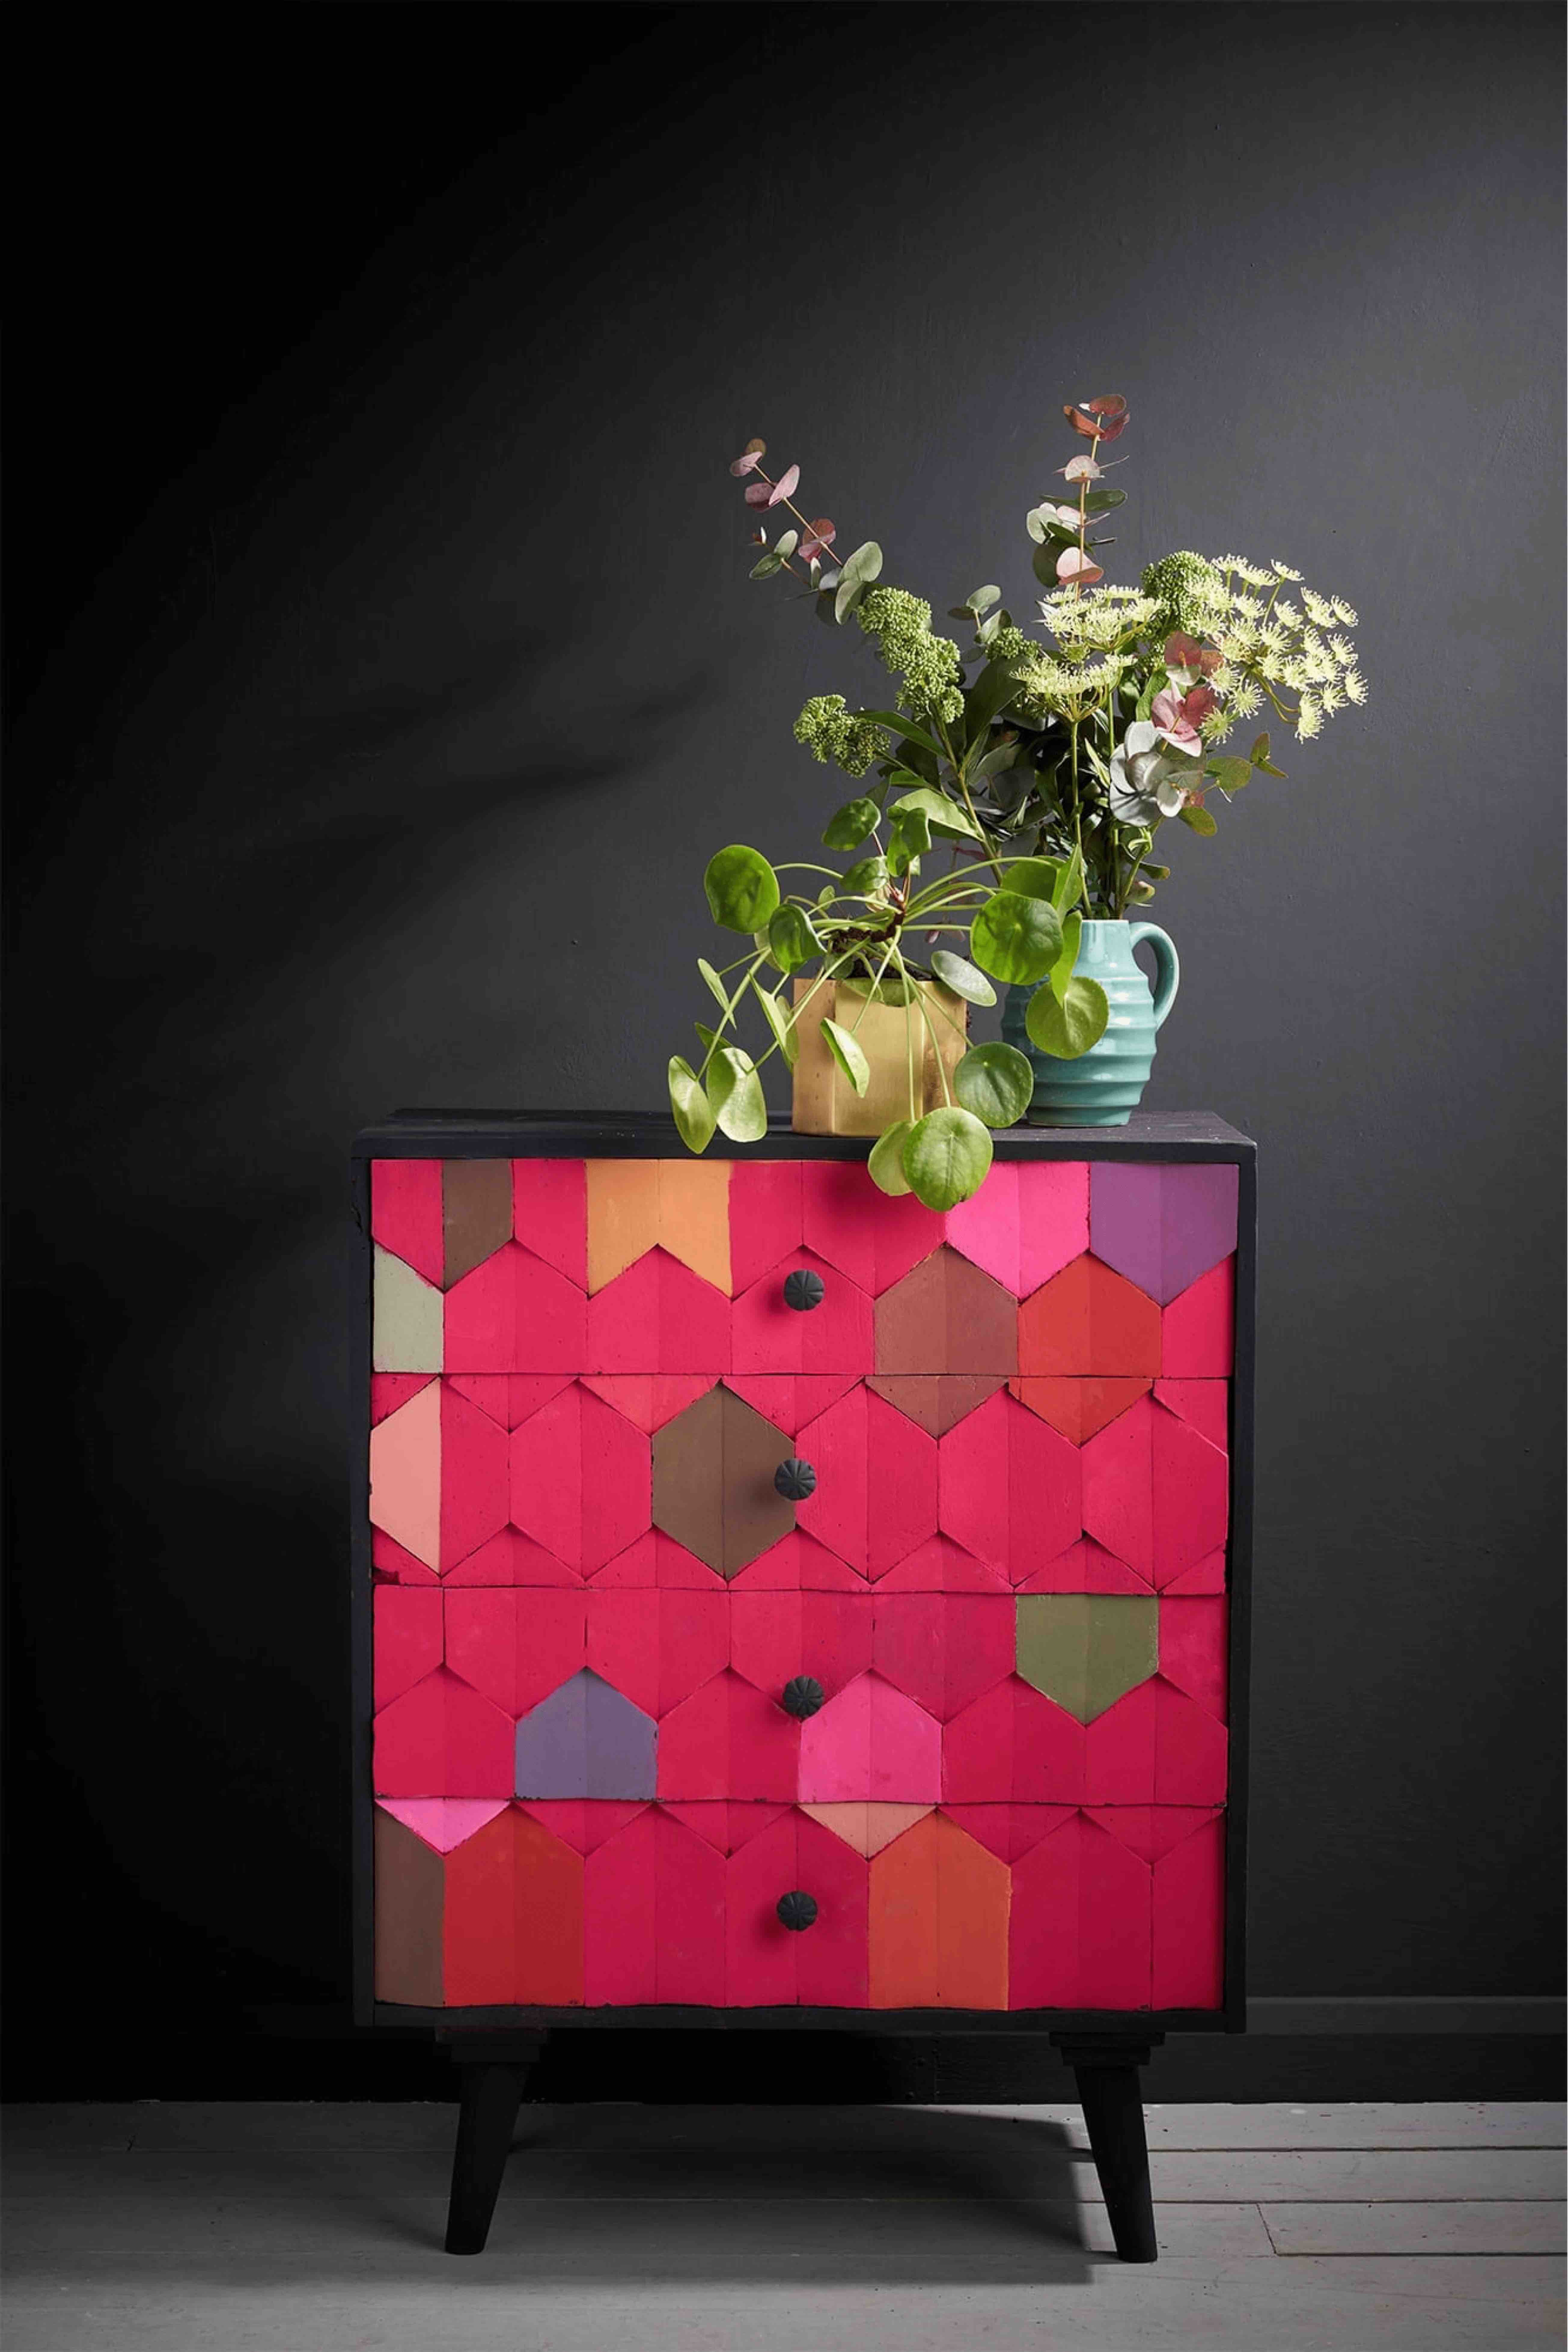
How to Paint Furniture with Polished Plaster
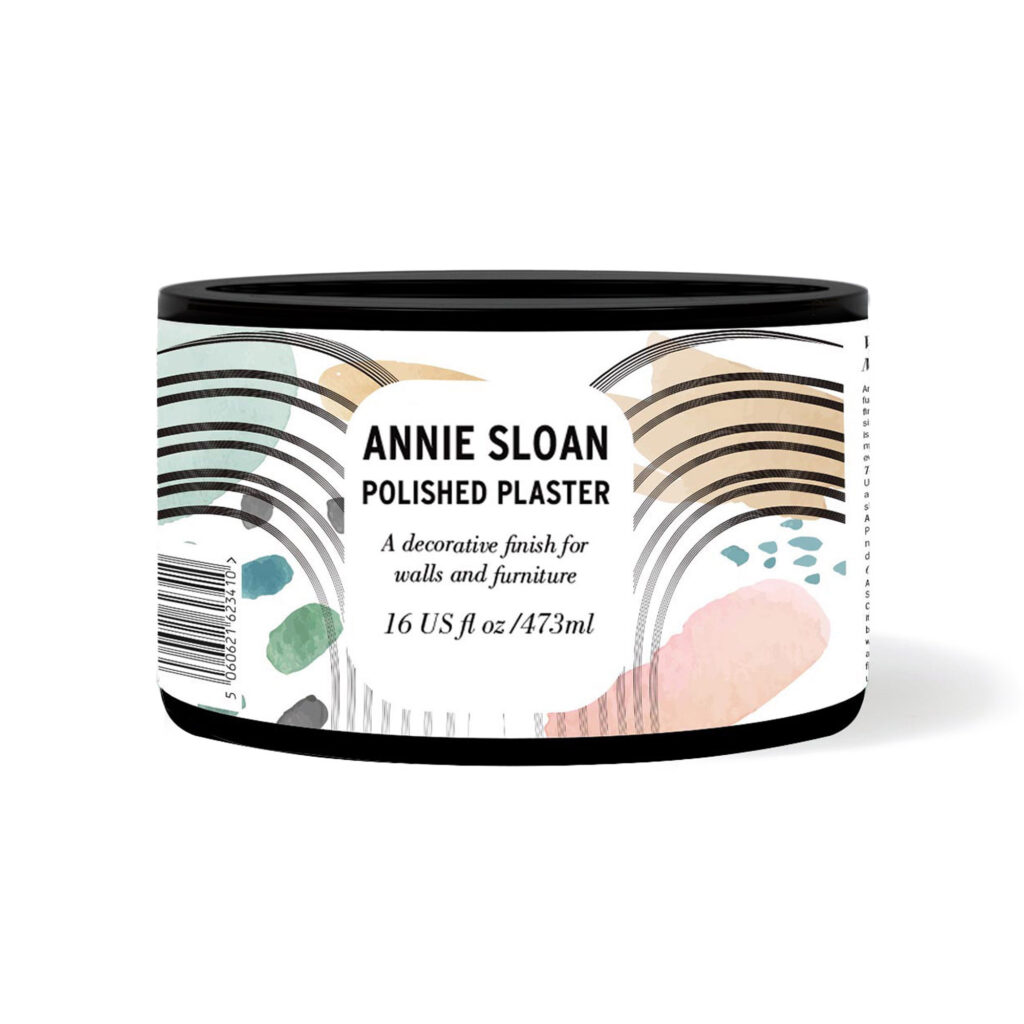
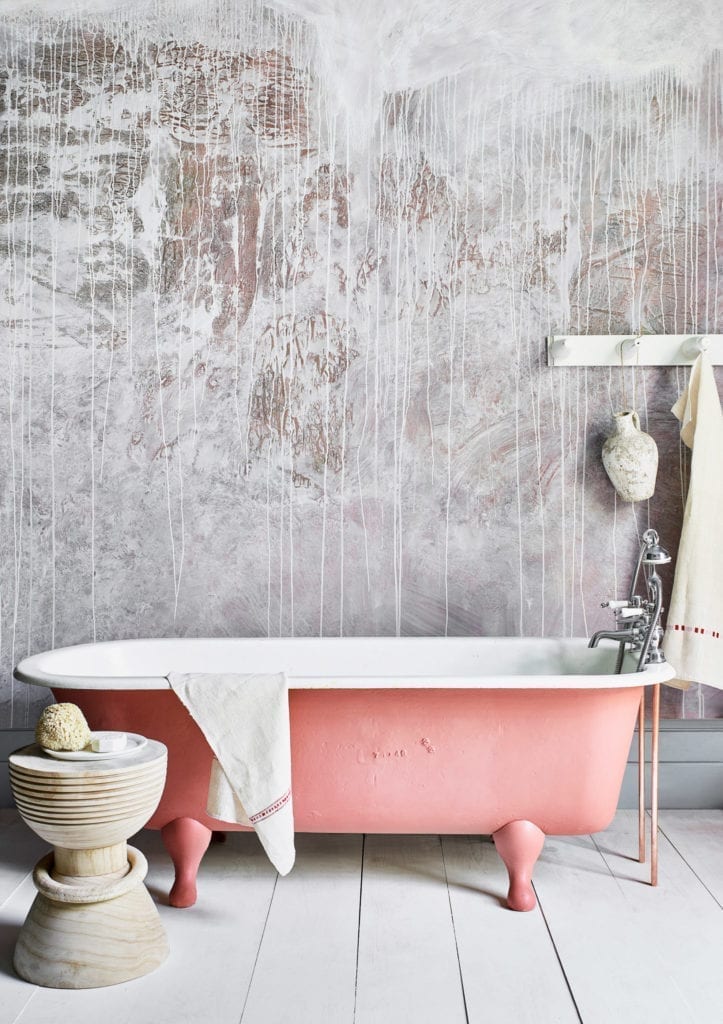
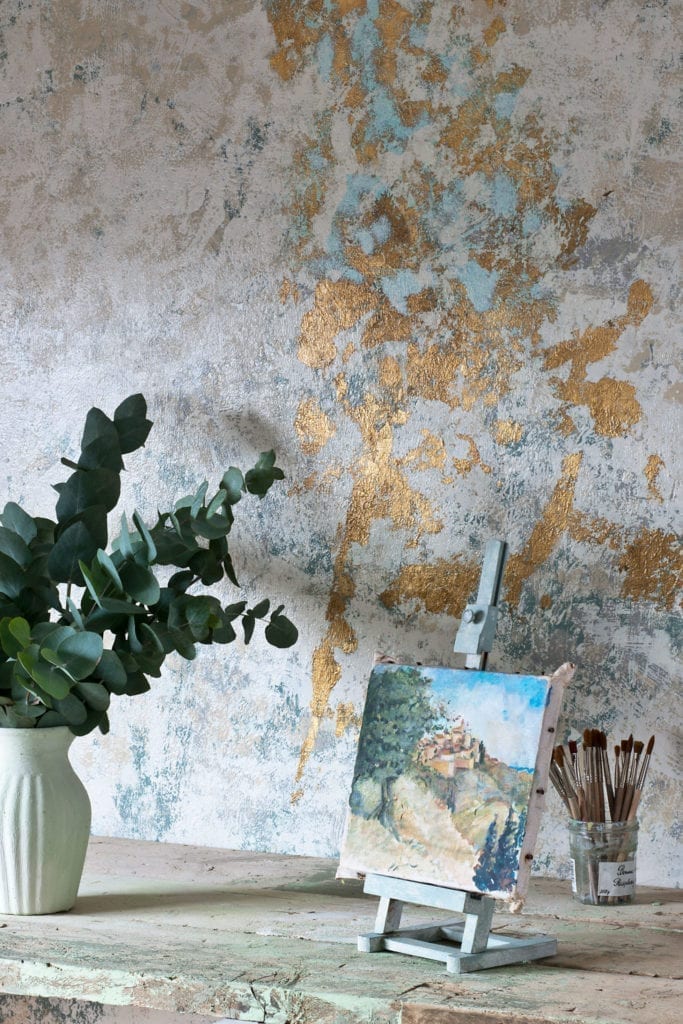
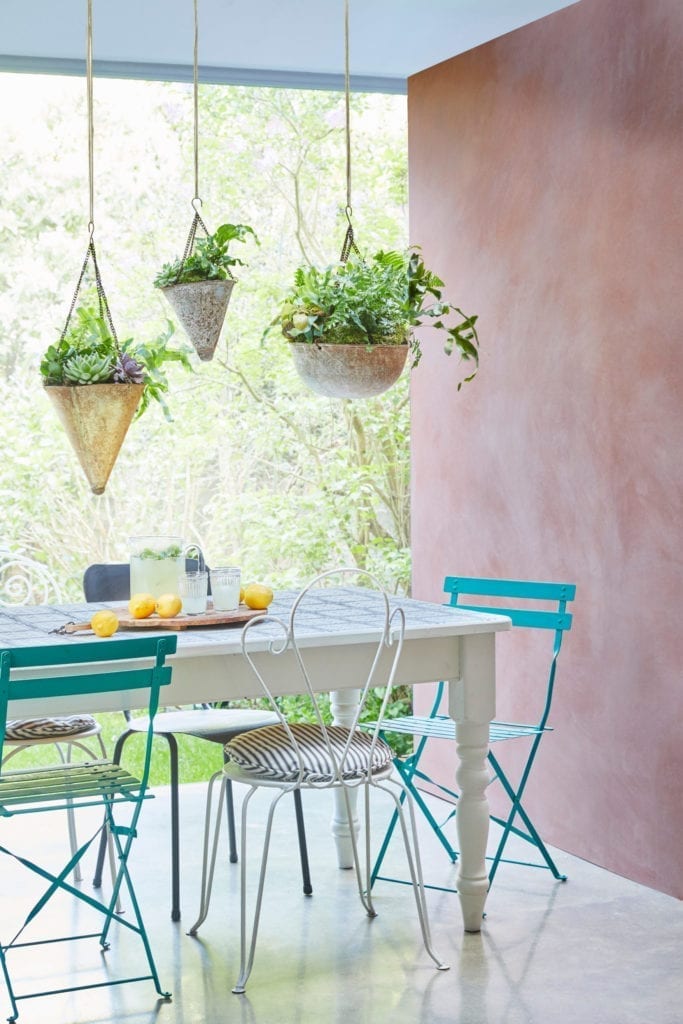
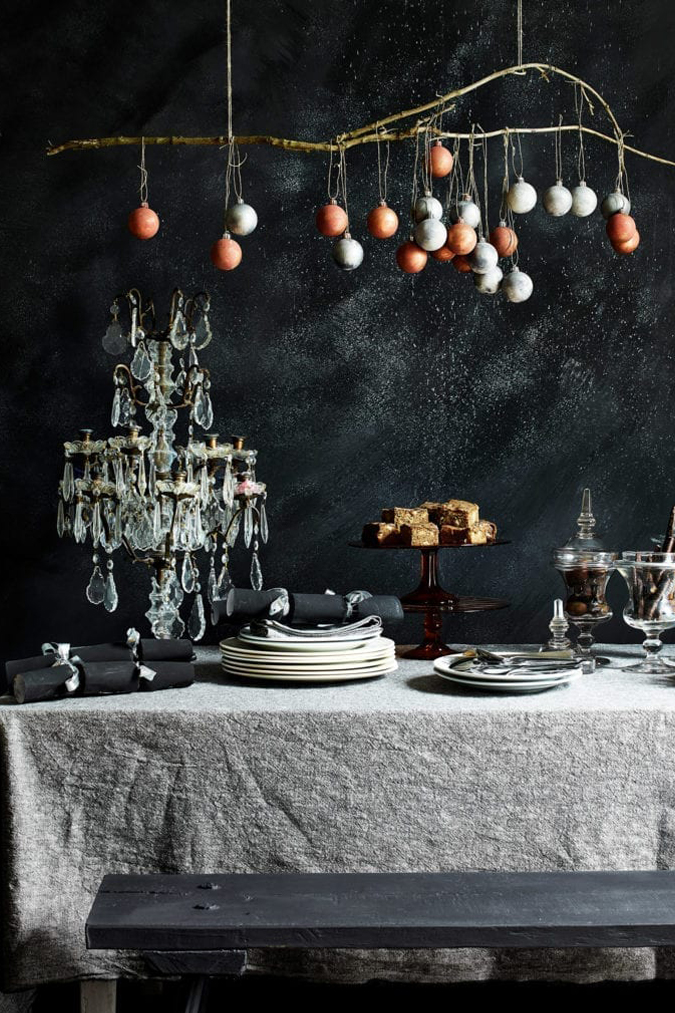
Annie Sloan Polished Plaster, also known as Venetian plaster, is a water-based paste that creates a polished plaster effect on walls and furniture. Popular with interior designers seeking to create unique and visually striking surfaces within spaces, the Polished Plaster look brings interest and timeless elegance to your home.
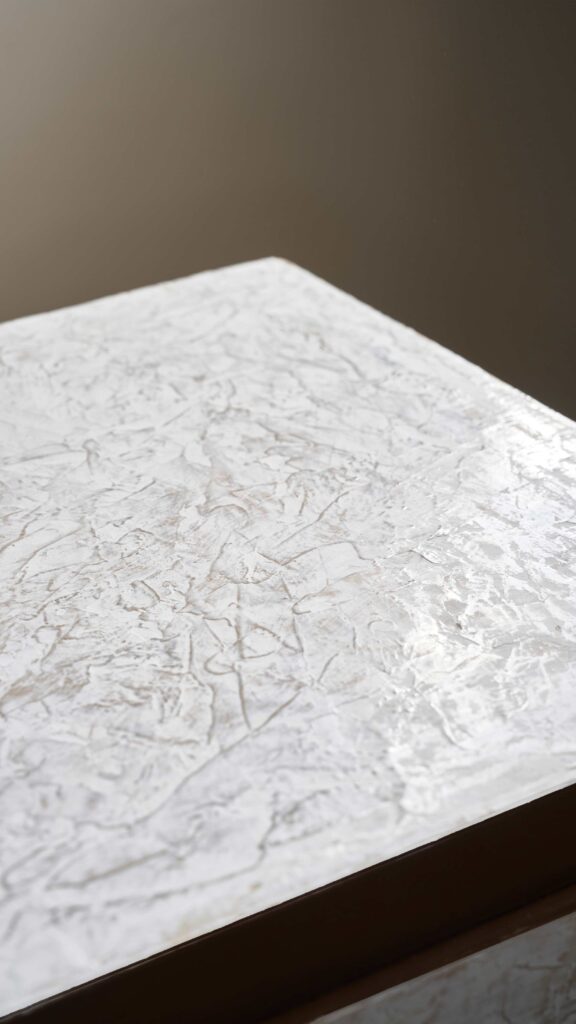
Here we mix Polished Plaster with neutral shades of Chalk paint to create a textured and organic look on an upcycled filing cabinet (pictured below). Read on to find out how to create this marble-like finish at home. Don’t be afraid to play around with mixing other Chalk Paint colours to achieve a high-end yet creative finish.
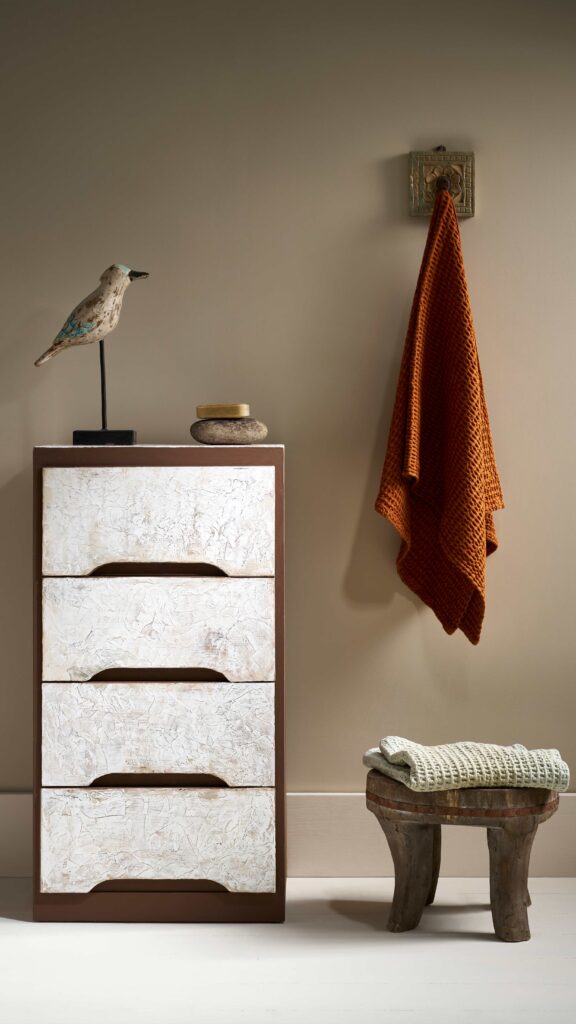
You will need:
- Polished Plaster by Annie Sloan
- Trowel
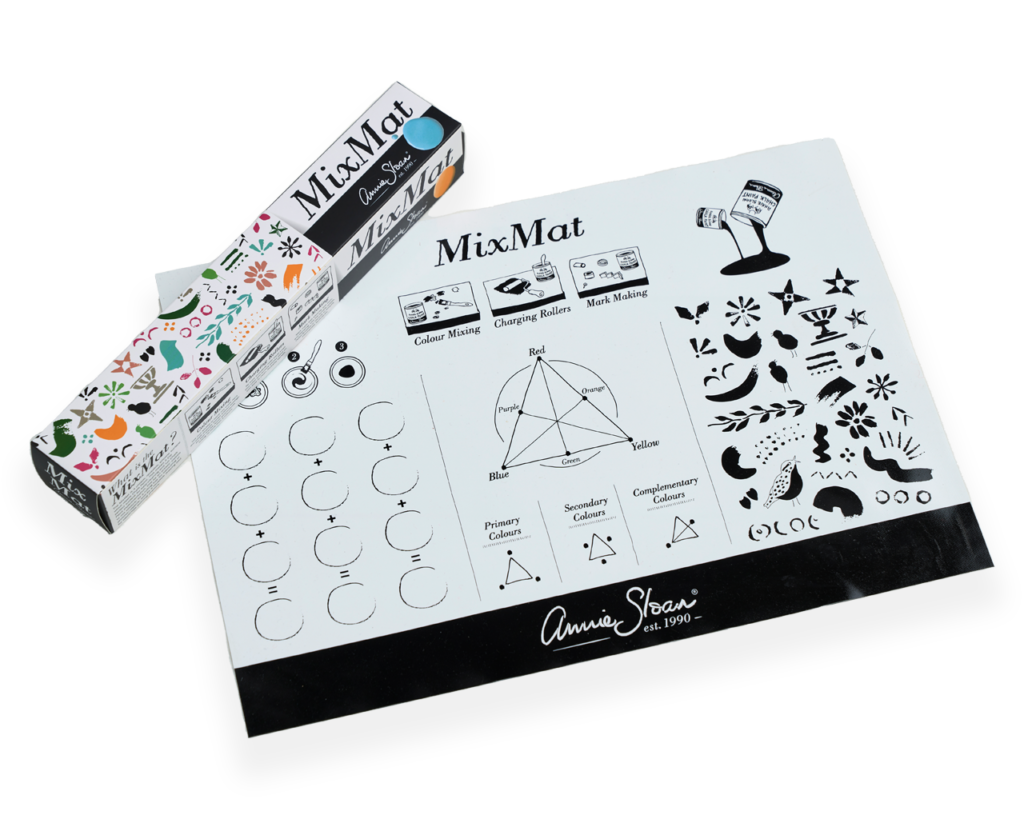
- MixMat
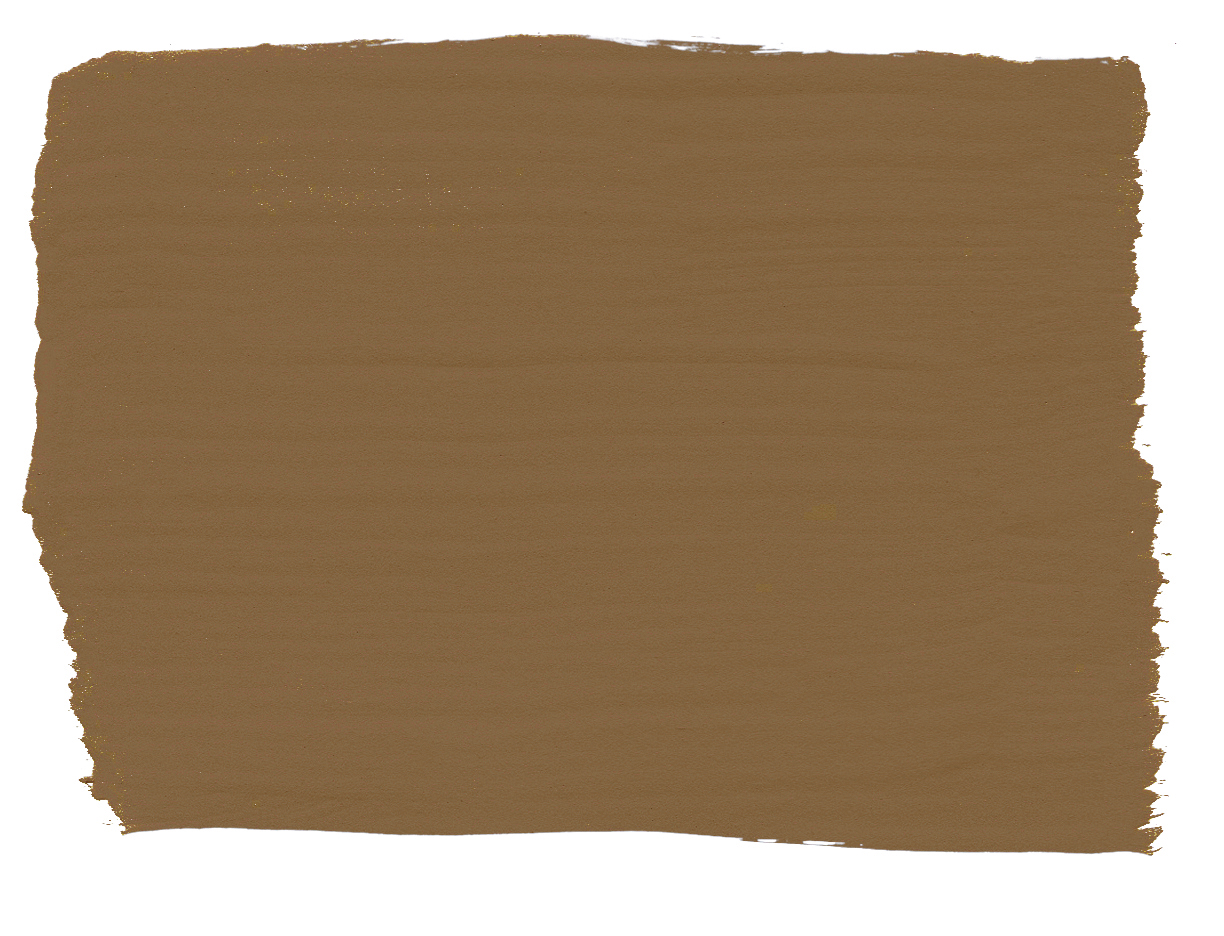
- Chalk Paint in Honfleur
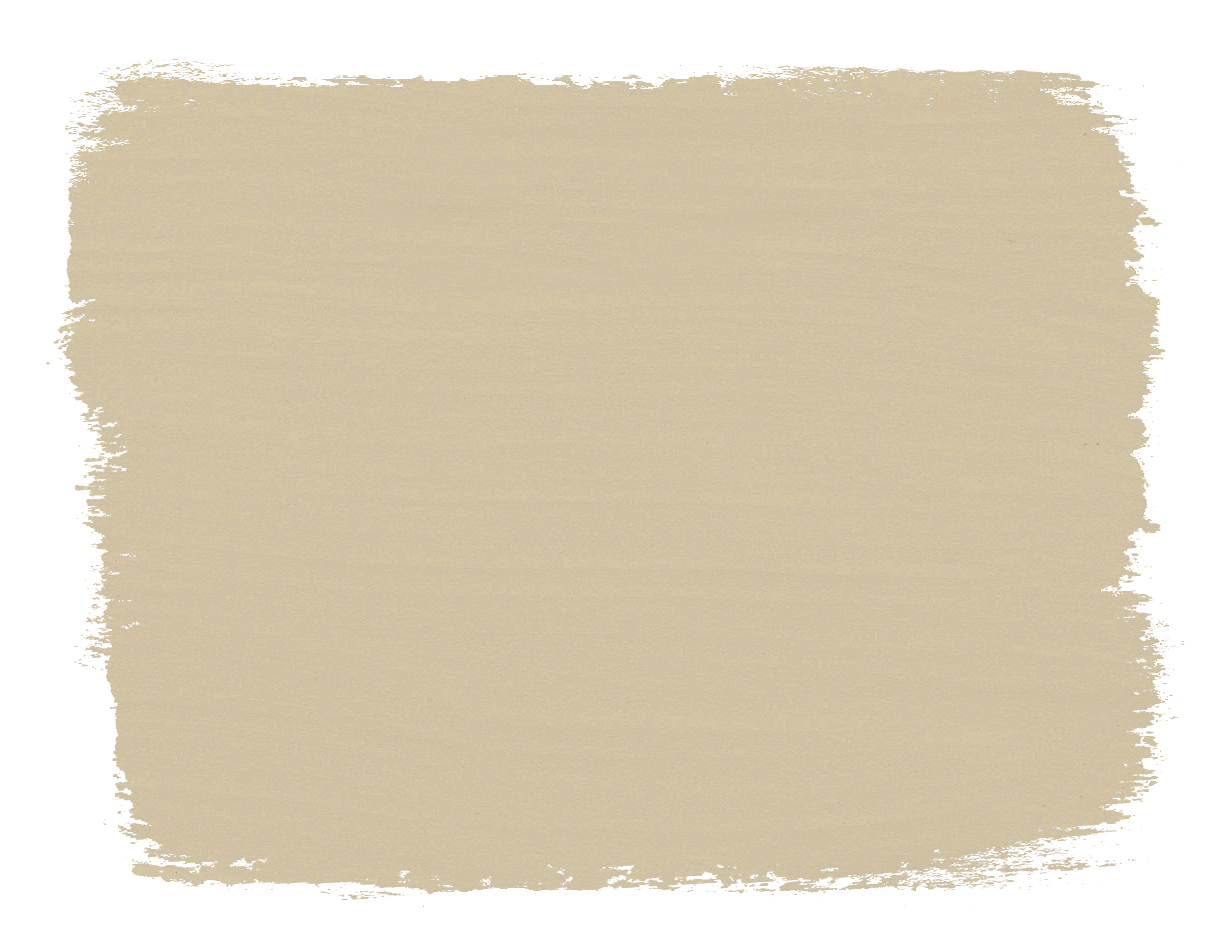
- Chalk Paint in Country Grey
- Chalk Paint in Olive
Step 1
Paint your piece with Chalk Paint in Honfleur and give it some time to dry. Chalk Paint usually dries within an hour, but this can vary depending on lots of factors (from the thickness of the paint applied to the humidity in the room). The best way to test is to use the tried and true “touch test” method! Painting over paint which hasn’t fully dried can cause pulling or even the removal of paint layers, so it’s always best to be patient.
Step 2
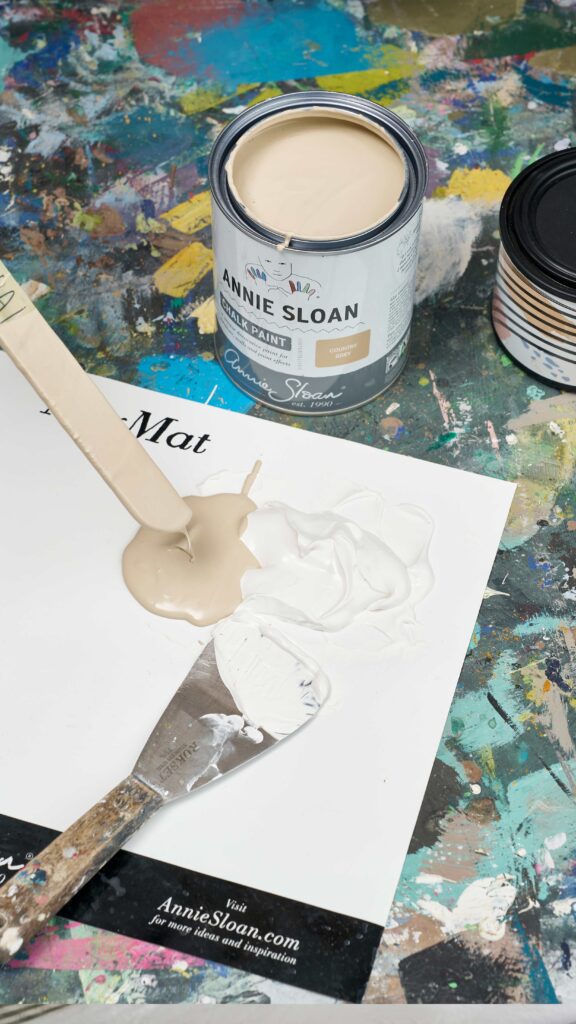
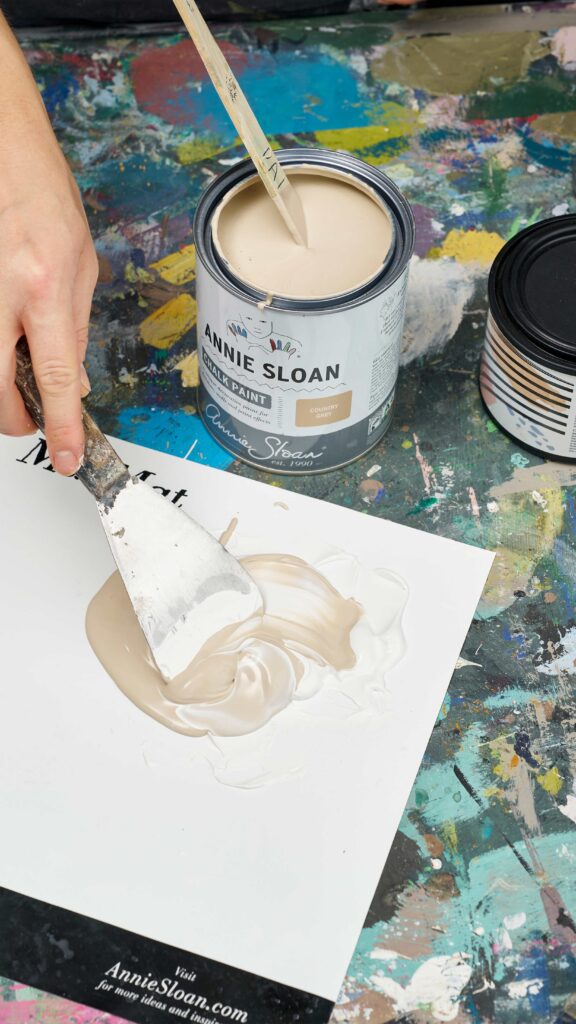
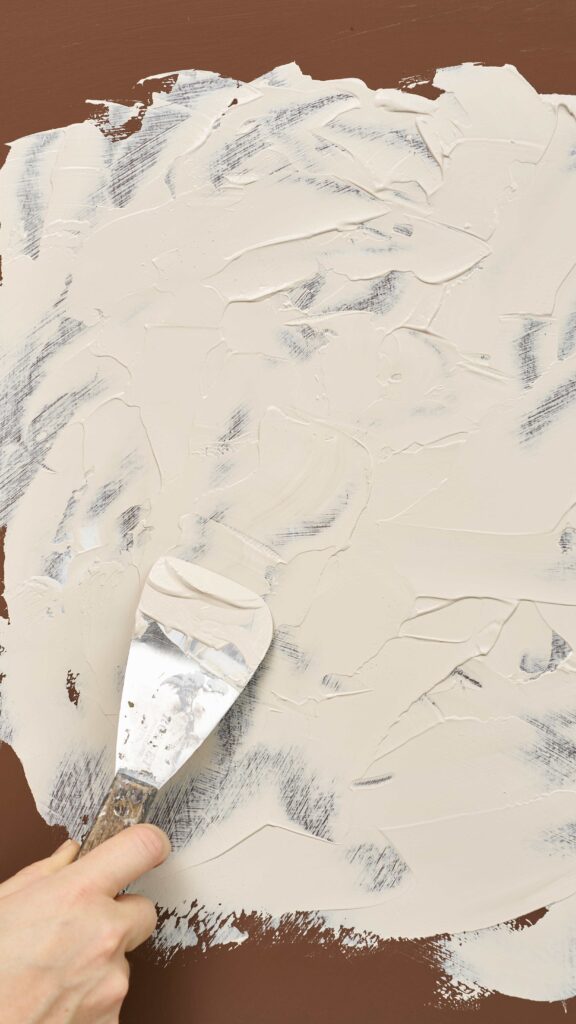
On your MixMat, use a trowel to mix Polished Plaster and Chalk Paint in Country Grey in a rough 3:1 ratio until fully combined. This will give the Polished Plaster a beautiful taupe tint. Tip: you can use this technique with any Chalk Paint shade to colour Polished Plaster! The stronger the shade, the less paint you will need so always experiment and add Chalk Paint gradually so as not to overdo it.
Step 3
Apply the mixture to your piece using the trowel. Make sure to move the mixture in various directions to give an organic look.
Step 4
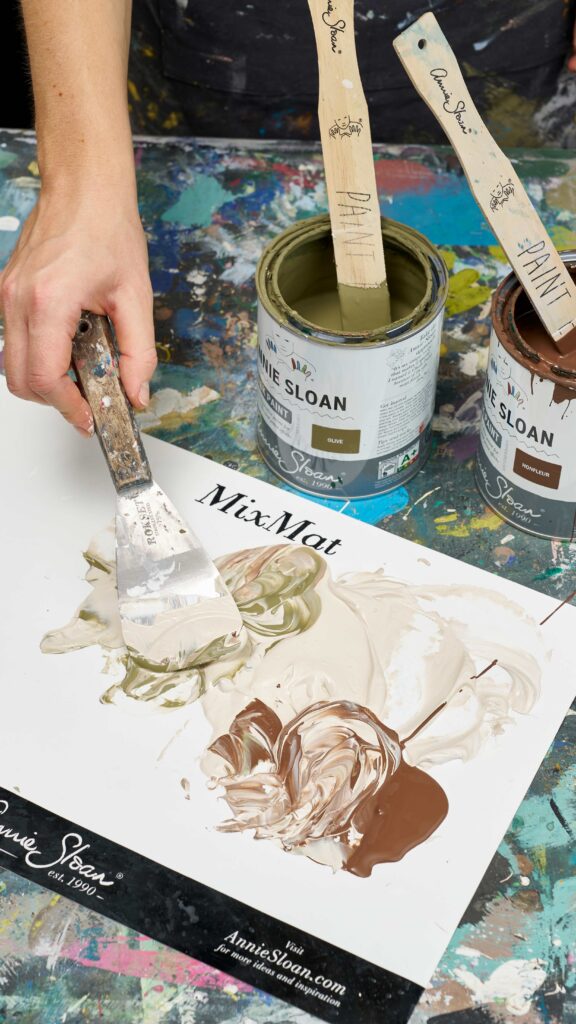
While the piece is still wet, swirl Chalk Paint in Honfleur and Olive into the plaster mix on your MixMat. Don’t fully combine them – you want the different colours to be visible.
Step 5
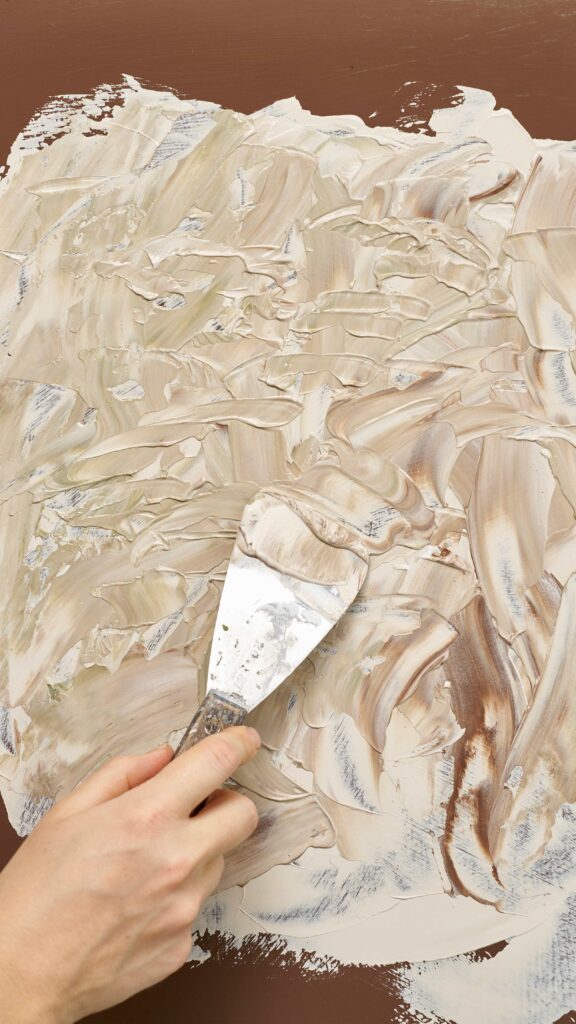
Spread this swirled mix onto the surface using your trowel. Repeat the same movements as before to create a “plaster” effect with the three different hues. Make sure there’s plenty of texture. Let it dry. Since you’ve applied the paint thickly, this will take longer so be sure to allow sufficient time.
Step 6
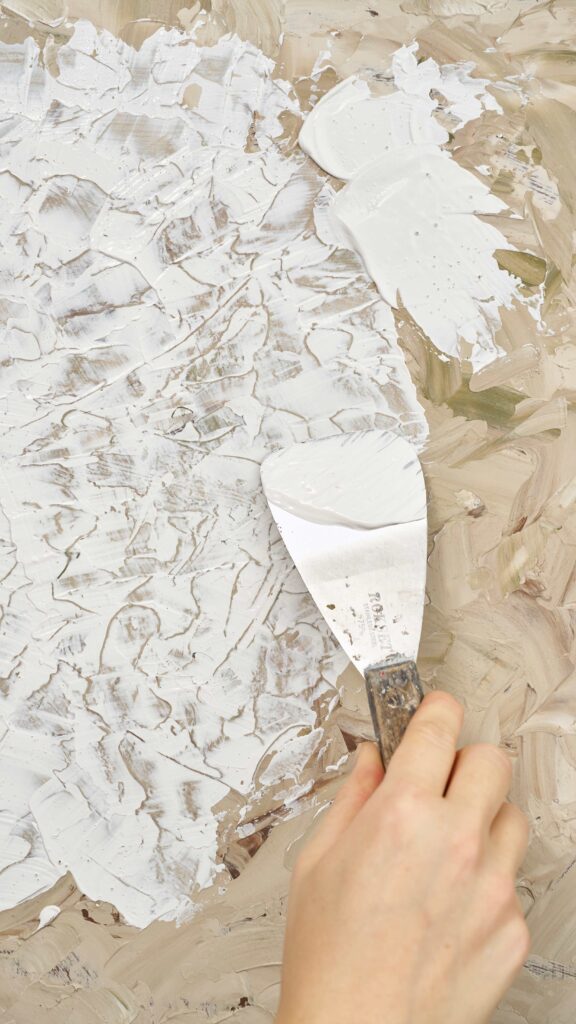
Once it’s fully dry, add a layer of pure Polished Plaster over the whole piece. Fill in any gaps in the texture left from the previous steps to create a smooth surface. However, be sure to scrape enough back to reveal the underlying coat and colours. Let it dry.
Step 7
Using a clean, dry trowel, gently scrape over the piece, keeping the blade parallel to the surface as much as possible. This will buff the layers, creating a fully smooth surface with a sheen but still appearing textured.
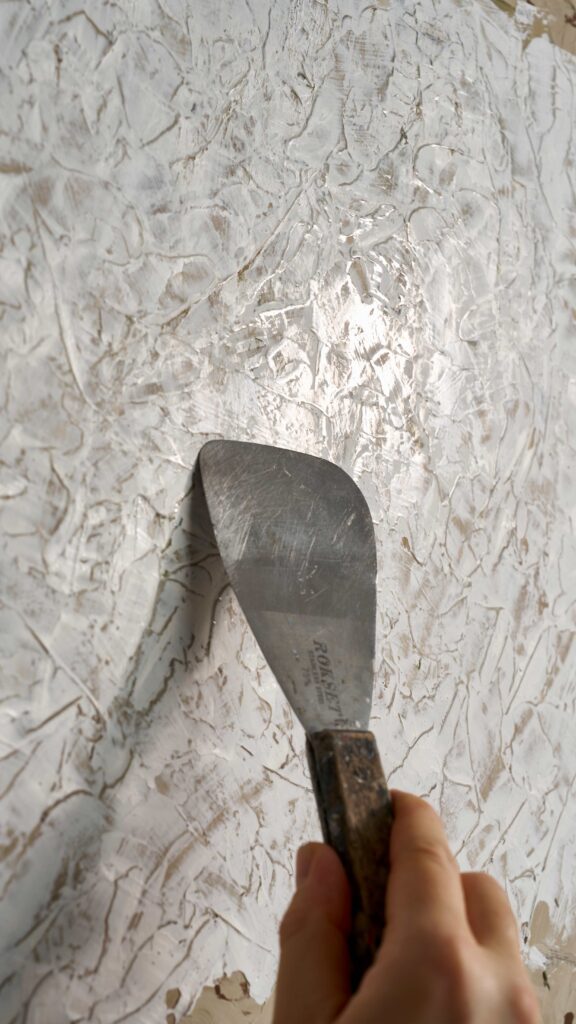
Step 8
Stand back and admire your work! There is no need to apply Chalk Paint Wax or Lacquer to protect as the Polished Plaster will do this. Snap a photo and share it to social media, tagging the @anniesloanhome and @chalkpaint accounts so we can share and admire your work!
Featured products

Related Inspiration
Related Inspiration
Shop
Chalk Paint
Use of cookies
AnnieSloan.com uses cookies to improve your experience when you browse the site.
