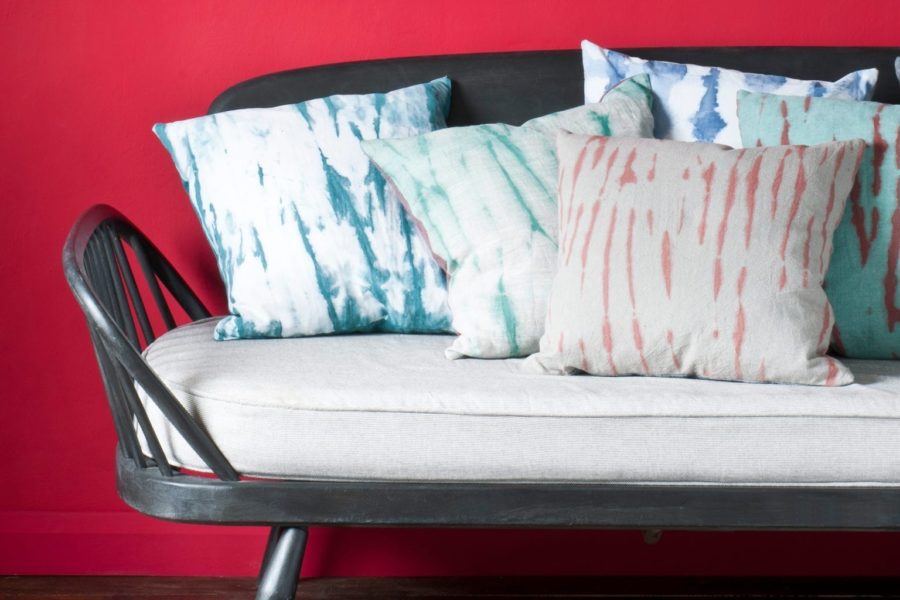
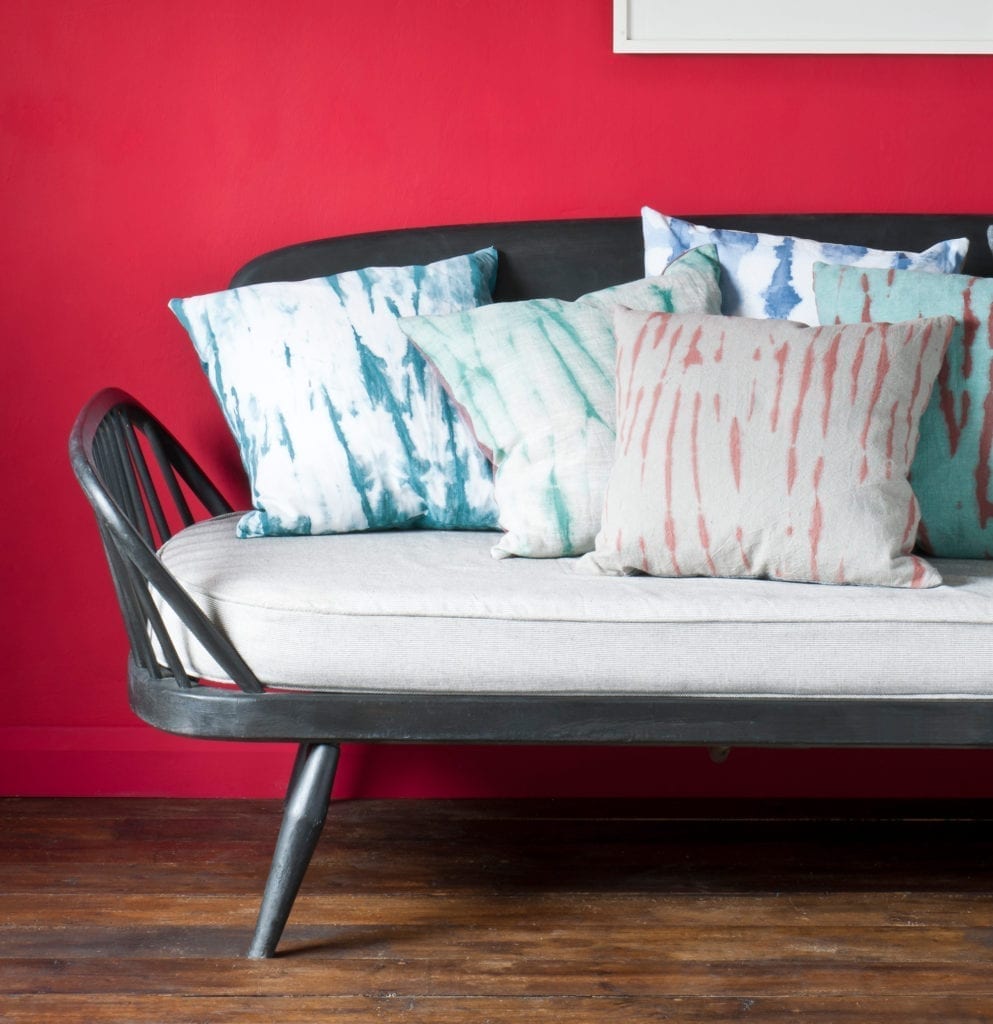
Making your own zipless cushion cover is surprisingly easy. This simple no-zip technique is one of the easiest things to sew, making it the perfect first project for beginners. You don’t need to be an expert to make this envelope cushion cover – or pillow cover if you’re in the USA. No zippers. No buttons. All you need is a sewing machine, a cushion pad and enough fabric to cover the front and back of your pillow.
If you really want to make this DIY cushion your own, you can use Chalk Paint® to dye the fabric first, or to print on a pattern. Here we’ve used a tie-dye technique. The choice is yours, of course.
Step by step guide to making a simple DIY cushion
- Begin with two squares of fabric that are the same dimensions as your cushion pad, with a 1.5cm seam allowance added on to each edge. If there is a wrong sid–e and a right side to the fabric, have the two right sides facing each other.
- Sew around three sides of the fabric, working 1.5cm in from the edge.
- Cut the ends off the corners of the fabric.
- Turn the fabric inside out and press with an iron, paying attention to the open edge by making certain that the edges are pressed inside with about 1.5cm of fabric.
- Insert the cushion pad.
- Pin the opening closed and secure it with a discreet slipstitch.
Now you’ve followed these steps, you’re ready to start sewing up a storm, making as many cushions as you like for your home – or how about as a gift? You can also mix and match patterns and colours by combining different paints from the Chalk Paint® palette, or by using different tie-dye techniques.
For more ways to paint and dye fabric, see Annie Sloan Paints Everything published by CICO Books. Photography by Christopher Drake © CICO Books.
