Instead of buying expensive tiles, you can create a fantastic repeat pattern simply by using a stencil. This is a great technique for giving a piece of furniture a quick update. No need for tile grout or trowels here! All you need is some Chalk Paint®, a sponge roller and a stencil.
For this tutorial, we’ve used the Annie Sloan Tile Stencil, which you can get free with the first issue of The Colourist. You can of course use any stencil of your choice. If you want to see how it repeats, practice on some paper first. This tiling technique could be used on a table top. You could even try it on floors, just make sure you seal in your paintwork afterwards with Chalk Paint® Lacquer.
TOP TIP: before starting, give your stencil a coat of water-based varnish. This will make the stencil more rigid and give it extra resilience so it lasts longer.
Step by step guide to creating a tile pattern with stencils
- Paint the surface of your table in Chalk Paint® in the colour of your choice. Ensure the paint is completely dry before stencilling.
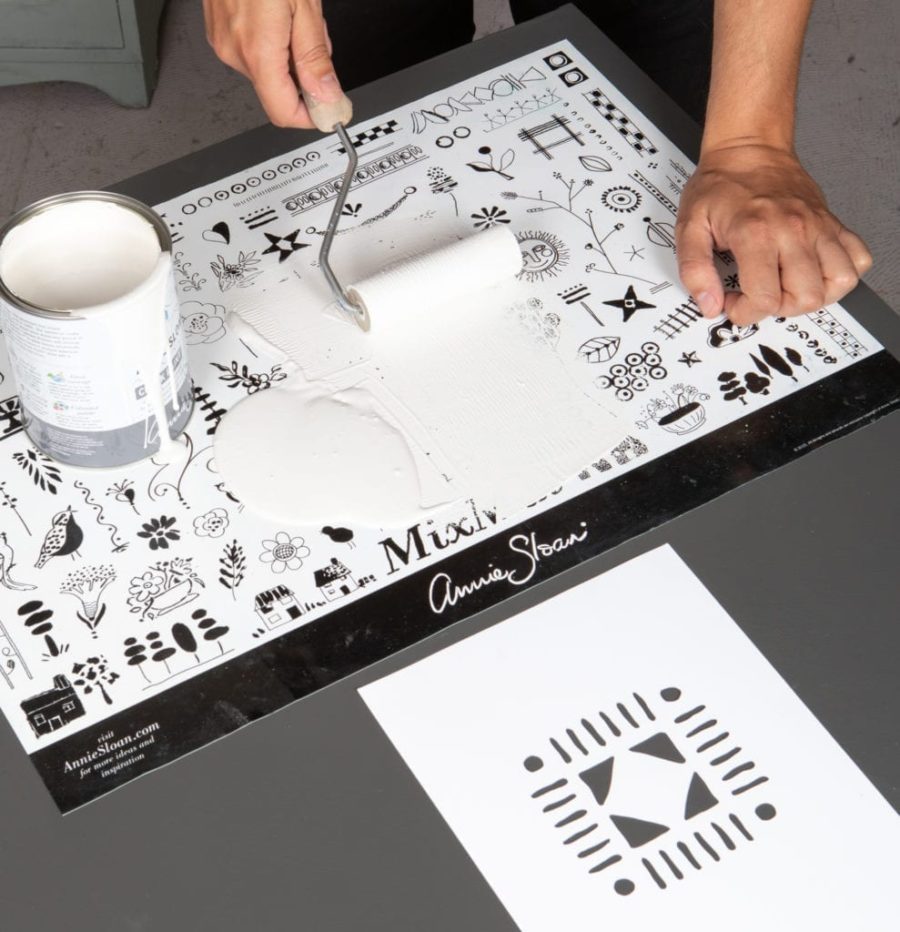
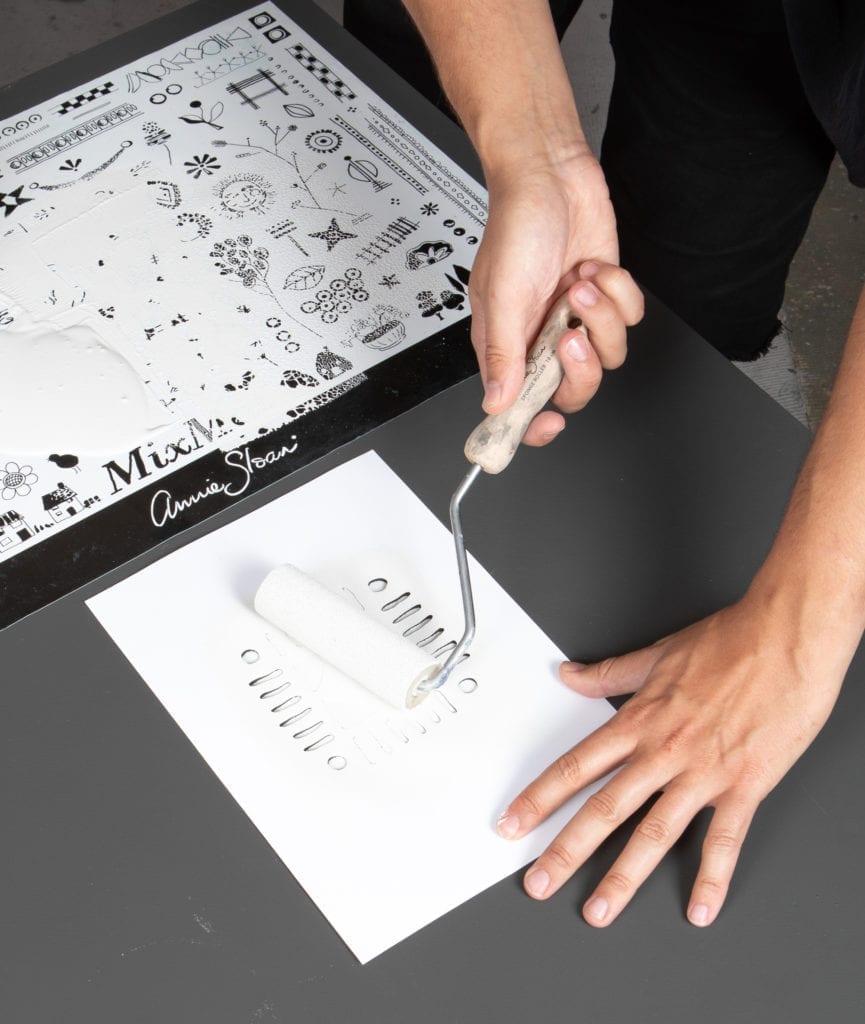
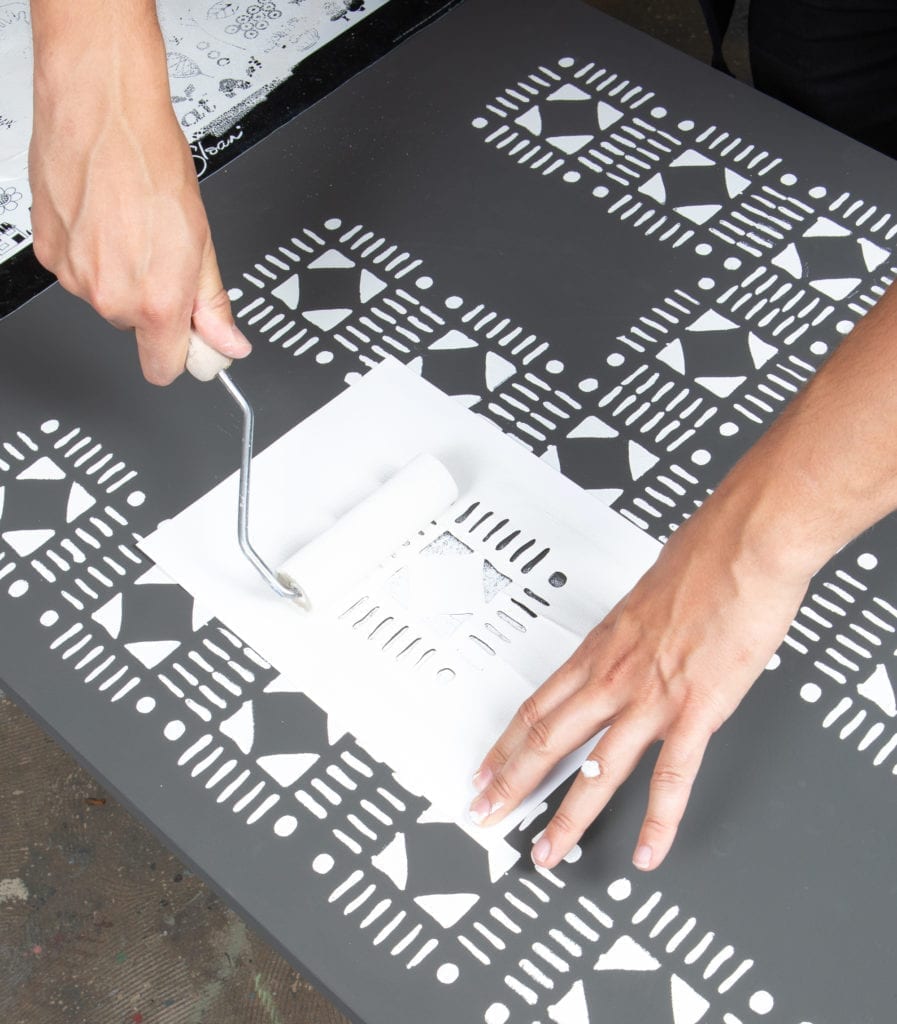
- Pour a small amount of Chalk Paint® in a contrasting colour onto your MixMat. Roll a Large Sponge Roller back and forth to load the roller with an even spread of paint.
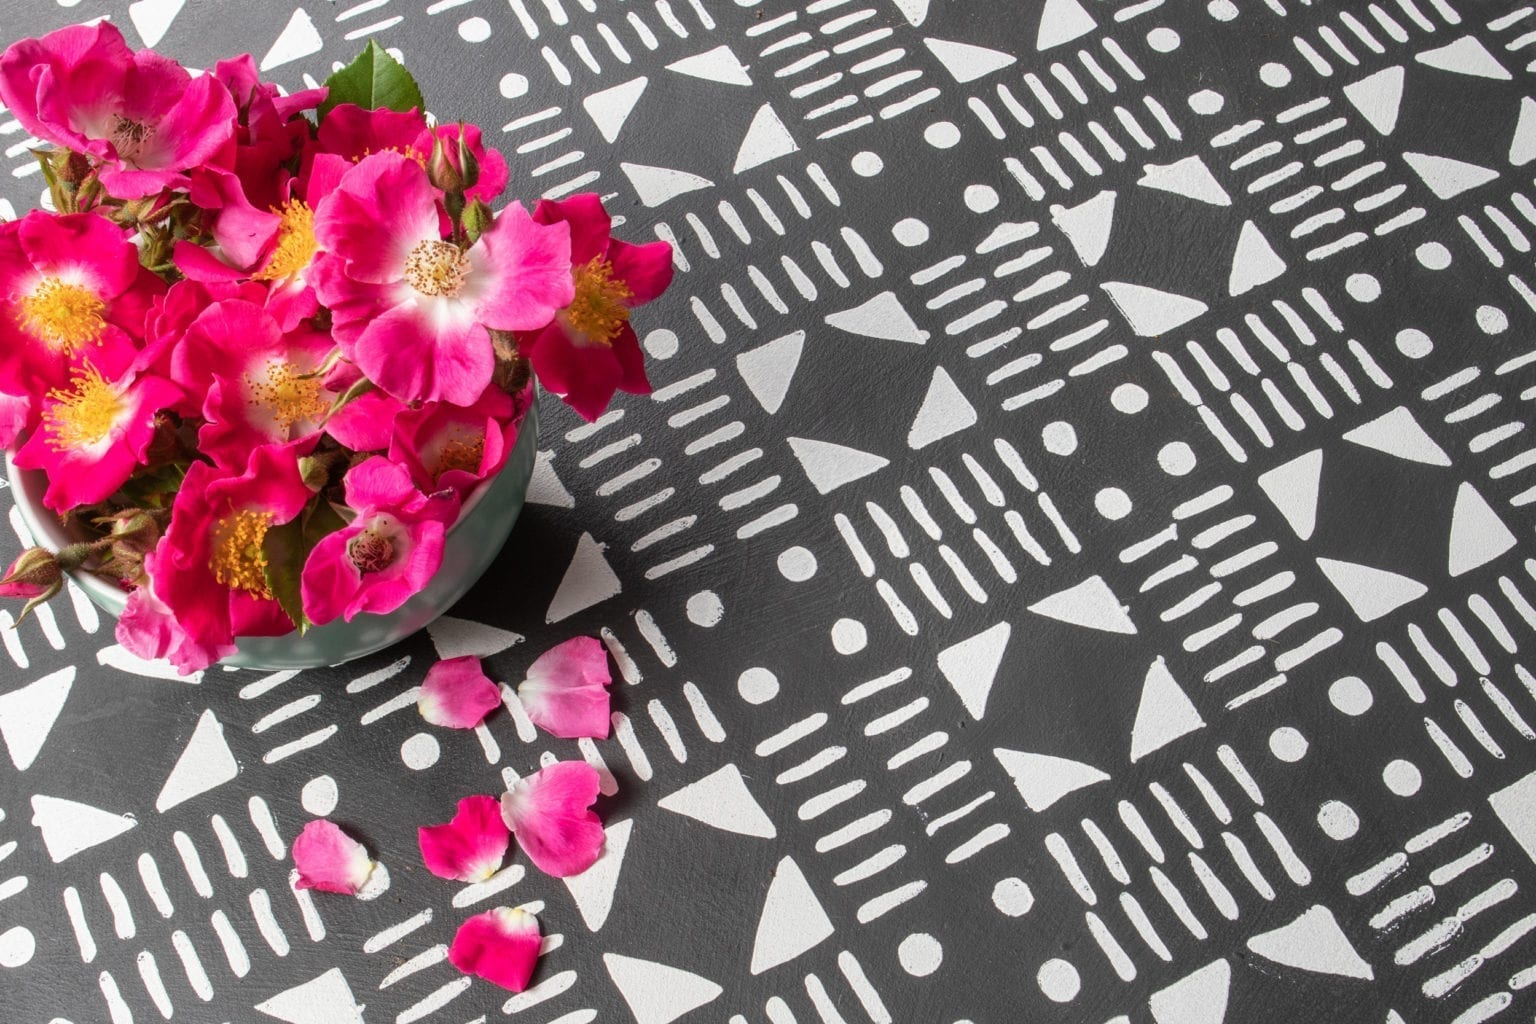
- For a square or rectangle surface, start by lining your stencil along the edges. Place your stencil into position then go over the design from left to right, then top to bottom with your roller. This will ensure even coverage.
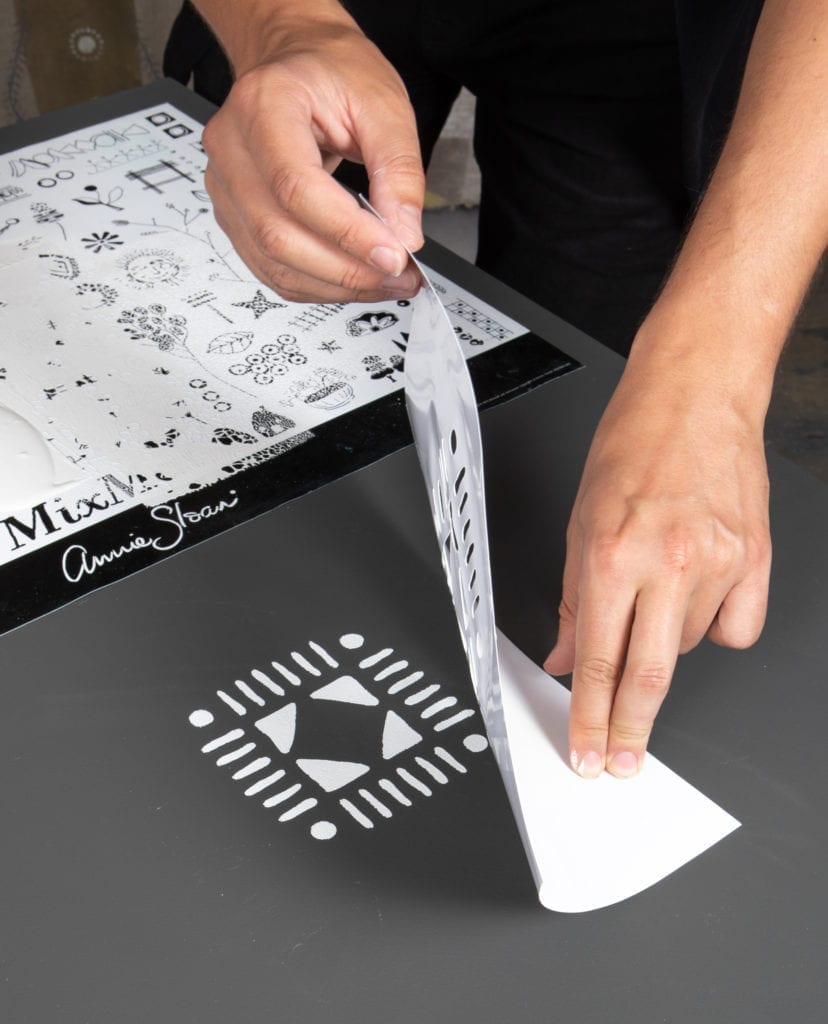
- Carefully lift the stencil up corner by corner. Place your stencil down on the surface one motif apart from the previous stencilled tile. Leaving a one tile gap between painting prevents the first tile motif from being smudged when you come to stencil the second.
- Continue stencilling your tile motifs one tile apart until you have covered the area you wish to stencil. Leave to dry for a few hours or speed up the process with a hairdryer.
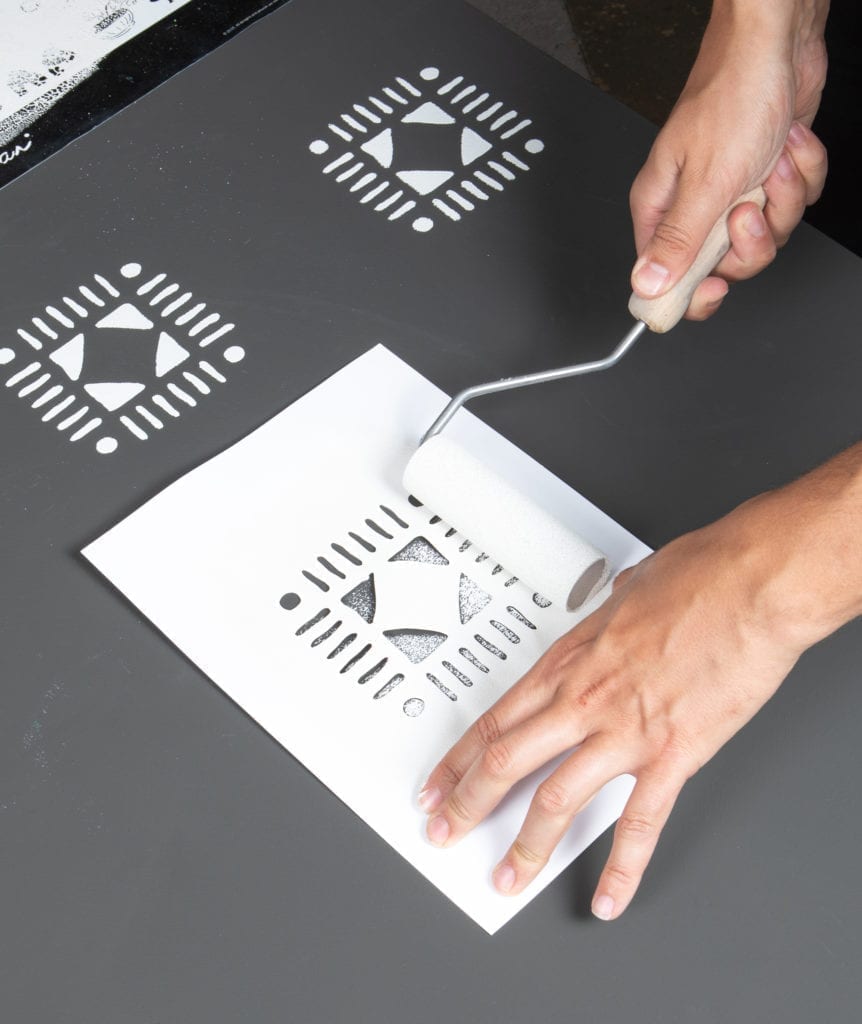
- Once your first set of tile motifs are dry, fill in the gaps. This is a deliberately rustic tile design so don’t worry about lining it up too precisely, it all adds to the charm of the finished piece!
- When your stencilled tile motifs are completely dry, finish and protect your paint work by applying Clear Chalk Paint® Wax with a Small Chalk Paint® Wax Brush. Remove any excess wax with a lint-free cloth.
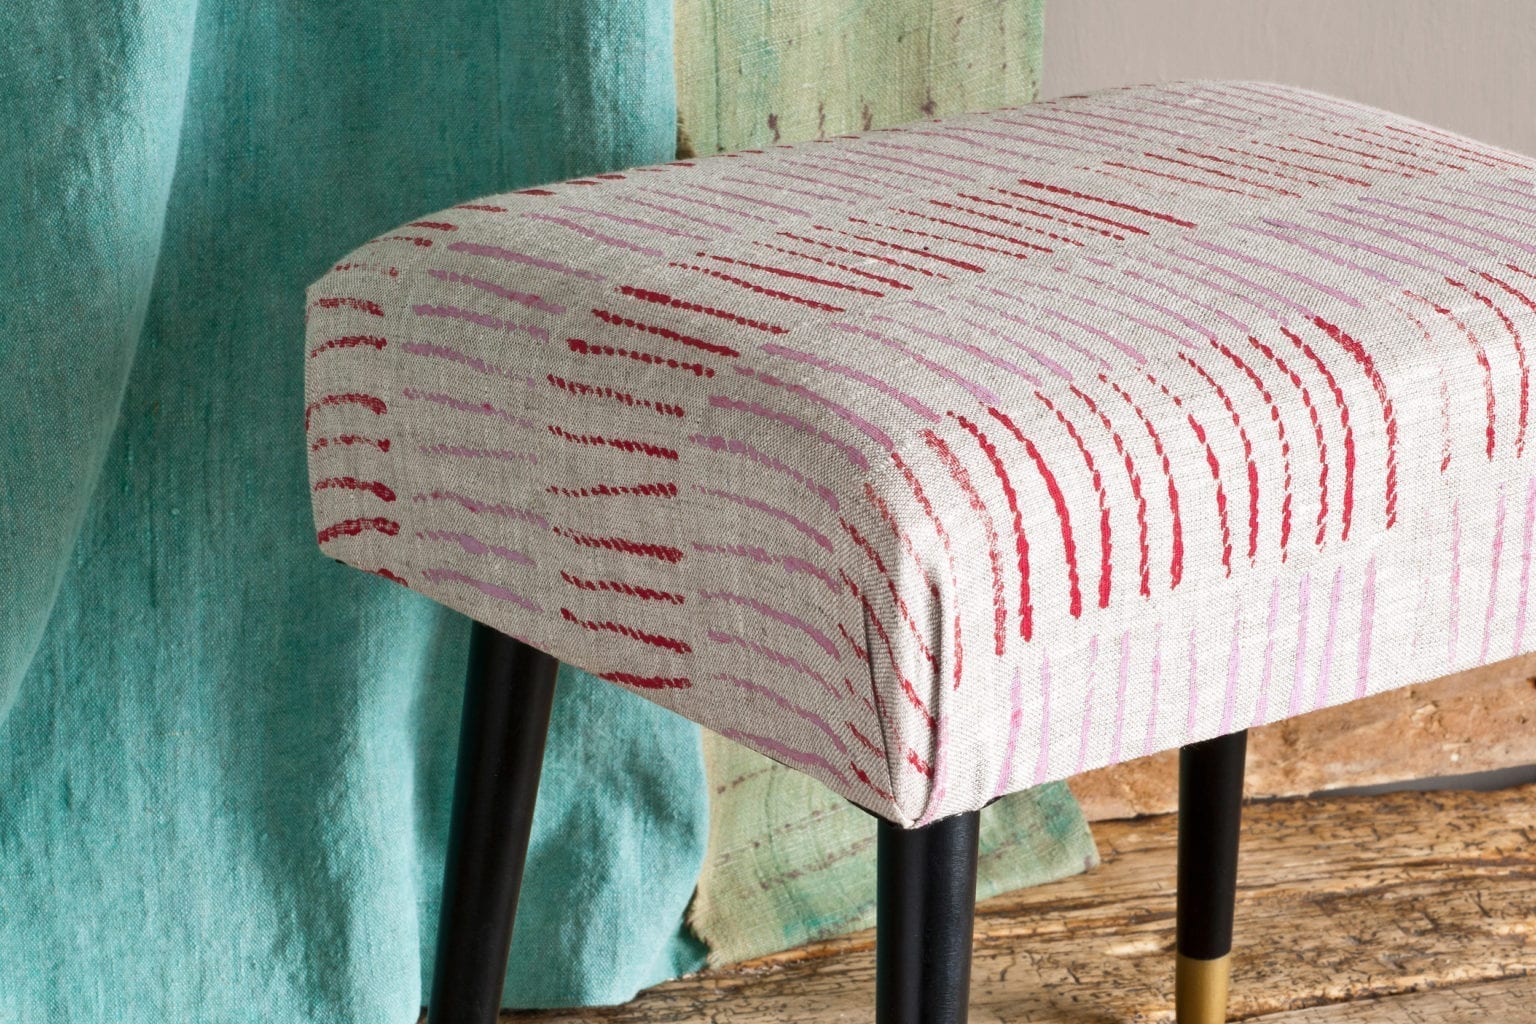
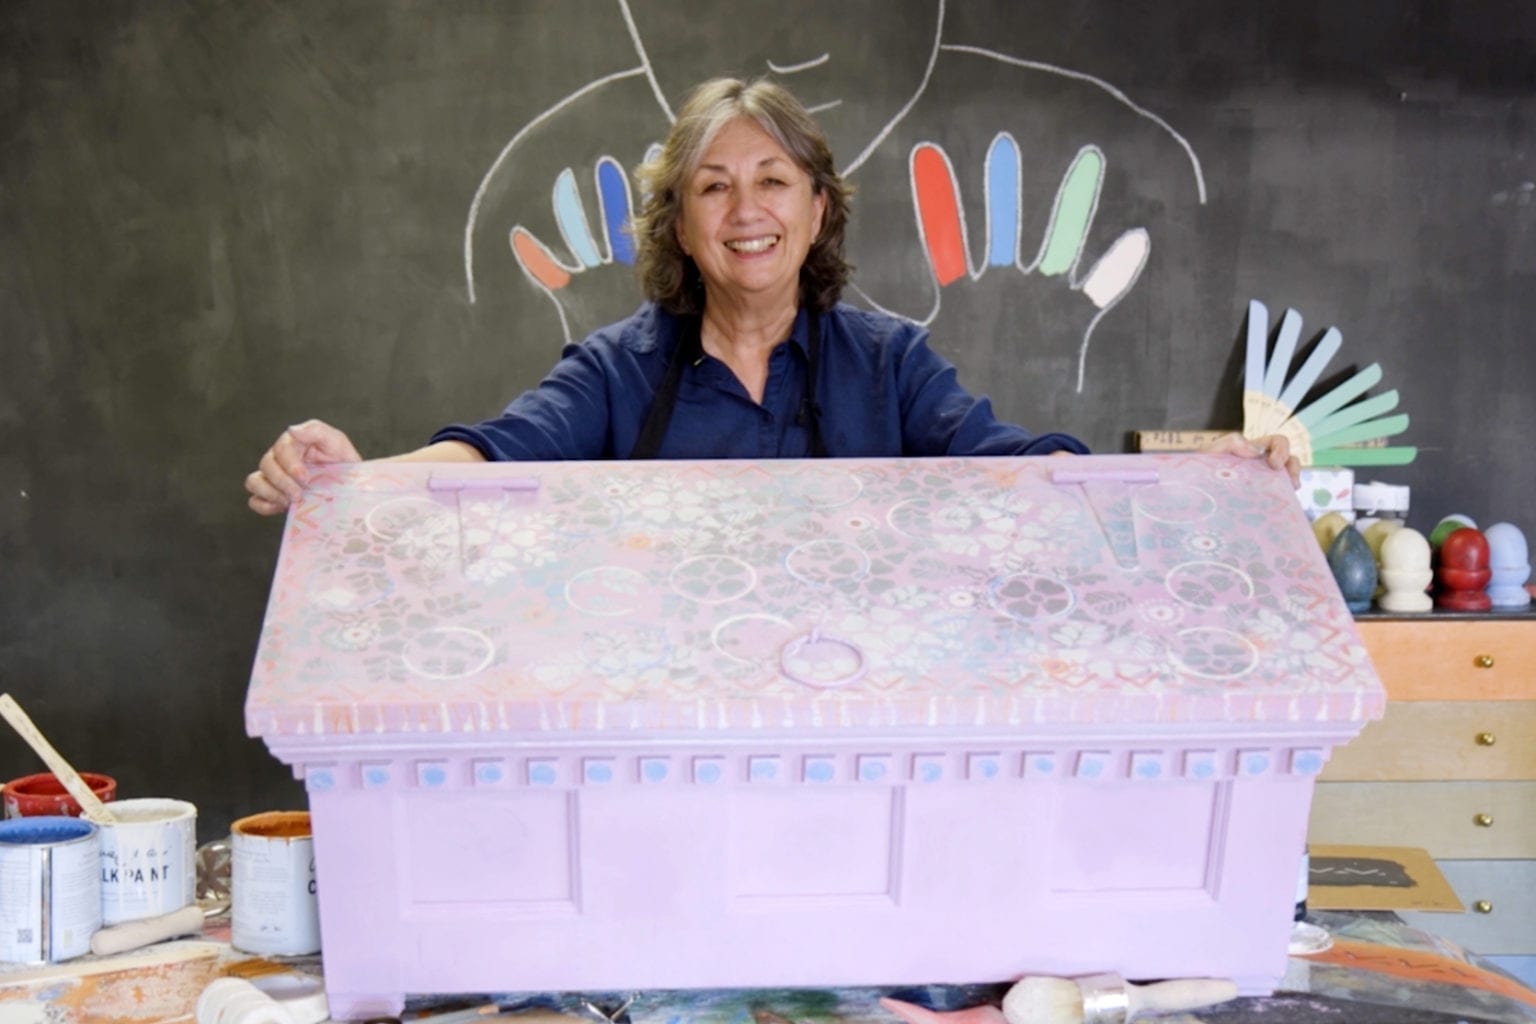
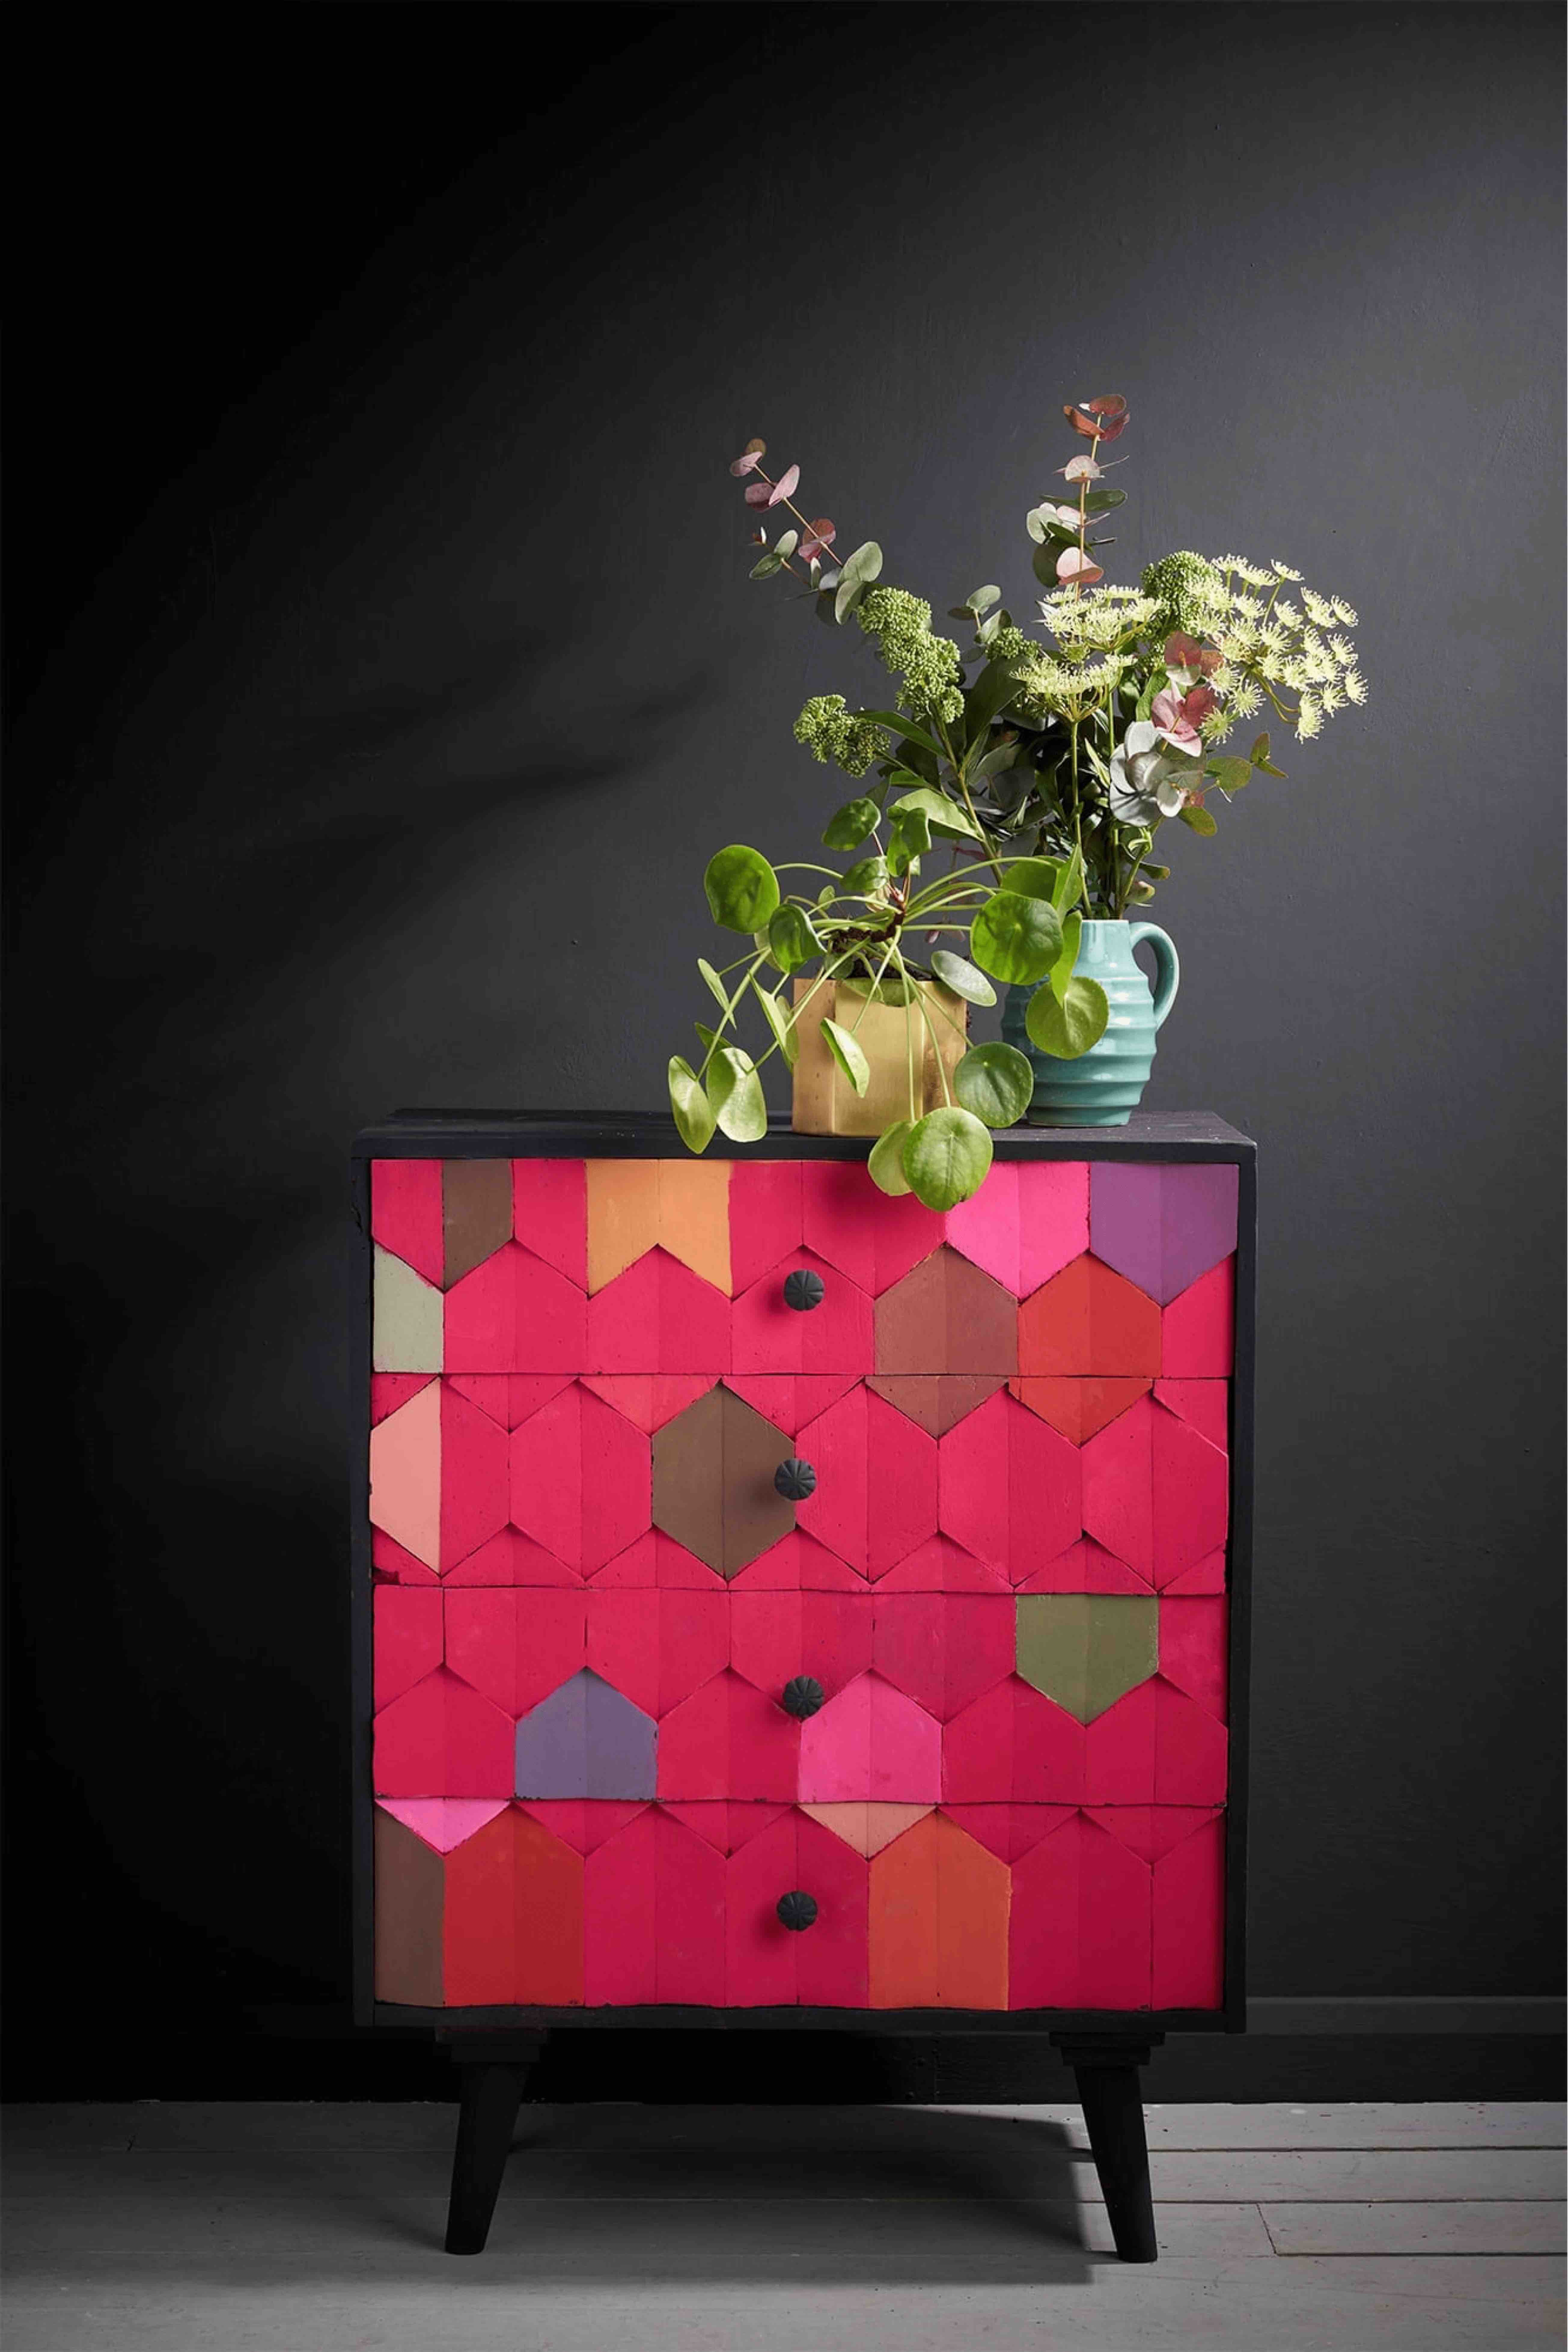
Creating a tile effect with stencils is a great technique to learn for a quick and simple update to furniture and floors. Now you’ve followed the steps, you can browse through the range of Annie Sloan Stencils and choose the best stencil for your next paint project. If a repeated pattern feels to rigid for you, why not try loosely overlapping stencils instead? This approach – an Annie Sloan favourite – frees you up to create your own patterns. For inspiration, take a look at this folk-style chest updated with an overlapping pattern here.