Techniques

How to: Get a Mahogany Wood Effect with Chalk Paint®

I found this table online and I really like it. I think it’s a beautiful little table. It’s got lovely legs – they’re quite rustic. The whole thing is quite rustic, but what I’d like to do is upcycle it and make it just a little bit… perhaps more elegant.

I did a drawing in my work book. Some colours and some ideas. It’s a mahogany look using a stain. I’m going to paint the bottom part of it Louis Blue, I love that sort of warm mahogany colour with a cool colour, I think it’s going to be terrific.

To start off with the first thing I’m going to do is to look at the tabletop. This is a stain, it’s not painting, so I want to make certain that there isn’t anything on here… and in fact, when I do this, you can see I’m getting quite a lot of wax off there… you can feel. So this means I’m just going to remove the wax by sanding it with coarse sandpaper and I’m just going to… You can see I’m getting some wax on there!

[After sanding] It’s gone a lot lighter, I think that’s quite good it’s got less colour, it’s not so yellow. The more yellow it is the more mauvey, more purple I want to make it. I’ve got Napoleonic Blue, a warm blue, and I’ve got Burgundy, which is a warm red. I won’t need that much because the tabletop isn’t that big. The paint goes a long way. Sort of equal amount… I love doing this bit – you get lots of gorgeous colour in it!

Then I’m going to test it on my drawing. [Dabs colour on sketchbook] Well, it’s a beautiful colour actually. Quite sort of auberginey – that’s lovely – or eggplants are some people might call it.

I’m going to use this brush, my big bristle brush, and now I’m going to load the brush and start painting. If the paint is hard to put on, I need to add a bit more water. It should
never be difficult. I want to cover it, but I don’t need to make it thick.

[After painting] So I’ve finished now and you can see some parts are beginning to dry and some places are still wet so I’m going to work on it now. I’m just going to wipe over it get the excess off, spread it out evenly with this.

So quite a lot has come off and now I’ve got some water in here so I’m going to add… I’m going to wet this. I’m taking off the paint, rubbing it in making certain that it’s going into all the grain, and I’m finding how dark I want it to be. You might find actually you want it to be much lighter. I want it to be really rich. I’m using a lot of rags, I’ve got a load together. And now I’m not wetting these, I’m drying it. There is still a little bit of wax from before but I think it’s all going to add to the whole texture of it all.

So in the next video, I’m going to show you how to wax it. Before I do that, I just want you to take note that this is quite purple, but don’t be alarmed!

In part one of this two-part series, Annie Sloan demonstrates how to create the look of rich mahogany, using Chalk Paint® as a stain.

Did you know you can fake the look of mahogany wood using paint? Mahogany has a rich and expensive feel that perhaps your modern, mass-made pine furniture simply doesn’t. The beauty with Chalk Paint® is you can give your generic furniture a completely makeover – and we don’t just mean by concealing the underlying wood, but by transforming the look of the wood itself too!

Follow this step-by-step guide and you’ll discover how creating a stain with Chalk Paint® can reduce the amount of yellow in pine and create a rich, dark brown colour. Just like mahogany.

Step by step guide to creating a mahogany wood finish with paint

  1. Check the wood you are painting for any wax or varnish. If you do find it has been waxed or varnished, you can remove this by sanding it down with coarse sandpaper. What you want to do is get to the wood underneath so that the paint you apply sticks to this and not to the varnish on top.
  2. Mix together Napoleonic Blue and Burgundy in a bowl or paint tray until you reach an aubergine colour. Tip: the more yellow the wood is, the more purple you want your stain to be!
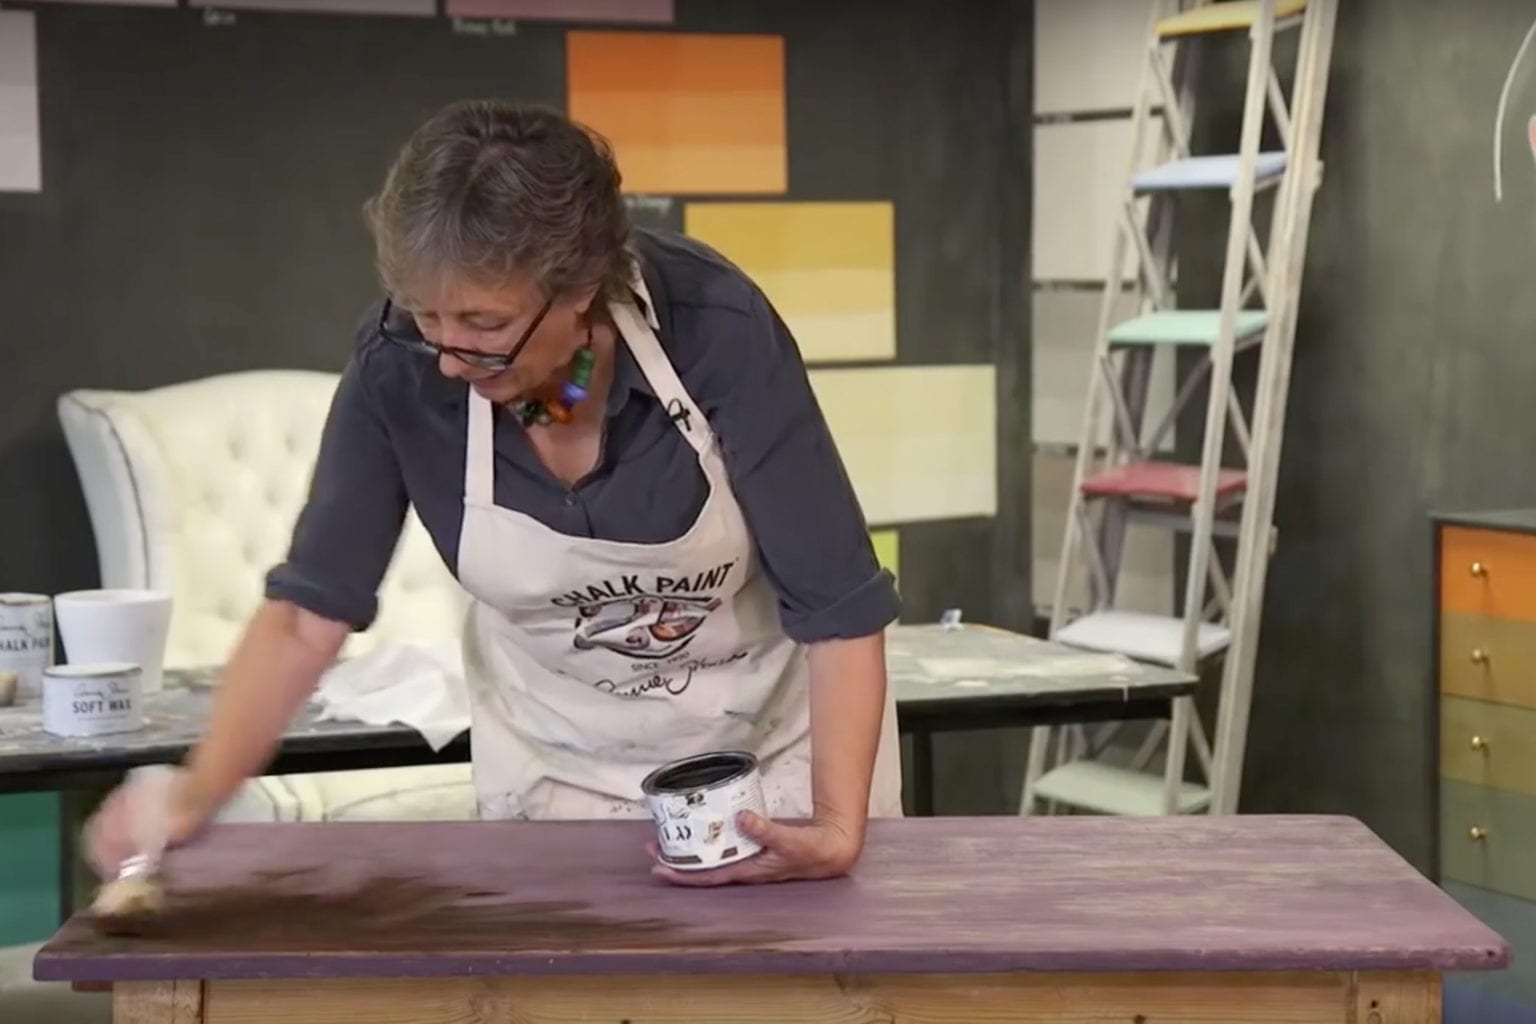
  3. Load a large Chalk Paint® Brush with your paint mix and start painting. If the paint feels a bit hard to put on, you can dilute it with a little water.
  4. Wipe over the paint with a cloth while the paint is still wet. Keep going, wetting your cloth with water as you go. You might have to change your cloth a few times. You really want to rub the paint into the grain of the wood.
  5. Go over the surface one last time with a dry rag, taking off any remaining excess and drying the paint as you go.
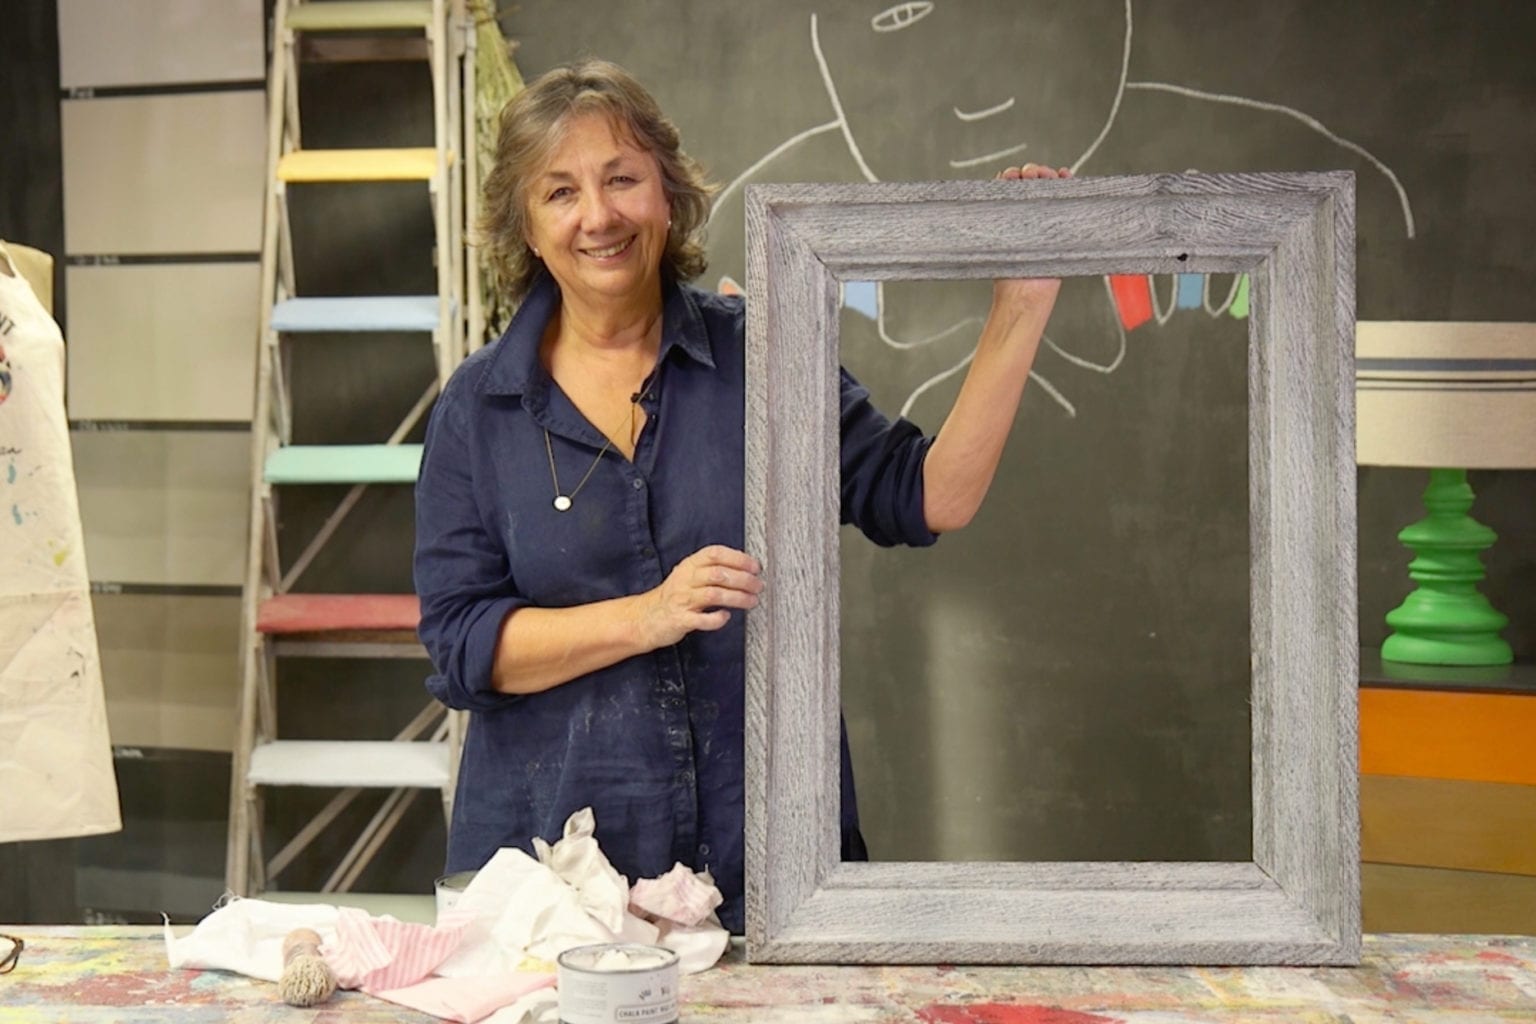
  6. Once the paint is dry, you’re ready to move onto waxing in Part 2 of this tutorial.

Now you know how to use paint to create the effect of mahogany wood, you know that Chalk Paint® can be used as a stain, not just a traditional furniture paint. Staining allows you to alter the colour of your furniture while still maintaining the appearance and qualities of the wood itself. You’re not hiding the wood – just enhancing it! Skip forward to Part 2 of this guide to understand how to deepen the colour of your stain and also seal the finish to protect it for years to come.

Related Videos

Shop

Browse

Chalk Paint

About
Shop