Techniques

How to: Spray Lacquer over Paint

Hello, I’m Annie Sloan. Welcome to my warehouse studio! This is a video about how to spray Chalk Paint® Lacquer. I’m here with Ron Taylor of Traditional Painter and he knows all about spraying – a complete expert. So what are all the tricks?

Ron: The Lacquer, along with Chalk Paint®, we’re going to have to thin to get it to spray well. We can see that that’s much too thick. I don’t think we’re going to need it thinned as much as Chalk Paint®, but we’re definitely going to need it thinning. So if we put some Lacquer in the pot, and we’re going to add initially about 10% water in.

Annie: Of course this is a water-based lacquer and so that’s why Ron is now adding some water to it. So before Ron started he gave this lacquer a really good stir because all the goodies are at the bottom. Last time you talked about worm threads, worm casts, which I think is a great way to describe it. So the worm casts are where you tip the stick and you let it drip and if you drip and you find you make marks in the varnish, the lacquer, then that’s too thick so you have to add water so it’s not like that, and that’s exactly the same with the Chalk Paint®. So yes, that’s looking good. Oh, a bit more water?

Ron: just a touch more.

Annie: Okay, and stir really well.

Ron: Stir really well. Do it gradually, don’t add too much water from the start because if you’ve find got too much water in, then that’s annoying. If you put too much water in something that’s like this, a gloss, it will lose its sheen.

Annie: Ah, that’s a very, very good point. So not too much water, only as much as you need. Yes, this is actually a gloss varnish, a gloss lacquer, and we want that gloss, so if you add too much water…that’s a very good point.

Ron: as with all spraying it’s best to wear a mask. You don’t want the particles into
your lungs. This is a particle mask, this is a professional mask, and while this is the best one we’ve got these sort of a DIY mask here, that’s the very bare minimum you want to be using. But for a lot of spraying this is what we want.

Annie: So everything’s ready now, so what’s the next step?

Ron: Right, first thing to do before we spray the lacquer is to get the paint setting right. So, I’m going to put my mask on.

Annie: So you’re gonna test this are you? That’s what you’re gonna be doing?

Ron: Yes, we’re going to test this first. Not on the piece, we’re going to test it on the wall just so that we’ve got it right. Don’t go straight in because if it’s wrong, you’ve only got one chance.

Annie: Good. All right, let’s go!

Ron: We’re going to set this in the widest possible fan just to test, and then we’ll alter the fan to the smallest.

Annie: and have you adjusted this bit as well to make certain that the right amount is
coming through?

Ron: Yes, that’s set to one. We’ve got these gradients round there and that’s set almost to one and that’s about right for the lacquer. It’s important to remember if the turbine is warm the lacquer will spray and flow together better. So if we set this up and leave it somewhere for about five minutes, you’ll feel the warmth in the tube and the lacquer will spray better.

Annie: So we’ve tested the lacquer. We know it’s exactly right, so now we’re going to do
it onto the cabinet. So just a few points to remember: this is something we painted
a couple of hours ago, it’s now completely dry, we’re very pleased with it. What you mustn’t do is get dirt or dust on it. If I was to touch it here or whatever – anything – when you spray it the varnish is going to bring everything up. So it’s got to be super
beautiful. Are you ready or have you got anything else?

Ron: When we spray kitchen doors, the best thing to do is to finish one side; that’s the paint and the lacquer. Because as you say if you touch this and get fingerprints on it, you’ll mark it. So if we turn that over now on a rack while it’s still in Chalk Paint® to do the other side, you’ll get marks from the rack. If we do with the lacquer, the lacquer won’t mark.

Annie: Okay, well I can’t wait to see what this looks like.

[Later] Annie: Are you pleased with the results? It looks fantastic to me.

Ron: Yes. You’ll notice when I sprayed I overlapped each pass by 50%, so I sprayed a line and then I sprayed the next line so it overlapped the previous line 50%. If you just spray strips like a crossing you’ll end up with dry patches.

Annie: Yes, you don’t want stripes.

Ron: you’ll also notice I didn’t alter the setting for the lacquer to thin for the edge, because the lacquer can pull if it’s on too thick so it needs to be a consistent finish. So I always keep that setting to the widest even for the edge.

Annie: so we’re going to let this dry and how long will that be?

Ron: I would think if we leave that for half an hour we can put final coat of lacquer on.

Annie: fantastic. So that’s it! Spraying with Chalk Paint® Lacquer; it’s really, really easy.

Applying Lacquer with a spray gun will give you a smooth and lasting streak-free finish

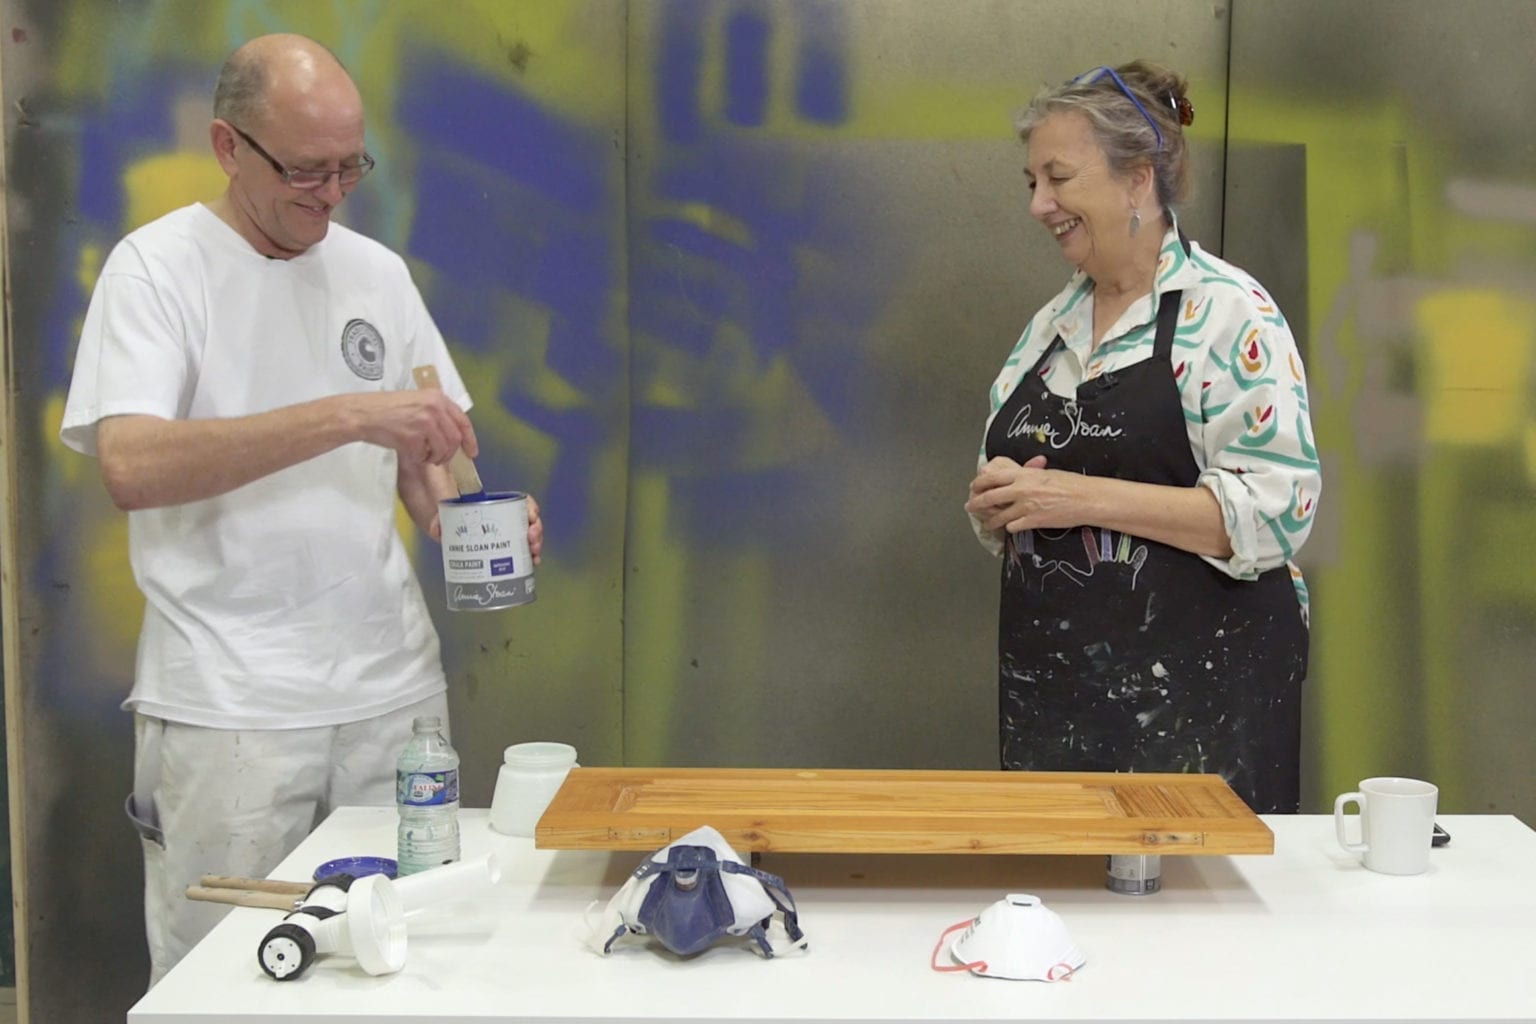
Not all Chalk Paint® projects need a textured or aged finish. If you want a perfectly smooth finish on your paintwork try applying lacquer with a spray gun. Chalk Paint® Lacqer is a hard-wearing, water-based varnish, ideal for spraying on surfaces that will be handled frequently, such as your kitchen cabinets.

Your first step will be to apply Chalk Paint® with a spray gun. This will give you an even surface to spray your lacquer over. Using a spray gun is a more advanced technique that requires specialist kit, but when performed correctly guarantees a smooth, high spec finish. It’s also a quick and effective way of painting and varnishing large areas where a uniform finish is desired.

You will need:

Chalk Paint® Lacquer
• Water
• A spray gun (in this tutorial, we’ve used the Wagner 2370386 Studio Home Décor Sprayer which is an HVLP spray gun)
• Respirator mask / partical mask

How to spray Chalk Paint® Lacquer

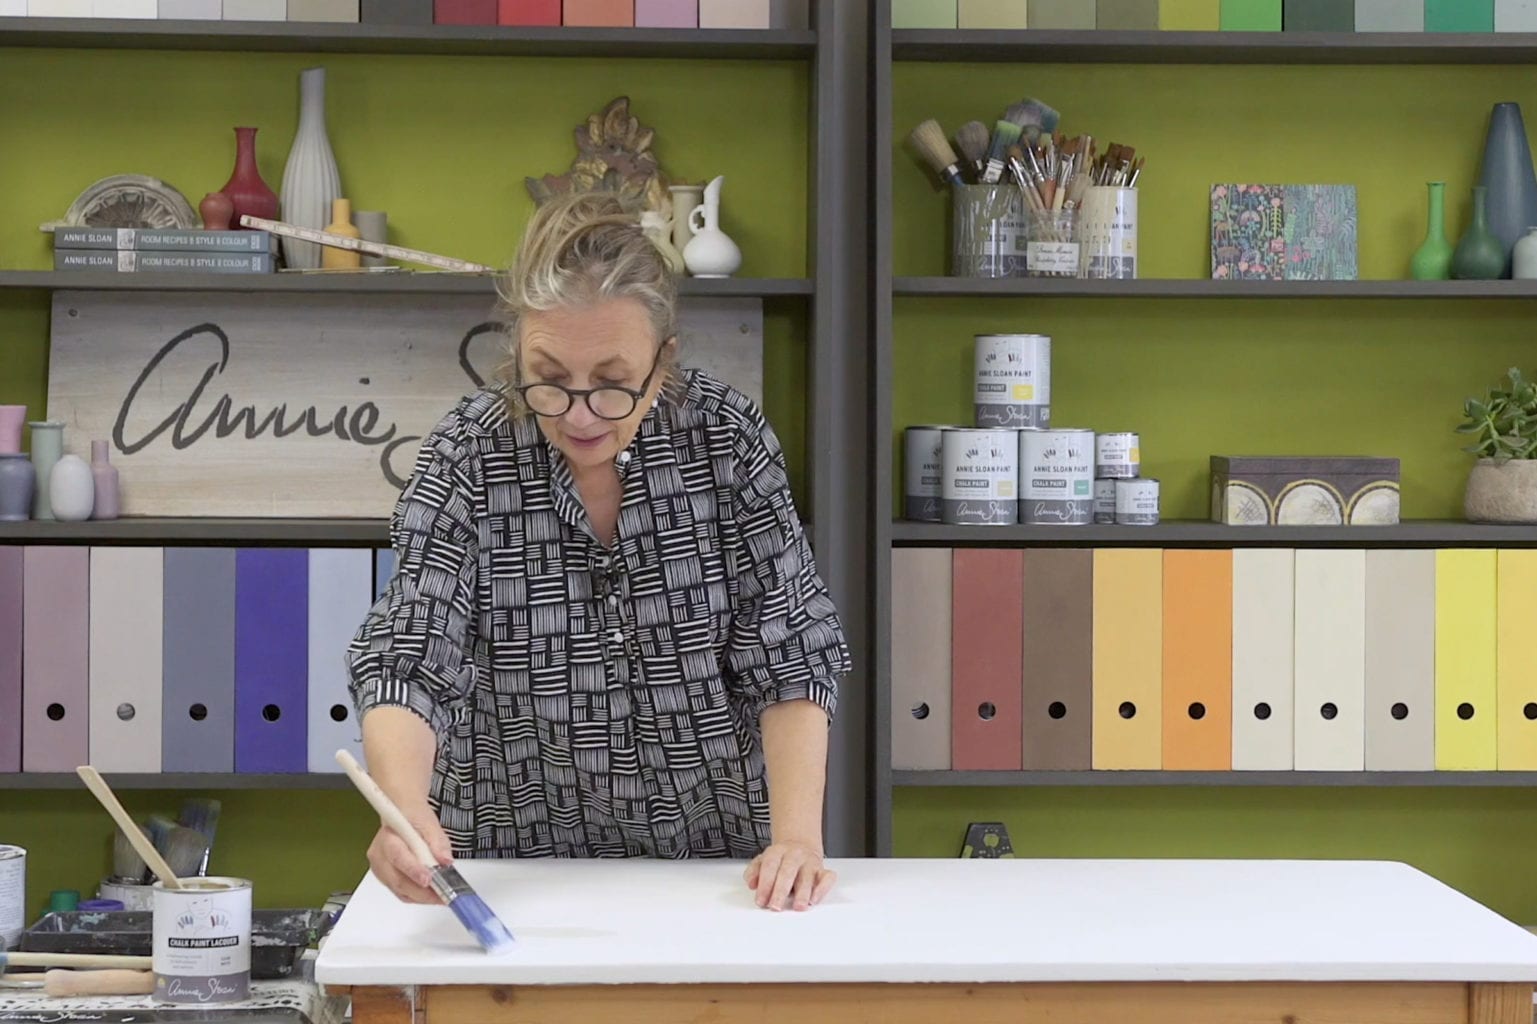
  1. First, stir the Chalk Paint® Lacquer well so all the ingredients are mixed in.
  2. Fill the spray gun pot to about half full with Chalk Paint® Lacquer (in either Gloss or Matt, the choice is yours).
  3. Add water in small increments, stirring thoroughly between pours to ensure the Lacquer and water are fully mixed, and so you don’t thin the Lacquer too much too quickly. To test the consistency, lift your mixing stick and let the Lacquer fall back into the pot. If it leaves a 3D trail on the surface, called a ‘worm cast’, then it is too thick. Keep adding water until no worm casts are left on the surface of the Lacquer. Only add as much water as is needed to remove these casts.
  4. Once the mixture is the right consistency and thoroughly mixed, set up your gun and connect the turbine.*Top tip*: leave the turbine on for around 5 minutes before spraying. You will know once it’s warm as the tube will feel hot to the touch. If the turbine is warm, the Lacquer will spray better.
  5. Put on your respirator mask. It is essential this is worn at all times whilst spraying any form of paint or lacquer.
  6. Set the flow dial to 1 and test spraying Lacquer on a surface that won’t be used for your finished project.
  7. Once you’re satisfied with the finish, you’re ready to start spraying your painted surface. Being careful not to touch your paintwork (any fingerprints will show up once the surface is varnished!), start by spraying the edges and any tricky bits first. Then apply the Lacquer in logical lines, overlapping each line by 50% to ensure the piece is fully covered.
  8. Be consistent in coverage when spraying Chalk Paint® Lacquer. Keep the same nozzle width when spraying, as any change in coverage can result in the Lacquer pulling.
  9. Once you’ve finished spraying, leave the varnished surface for around 30 minutes-1 hour for the Lacquer to dry before applying a second coat in the same manner.

Spraying Chalk Paint® Lacquer is a great way to achieve an even coating for kitchen cabinets, doors or any other painted surface that needs an extra strong layer of protection. If you prefer a sheen, choose our Gloss finish, otherwise go for Matt. Both are water-based and the trick to success with a spray gun is to thin the varnish just enough for the smoothest, silkiest finish. Check out our Lacquer Fact Sheet for more tips and ideas for working with Chalk Paint® Lacquer.

Related Videos

Shop

Browse

Chalk Paint

About
Shop