Techniques

How to: Paint Over Laminate with Chalk Paint®

Hello, I’m Annie Sloan, welcome to my studio! So this is laminate. You know it, it’s everywhere. It’s basically a plastic finish. So this is a nice one because it’s not too shiny. You can get some that are really, really shiny.

First thing you need to do is clean it. If it is really shiny, I know I always say don’t prime don’t sand, but I would just give this a little bit of a sand. This one is, as I say, is not too shiny so we’re all right. So can I paint laminate? Yes you can. That’s the answer, that’s it!

I’ve got some paint here, I’m going to do this Florence which is going to be a really gorgeous punch of colour. It’s been opened already so it’s a little on the thick side, so I’m just going to add a little bit of water. So that’s a little trick for you, for every time you open your pot of paint, you might find you just need to add a tiny bit of water if it’s been opened already. So now – good stir, good stir, good stir… so that all the water is mixed in properly with the paint.

So that’s pretty much done and now I’m going to start painting. I could if I wanted to do the first coat a little thinner, that’s up to you. I think because this isn’t too shiny I’m not going to bother. Oh gosh, that goes on beautifully! Look at that! Fabulous.

I’m just going to paint that up and down… beautiful! I shouldn’t say that about my own paint but it is rather gorgeous. I’m going to do a flat finish on this, I don’t want texture at all. I’m going to paint it and then spread it out nicely by feathering it. So I’ll get a coat on and then I’ll start feathering it.

Mixing the water in is incredibly important because if you don’t and you start lacquering afterwards, you might find you get it a little bit uneven and that’ll be because you haven’t mixed that well.

So up and down beautifully, go into the corners well, make certain you don’t get too heavy a build-up in those corners.

Last bit. So now I’ve got the paint all over, pretty good, and then I’m going to start the thing of just doing this lovely feathering. So along that way, along the sides as well to get rid of all the brush marks that you may have in there. And that’s it so the feathering thing is where the brush is it sort of a 90 degree angle and you’re doing that. Go across as well, that’s it. It’s going on beautifully.

If you need to do a second coat what I would do is leave it for quite a long time. Because laminate is not absorbent like most woods are very absorbent, the paint goes into the wood, this doesn’t. So it’s got to dry from the top and so it’ll take a little bit longer to dry. Make certain it’s completely dry especially around the edges, because that’s often where there’s a bit more build-up.

When it’s all finished, either wax or lacquer it by brush or with roller and that’ll be it! So in summary, when painting laminate the main points are; you might have to sand a little, leave longer to dry, and don’t over brush!

That’s it, three simple rules to remember. What I love about this is that you’ve taken something quite banal like laminate and turned it to something which is really, really unique. No one else is going to have this. Gorgeous!

Kitchens painted in Chalk Paint® look fabulous, last years, and can be easily updated.

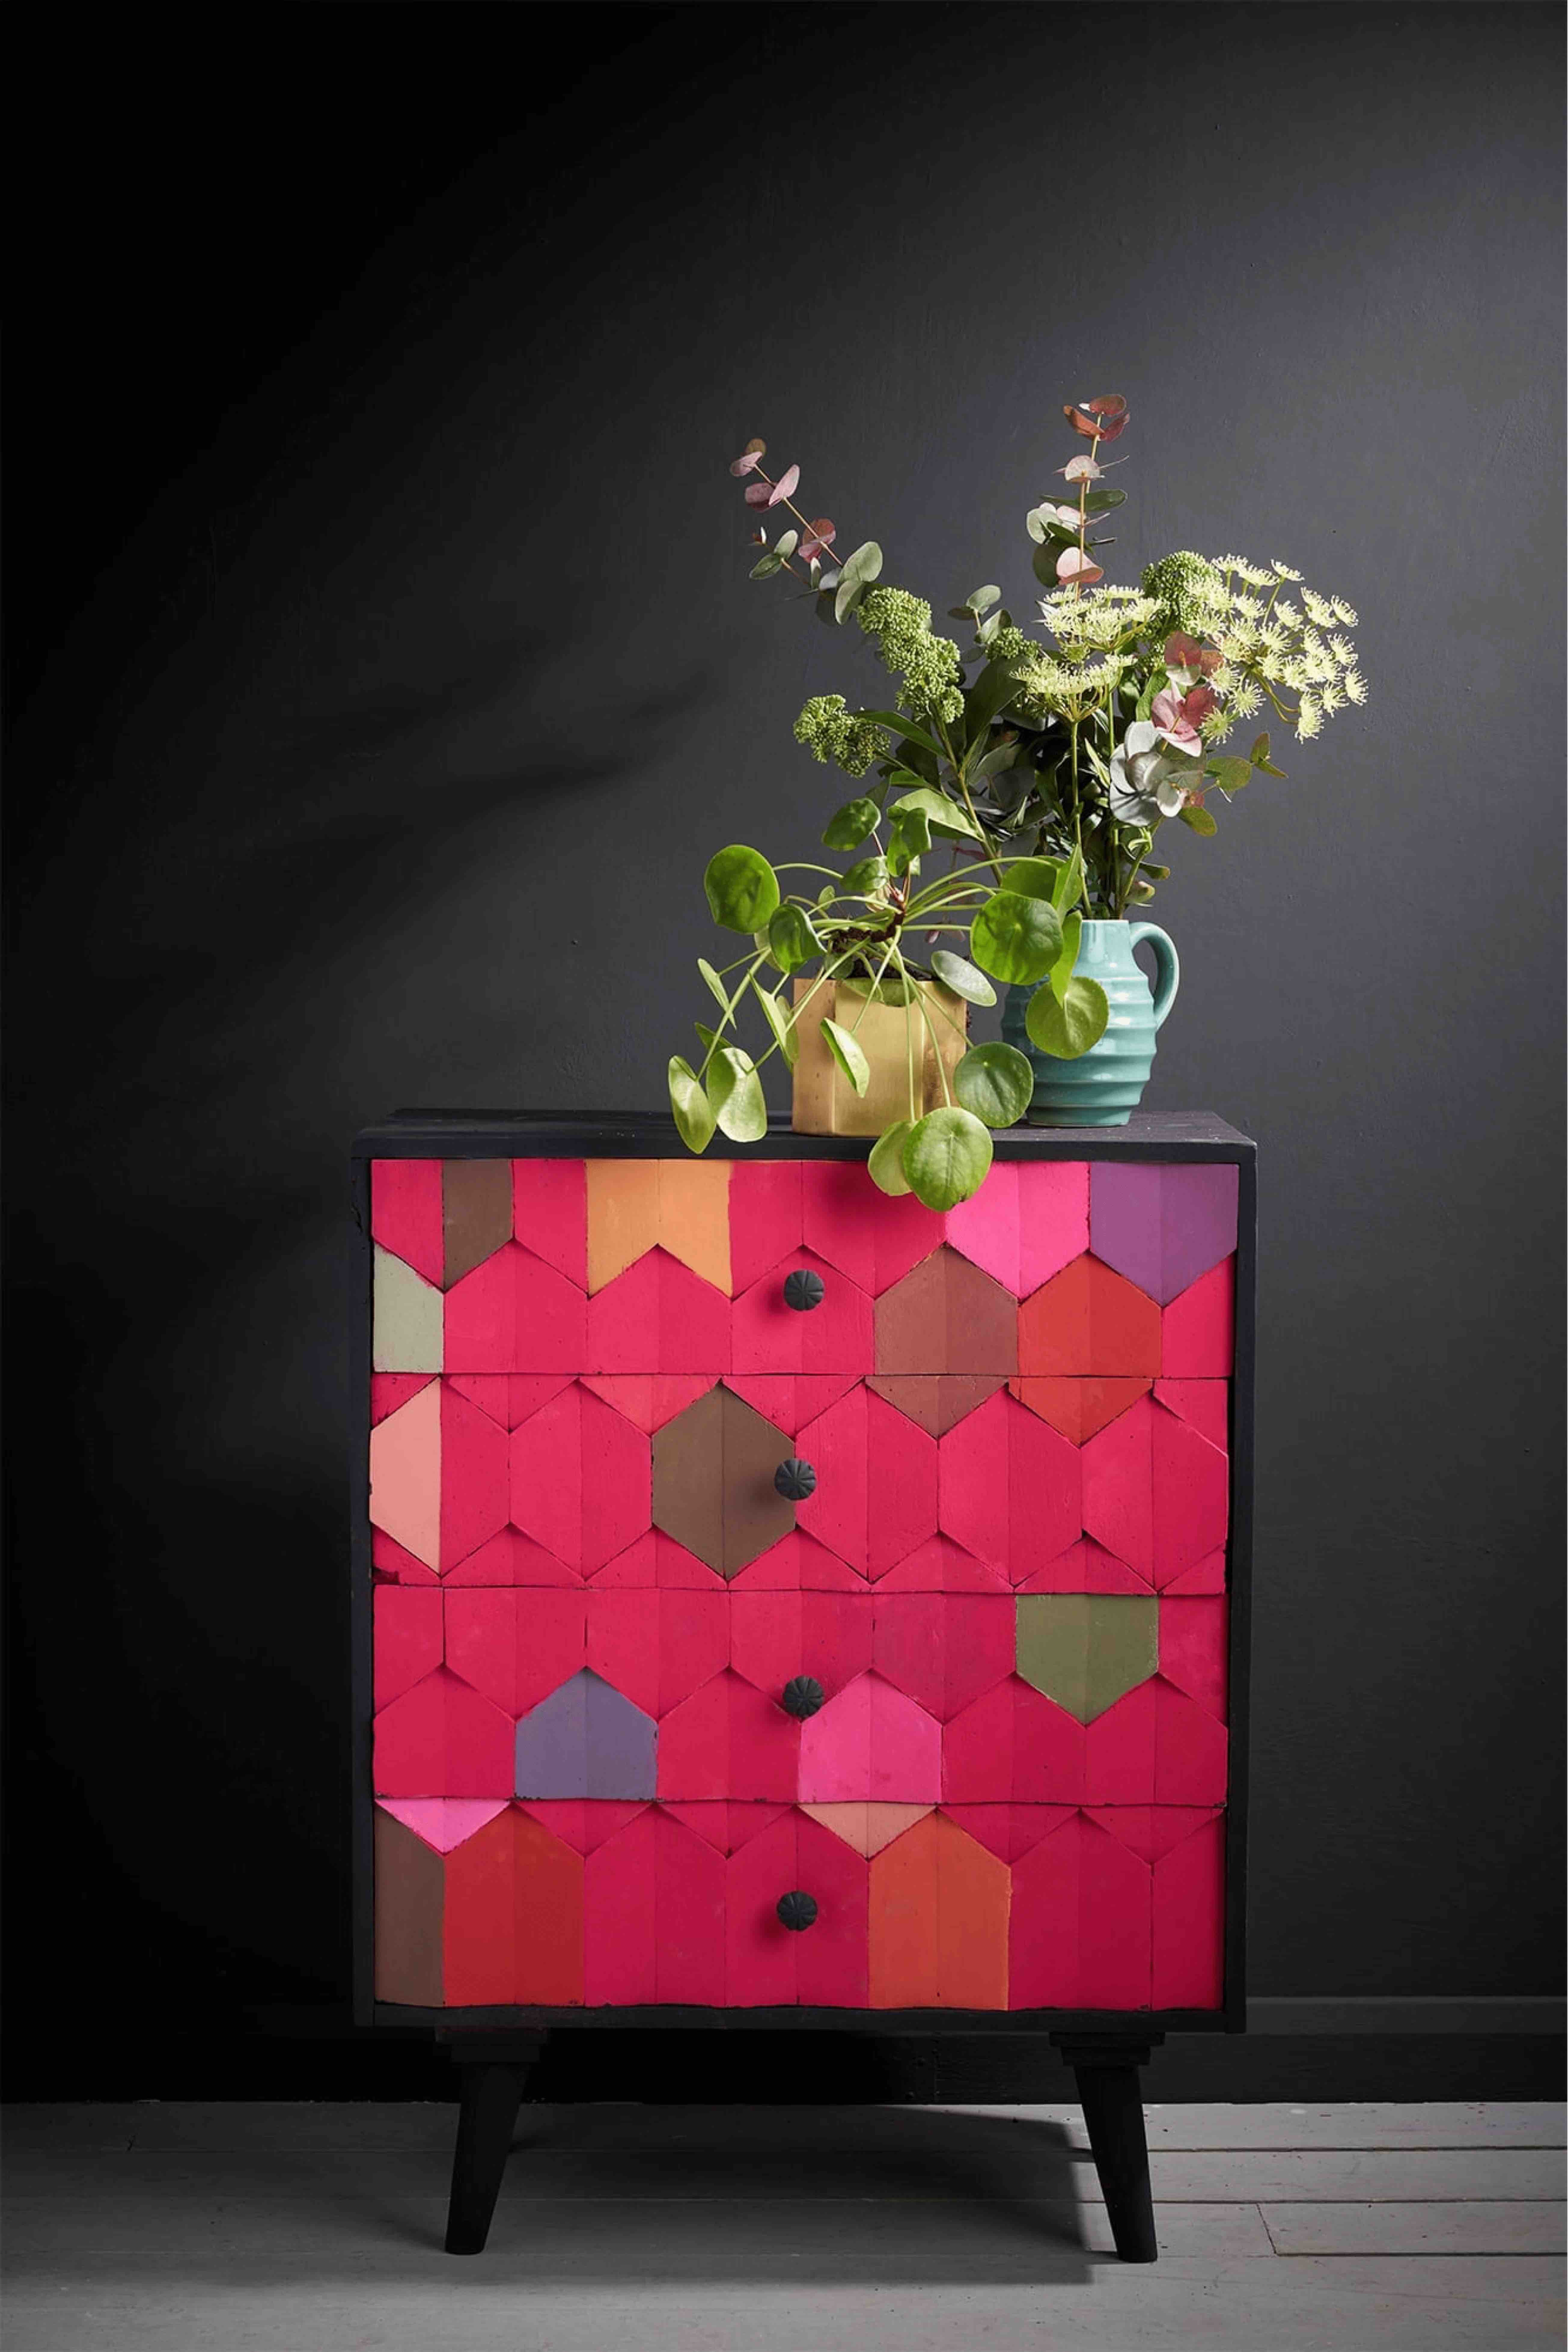
In this step-by-step guide, you’ll learn how to paint laminate kitchen cabinets. It’s a simple way to update the heart of your home for a fraction of the cost of a kitchen refit. If you like the layout of your kitchen, but hate the colour of your cupboards, this is the how-to for you.

Chalk Paint® has exceptional sticking power. So with the right knowledge up your sleeve, you’ll be able to give your kitchen a makeover without having to remodel. This is also a great technique if you’ve just bought a new home and your budget won’t stretch to a whole new kitchen just yet. Whatever your motive for repainting your kitchen, there’s no reason to suffer a colour palette you don’t love!

Step by step guide to painting on laminate with Chalk Paint®

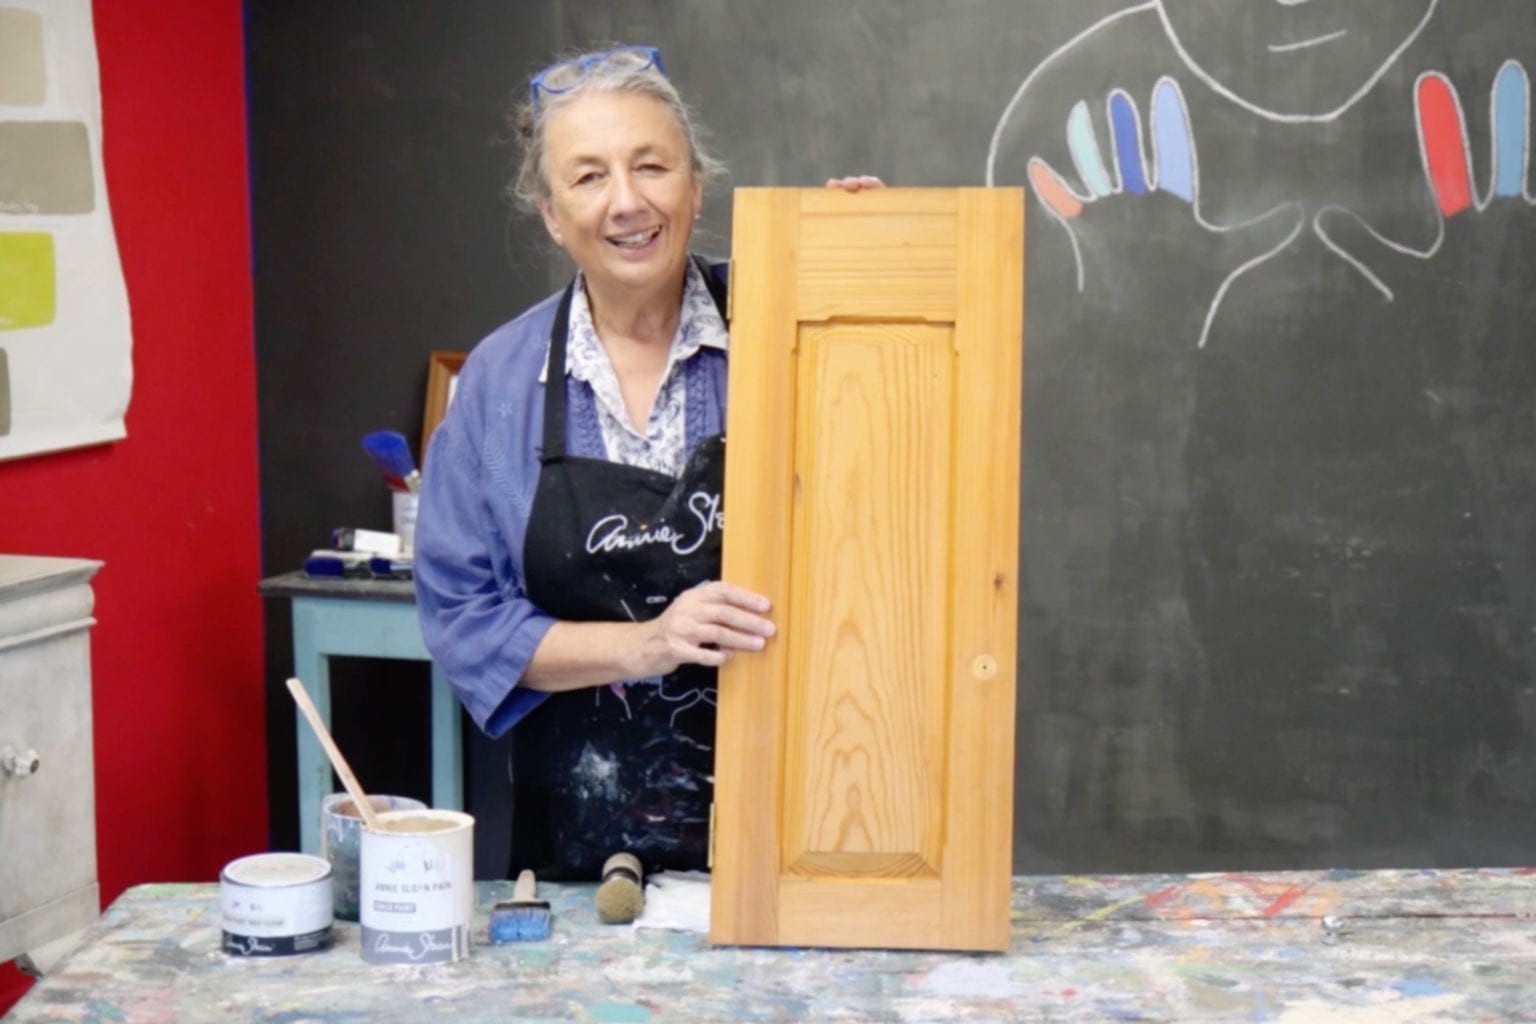
  1. The first step is to clean your cabinets. Kitchen cabinets are subjected to oils and greases from cooking, which need to be cleaned off before painting. To clean them, use warm soapy water only, avoiding any harsh chemicals that may react with the paint.
  2. If the laminate you’re painting is really shiny, give it a quick sanding. A light sanding ensures the paint has a textured surface to adhere to.
  3. Add a little water to your chosen Chalk Paint® colour if the paint is too thick. Just be sure to mix the water into the Chalk Paint® very thoroughly.
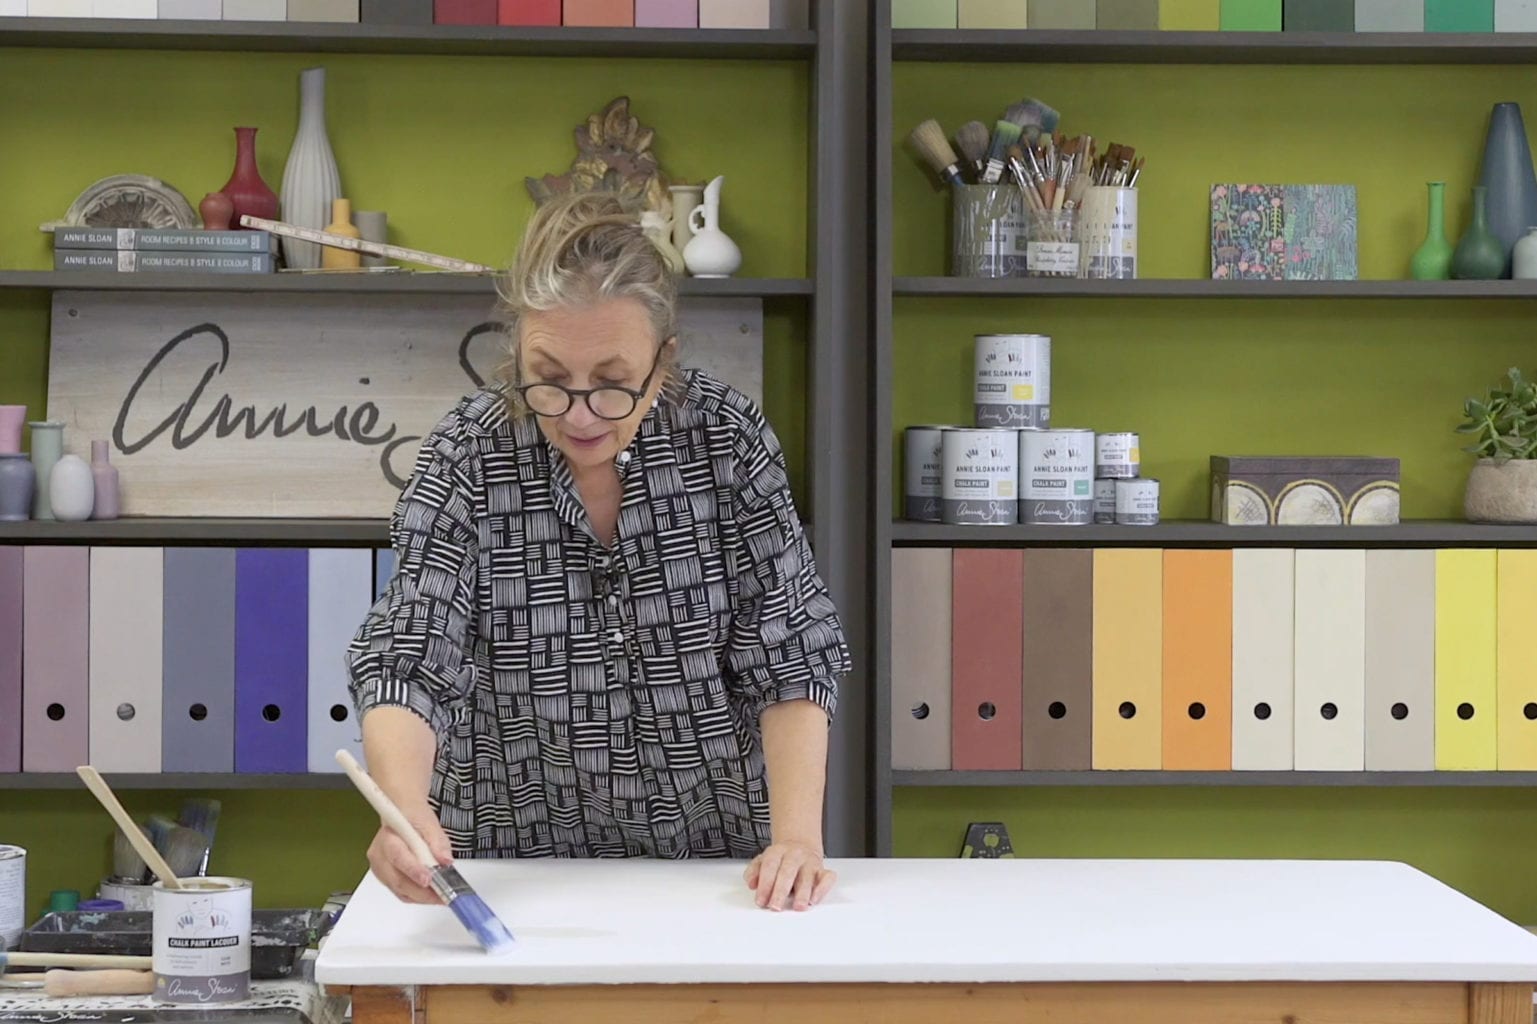
  4. Apply a coat of Chalk Paint®. Feather as you go to remove brush strokes. To feather, hold the brush at a 90 degree angle to the surface you are painting. Gently flick the brush backwards and forwards over the top of the paint. This will help you achieve a flat, untextured finish. Do not press hard or over brush. If you keep brushing once the paint has started to dry, you will begin to remove Chalk Paint® from the laminate rather than applying it.
  5. If you need a second coat of paint, make sure you leave plenty of time for the first coat to dry. Laminate isn’t as absorbent as wood so it will take longer to dry.
  6. One your paint has dried, it’s time to either wax or varnish your finish. You can choose Chalk Paint® Wax for a mellow finish. For extra durability, try Chalk Paint® Lacquer, which can be applied with a brush, roller or even spray gun.

Painting laminate kitchens needn’t be a headache. Now you know how, you can see how quickly the colour of your kitchen can be updated. And how cost effectively! If you’d like to try this technique, make sure you buy your materials from your local Annie Sloan Stockist. Every Stockist is trained to offer expert guidance and advice on everything from colour selection to painting techniques. Finally, if you’d like explore using varnish on your laminate, Annie has a tutorial on using Chalk Paint® Lacquer on cabinets for you too!

Related Videos

Shop

Browse

Chalk Paint

About
Shop