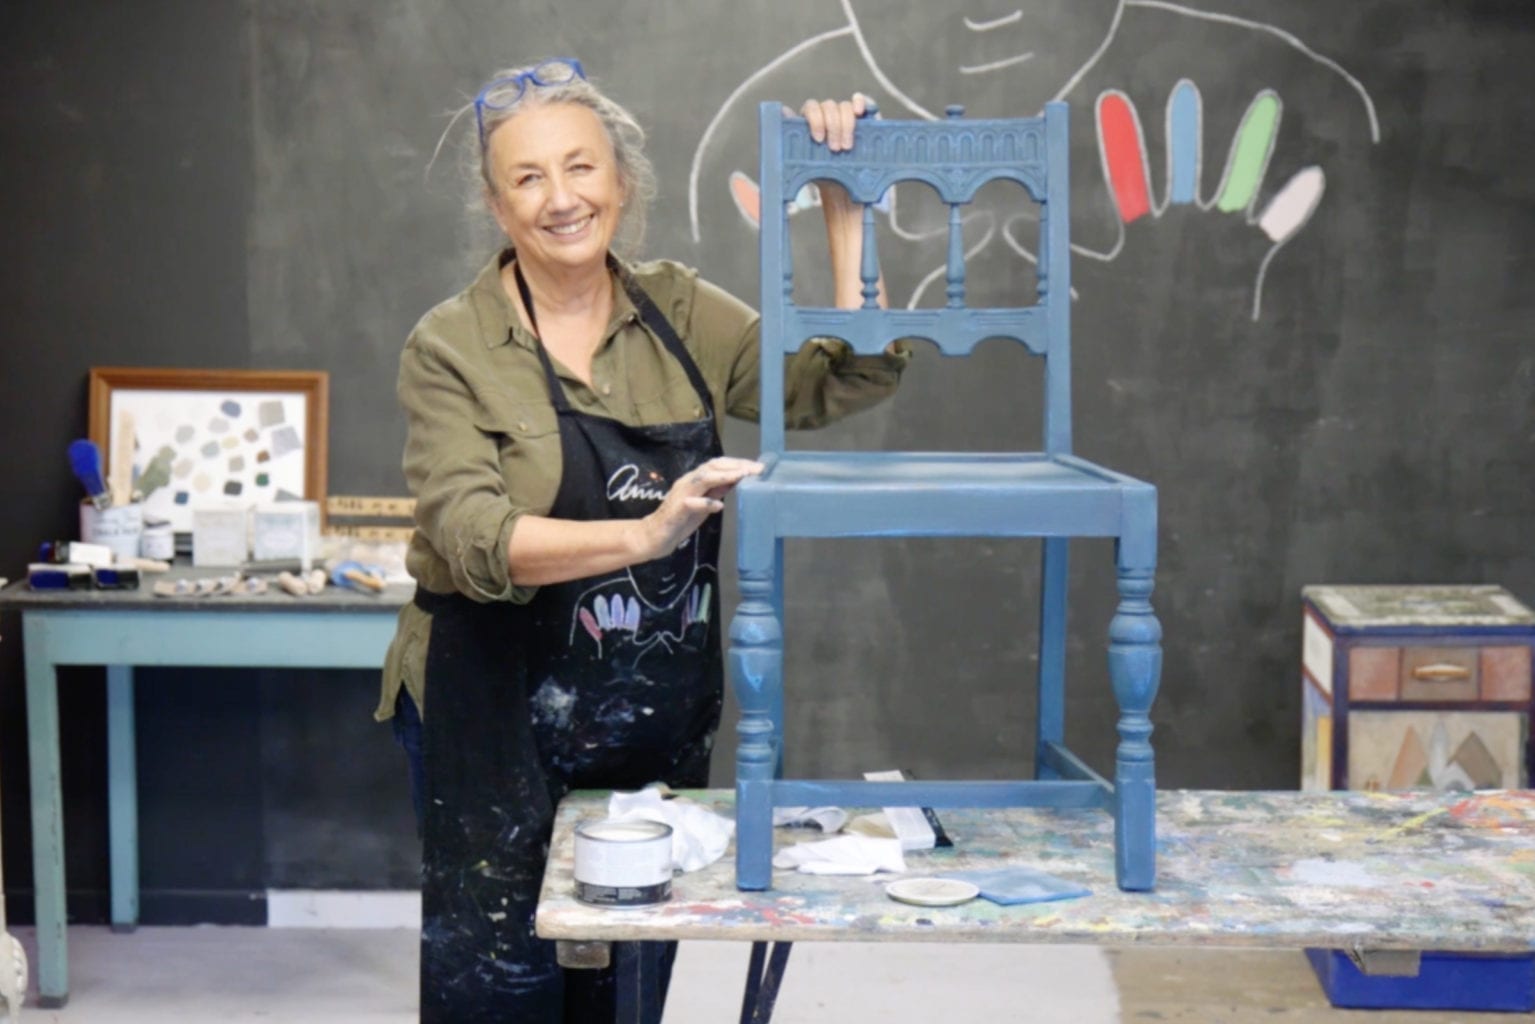
- Nałóż warstwę farby Chalk Paint™, poruszając pędzlem we wszystkich kierunkach.
- Nałóż bezbarwny wosk Chalk Paint™ Clear Wax przy pomocy bawełnianej ściereczki lub pędzla, wcierając go w farbę jak krem do rąk i zaraz potem usuwając wszelki nadmiar.
- Aby uzyskać piękny, postarzany wygląd, zastosuj ciemny wosk Chalk Paint™ Dark Wax. Nakładaj wosk na niewielkie powierzchnie i od razu usuwaj jego nadmiar ściereczką, dodatkowo używając bezbarwnego wosku (wosk “rozpuszcza” wosk – a więc bezbarwny pomoże Ci usunąć nadmiar ciemnego wosku.)
- *Opcjonalnie* Usuń odrobinę farby papierem ściernym o średniej lub drobnej ziarnistości aż do uzyskania wymarzonego efektu. Zawoskuj woskiem bezbarwnym Chalk Paint™ Clear Wax ponownie.
- Na koniec upewnij się, że każda część mebla została przynajmniej raz pokryta woskiem przy pomocy bawełnianej ściereczki lub pędzla.
- Chcesz dowiedzieć się więcej? Każdy sprzedawca produktów Annie Sloan oferuje warsztaty i praktyczne porady na temat tych i innych technik Annie Sloan.
I’m going to use my paint, showing you some very simple techniques. I’m using here the smallest of my brushes. I could be using the bigger one. I just picked up one, it doesn’t really matter, what ever feel comfortable with.
First of all, I’m going to show you how to do it using a smooth-ish brush stroke. So I’m painting, if you noticed, every which way. I’ll just slow that up. I do these sort of techniques like that because i’m going for a sort of distressed look.
I prefer to paint over these things [points to hardware]. Also it’s a lot quicker! The other thing I can do is to take it and sort of stipple with it dabbing it fairly hard and quite dry, so can you see that bit there where the paint is thicker and it’s more three-dimensional.
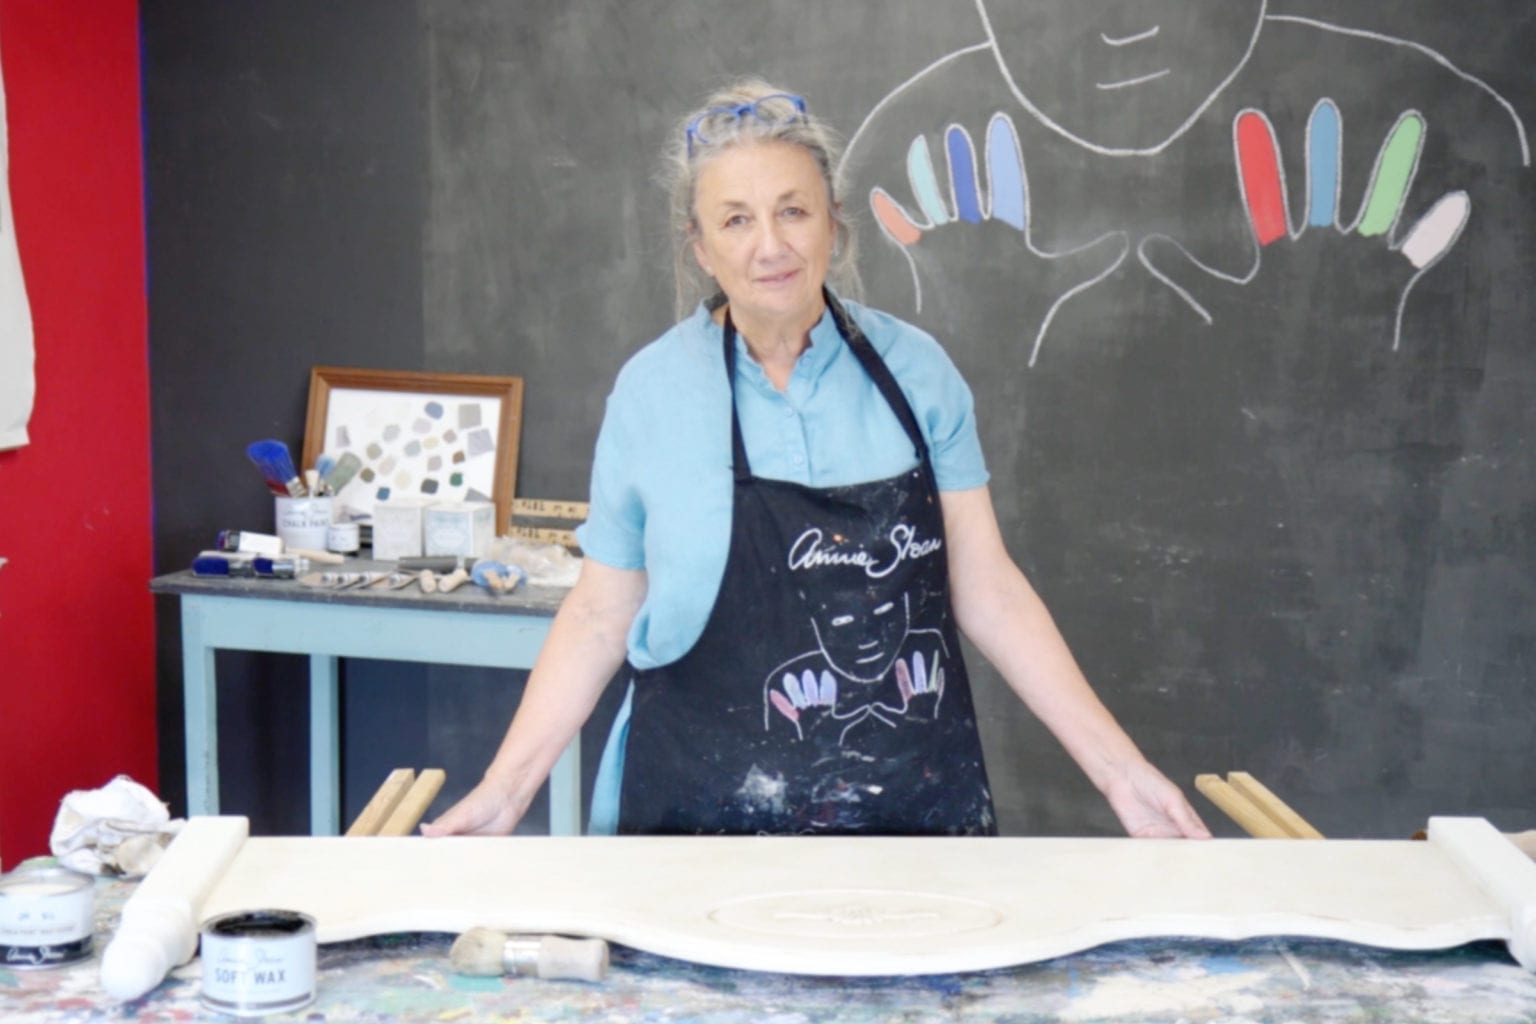
You’ll now need to wait aproximately 20 minutes for the paint to dry depending on the temperature and the thickness.
So now the next step is to show you how to do the wax, and of course the wax has been the thing that people have been the most intrigued by. So here’s my brush covered in wax, and I’ve got a cloth here as well. I’m painting over with the wax and you can see the lack of paint has brought that up because I only did a thin coat. This is not laying a layer of wax on the paint, but it’s a bit like – someone came up with the idea – when you put hand cream on… you put hand cream on so it absorbs right in. You don’t put hand cream on and leave a layer so you walk around with really greasy hands.
When I’ve waxed enough, I will then go in wiping it. Because it’s metal underneath, just a
little bit without really much work is coming through, and you can see a little bit of the metal and I think it looks quite nice.
So this is my Dark Wax. I know it looks really dark. What i’m doing now is something you will probably be very scared of… but as long as you’ve got clear wax underneath that is not a problem. Now I’m just going to wipe that off. Quite lightly take it off. That’s where I did the stipples. What I tend to do is I work… sort of painting it really. Take a little bit of clear wax, just very lightly go over the top, leaving the top lighter, and the darkness really in the cracky bits.
This is a sand paper which is quite fine. You can get finer. Just showing a little bit of the wood maybe.Bring out that nice bit of gold on there. And I might just do a little bit more clear wax on to there.