- Użyj taśmy malarskiej aby wyznaczyć obszar, który chcesz pokryć woskiem pozłotniczym. Zamiast taśmy, możesz też użyć szablonu malarskiego.
- Wyciśnij odrobinę wosku pozłotniczego Annie Sloan Gilding Wax na paletę lub na MixMat.
- Użyj pędzla do szablonów i zacznij nakładać wosk pozłotniczy na pomalowanym i zawoskowanym meblu. Nakładaj cienkie warstwy wosku pozłotniczgo, aż do momentu krycia/pozłocenia o jaki Ci chodziło.
- Usuń taśmę malarską lub szablon gdy ukończysz nakładanie wosku pozłotniczego. Zostaw wosk do wyschnięcia przez noc zanim zaczniesz polerować wosk.
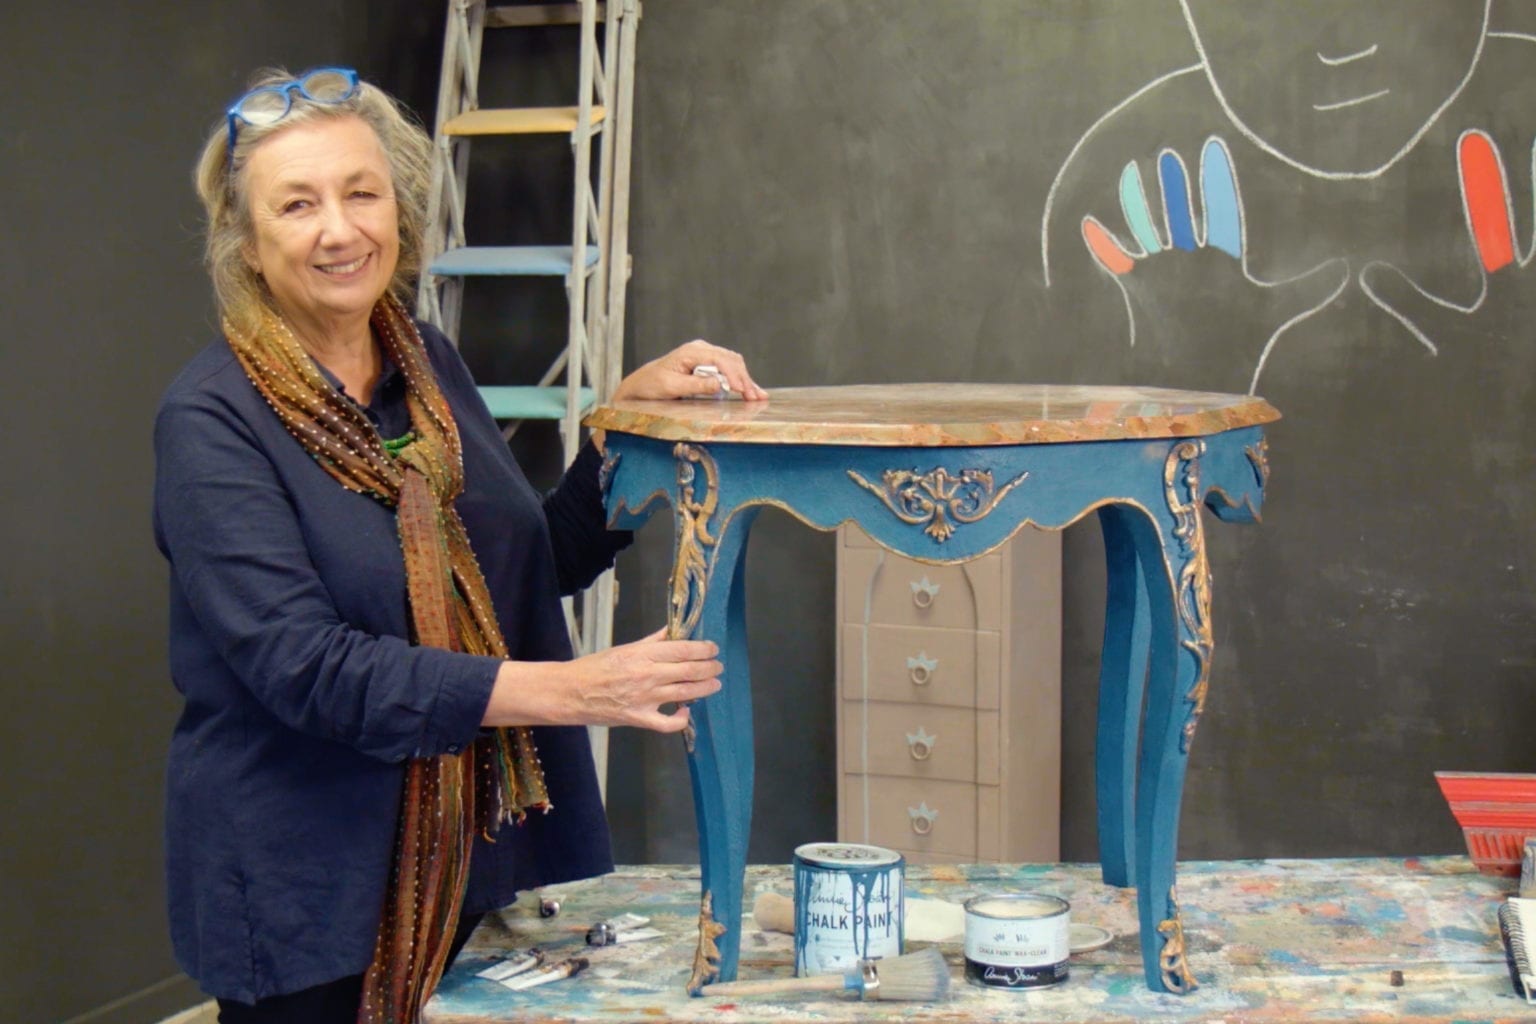
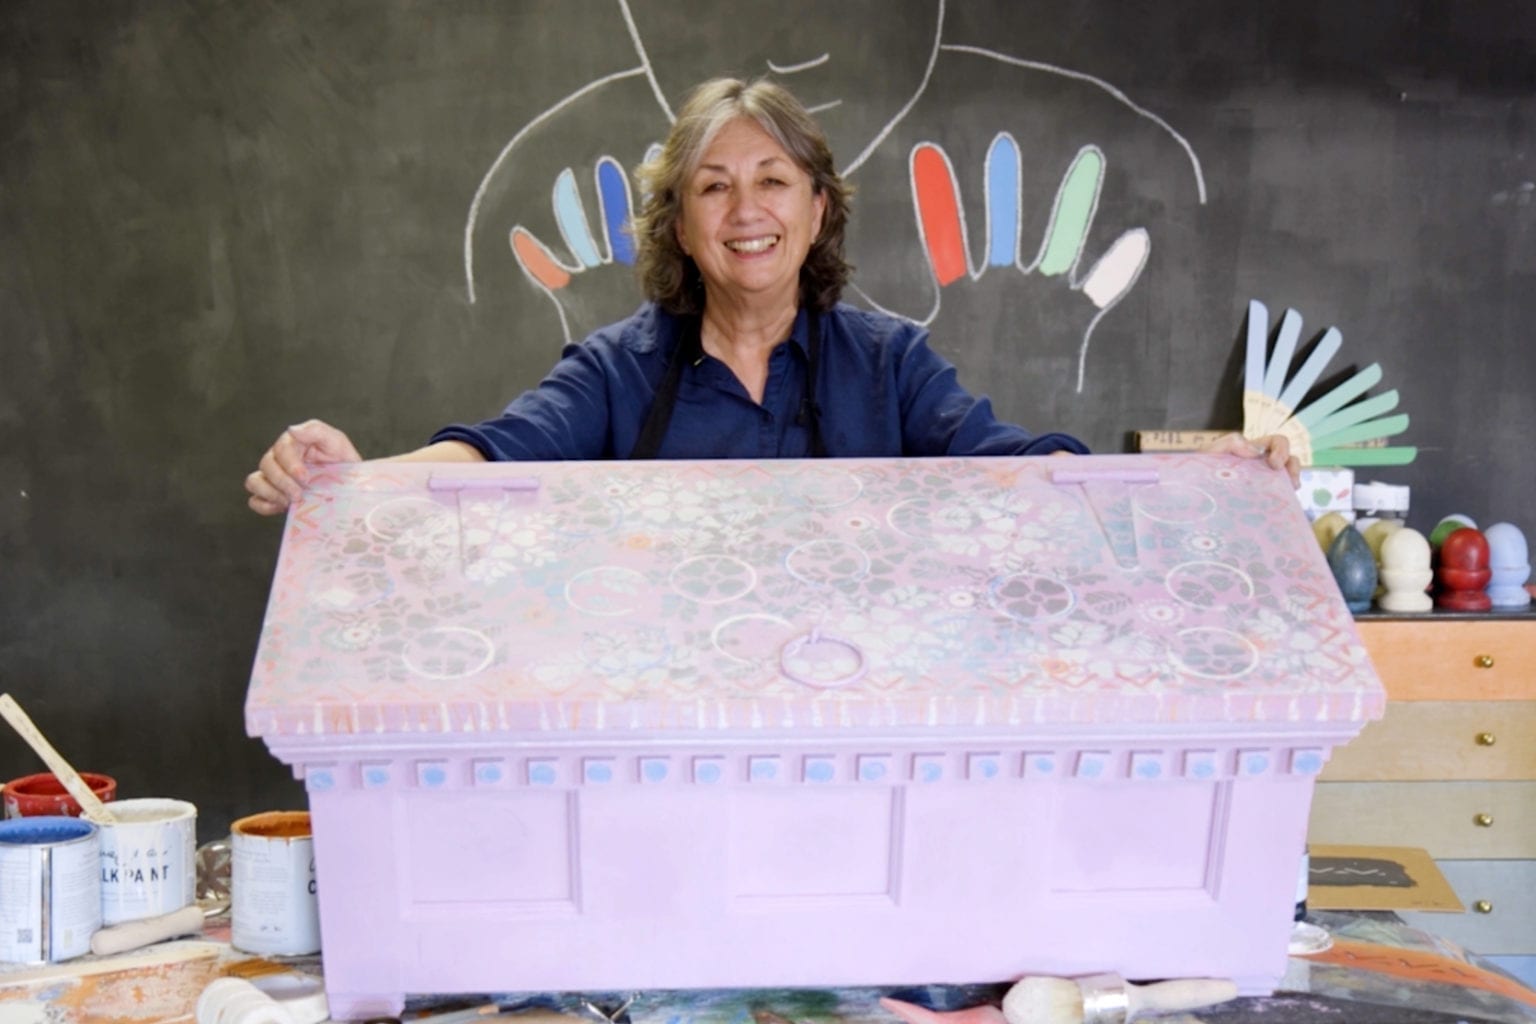
So for this one, I’m going to do something a little more modern with the Gilding Wax. I’ve done a smooth coat with my Flat Brush using Provence. I’m going to do a line a right around the whole thing. Because these two come together, there’ll be a little bit of a gap there, but then I’m going to do this stencil, Tallulah, and I’m going to do it right in the middle.
So to begin with, I’ve got some masking tape. I could draw a line round it, but what I’m going to do is use the lines of the drawer edge. Because the blue is quite cool… the Provence is quite cool, and I want something warm, so I’m going to put copper with it. The whole copper thing is good because it slightly… it just works with it, I think, in terms of history.
Squeezing a little bit out on my MixMat, and now I’m just going to start applying it. So this will go a long way. If I want it very solid, I’ll probably do two coats. I’m using a Stencil Brush because they’re just nice and firm.
Just to reiterate what I’ve already done: I’ve painted it Provence, I’ve waxed it, and now I’m applying the Gilding Wax. So going back now onto the first bit which is now a little bit drier I always think it’s better to do two thin coats rather than one… one thick coat. It allows the first one to absorb in and then the second one will sit on top nicely.
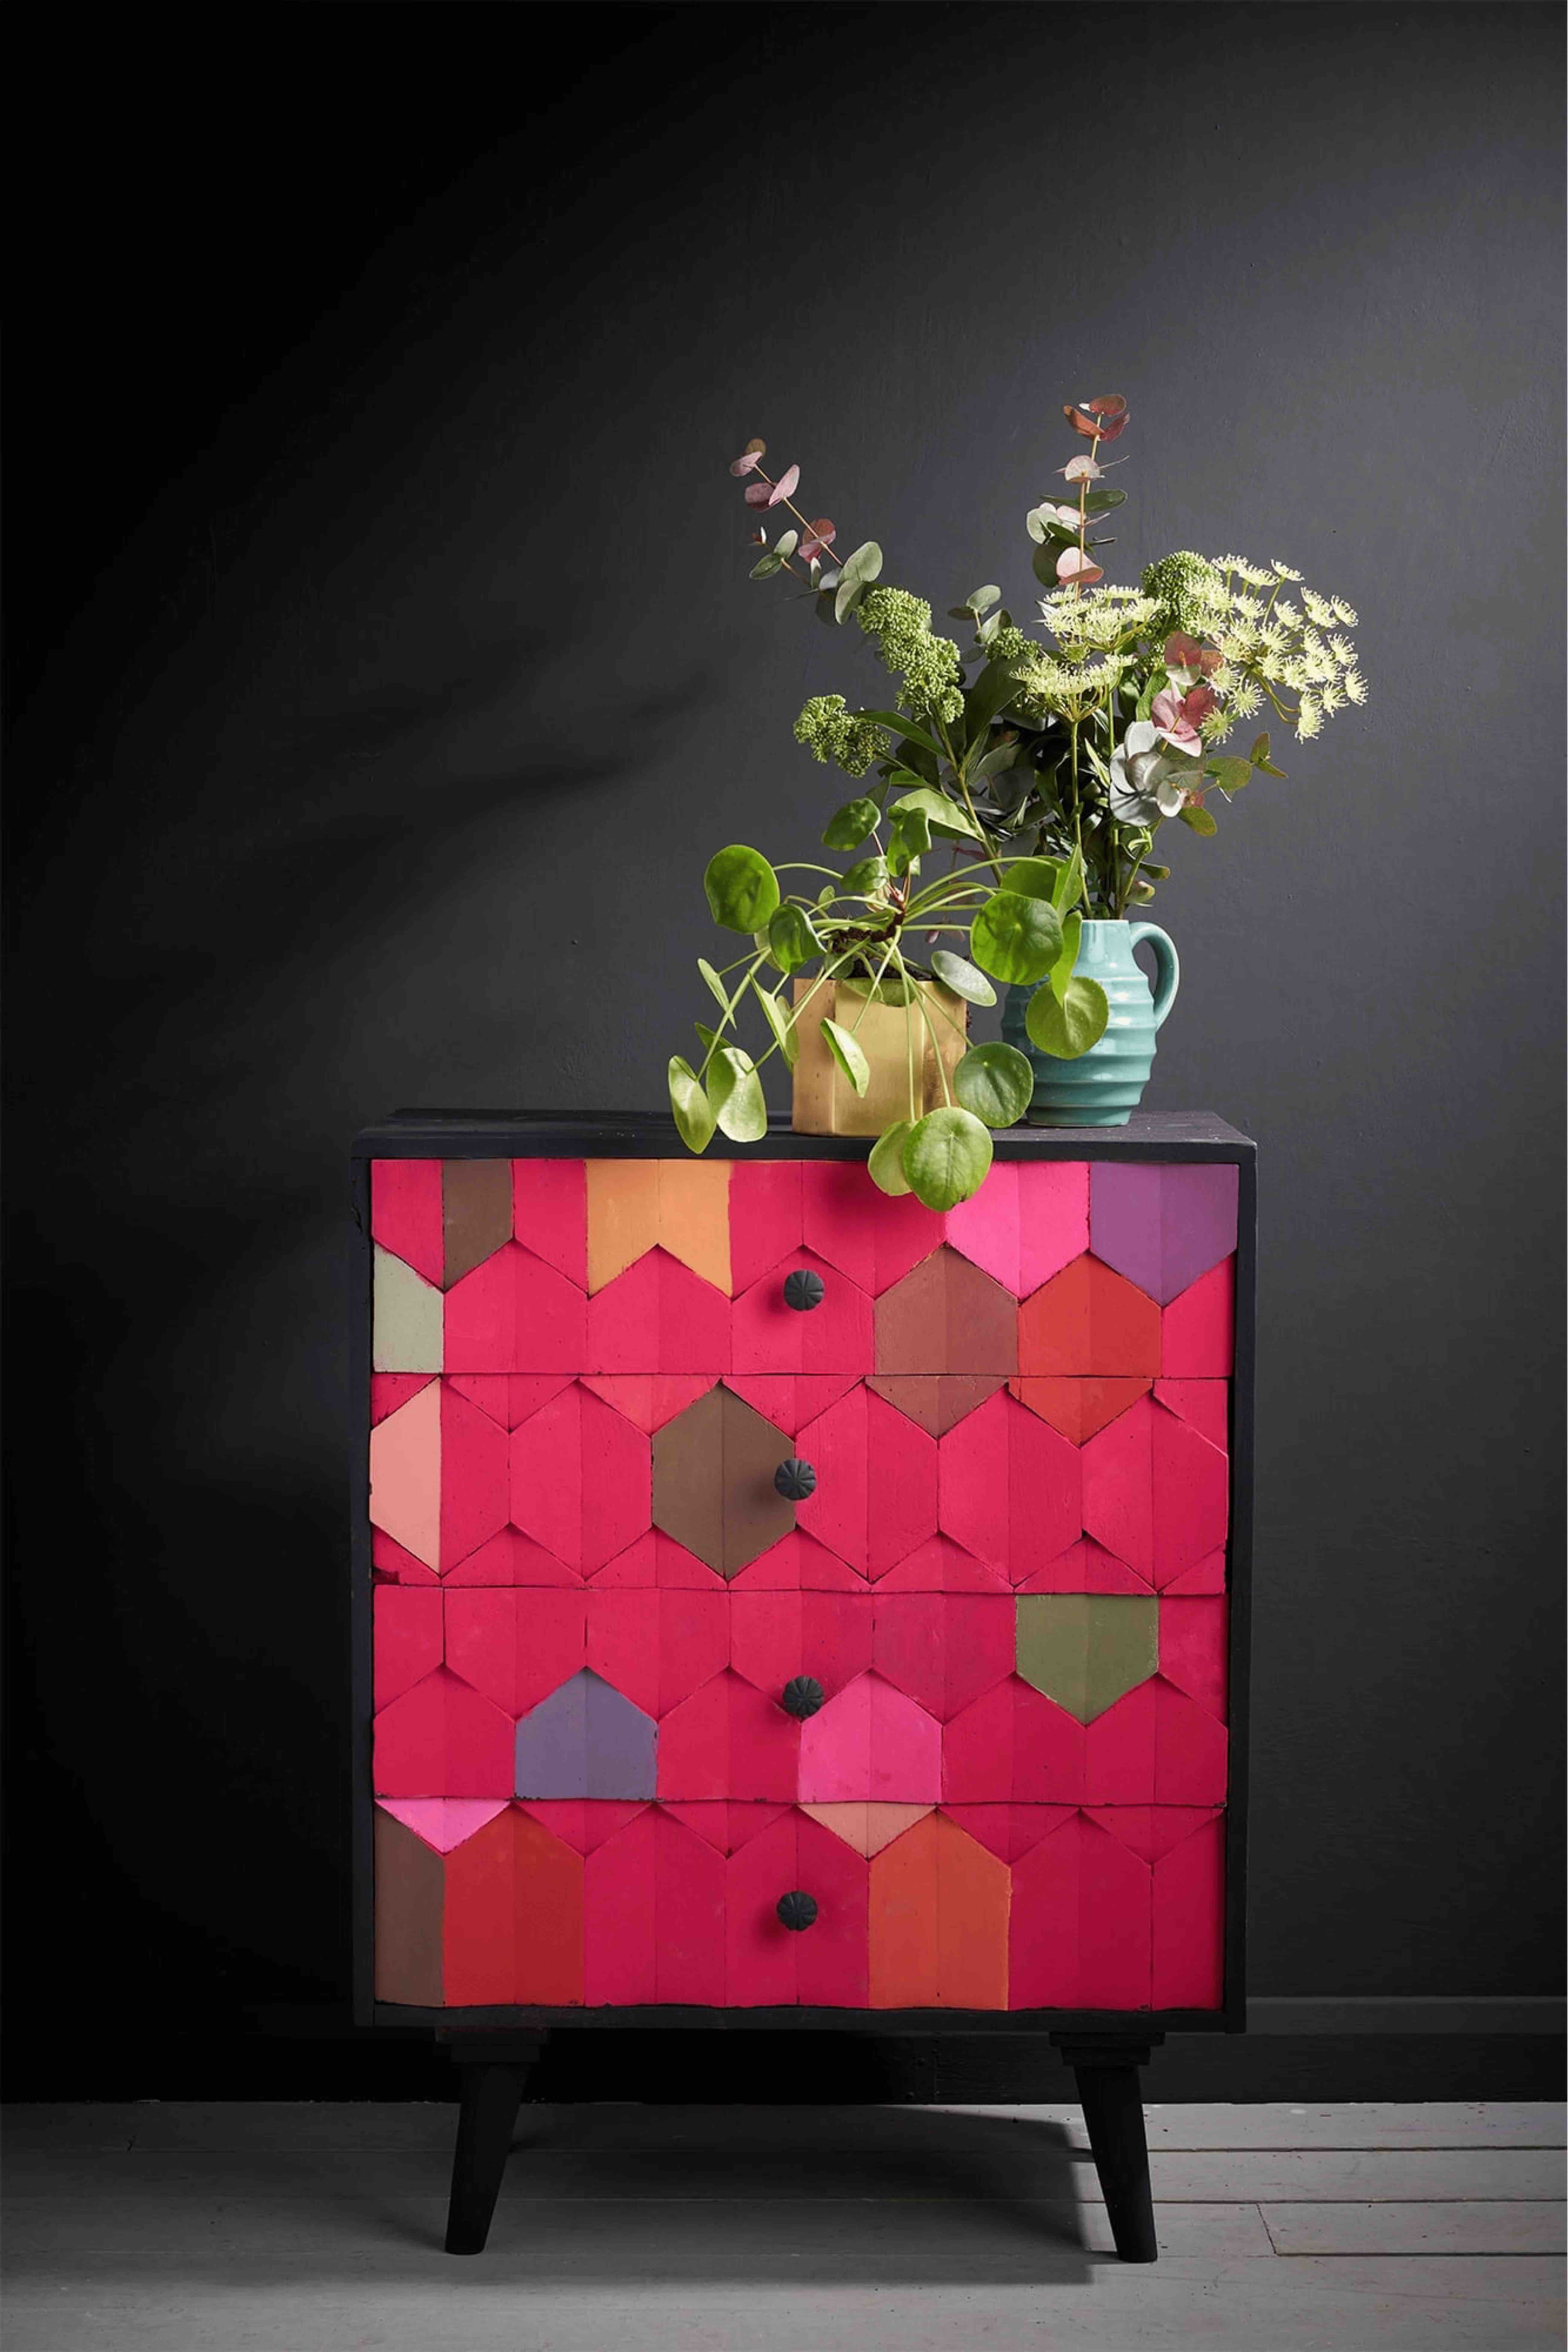
And now the best bit! Taking the masking tape off… Ooh, I like it! Very pleasing this bit. I’ll leave this to polish tomorrow because, as I say, it’s still a little bit wet.
Ooh, that looks really nice! I’m very pleased with it. So I’m going to now put this stencil, Tallulah, right in the center of here. To do that, first of all, I’m going to mark up and find the center along here. I think I’ll go for the bright silver… I think the dark silver might go back into it a little bit too much. There won’t be enough contrast. This has got a little bit of copper on it because I’ve used this already, and I think this will actually be quite nice.
So instead of being completely flat, as this is, I’m going to blend it slightly. I’m just gonna put a little bit more copper at random places to give that slightly blended look. Ooh, yeah! I quite like that! I’m very pleased with it. It’s quite subtle. You’ll find as you move around, it catches your eye, and it shines beautifully.
So enjoy my Gilding Waxes! Have fun!