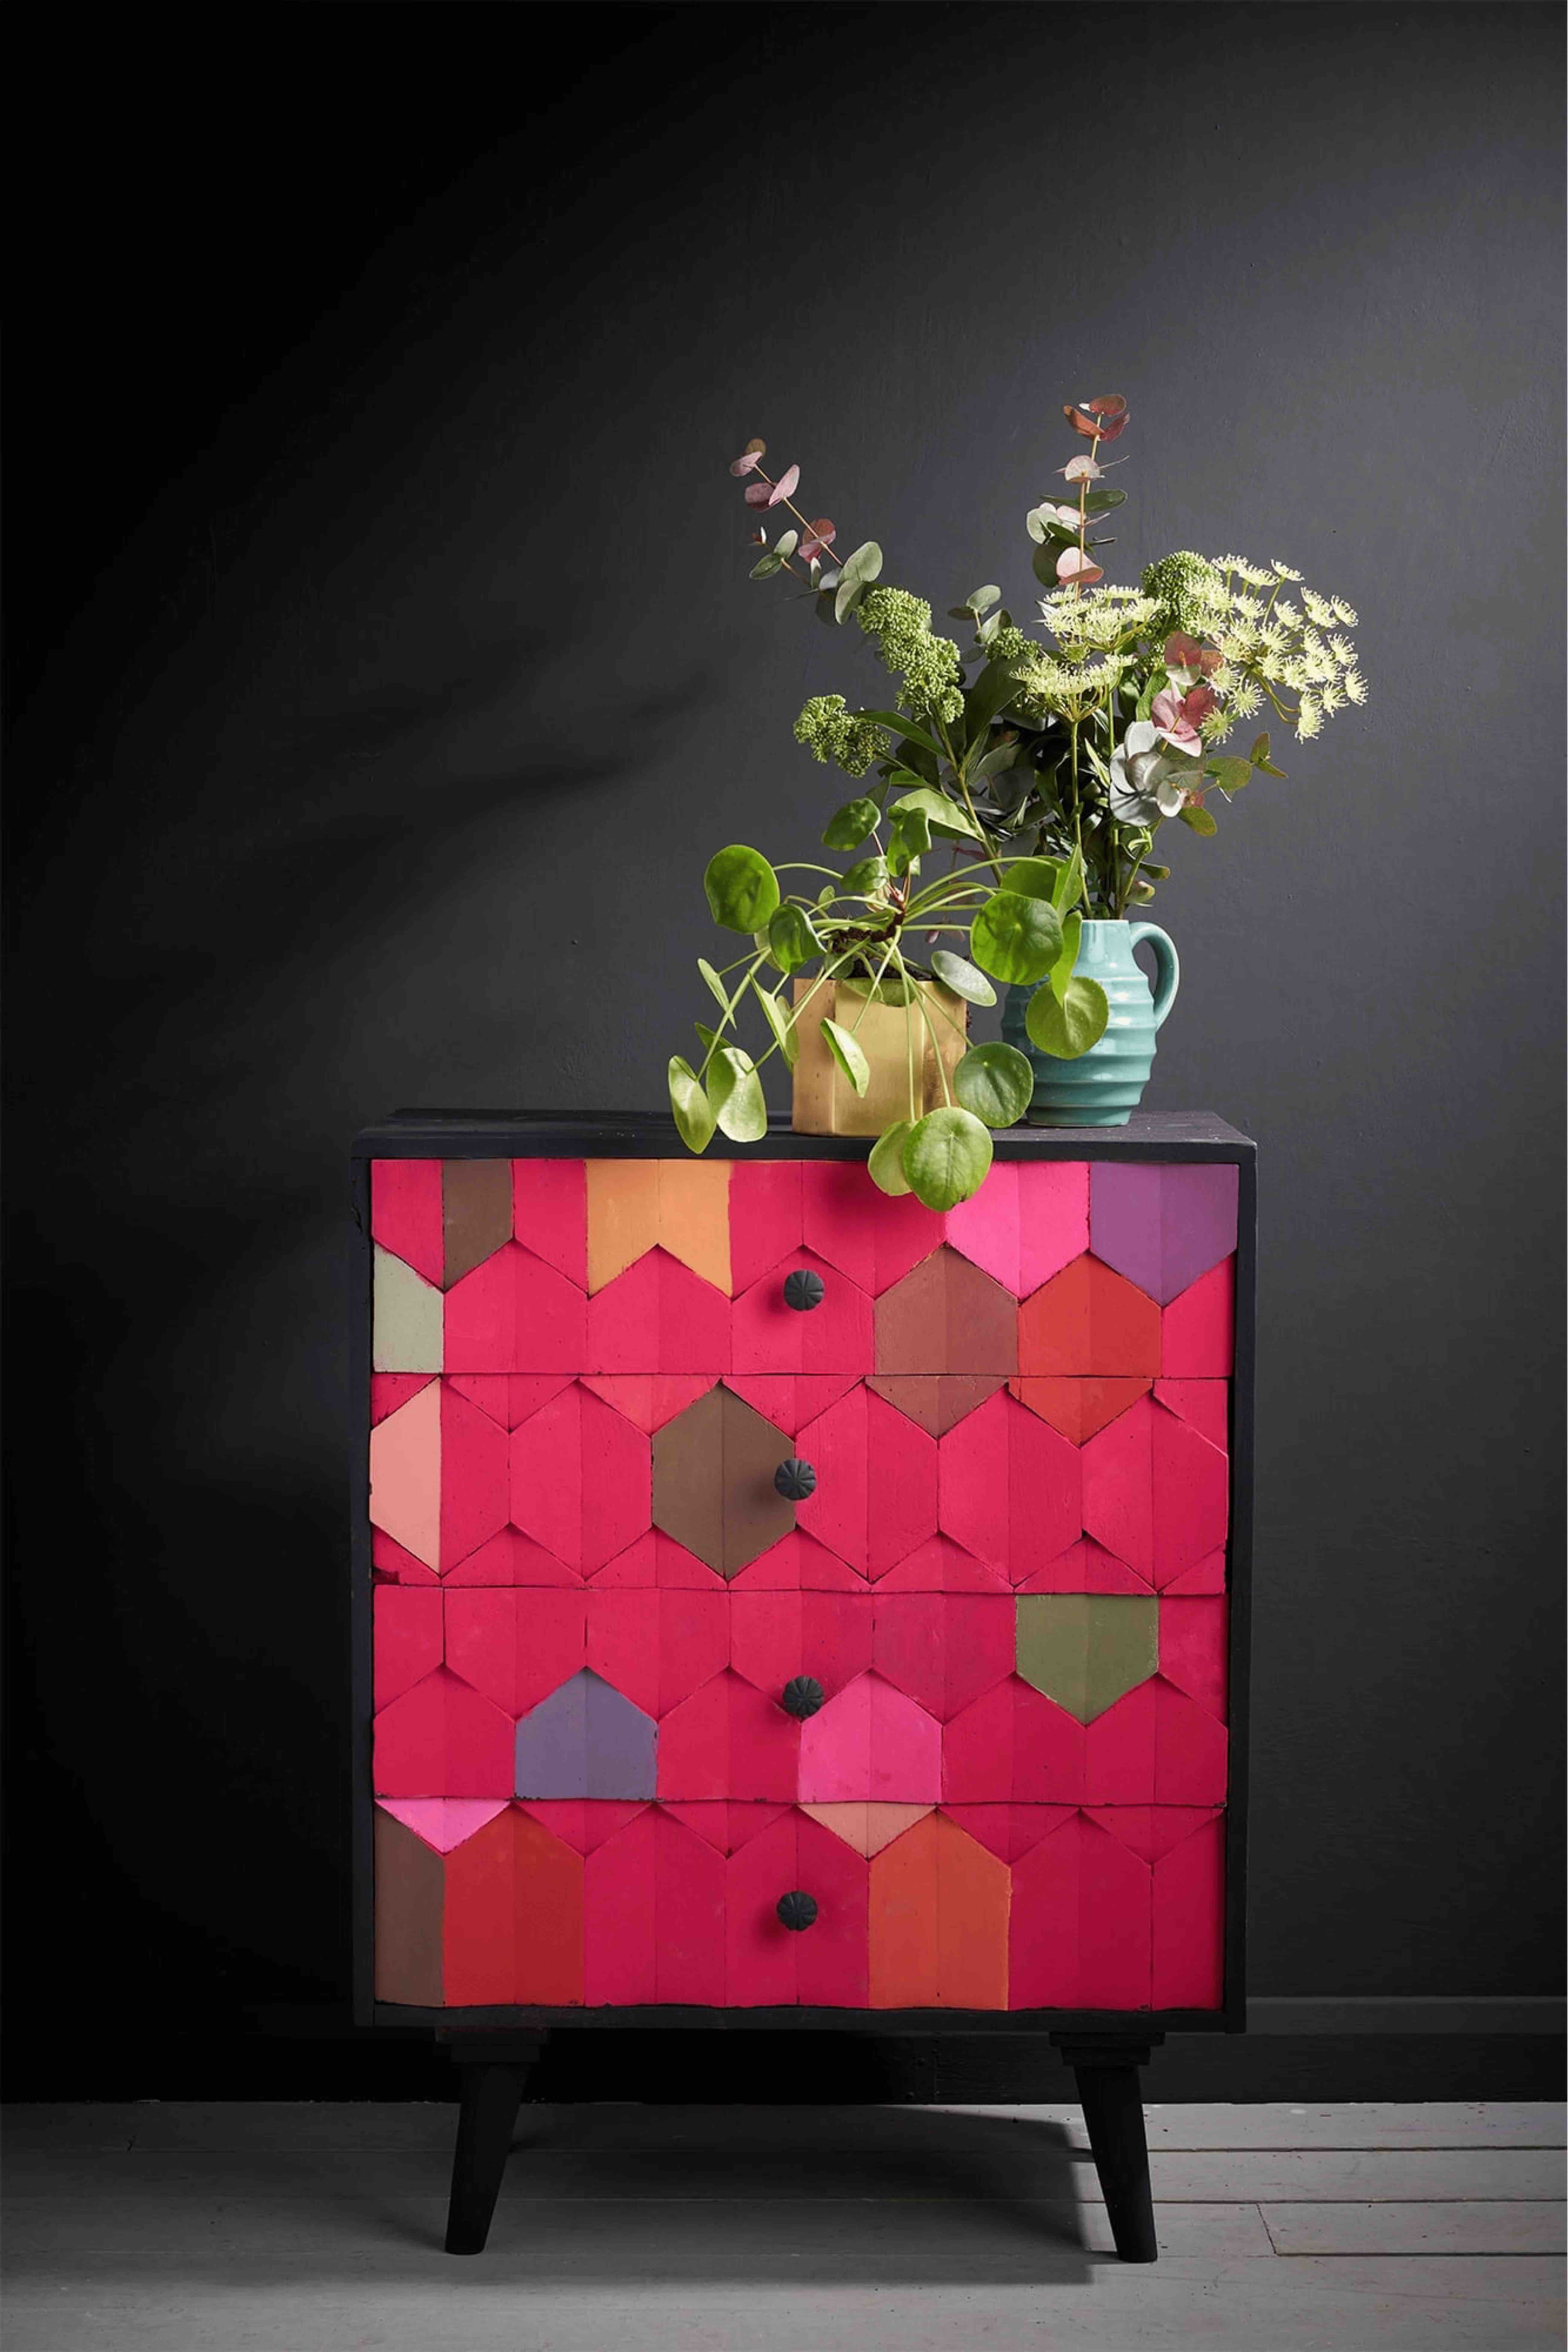
- Najpierw pomaluj mebel farbą Chalk Paint™ w wybranym kolorze. Annie pomalowała tę drewnianą skrzynię farbą Chalk Paint™ w kolorze Henrietta.
- Eksperymentuj z kolorami na macie Annie Sloan MixMat™, stosując kolory farby Chalk Paint™ w różnych zestawieniach. Dodając do farby Chalk Paint™ kolor Pure, ożywisz i rozjaśnisz każdą paletę.
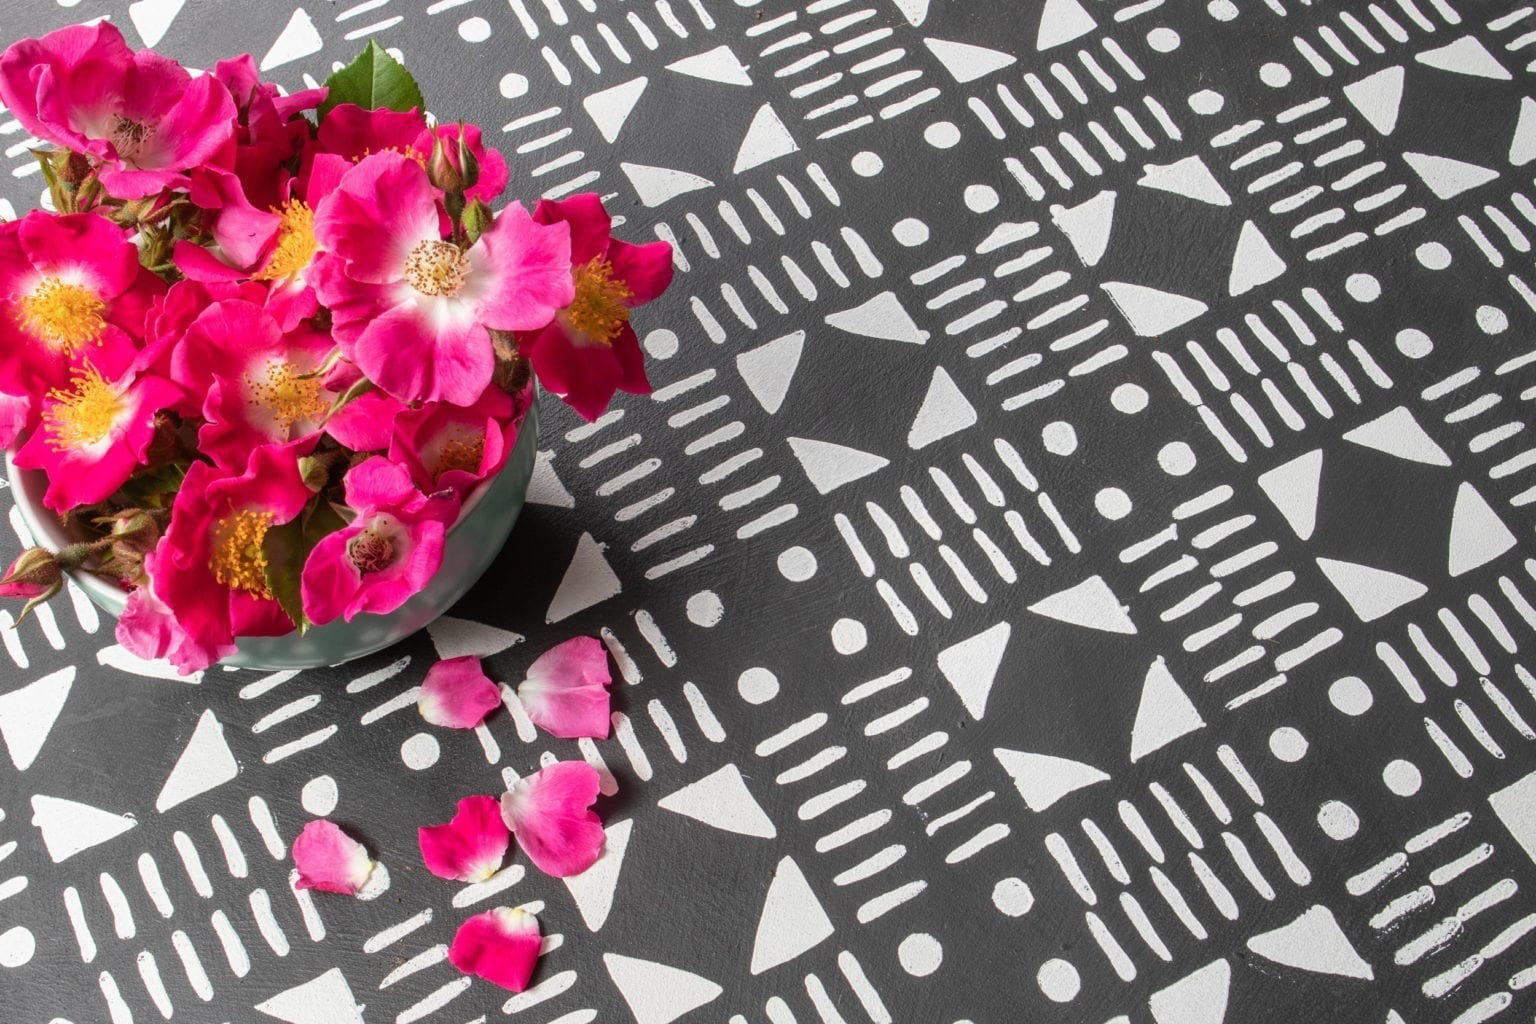
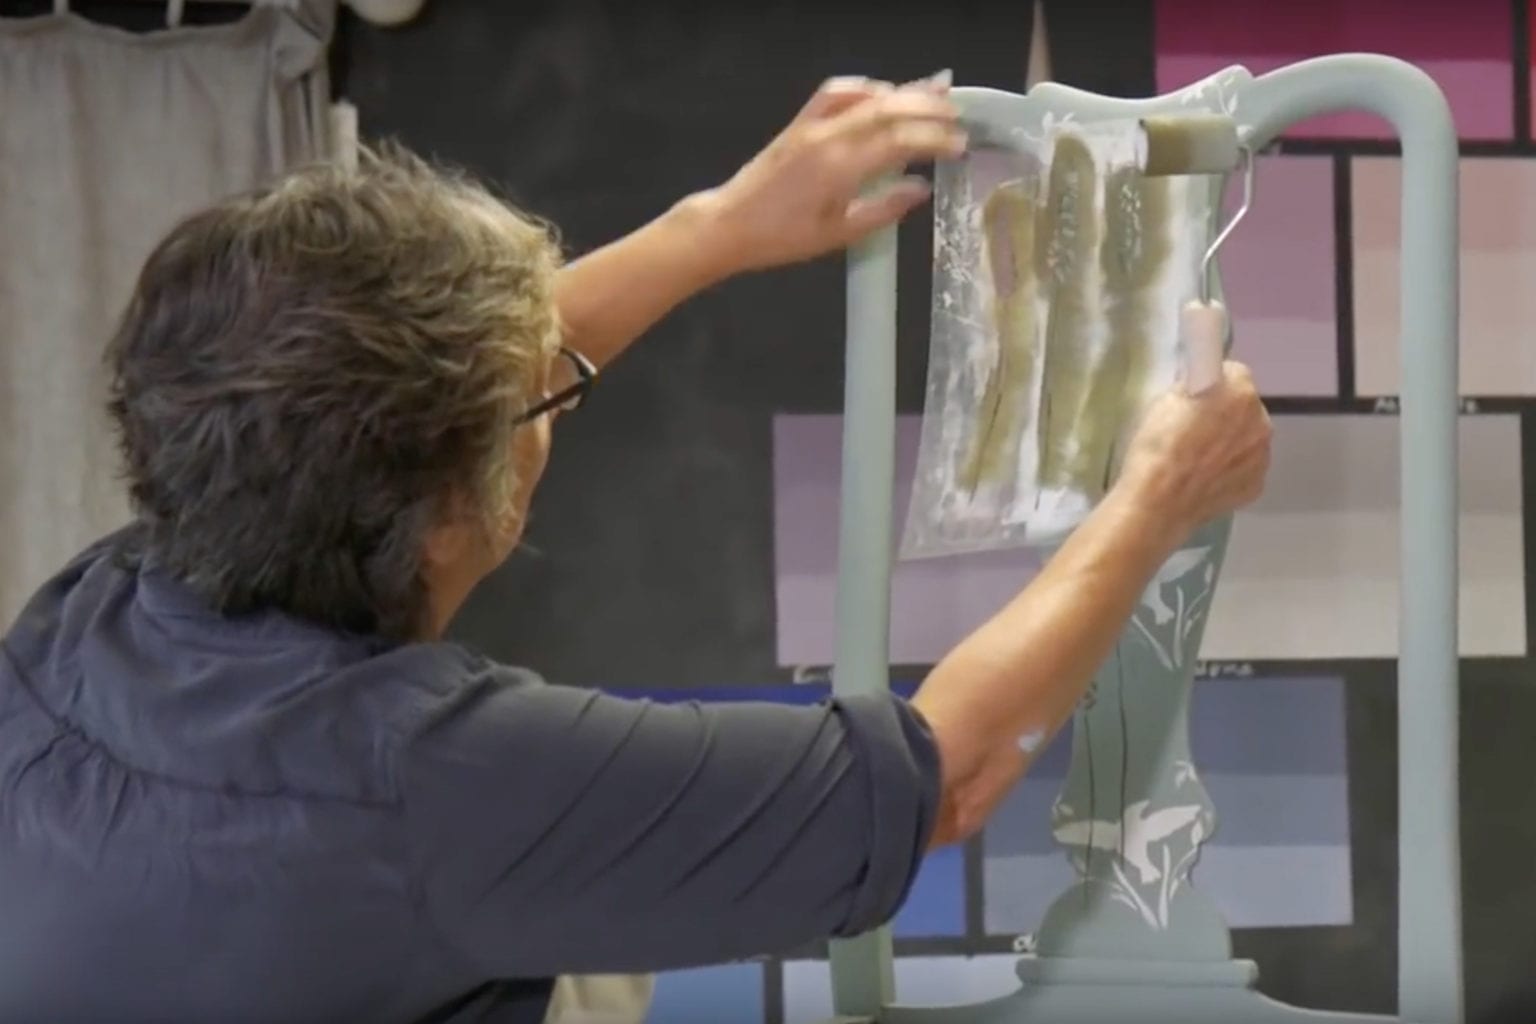
- Teraz dodaj wzory. Przy pomocy wałka gąbkowego Annie Sloan spróbuj nanieść wzory z różnych szablonów w przypadkowych miejscach. Annie zastosowała tu szablony Petrushka, Circles i Valeska.
- Do stworzenia wzorów możesz wykorzystać, co tylko chcesz. Annie pod różnymi kątami owinęła sznurek wokół prostokątnego kawałka kartonu i pomalowała go farbą w kolorze Barcelona Orange. Następnie wykorzystała go jako stempel, odbijając wzór wokół krawędzi skrzyni.
- Co jeszcze można wykorzystać do nakładania farby? Spróbuj użyć śrubę, zanurzając jej końcówkę w farbie Chalk Paint™ w kolorze Greek Blue, aby stworzyć unikalny, okrągły wzór.
- Po uzyskaniu zadowalającego wzoru zeszlifuj powierzchnię pomalowanego mebla przy pomocy gąbki ściernej Annie Sloan. Odkryje to warstwy namalowanych wzorów i pomoże stworzyć rustykalny wygląd.
- Przy pomocy pędzla do wosku Chalk Paint™ Wax Brush nanieś wosk Chalk Paint™ Wax bezpośrednio na farbę. Tutaj Annie zastosowała biały wosk Chalk Paint™ Wax.
So time for some fun! I’ve painted this chest that I’m probably going to give to my grandchildren. I’ve paint it with Henrietta and I want to put lots of pattern on it. So putting pattern on is such great fun and if it goes wrong, you can always paint it out. I do a little bit of experimenting before and then I just get into it.
[Starts applying different colours and using stencils] Now I’m going to add some white. Barcelona Orange on there, it’s got a little bit of white on it, and let’s see if this works on there. Oh, that’s nice! I like that. I think I’ll go and get myself some Greek Blue.
One of the great influences for me, for my work, has always been the Charleston group of artists who worked in England in the 30s and 40s. And they did an awful lot of improvisation, painting furniture in their house.
What I need to do though – it’s a little hard – so I’m going to sand it. And I’m going to sand it without waxing first. This is a little bit unusual but I just want to get that very pared away look. I’m sanding with the fine sandpaper here, or the sand sponges, it’s going to take quite a lot off, but quite sensitively. You get a little bit of the underneath showing, so where I randomly overprinted, you get that coming through which I think is very, very nice.
So now the big decision is… Having sanded it, it’s looking really nice. I’m going to try using the White Wax directly on, nothing else, I’ll see how it looks. So what I usually do is try and find a little bit that won’t be seen much. Yes, this is definitely it! I think the this is looking very nice, I like it a lot actually.
So that’s it – it’s my finished piece and I actually really, really love it. Although it’s not at all what I expected. And I did have to change my mind, I had to do things and and paint it out, but that is part of the whole process of painting, especially with this sort of thing. And don’t be surprised! Don’t be worried! At some points, you might go “I really hate it”, but actually keep going and you can do something which you really love.
I hope my grandchildren like it, but if not… well, it’s staying in my house!


