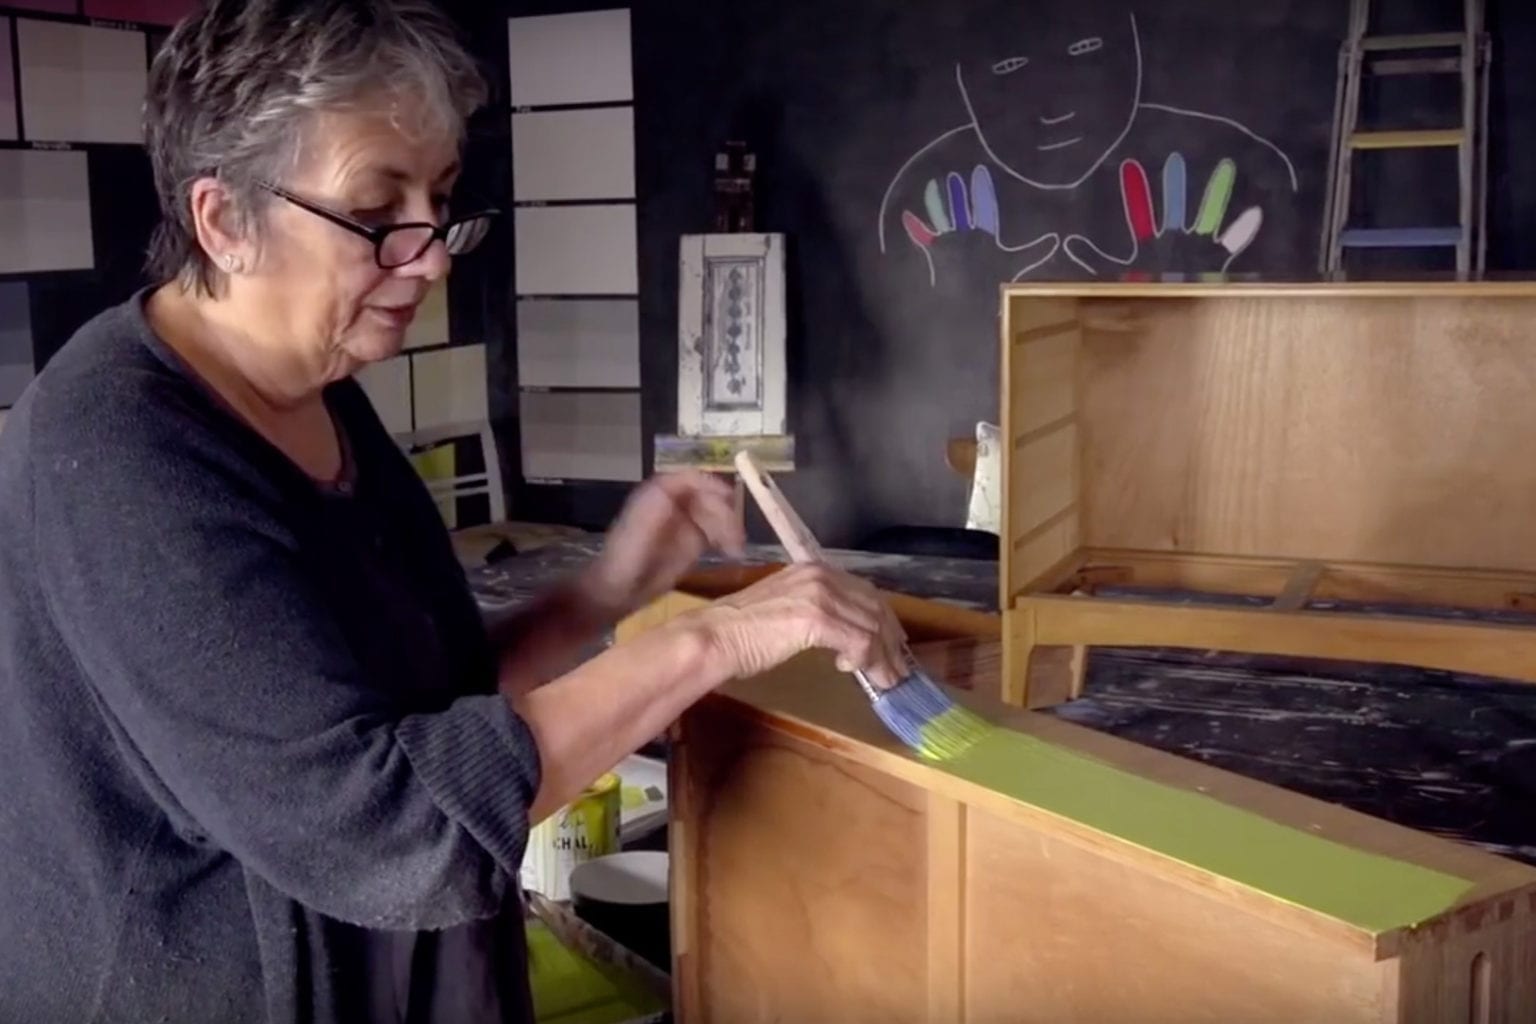
After you’ve painted your piece of furniture, it’s time to seal in your paintwork with Chalk Paint® Wax. If you want to create a flat, modern finish, you need to start with applying the paint smoothly first. You can minimise any brushstrokes even further by using a fine Sanding Pad to remove any remaining texture before waxing too.
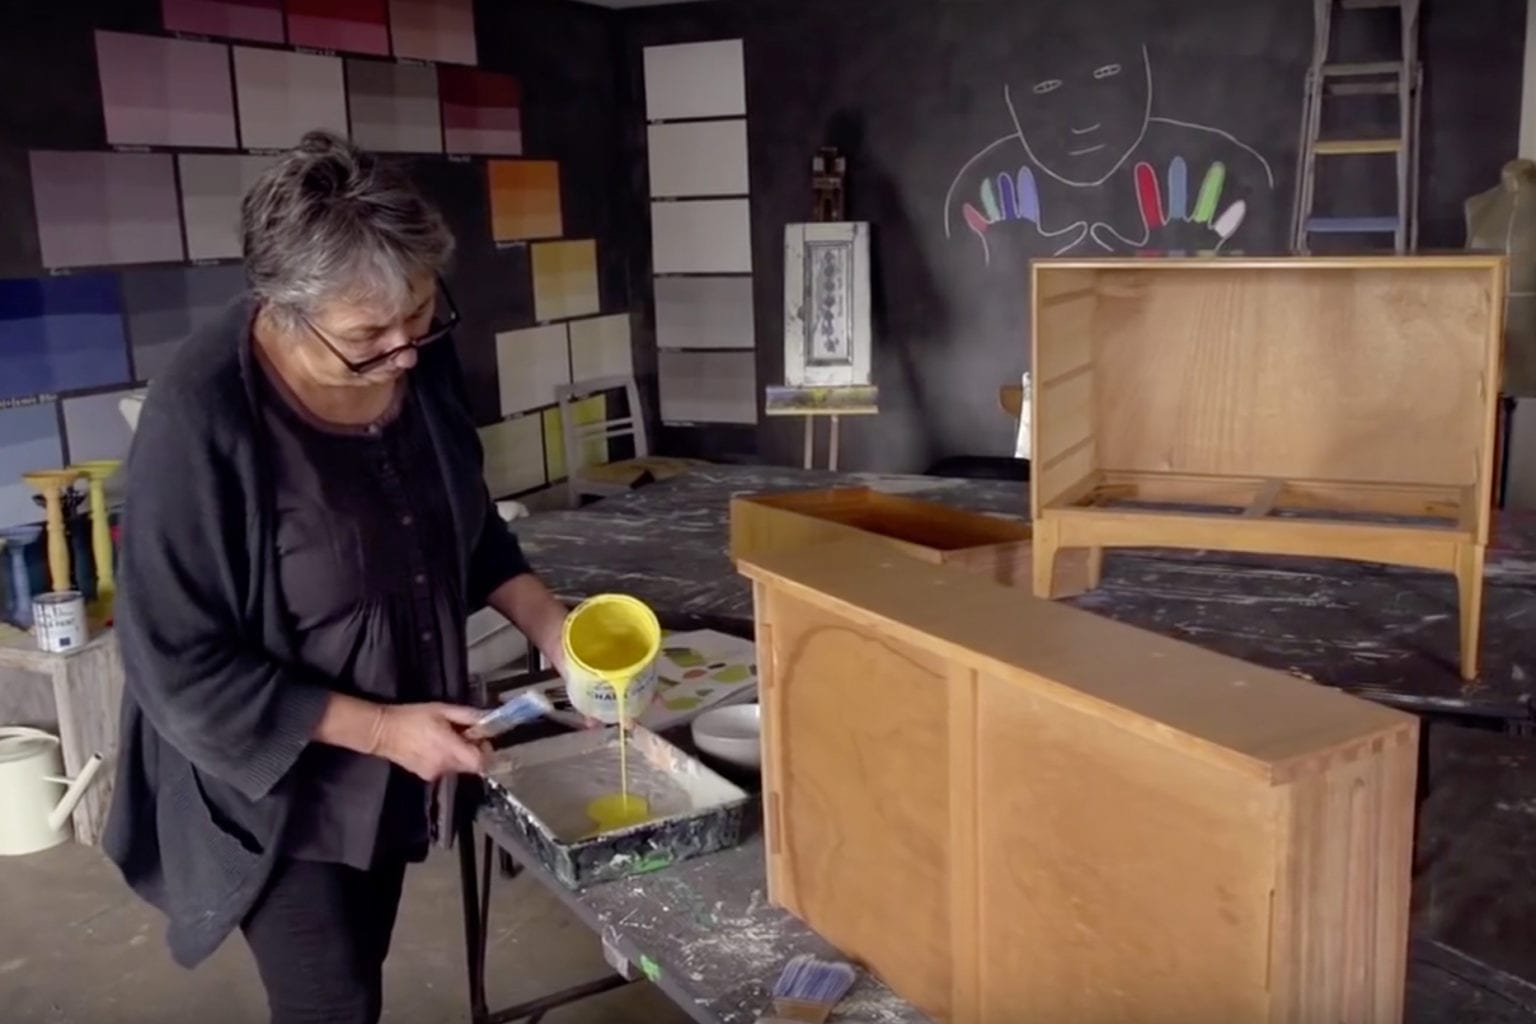
Once your paint is fully dry, you’re ready to start waxing. Arm yourself with a Chalk Paint® Wax Brush and a clean lint-free cloth, and get started! The secret to a smooth application is to work in sections and wipe off any excess while you go.
Step by step guide to waxing for a smooth finish
- Charge a Large Chalk Paint® Wax Brush with Clear Chalk Paint® Wax.
- Use your brush to apply the wax in sections, going over the surface repeatedly to make sure you don’t missed anything.
- Use a clean, lint-free cloth to take off any excess while the wax is still wet. You don’t want to press too hard, just rub very lightly with the cloth, working in one direction to minimise any marks.
- *Optional: leave your piece overnight and use a lint-free cloth the next day to buff your finish to a high shine.
- Leave the wax to harden. It will be touch dry within 24 hours, but will take 5-21 days to become completely hard or ‘cured’. You can use your piece before then – just be gentle!
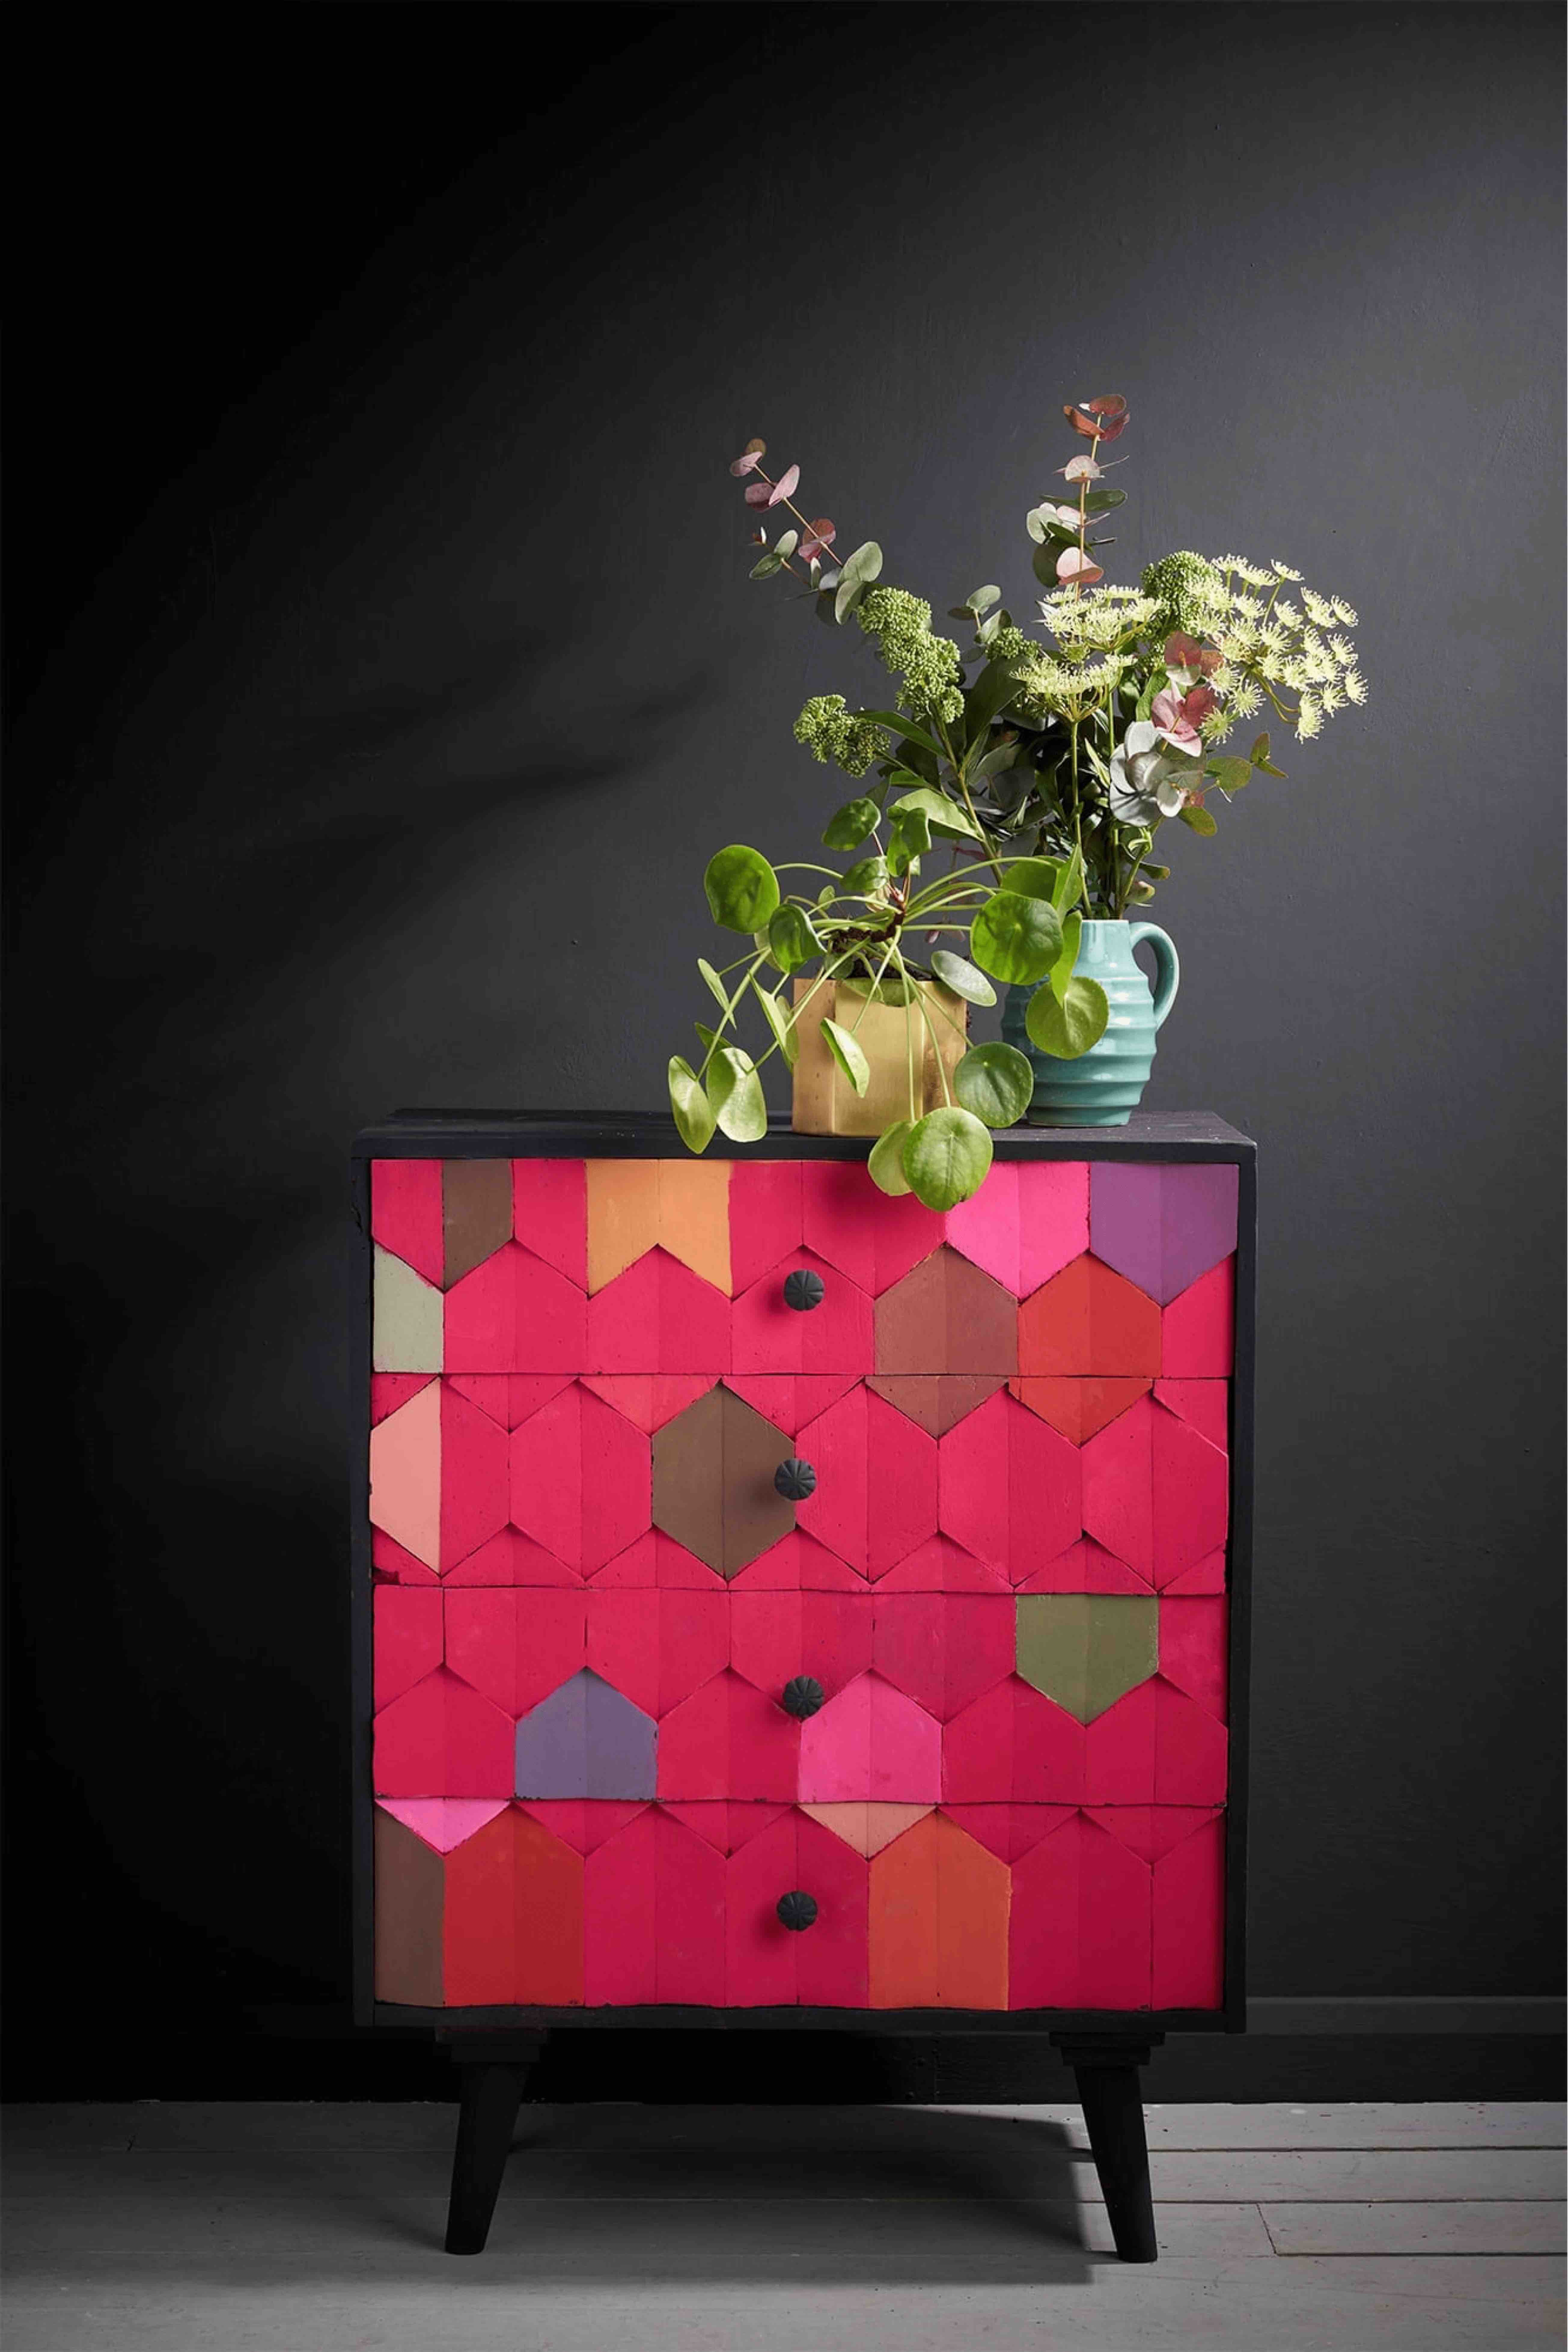
So there you have it! Chalk Paint® isn’t just for a distressed, textured finish. You can use it to achieve a completely flat, modern look too. For an even lighter touch, you can even dilute the paint with water to create a wash. Whichever technique you use, it’s important to seal your paintwork by applying Chalk Paint® Wax afterwards. Like a suit of armour, this will protect your paint from future marks or damage. It can also be wiped clean, too!
To help you choose the right finish for your project, get to know the basics of each iconic Annie Sloan technique with our Chalk Paint® Fact Sheet.