Techniques

How to: Make Your Own Fringed Cushion

One of the great joys of this fabric is the way that it fringes very, very easily. So we’ve made this cushion which is really, really easy to make.

I’ve got my tape measure, I’ve got the fabric out, and I’m going to do a snip to 50cm (in inches that’s 19 inches). And then I’m going to tear it. It tears beautifully. In fact, it’s much better if you tear because you get lots of nice lengths. The yarn will pull out and that’s the whole joy of it.

So I’m going to cut this all. Now I’ve got my second piece of fabric, so just to show how it will work eventually: it will be like that [holds up two pieces of fabric]. Sewn together along there with a cushion in the middle and then I’ll sew along there, but not with the cushion in of course.

Now I’m going to put these two together. How I did this is that there’s the two dark sides – the Aubusson – are together. They’re the two Provence sides – that just makes it richer and thicker. So this side they’re both the Aubusson colour, and this side they’re both the Provence colour. So now I’m just going to… [flattens tape measure along one side of the fabric] I’m using that as a guideline, and I’m just going to pin it about an inch down, a few centimetres down. So you’ve got enough to make a fringe. However big you want the fringe really!

So I’ve pinned the three sides – not all four, just three sides! – now I’m going to put it into the sewing machine.

[Sews]

So I’ve sewn the three sides. I’ve left one un-sewn, then I’m going to put my cushion inside there. I’ll then put pins along there and then I’ll sew it in with the cushion inside. So to save time, here’s one I did earlier. This is all finished like that. And now the fun starts!

This is the bit I love to do… and then you can just pull the threads. So you carry on pulling the threads until you’re happy with it, and then finally you’ve got something like this with the fringing all around and I think it looks absolutely wonderful.

Annie Sloan shows you just how easy it is to make your own fringed cushion with her Linen Union Fabric Collection

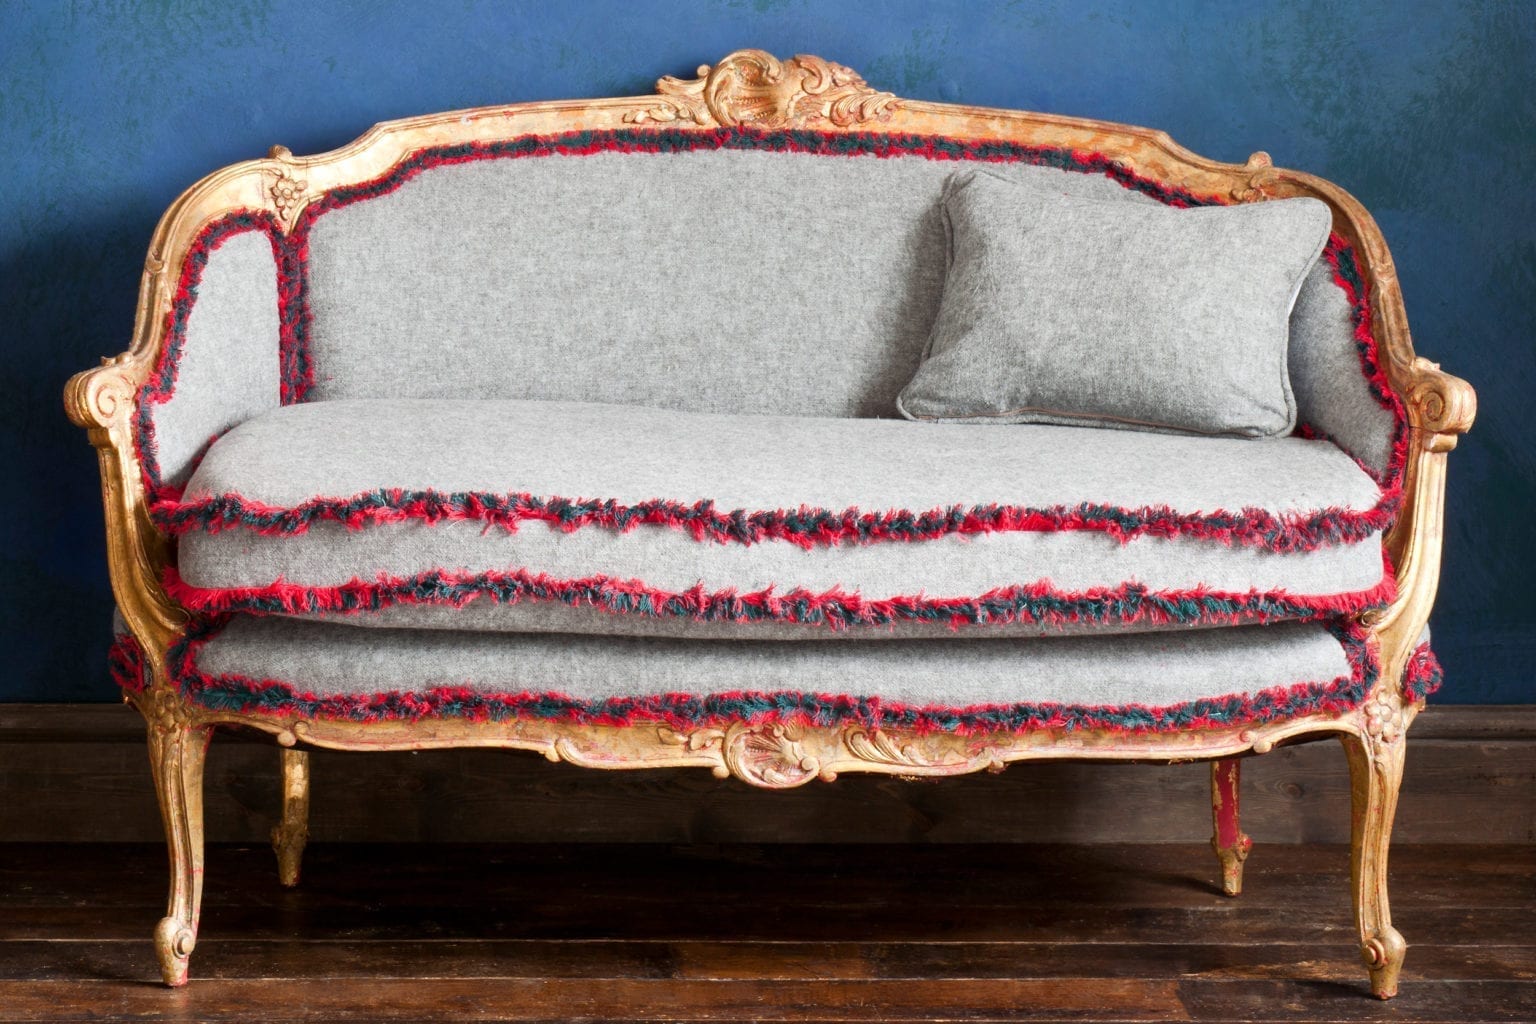
If you want to make your own cushion cover, you might want to consider going beyond the basic envelope pillow cover and create something a little more decorative by adding a tassel fringe. This no-zip cushion technique is simple learn – in fact, it’s a great beginner project for new sewers. But once you have your new fringed cushions out on display, no-one will know just how easy they really were to make.

To create this look, start with your choice of fabric from the Annie Sloan Linen Union fabric collection. Each Linen Union is a weave of yarns dyed to match two Chalk Paint® colours, one as the weft and one as the warp. This is the secret to creating an especially striking fringe effect. You will also need a cushion pad and sewing machine.

Step by step guide to making a fringed cushion cover

  1. Snip the edge of your chosen Linen Union fabric at 50cm / 19in and tear it.
  2. Repeat on a second piece of fabric so that you have two squares the same size with rough edges around all four sides.
  3. Place your two squares of fabric together so the right sides are facing out.
  4. Pin the fabric about 2.5cm / 1 inch down on three sides of the fabric and sew.
  5. Insert the cushion pad and pin along the remaining open side before sewing shut.
  6. Pull the threads around all four sides until you have nice tassel fringed edges.

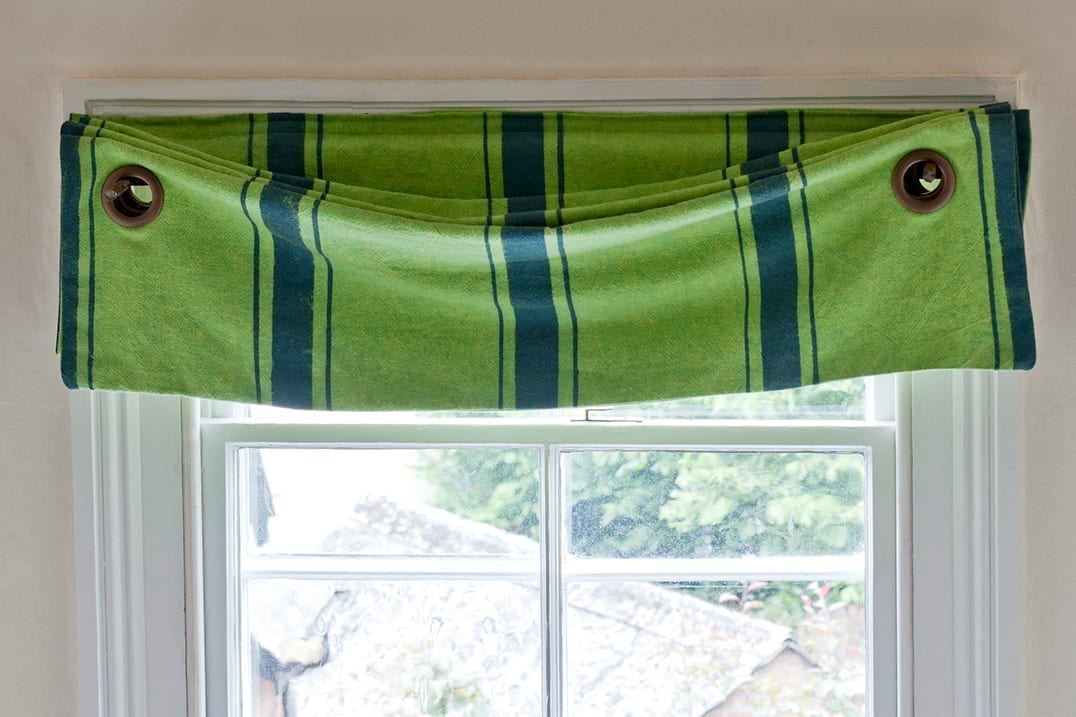
Now you’ve learned how to make your own tassel fringed cushion, you’re ready to get sewing. If you’ve enjoyed this technique, perhaps you want to try adding fringing on other items, like napkins or curtains. You can also find more inspiration on cushion cover designs here.

Related Videos

Shop

Browse

Chalk Paint

About
Shop