Techniques

How to: Use Pearlescent Glaze with Chalk Paint®

In 2020, Chalk Paint® turns 30. Yay! To celebrate this milestone, I’ve created this Pearlescent Glaze. Pearl is traditionally used to mark 30th anniversaries. And when I began the company, I offered a similar product – Pearl Paint – so this is a nod to my heritage. There it is there.

So I’m going to explain Pearlescent Glaze is. So this is it, it’s quite white looking but in fact it’s translucent and in a way it’s very much affected by the colours that are underneath it. So if I paint it on to here a white paint underneath it looks white. If I paint it here on to different colours; that looks pinky, that looks yellowy; that looks blue. The idea is that it enhances that colours that are underneath it. And it’s got this beautiful, beautiful glaze to it, which does catch the light.

One thing you might have noticed on here, particularly on here, is that the brush marks show. We’ve done that deliberately to show you the brush marks really, really show. Now if you don’t want it to do that, what you would do is apply it with a roller, so that’s what I’ve done there, so that has got stripes on it of the brush marks and that is done with a roller. And for smaller areas you might even do that so that’s a little stippling brush: I’ll put it on to there.  You’d get some to there and then you can apply like that for sort of small areas. It also looks amazing on something like this.

This is quite carved and I actually painted over the whole thing. It was Florence underneath and then I painted with the flat of my brush, so just the top went on. So I think that’s amazing and I love the way the colour gets on it.  I do find that if you do a second coat sometimes, that really, really brings it out. So the first coat probably absorbs a little, and second doesn’t.

I’m mixing now the Pearlescent Glaze with some colours. And this for me is one of the most exciting things. So I just want to show you these: so that is a colour that I’ve made by using Florence; this is one I’ve made using Antibes Green; and this one using Aubusson Blue. So how you do it is…I’m going to have lots of glaze there! And now the key is to have just a tiny, tiny bit of colour. So I’m just going to… a little tiny bit on there and then mix that in. You see what a huge difference that makes? You’ve got to be careful that you don’t put too much in otherwise you’re going to obliterate the translucency of it. And then I can just paint that on there. Isn’t that beautiful?

I could do that with a roller. I could do that with a Stencil Brush. I’ll do the other colours here too. You will see how they’re all affected. So a bit of glaze, a little bit of Antibes Green… Isn’t that beautiful? So what I’m really saying, too, is that every colour you do is going to be a lot lighter. It’s not going to have the strength of that, so you’ve got to judge what you’re going to get.

I’m going to do the same thing, a little bit of the glaze and a little bit of Aubusson Blue. Oops, too much there! So just wipe that away and add on to there. You end up with these beautiful colours, very, very shimmering and just beautiful. And you can mix. So I could use a little bit of Florence and mix that with some Aubusson Blue I think just to make it a bit darker. That one is actually quite strong! The more paint you put, the less shimmering it’s going to be, and I think that is the beauty of it all the shimmering.

So how do you finish your beautiful pearlised piece? Well, something like this is all pearl all over, you don’t have to do anything because the pearl itself is really strong and it’s durable, so that’s it. Only for indoor pieces – not for outdoors of course.

On detailed work where there is no glaze at all, what I would recommend is that you lacquer the piece first so you would lacquer it with either the Gloss Lacquer or the Matt Lacquer. I think the matt is nicer because you’ve got this lovely contrast between the matt and the shine of the Pearlescent Glaze. The process would be paint with your Chalk Paint®, apply your Matt Lacquer and then over that you would put your Pearlescent Glaze. Alternatively, you can finish by waxing it, which is no problem at all. It will actually matte it slightly. The other thing you can’t do is wax it and then put the pearl paint on top, because wax is obviously oily so you can’t do it the alternative way. But yes, more or less everything’s possible.

So to summarise, this is an amazing product that is water-based – wash your brushes in water ­– it’s durable, not to be used outside but used inside. And yeah, just gorgeous!

Discover Annie Sloan's 30th anniversary celebratory product, Pearlescent Glaze, and how to use it for the most intense iridescence!

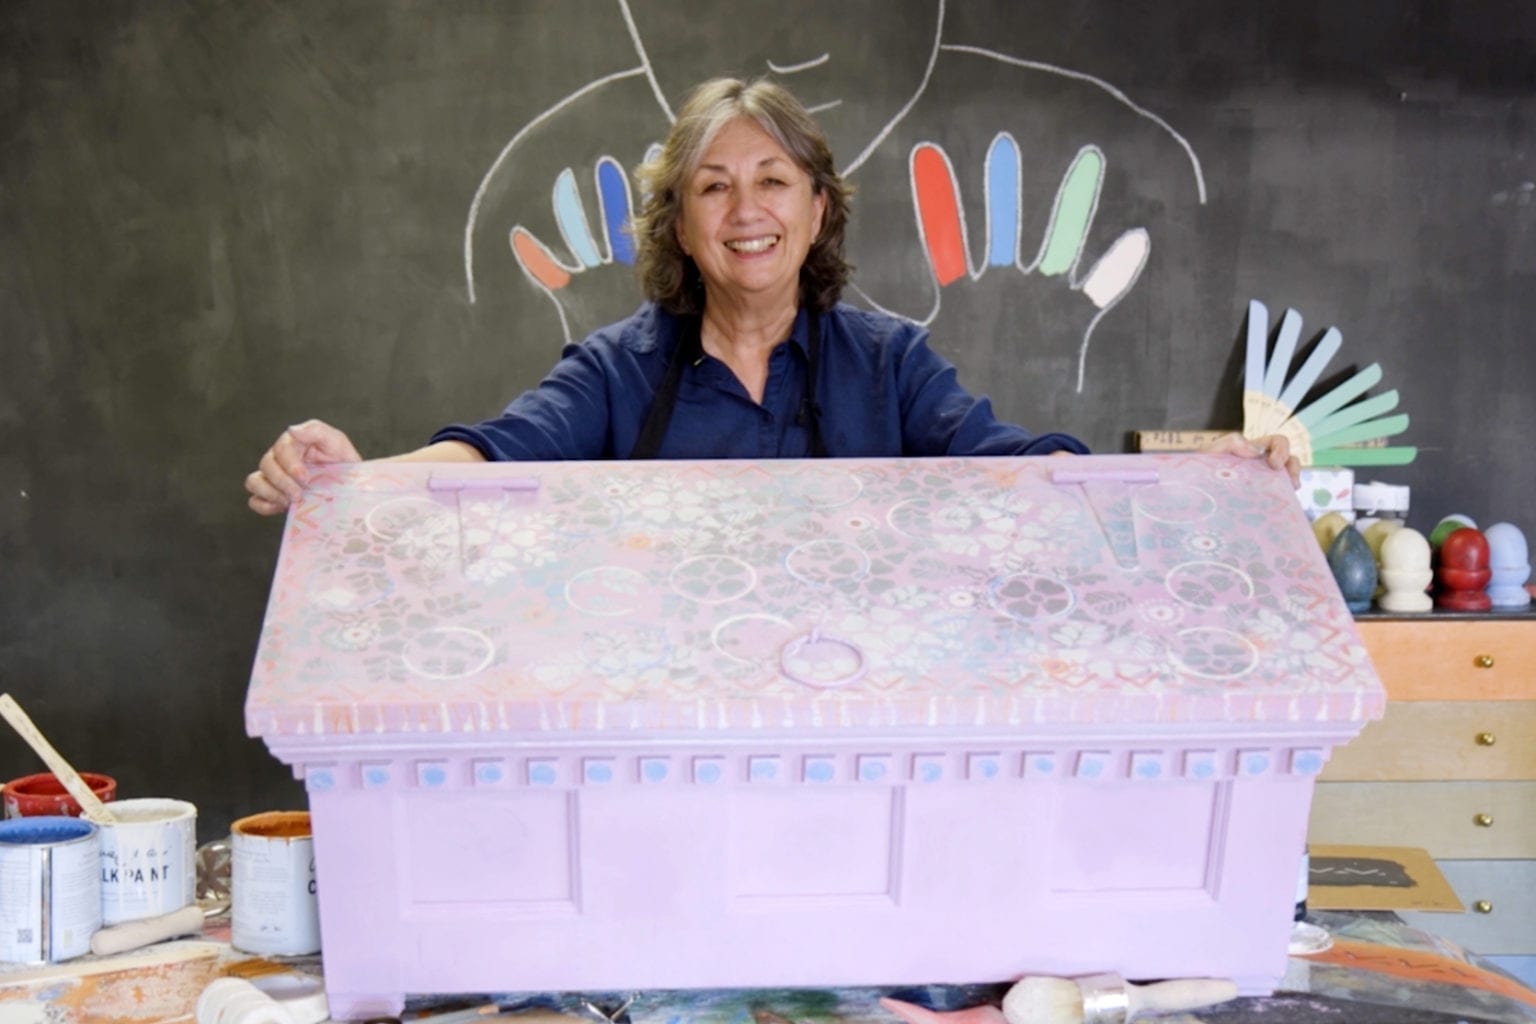
Sometimes a matt finish simply won’t do. Perhaps you want to bring out some detailed carvings or simply want to add a little shine and glamour to your project. Creating a shimmering finish over Chalk Paint® couldn’t be simpler. All you need is a tin of Pearlescent Glaze and a sponge roller.

In this tutorial, Annie Sloan will teach you everything you need to know to add an iridescent finish to your Chalk Paint® project. Whether you’re working on a small decorative piece like a picture frame or something larger. As well as simply applying the glaze over your painted surface, you can learn how to mix Pearlescent Glaze with Chalk Paint® to create your own unique opalescent colour. With its light-reflecting properties, this water-based glaze shimmers even when dry.

Step by step guide to using Pearlescent Glaze

  1. Start by painting your piece with Chalk Paint® in the colour of your choice.
  2. Once the paint is dry, you’re ready to apply a coat of Pearlescent Glaze. Mix the glaze well before starting and apply with a Sponge Roller – this will help create a smooth finish.
  3. Allow to dry before applying a second coat of glaze.
  4. If your paintwork is completely covered with Pearlescent Glaze, your piece will be ready to go out on display as soon as it’s dry.
  5. If your project will include areas not covered with Pearlescent Glaze, your paintwork will still need protection. Apply a layer of Chalk Paint® Lacquer after painting and before applying the glaze.

Tips for using Pearlescent Glaze

  • The Pearlescent Glaze looks white but is in fact translucent, meaning it is will change appearance according to the colour beneath it.
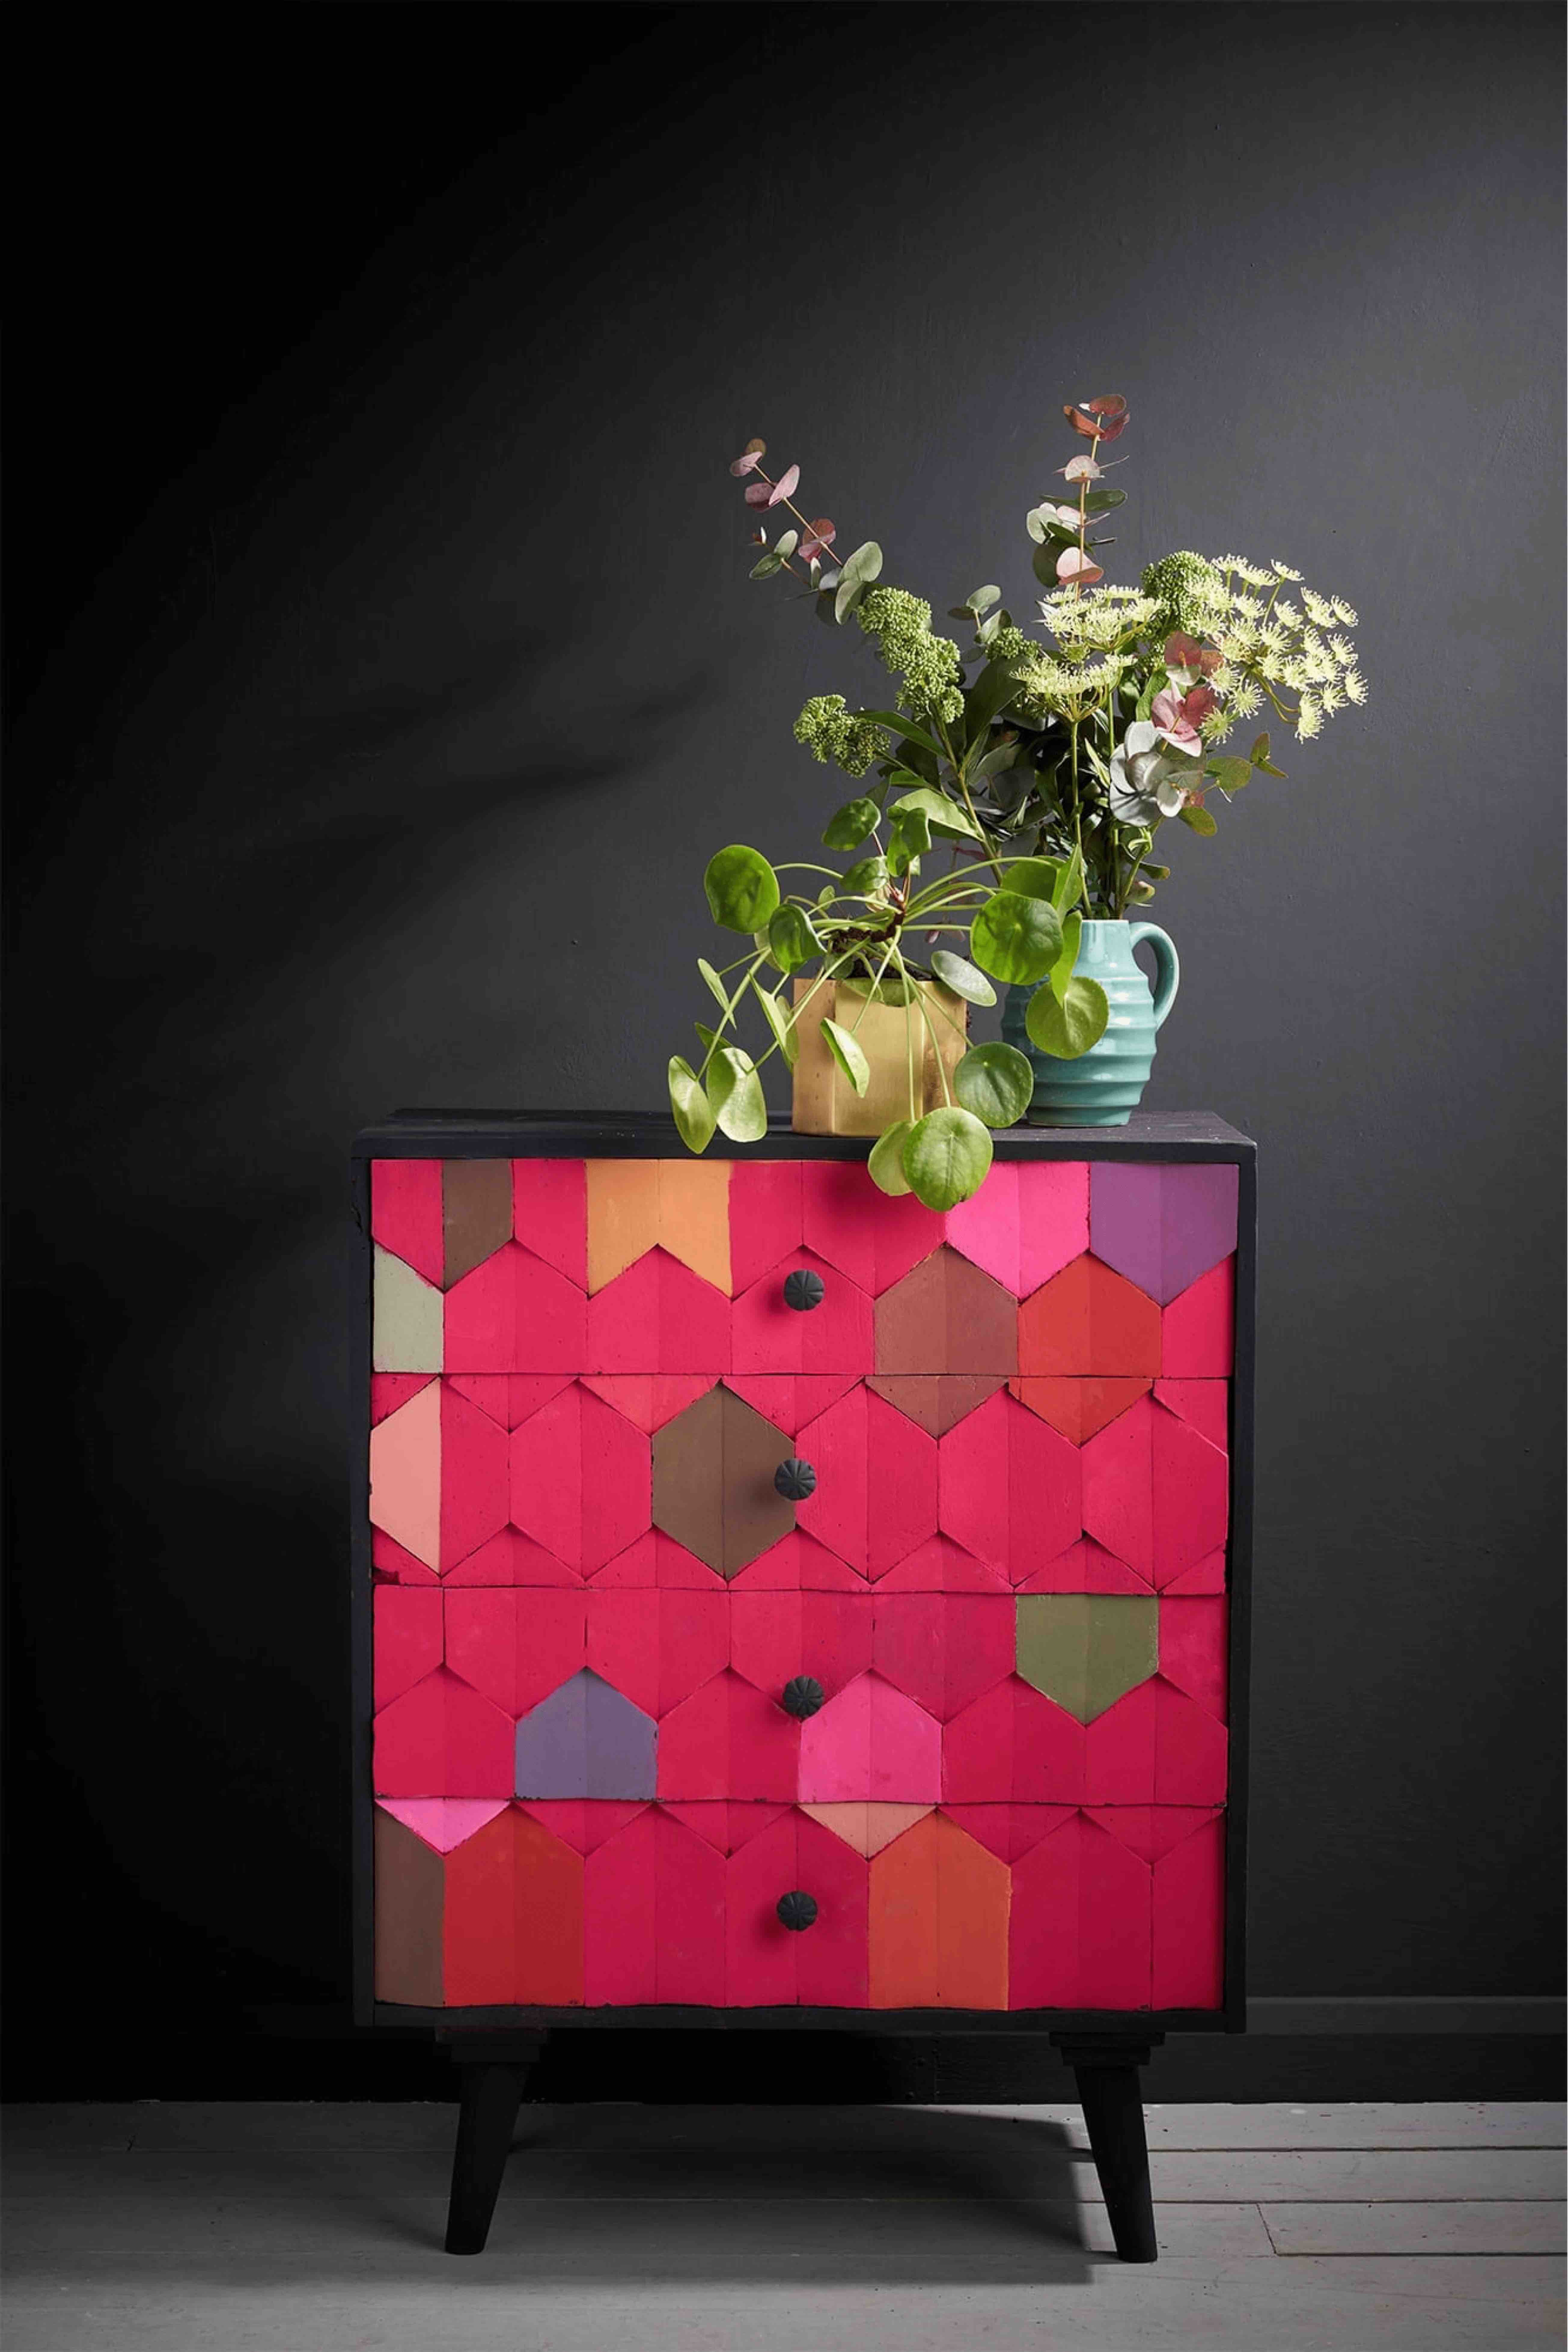
  • You can also tint Pearlescent Glaze with Chalk Paint®. This will create a whole range of beautiful, shimmering pastels. Work with brighter, stronger Chalk Paint® colours and only add the smallest amount of paint – the pigment particles in the paint will dull the shimmering effects of the Pearlescent Glaze, so be economical! Have fun with experimenting with different colours using an Annie Sloan MixMat.
  • If you prefer Chalk Paint® Wax to Lacquer, apply this over the Pearlescent Glaze. The wax will take away some of the iridescence and create a slightly duller finish. By gently removing the wax from the glazed areas, you can bring back some of that lovely shimmer.
  • Pearlescent Glaze is only suitable for indoor use. If using in high traffic areas such as kitchens or floors, finish with a final coat of Chalk Paint® Lacquer for added protection.
  • For lots more tips, take a look at our Pearlescent Glaze Fact Sheet.

Now you know how to use Pearlescent Glaze, you can have fun experimenting with lots of different Chalk Paint® colours to create the perfect, shimmering finish for your space. Pearlescent Glaze is a great way to create a high-end lustrous finish, whether you’re applying it directly over your paintwork or mixing your own iridescent pastels from scratch. Ready to try this out for yourself? Remember to support local by buying Pearlescent Glaze from your local Annie Sloan Stockist. When you’re done, take a picture of your finished project and share it with the Annie Sloan community using #AnnieSloan.

Related Videos

Shop

Browse

Chalk Paint

About
Shop