Techniques

Nakładanie lakieru Chalk Paint™ za pomocą pistoletu malarskiego

Hello, I’m Annie Sloan. Welcome to my warehouse studio! This is a video about how to spray Chalk Paint® Lacquer. I’m here with Ron Taylor of Traditional Painter and he knows all about spraying – a complete expert. So what are all the tricks?

Ron: The Lacquer, along with Chalk Paint®, we’re going to have to thin to get it to spray well. We can see that that’s much too thick. I don’t think we’re going to need it thinned as much as Chalk Paint®, but we’re definitely going to need it thinning. So if we put some Lacquer in the pot, and we’re going to add initially about 10% water in.

Annie: Of course this is a water-based lacquer and so that’s why Ron is now adding some water to it. So before Ron started he gave this lacquer a really good stir because all the goodies are at the bottom. Last time you talked about worm threads, worm casts, which I think is a great way to describe it. So the worm casts are where you tip the stick and you let it drip and if you drip and you find you make marks in the varnish, the lacquer, then that’s too thick so you have to add water so it’s not like that, and that’s exactly the same with the Chalk Paint®. So yes, that’s looking good. Oh, a bit more water?

Ron: just a touch more.

Annie: Okay, and stir really well.

Ron: Stir really well. Do it gradually, don’t add too much water from the start because if you’ve find got too much water in, then that’s annoying. If you put too much water in something that’s like this, a gloss, it will lose its sheen.

Annie: Ah, that’s a very, very good point. So not too much water, only as much as you need. Yes, this is actually a gloss varnish, a gloss lacquer, and we want that gloss, so if you add too much water…that’s a very good point.

Ron: as with all spraying it’s best to wear a mask. You don’t want the particles into
your lungs. This is a particle mask, this is a professional mask, and while this is the best one we’ve got these sort of a DIY mask here, that’s the very bare minimum you want to be using. But for a lot of spraying this is what we want.

Annie: So everything’s ready now, so what’s the next step?

Ron: Right, first thing to do before we spray the lacquer is to get the paint setting right. So, I’m going to put my mask on.

Annie: So you’re gonna test this are you? That’s what you’re gonna be doing?

Ron: Yes, we’re going to test this first. Not on the piece, we’re going to test it on the wall just so that we’ve got it right. Don’t go straight in because if it’s wrong, you’ve only got one chance.

Annie: Good. All right, let’s go!

Ron: We’re going to set this in the widest possible fan just to test, and then we’ll alter the fan to the smallest.

Annie: and have you adjusted this bit as well to make certain that the right amount is
coming through?

Ron: Yes, that’s set to one. We’ve got these gradients round there and that’s set almost to one and that’s about right for the lacquer. It’s important to remember if the turbine is warm the lacquer will spray and flow together better. So if we set this up and leave it somewhere for about five minutes, you’ll feel the warmth in the tube and the lacquer will spray better.

Annie: So we’ve tested the lacquer. We know it’s exactly right, so now we’re going to do
it onto the cabinet. So just a few points to remember: this is something we painted
a couple of hours ago, it’s now completely dry, we’re very pleased with it. What you mustn’t do is get dirt or dust on it. If I was to touch it here or whatever – anything – when you spray it the varnish is going to bring everything up. So it’s got to be super
beautiful. Are you ready or have you got anything else?

Ron: When we spray kitchen doors, the best thing to do is to finish one side; that’s the paint and the lacquer. Because as you say if you touch this and get fingerprints on it, you’ll mark it. So if we turn that over now on a rack while it’s still in Chalk Paint® to do the other side, you’ll get marks from the rack. If we do with the lacquer, the lacquer won’t mark.

Annie: Okay, well I can’t wait to see what this looks like.

[Later] Annie: Are you pleased with the results? It looks fantastic to me.

Ron: Yes. You’ll notice when I sprayed I overlapped each pass by 50%, so I sprayed a line and then I sprayed the next line so it overlapped the previous line 50%. If you just spray strips like a crossing you’ll end up with dry patches.

Annie: Yes, you don’t want stripes.

Ron: you’ll also notice I didn’t alter the setting for the lacquer to thin for the edge, because the lacquer can pull if it’s on too thick so it needs to be a consistent finish. So I always keep that setting to the widest even for the edge.

Annie: so we’re going to let this dry and how long will that be?

Ron: I would think if we leave that for half an hour we can put final coat of lacquer on.

Annie: fantastic. So that’s it! Spraying with Chalk Paint® Lacquer; it’s really, really easy.

Zarówno farbę Chalk Paint™, jak i lakier Chalk Paint™ można szybko nakładać i malować za pomocą pistoletu malarskiego. Na tym filmie Annie i zaproszony przez nią malarz Ron Taylor, pokazują jak można nakładać natryskowo lakier Chalk Paint™ .

Na początku Annie i Ron pomalowali natryskowo szafkę za pomocą pokazanej tu farby Chalk Paint™.

Będziesz potrzebować:

• Lakier Chalk Paint™
• Wodę
• Pistolet malarski (Tutaj Annie stosuje pistolet malarski typu HVLP (duża objętość, niskociśnieniowy) marki Wagner 2370386 Studio Home Décor Sprayer do malowania ścian wewnętrznych. W Polsce można znaleźć pistolet malarski typu Wagner w590 lub w890.)
• Maskę ochronną do twarzy

Aby uzyskać pełną instrukcję dotyczącą ustawienia pistoletu i sposobu natryskiwania farby Chalk Paint™, kliknij tutaj.

Jak nakładać natryskowo lakier Chalk Paint™

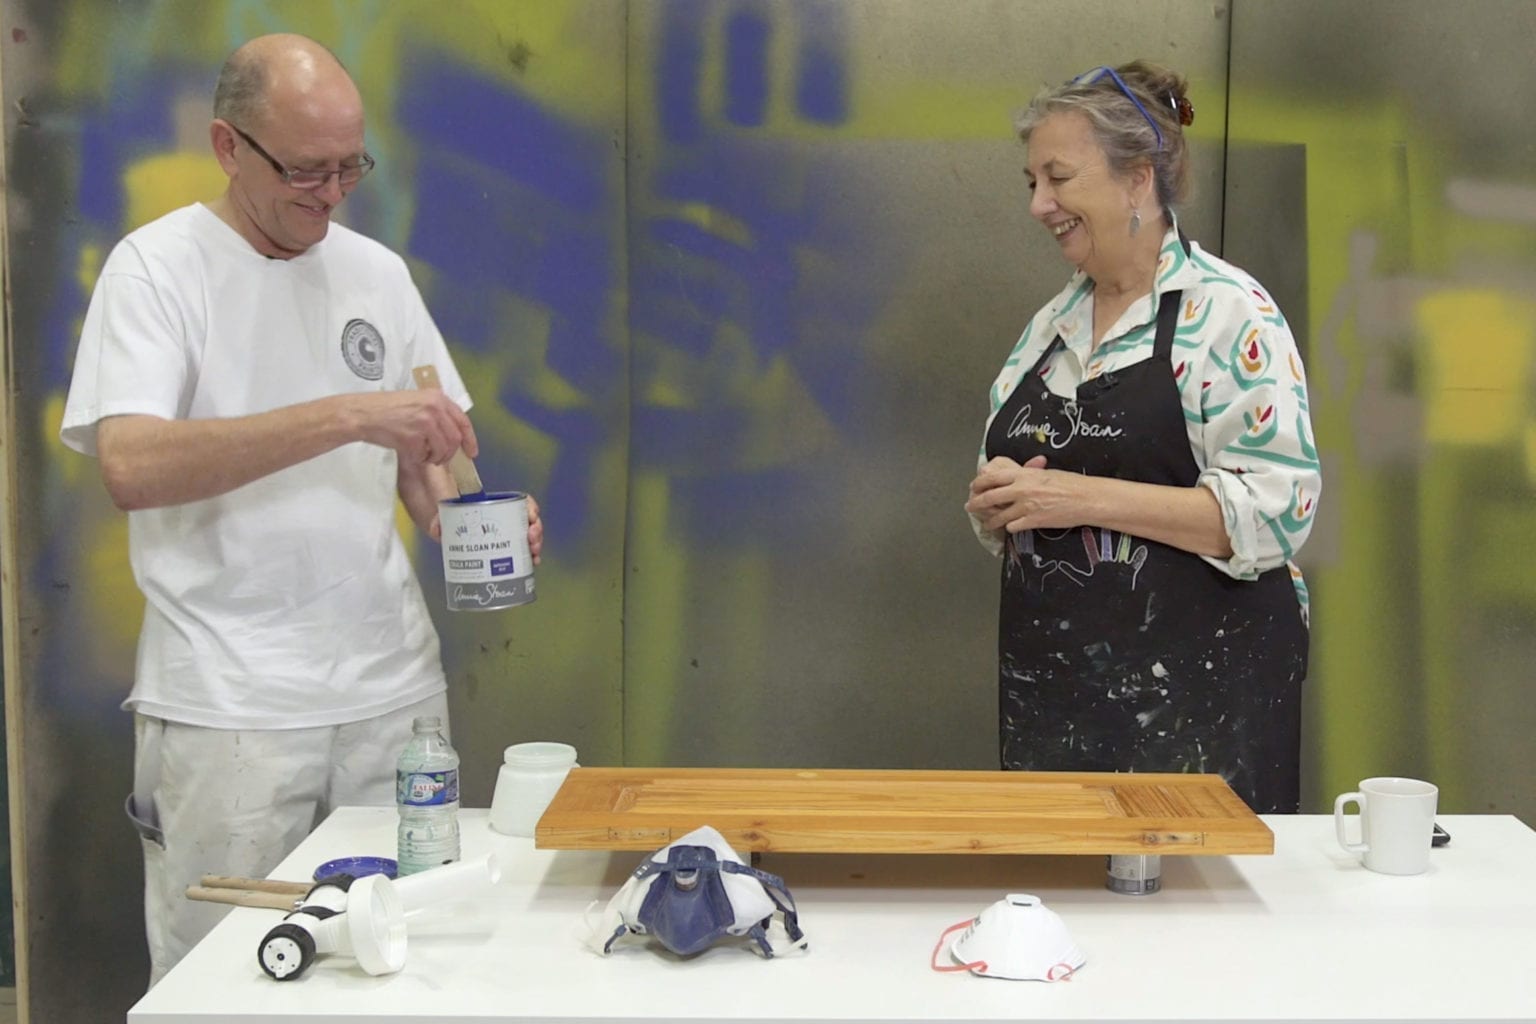
1. Zacznij od wymieszania lakieru Chalk Paint™ , aby rozprowadzić wszystkie jego składniki.

2. Napełnij zbiornik pistoletu malarskiego lakierem Chalk Paint™ mniej więcej do połowy (w wersji matowej lub z połyskiem, wybór należy do ciebie).

Przed nakładaniem natryskowym lakier Chalk Paint™ należy nieco rozcieńczyć. Nie zalecamy rozcieńczania lakieru podczas nakładania pędzlem lub wałkiem, ponieważ może to zmienić wykończenie, ale jest to niezbędne podczas natryskiwania w celu uzyskania równomiernej warstwy. Lakier Chalk Paint™ jest na bazie wody, dlatego zawsze rozcieńczaj go wodą.

3. Dodawaj wodę małymi porcjami, dokładnie mieszając między kolejnymi dolewkami, aby lakier w pełni wymieszał się z wodą i aby nie rozcieńczyć lakieru zbyt szybko.

Aby sprawdzić konsystencję, wyjmij mieszadło i przyjrzyj się pozostałościom ściekającego lakieru. Jeśli pozostawia on na powierzchni trójwymiarowy ślad, wyglądający jak smużki, oznacza to, że jest zbyt gęsty. Dodawaj wodę tak długo, aż na powierzchni nie będzie widać żadnych smużek. Należy dodać tylko tyle wody, ile potrzeba do pozbycia się tych smużek.

4. Kiedy mieszanka osiągnie odpowiednią konsystencję i zostanie dokładnie wymieszana, należy ustawić pistolet i podłączyć turbinę. Aby uzyskać więcej informacji na ten temat, przejdź do „Jak malować natryskowo farbą Chalk Paint™ część 1” tutaj.

5. Załóż na twarz maskę ochronną. Ważne, aby nosić ją przez cały czas podczas natryskiwania farby lub lakieru w jakiejkolwiek postaci.

6. Zalecamy, aby zawsze wypróbować lakier i pistolet do malowania natryskowego przed lakierowaniem mebla. Tutaj Ron wypróbował go na ścianie w studio. Stosuje on ustawienie nr 1 na pierścieniu nastawczym strumienia natrysku lakieru.

Nasza rada: jeśli turbina będzie rozgrzana, lakier będzie się lepiej nakładał. Ron zaleca, aby turbina była włączona przez około 5 minut przed rozpoczęciem nakładania. Zorientujesz się, kiedy będzie rozgrzana, ponieważ dysza wylotowa będzie gorąca w dotyku.

7. Kiedy uznasz, że konsystencja lakieru jest odpowiednia, możesz rozpocząć lakierowanie natryskowe mebla. Na tym nagraniu Annie i Ron lakierują szafkę kuchenną, którą poprzednio malowali natryskowo farbą Chalk Paint™ w kolorze Napoleonic Blue (możesz obejrzeć przebieg tego malowania tutaj). Zanim mebel zostanie polakierowany, należy naprawdę ostrożnie obchodzić się z farbą Chalk Paint™, nałożoną natryskowo. Jakiekolwiek dotknięcie farby Chalk Paint™ lub jej uszkodzenie będzie widać dwukrotnie bardziej po nałożeniu lakieru.

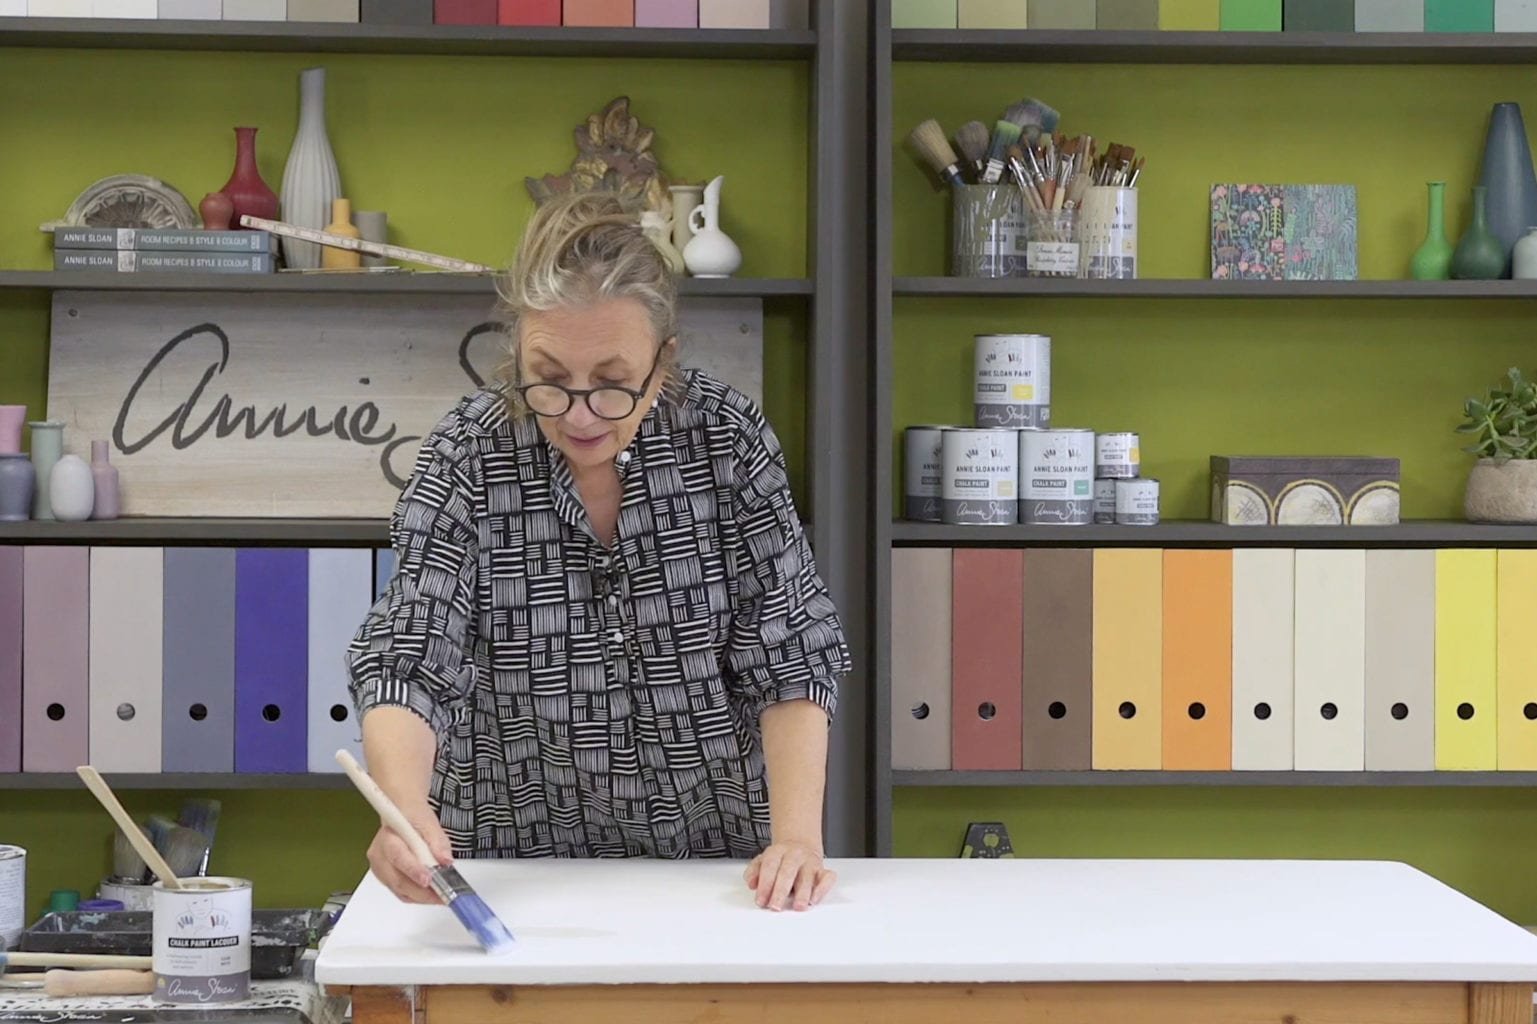
8. Zacznij od spryskania najpierw krawędzi i bardziej skomplikowanych elementów mebla. Następnie nakładaj lakier w uporządkowanych liniach, do połowy każdej poprzedniej linii, aby zapewnić pełne pokrycie powierzchni.

9. Stosuj konsekwentnie tę samą metodę natryskowego nakładania lakieru Chalk Paint™ . Zachowaj to samo ustawienie nakładki podczas natryskiwania, ponieważ każda zmiana pokrycia może spowodować, że lakier będzie wysychał nierówno.

10. Po zakończeniu, pozostaw pracę na około 30-60 minut w celu wyschnięcia, a następnie nałóż drugą warstwę w ten sam sposób.

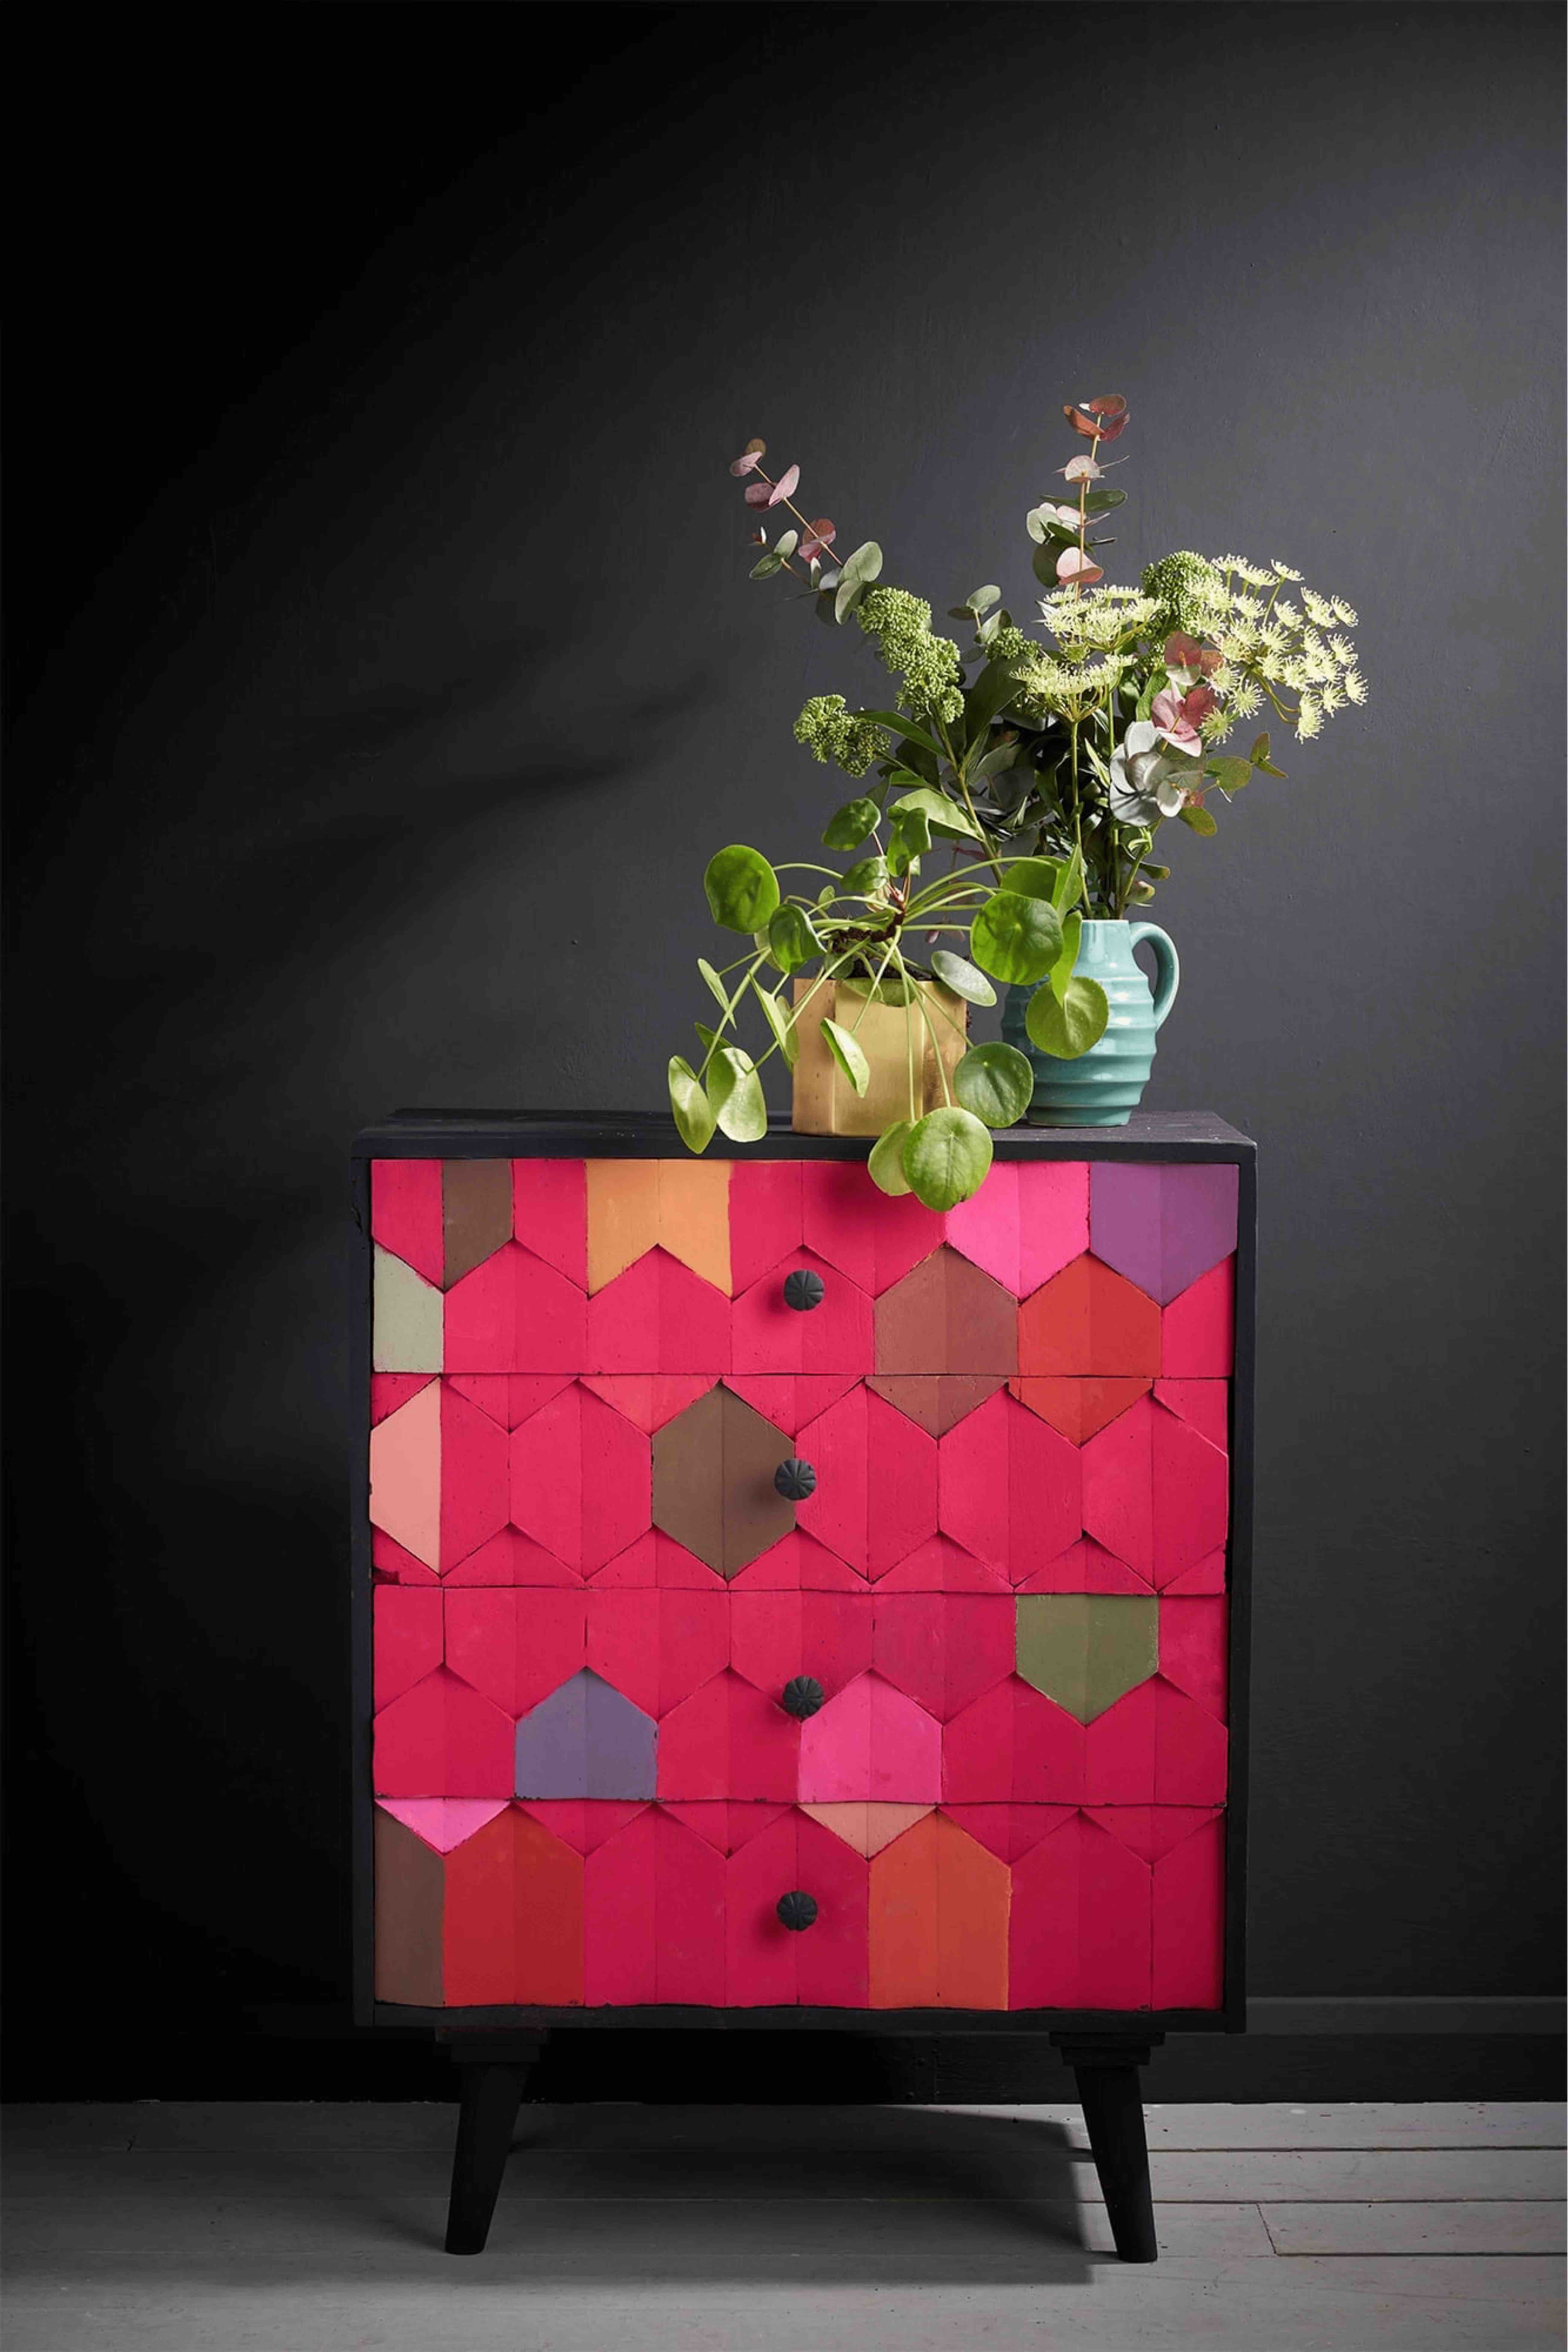
11. Gotowe! Szafka kuchenna pomalowana natryskowo farbą Chalk Paint™ i polakierowana.

Podobne techniki

ZRÓB ZAKUPY

Przeglądaj

Chalk Paint™

O nas
ZRÓB ZAKUPY