- Lakier Chalk Paint™ Lacquer może być nakładany za pomocą wałka gąbkowego lub pędzla, wybór należy do Ciebie.
- Należy zacząć od dokładnego wymieszania lakieru.
- Jeśli będziesz nakładać lakier za pomocą wałka, nalej trochę lakieru na tackę.
- Nabierz lakier na wałek. Przygnieć wałek, aby usunąć nadmiar lakieru – zbyt duża ilość lakieru może nadać nieco nieprzezroczysty, białawy odcień.
- Rozprowadź lakier we wszystkich kierunkach, upewniając się, że cała powierzchnia mebla jest nim pokryta.
- Wykończ krawędzie za pomocą małego pędzla, aby nie zostawić widocznych kropel.
- Ważne, aby nie nałożyć zbyt dużej ilości lakieru – wykończenie może wtedy wyglądać na nierównomierne.
- W przypadku nakładania lakieru pędzlem, należy albo nalać go na tackę, albo nakładać go bezpośrednio z puszki.
- Rozprowadzaj go lekko po powierzchni. Nakładaj lakier we wszystkich kierunkach oraz w taki sposób, aby jego ilość nie była nadmierna.
- Po nałożeniu pełnej warstwy lakieru, stwórz gładkie wykończenie, omiatając pędzlem mokry jeszcze lakier. Wykonuje się to, trzymając pędzel pod kątem 90° w stosunku do powierzchni i bardzo delikatnie poruszając nim w obie strony. Annie robi to, aby usunąć większe ślady pędzla, ale nie jest to konieczne do wykończenia.
- Jakkolwiek zdecydujesz się nanieść lakier, pamiętaj, aby nałożyć dwie warstwy. Drugą warstwę można nakładać zaraz po wyschnięciu pierwszej; po około jednej do dwóch godzin, w zależności od pogody.
- Po wyschnięciu obu warstw lakier jest bezpieczny w użyciu. Pamiętaj jednak, że całkowite wyschnięcie (utwardzenie) lakieru trwa do dwóch tygodni, więc do tego czasu należy zachować ostrożność. Jeśli lakier jest stosowany na zewnątrz, upewnij się, że przez dwa tygodnie nie będzie on narażony na długotrwałe opady deszczu.
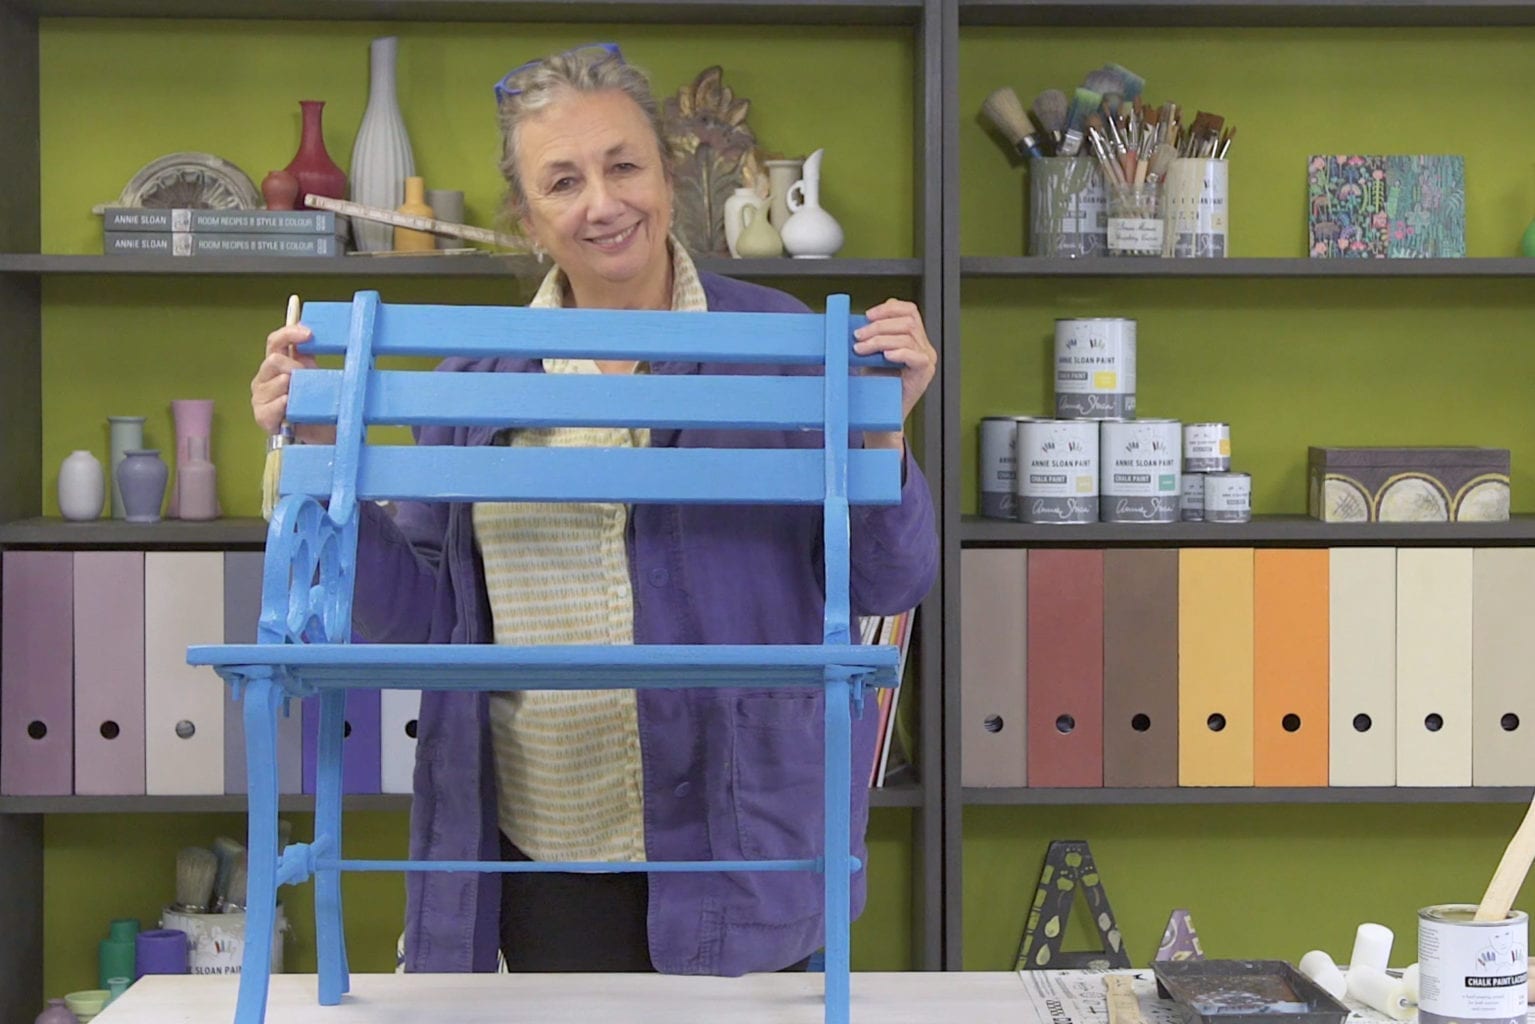
Hello, I’m Annie Sloan and welcome to my studio! I’m going to talk about lacquer. So you know I love waxes – they’re fantastic – but I love lacquers too. So I’ve got two lacquers here: one is Matt, and this one is gGloss. They’re water-based and you would use them in different ways.
So why use Lacquers? One is that it’s really, really strong so you could use it on something like a kitchen, kitchen table, kitchen cabinets and it’s wipeable and all the rest of it, you could use gloss or matt it wouldn’t matter. Another great feature of this Lacquer is that it has UV protection so that means you can use it outside and, on furniture what-have-you, and the colours won’t fade.
So how to apply the Lacquer. You can use these brushes here, or you can use a roller which I really, really love. First thing you would do is stir it – stirring is really really important because a lot of the goodies go down to the bottom. So you must do that first of all. Then I’m going to put some into here. So this is the Gloss and I’m going to pour some into here [pours lacquer into paint tray].
[Charges roller with lacquer] I’m just going to squash it a little bit so it’s not too fat with varnish.
[Starts applying lacquer] I’m going to do that – and I’ll probably do every which way. It will be best to do two layers, I’m doing my left hand here, because if you’re not careful you end up with some lines. So just roll gently over those.
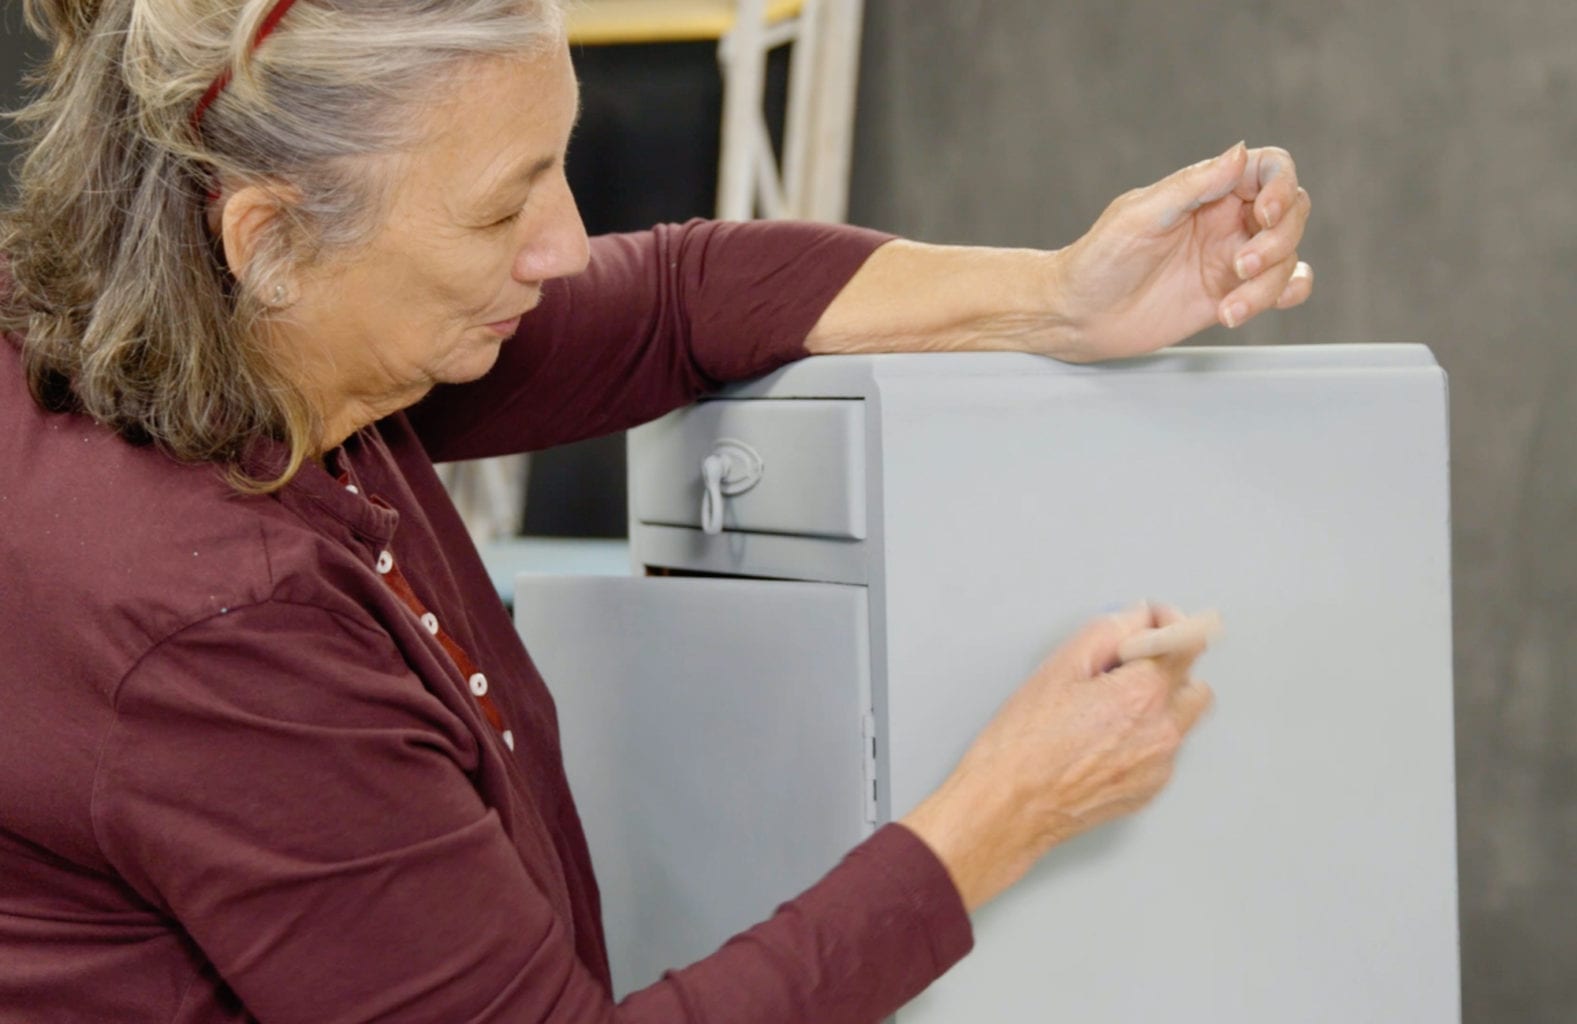
Now I’m just gonna show you how you might take a brush, and so edges here, I won’t open it up, but you can do edges like that. This is a nice soft brush which doesn’t have lots of bristly stuff on it, so it will help to make it smooth.
And that’s it really! So I go every which way and then finish off as I always do using this, and sort of feathering it. So you’re doing that. Not… not that. That’s what I mean. The difference between that, which will probably give you brush marks, and that sort of feathering look.
The big thing with varnishes and lacquers is that you don’t want to get any drips. So you’ve got to always be looking around for any white bits… so I could see some white bits there. That’s no good. Get rid of them. And then finish off.
So I’ve just been doing this bit and now I can touch this and it’s almost dry. It’s just a little bit… but it’s all touch dry completely.
Although Chalk Paint® Lacquer can feel touch dry within hours, it will take up to 2 weeks to reach its full hardness. Keep your furniture relatively protected until then. So this isn’t about waiting hours, and hours, and hours. I might wait a little bit longer and I’ll do a second coat. And the second coat will just be exactly as I did the first coat and… yep, just going over again!
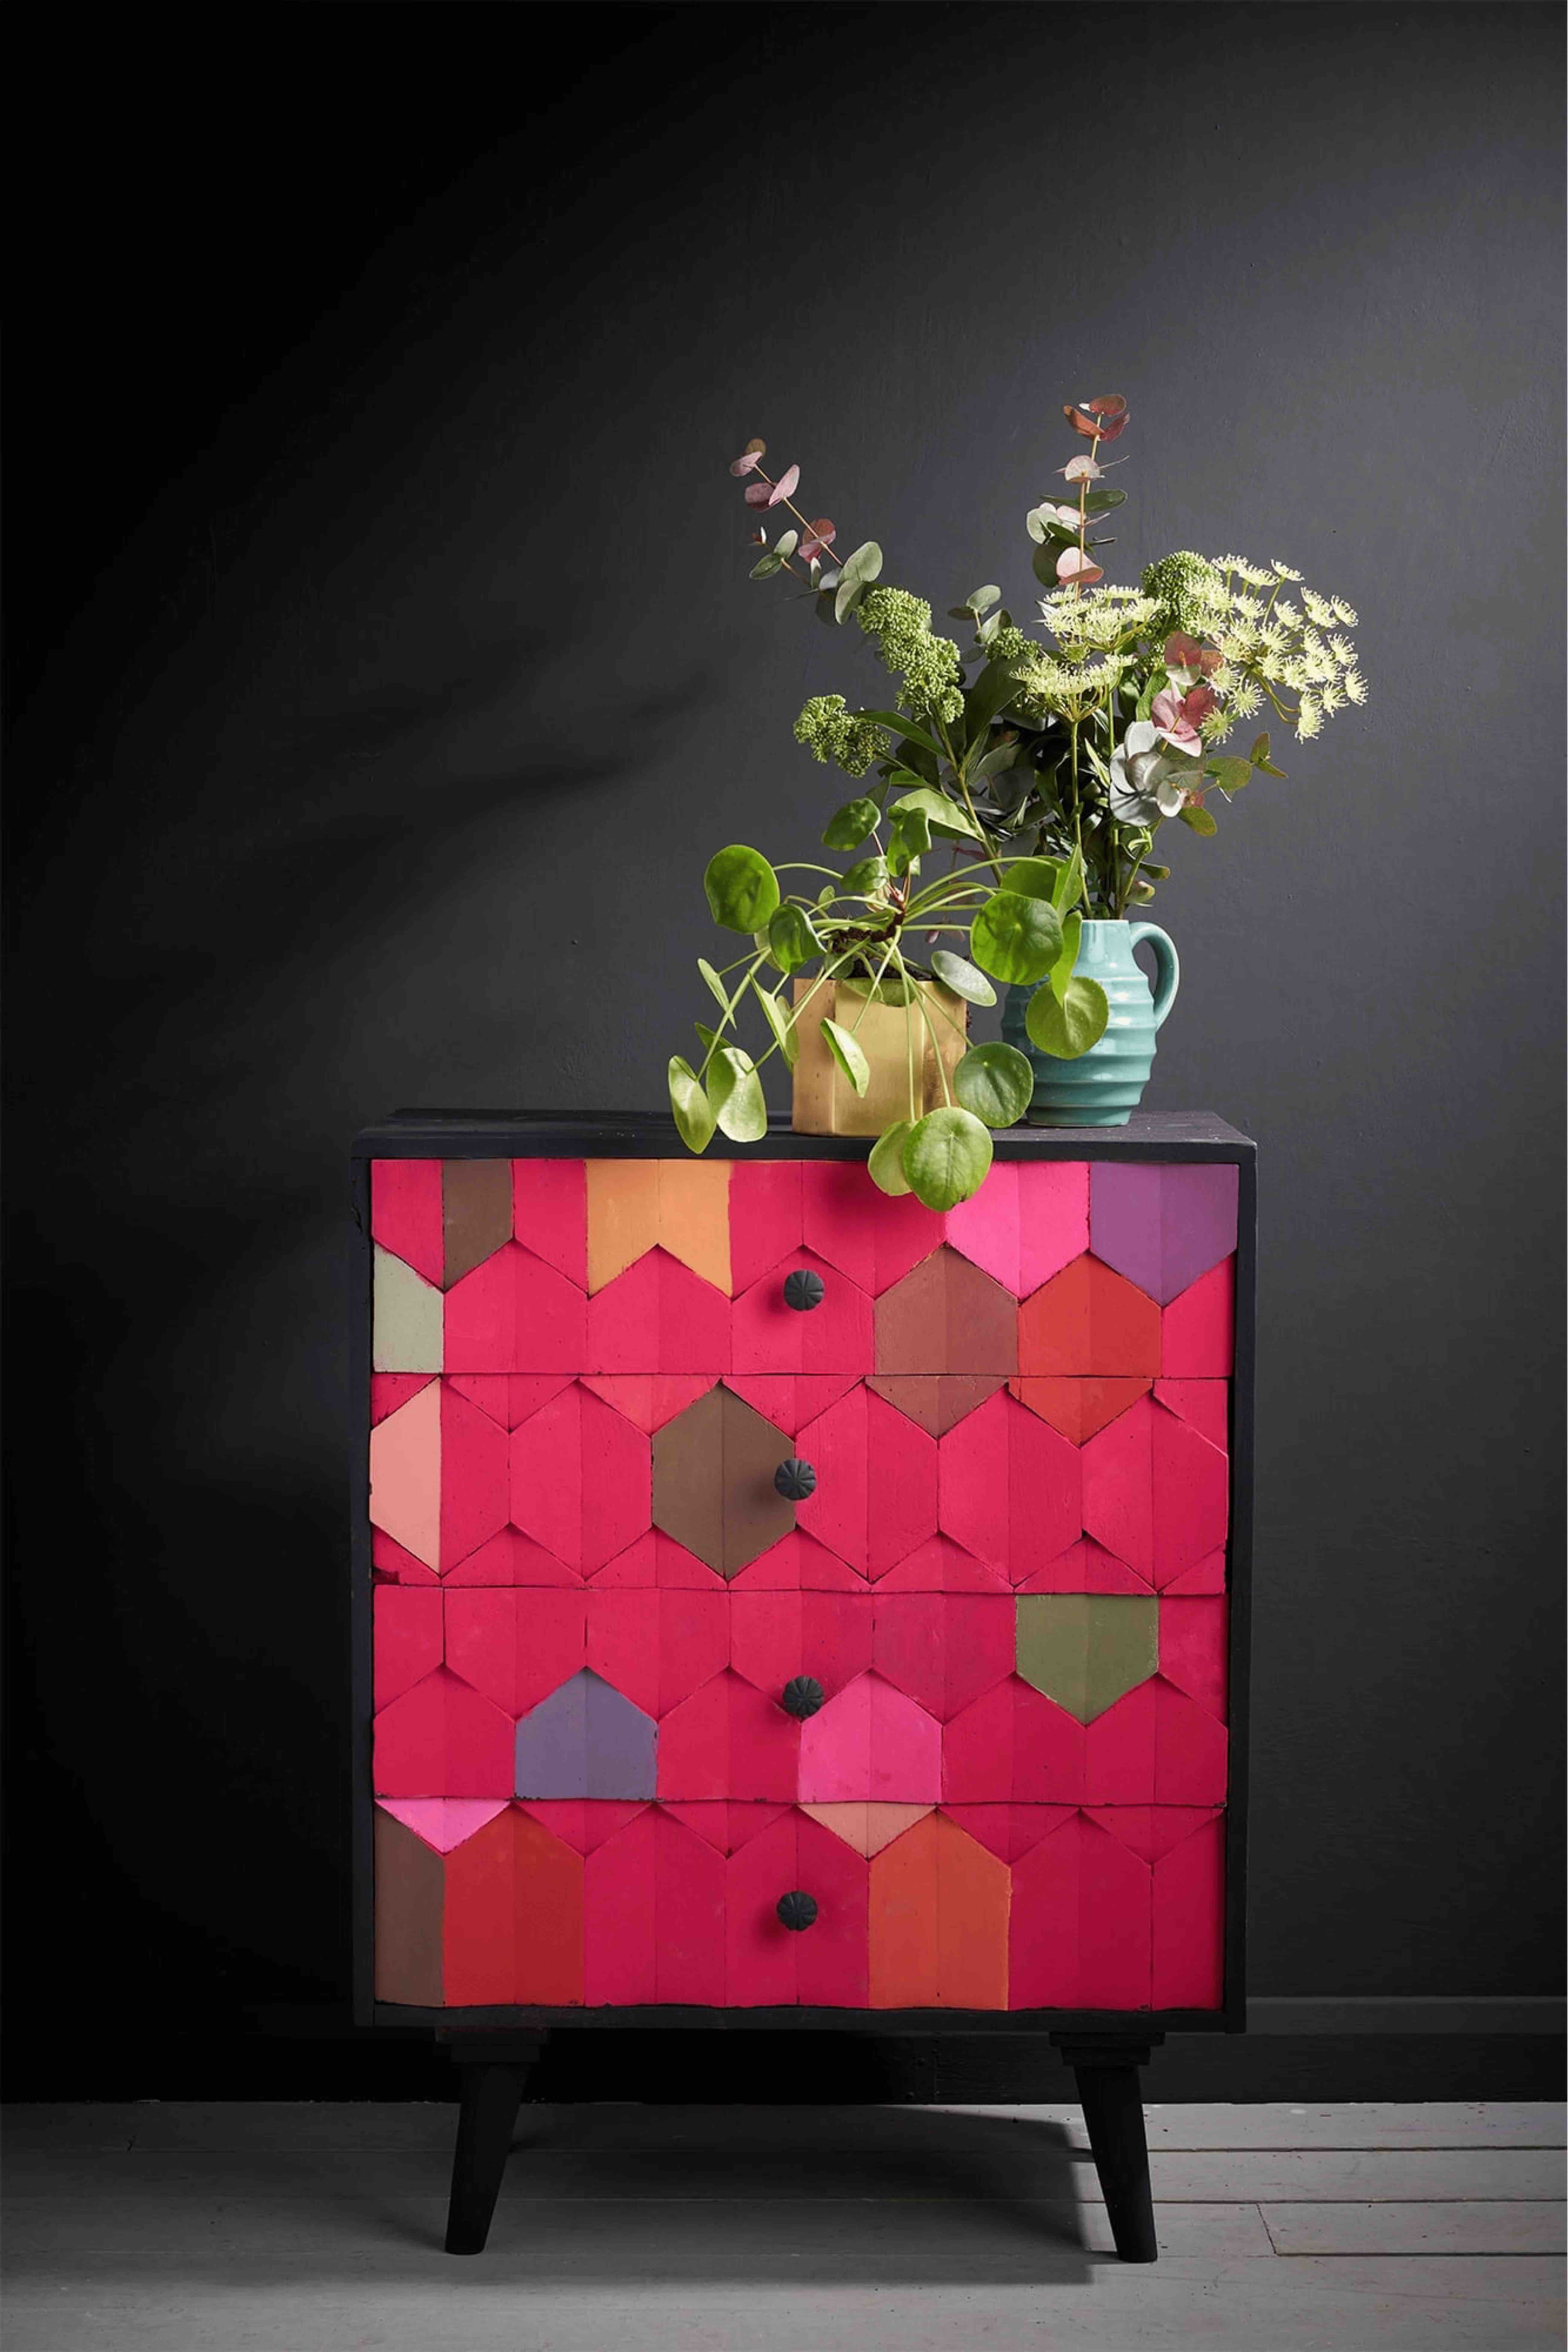
Another reason you’d use lacquers is it’s a good style look. So something mid-century modern… something very modern you want something very slick, then I would use the Gloss one and that would be absolutely fantastic.
So now it’s going to be the Matt Lacquer. Why would I use Matt? Well, you can do it just because you like matt. Lots of people don’t like that real shine on anything. So certain colours I think just suit it. I don’t… whites seem to be really lovely because they’re very absorbent. It’s purely choice. I just want to show you the difference and how it looks. So I better do exactly the same as I did before so you can compare like with like.
So there you have it. Whether you go with a Matt or Gloss finish, lacquering just helps extend the life of your furniture and the Chalk Paint® finish. So have a go and let us know what you create.