Calendrier de l’Avent en Olive
par Annie Sloan
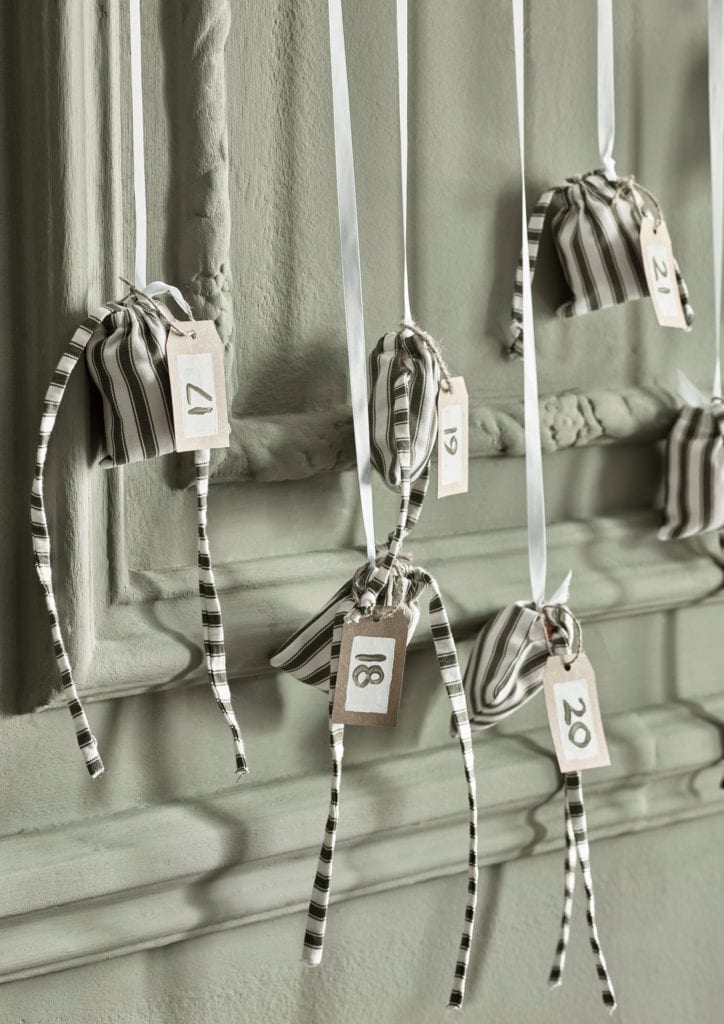
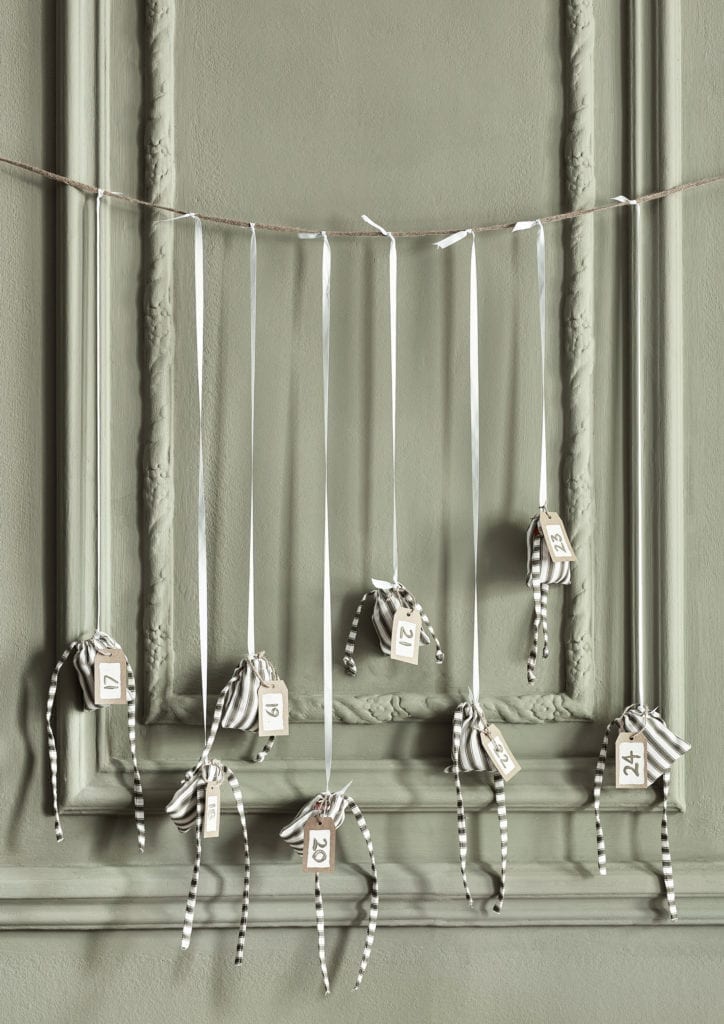
A homemade advent calendar is a wonderful way to cut down on excess Christmas plastics, packaging, and cheap choccies – AND make a beautiful decorative statement in your home. Match your calendar to your existing decor, your home, and your personality – and save a whole lot of landfill waste. Children will love them; Annie recommends putting your favourite, most sentimental decorations for the Christmas Tree inside each pocket for optimal wholesome festive cheer. All you really need is some fabric and a sewing machine!
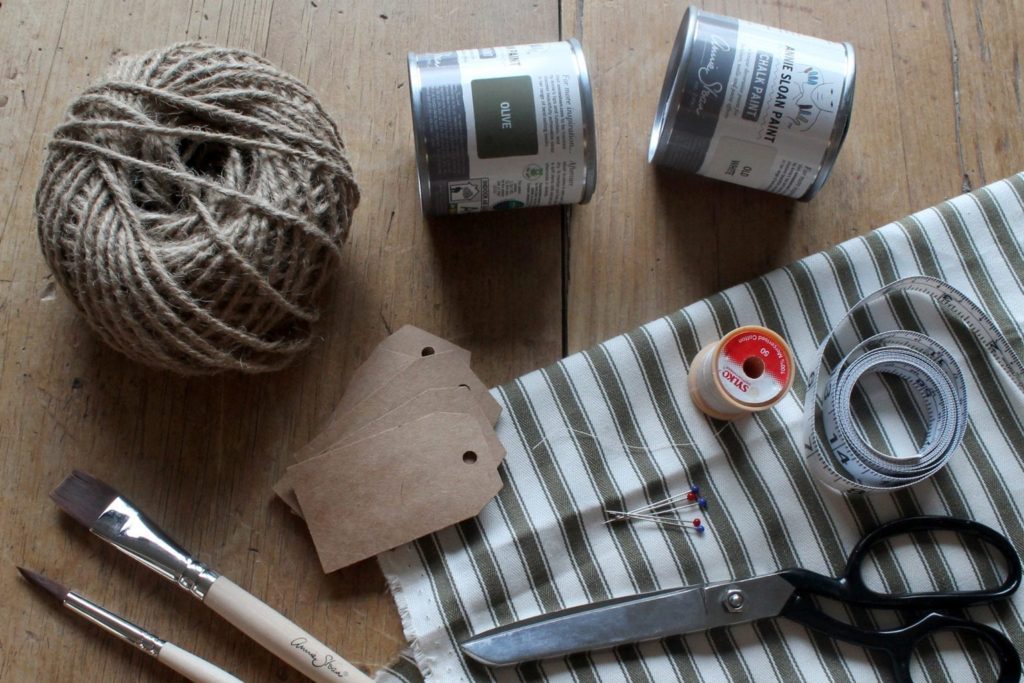
You will need:
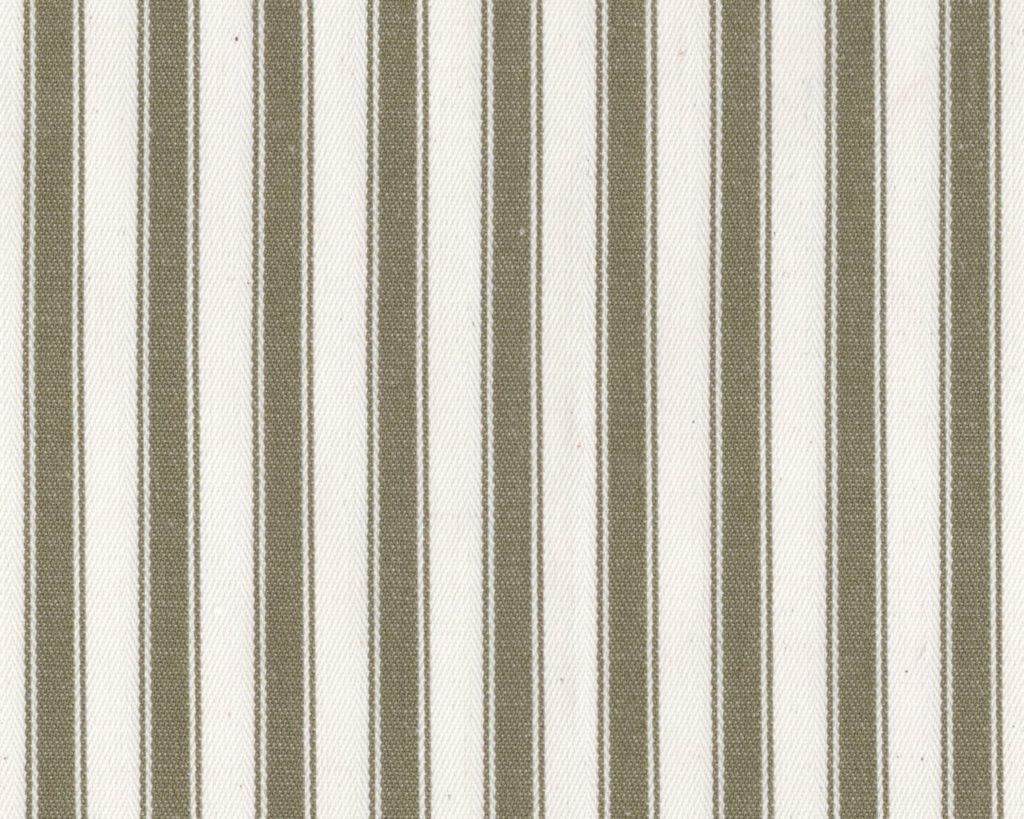
- Ticking in Olive – 1 metre (x 146cm width)
- A sewing machine or needle (you could hand sew these, but with 24 pouches to make we highly advise using a sewing machine!)
- White thread
- Scissors
- Pins
- Chalk Paint® in Old White
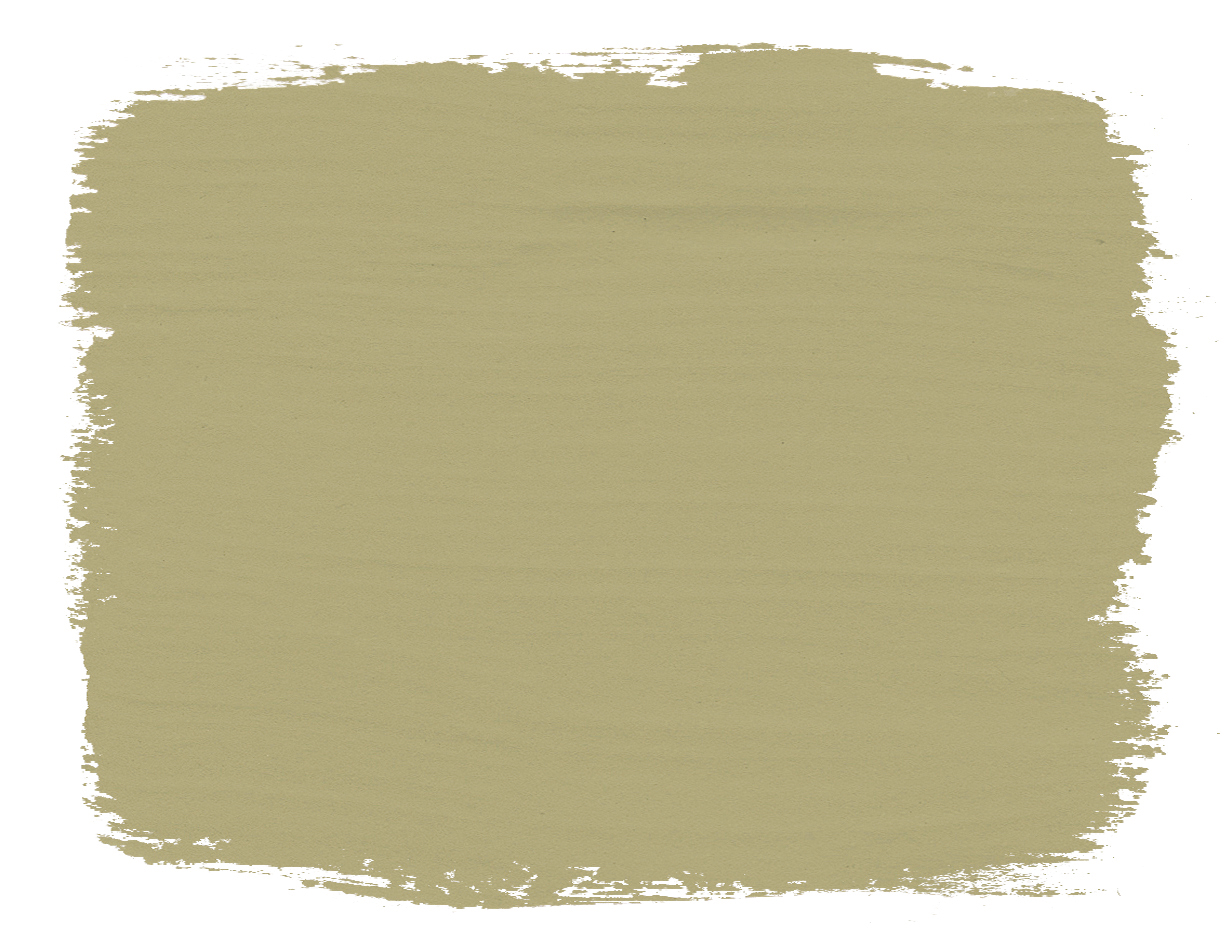
- Chalk Paint® in Olive
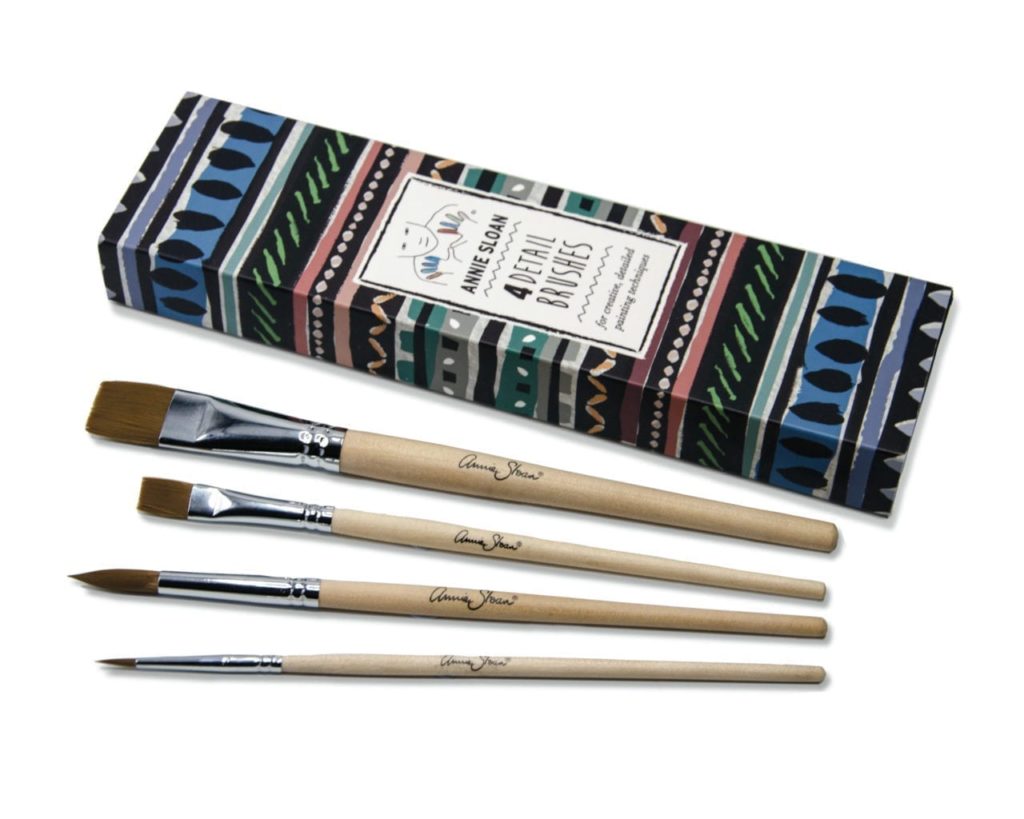
- Detail Brushes
- Parcel tags
- Brown string
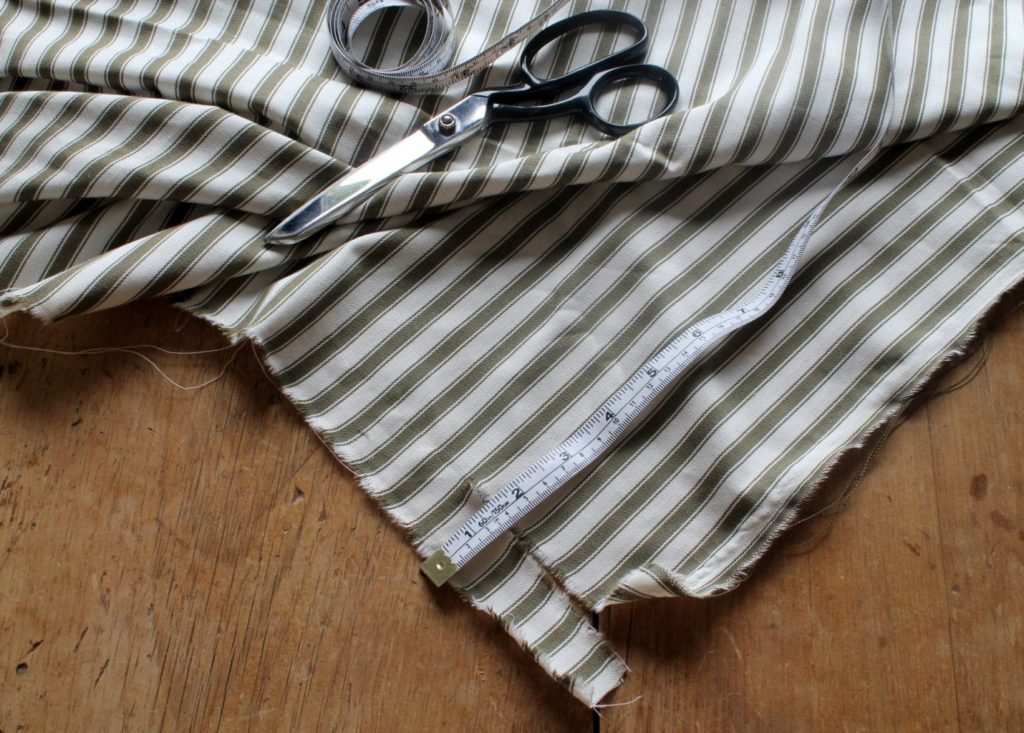
- First make the drawstring for the advent pouches. Cut a strip of Ticking in Olive 3 – 4cm wide and about 60cm long. Cut this against the direction of stripes, so the stripes are short and plenty. The width of the fabric is 146cm, so you can get two drawstrings out of one strip the width of the fabric.
- Fold the edges of the strip so they meet in the middle, making sure the side of the fabric you want is showing. Then fold the strip in half so the rough edges are enclosed. Sew down the edge of the strip. You can pin at this stage if it helps, but feeding the string into the sewing machine usually does the job! You will need 24 of these.

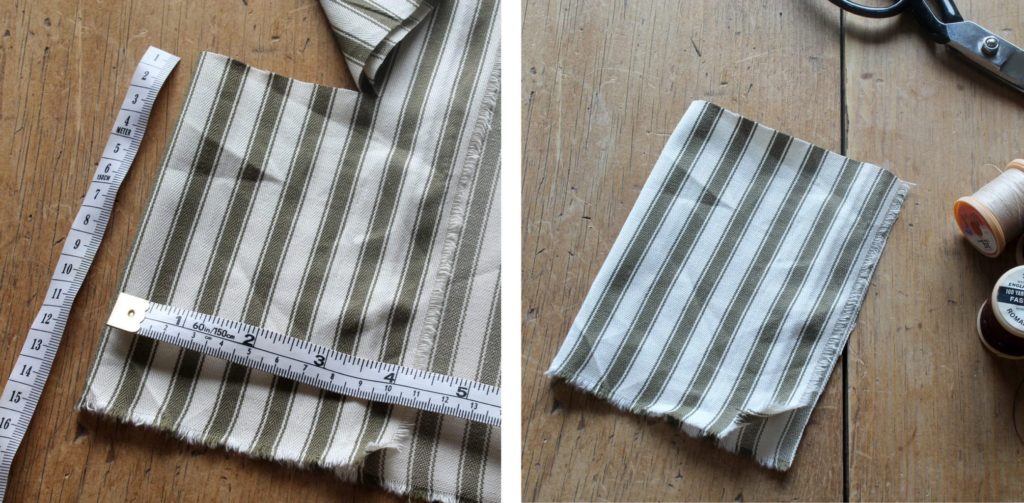
- Next we will cut out the advent pouches. Take the Ticking in Olive and fold over 11cm of fabric. Measure 14cm up the fold of the fabric and cut. This will create a 14 x 22cm rectangle.
- Fold the short edges of the rectangle over by 0.5 – 1cm, the back of the fabric facing up, and pin. Place the drawstring near the top of the rectangle.
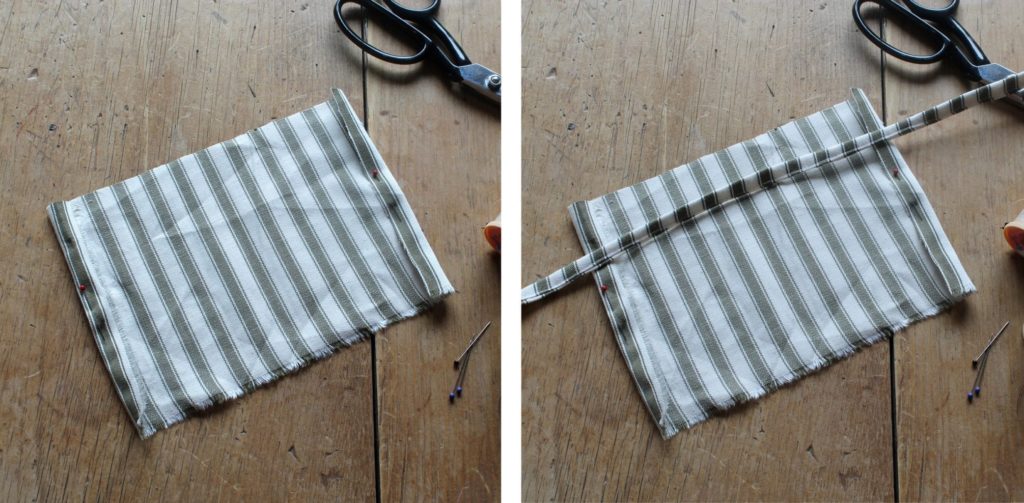
- Fold the top edge over by 0.5cm, then fold the top edge again so it’s fully over the drawstring, about 1 – 2cm. Make sure the drawstring can move in between the fold. Pin this in place, then sew along the folded-over edge, making sure not to sew the drawstring. It’s important that edge is folded onto the back of the fabric, this will become apparent at step 7!

- Next take your pouch and fold it in half, the back of the fabric showing and the front on the inside. Sew along the bottom and halfway up the righthand side.

- Turn the pouch inside out, et voila! The finished advent pouch. Hold the top and pull the string for that drawstring look and to secure your advent presents in place. Next, make 23 more!

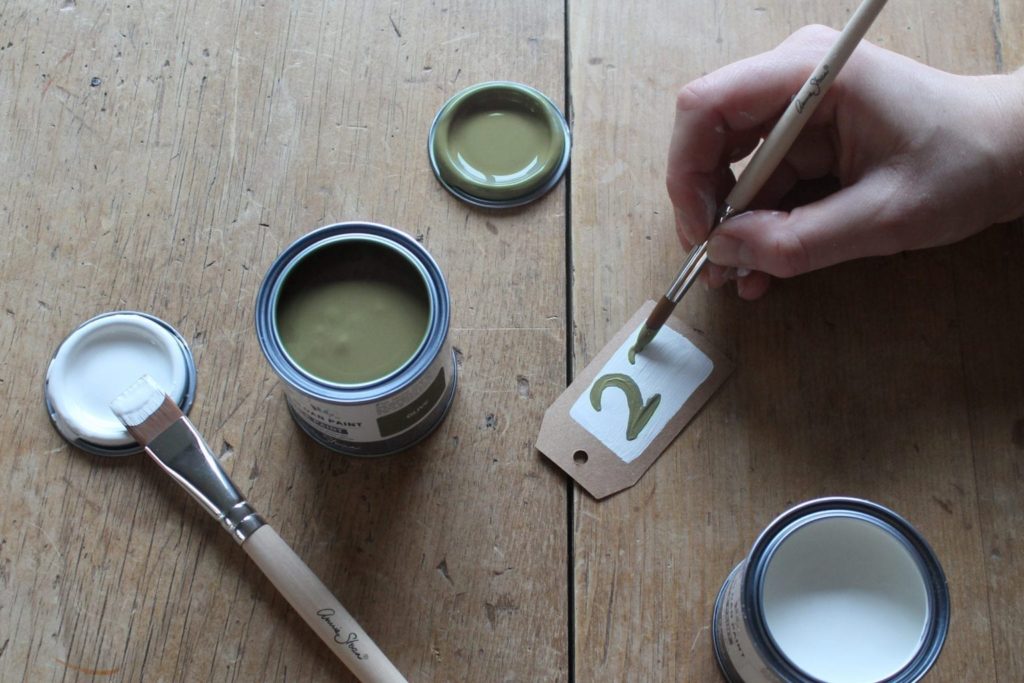
- Once you’ve finished sewing, you can paint the dates onto parcel tags. Take Chalk Paint® in Old White and paint a rectangle on 24 parcel tags using the Large Flat Detail Brush.
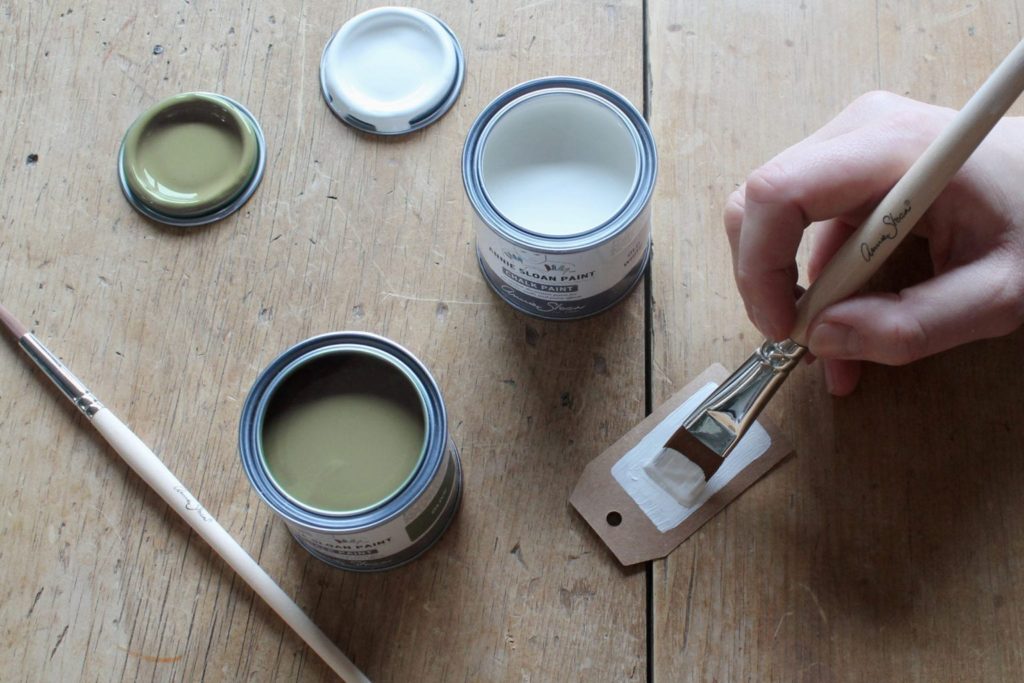
- Once dry, take the Large Round Detail Brush and, using the tip, paint numbers onto the Old White square.
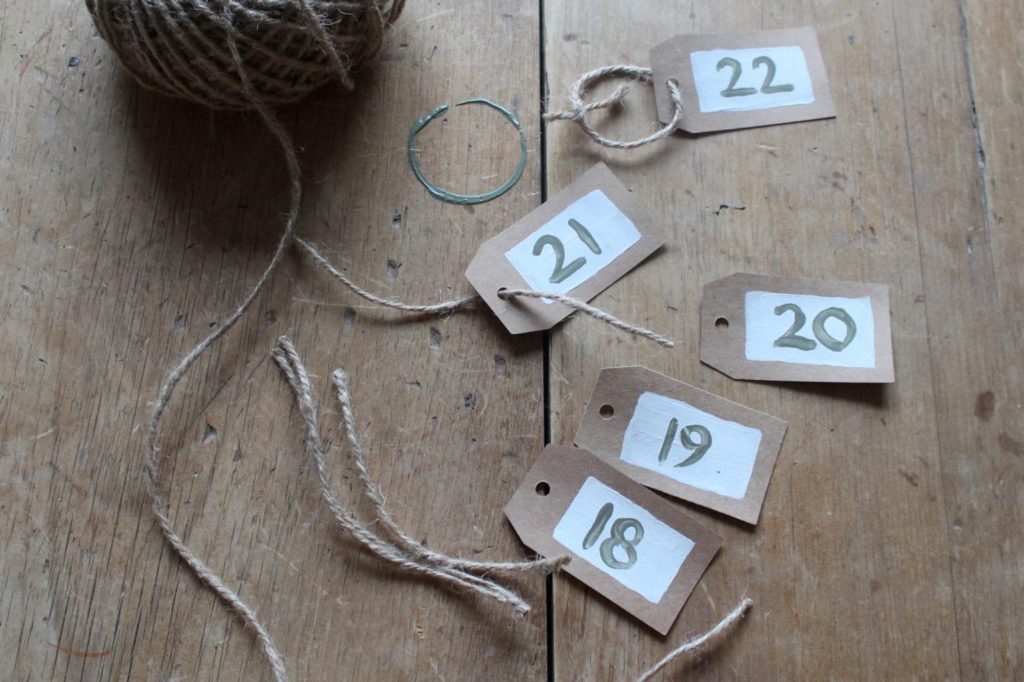
- Thread each parcel tag with string and attach to a pouch.
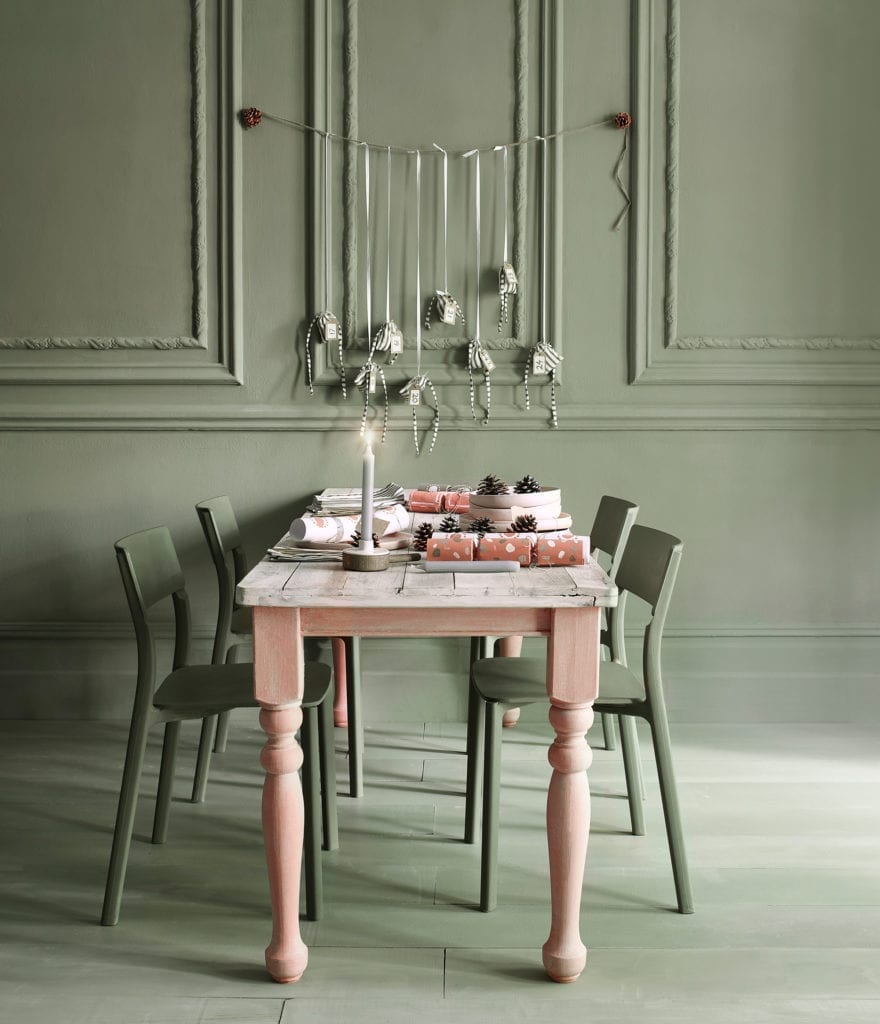
- Attach more string or ribbon to your advent pouch and hang from different heights for maximum impact.

Featured Products

Associé Inspiration
Associé Inspiration
Notre utilisation des cookies
AnnieSloan.com utilise des cookies pour améliorer votre expérience de navigation sur notre site.
