So machen Sie sich Ihre eigenen Chalk Paint™ Töpfe
mit Hester van Overbeek
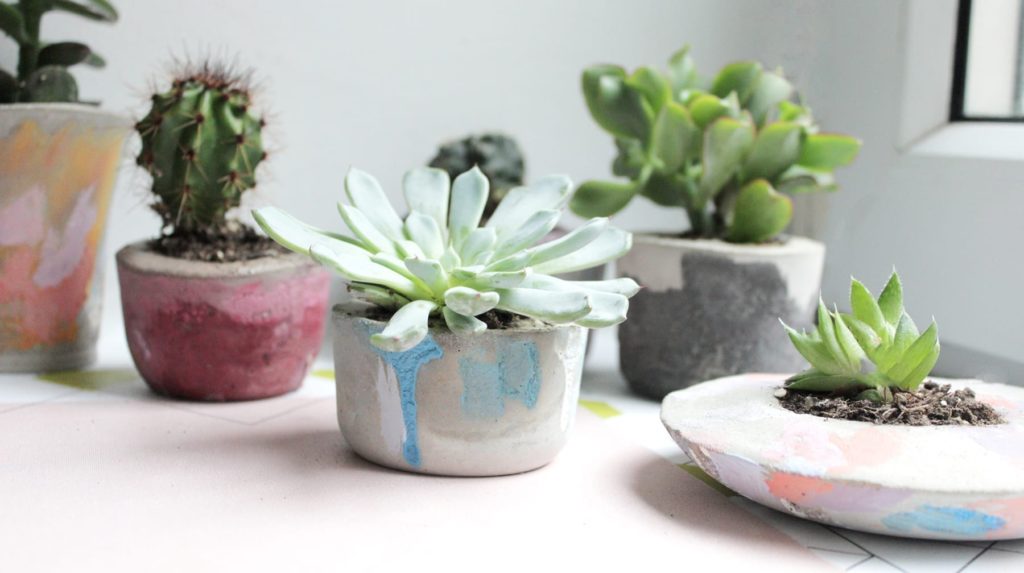
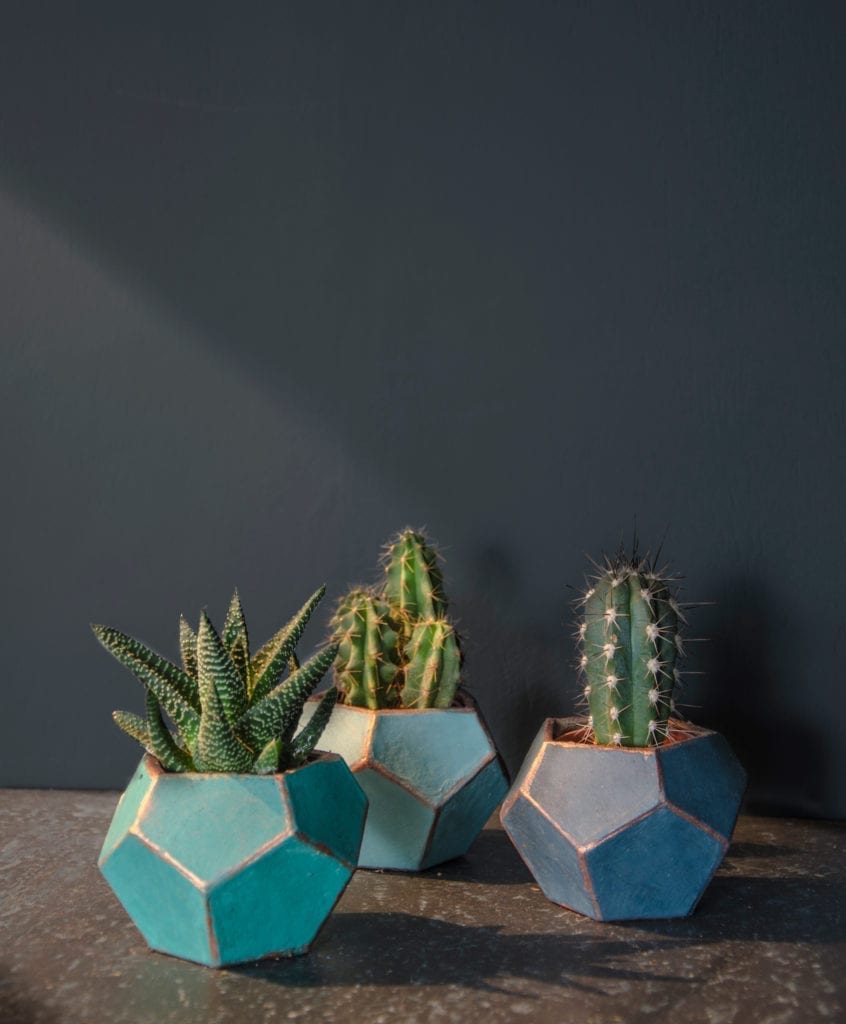
Learn how to make you own Chalk Paint® concrete pots with Annie Sloan’s Painter in Residence, Hester van Overbeek. Perfect for small gifts, or sprucing up your home!

Annie Sloan’s Painter in Residence Hester van Overbeek has given us this easy step by step guide to make and paint your own concrete pots.
You will need:
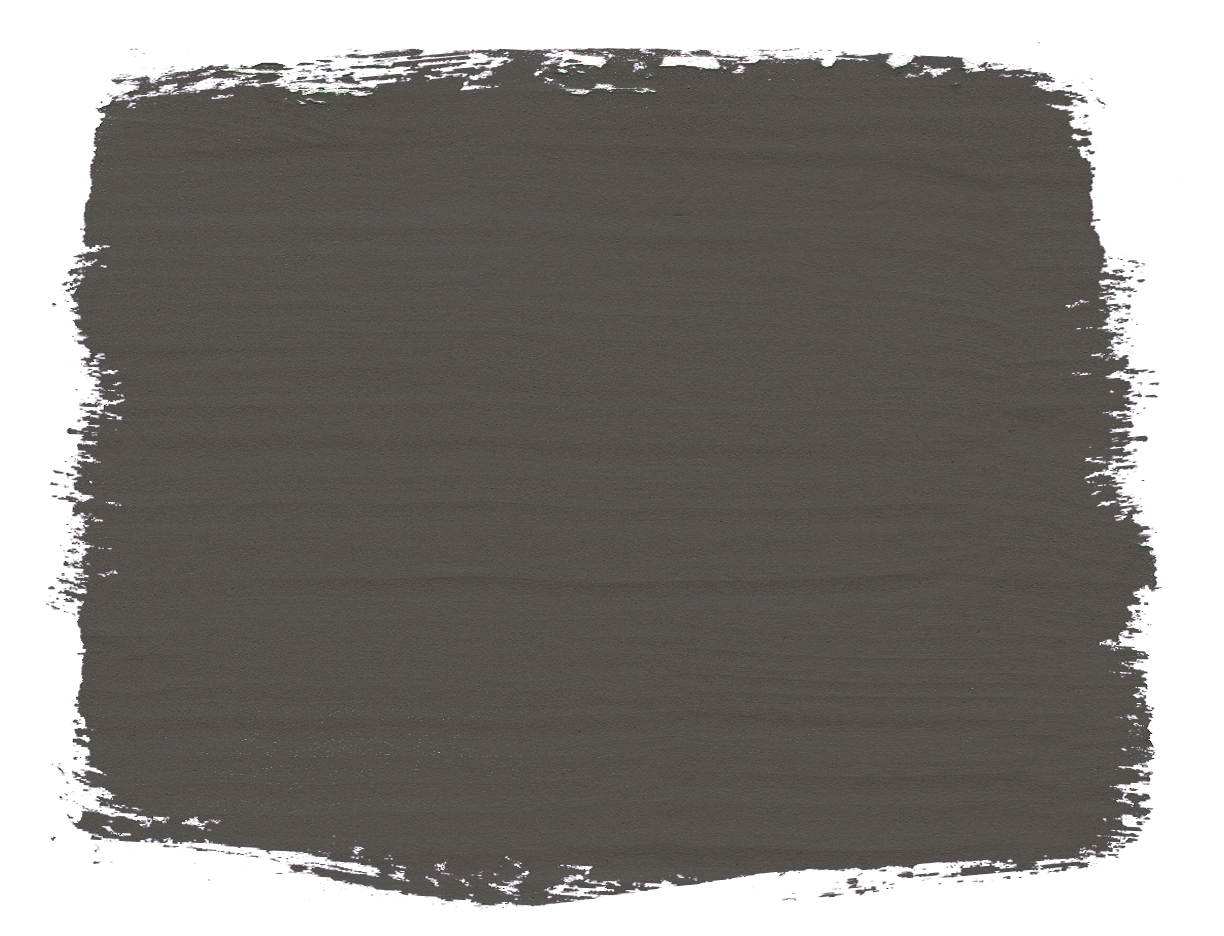
• Chalk Paint® in a range of colours of your choice
• Empty plastic food containers (such as yoghurt pots)
• Concrete mix
• Water
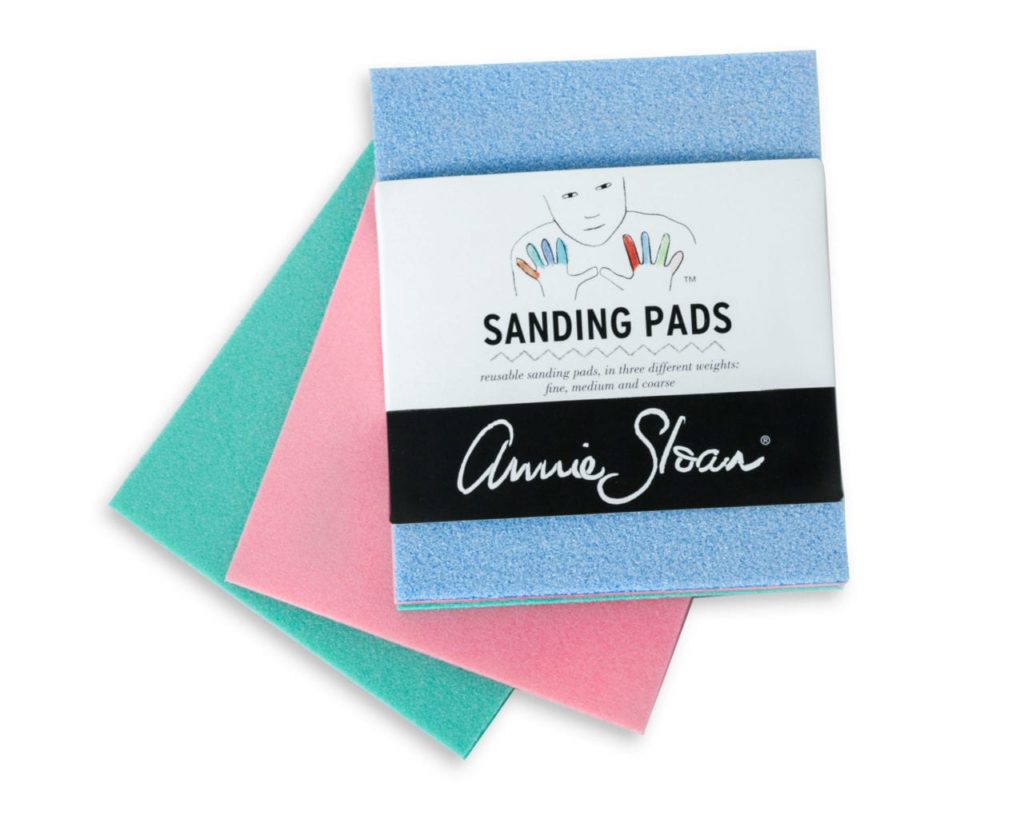
• Sanding Pads
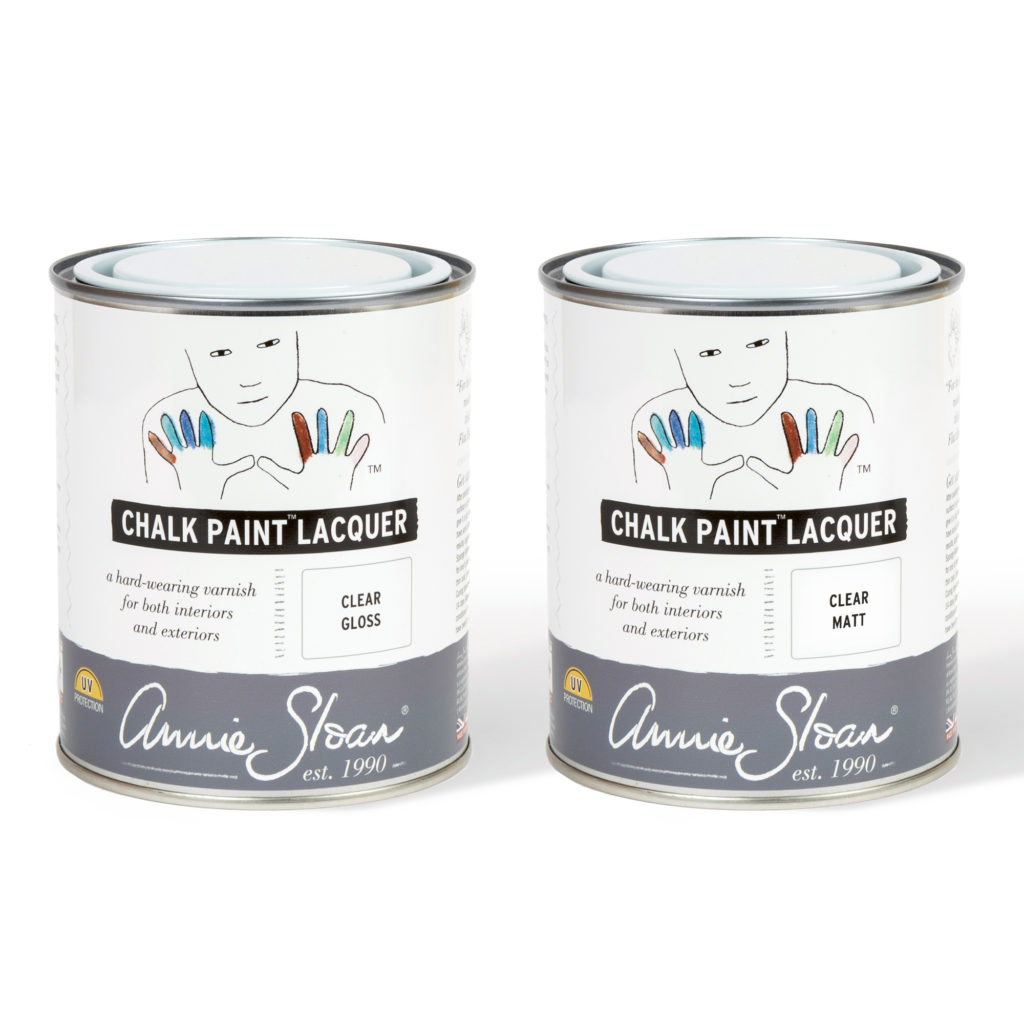
• Chalk Paint® Lacquer
Collect small, plastic pots of varying sizes. Hester recommends yoghurt pots, pudding pots and olive pots. Anything you don’t mind cutting into later! These will be the moulds for the concrete. Each mould will need two pots; one to sit inside the other. This will create a space for the succulent to sit in.
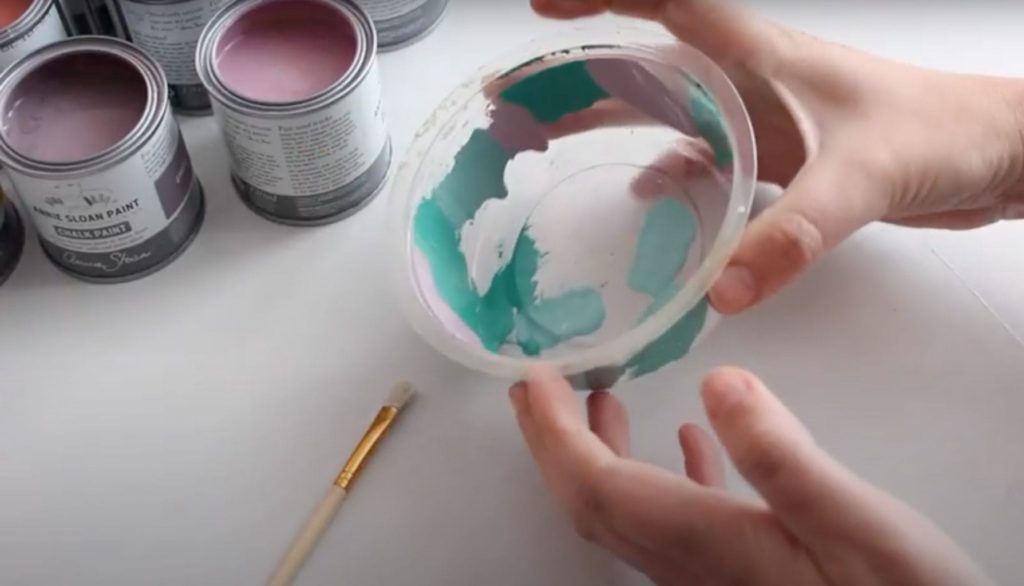
First; take an outer bigger mould. We will be adding Chalk Paint® to the inside which will add colour to the concrete pot. Paint patches of colour in a random fashion; strong pigments tend to work better.
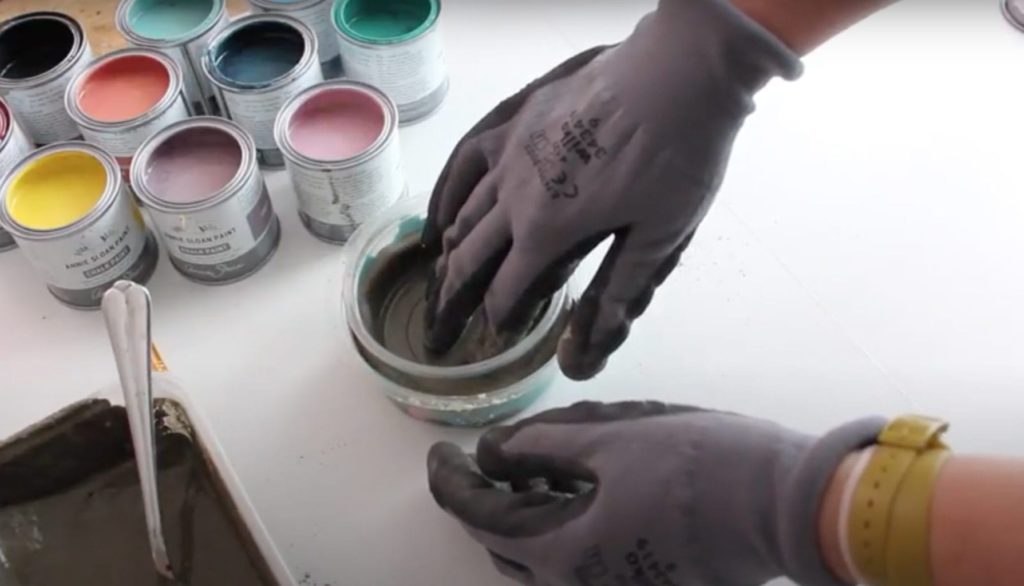
Next, mix the concrete according to the instructions on the bag. Add water gradually, until you reach the consistency of yoghurt. Once mixed be sure to work quickly so the concrete doesn’t begin to dry before decanting.
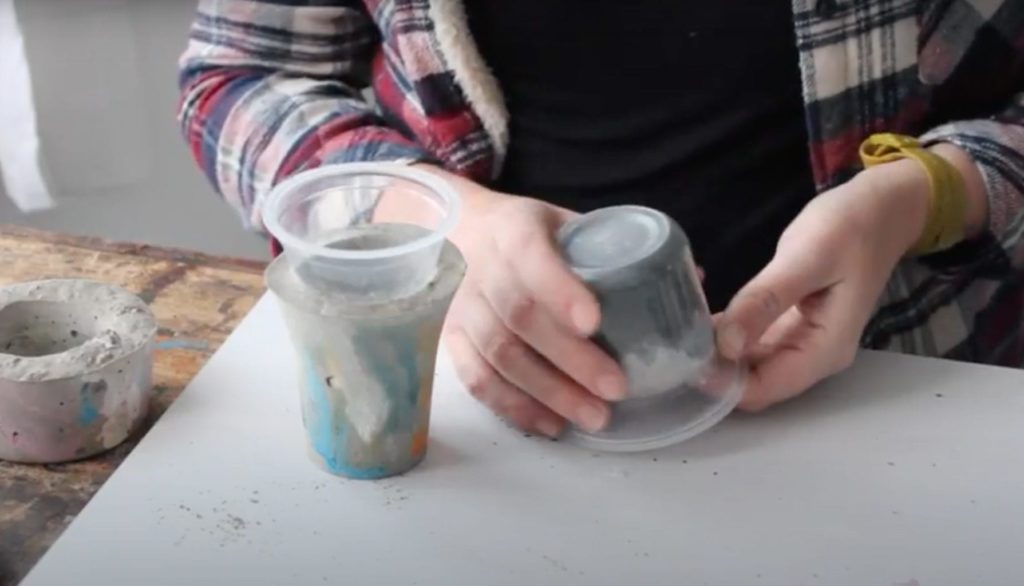
Fill your outer mould to around half full and then tap the pot on your work surface to remove any air bubbles. Next, take your inner mould and insert it into the outer mould. Press down, and you will see the concrete push up the sides. This is the makings of your pot. Once the concrete has travelled up the sides of the outer mould, weigh down the inner mould and tape it in place to secure. Give the pot a final tap to remove any last air bubbles. Repeat these steps with all the moulds one at a time, and let them dry for at least 24 hours.
Once the concrete has dried remove the plastic containers. Sometimes they will come off really easily, other times they will need encouragement. This is where using throw-away plastic is useful as you can cut any stubborn moulds away from the concrete. Not all of you pots may be successful – and that’s okay! Especially where the rims are thin, this will leave the pots liable to cracking and breaking. They can be fixed with some strong glue if you want to save them.
Next, lightly sand the edges of the concrete with Annie Sloan Sanding Pads to make them smooth. You will see the Chalk Paint® colour cast into the moulds from the earlier painting. At this point you can also add more paint to the pots if you want.
If you are intending on planting your concrete pots, add a couple of layers of Chalk Paint® Lacquer to the inside of the pots. This will seal the concrete and ensure the moisture from the soil and plants is not drawn into the pot. You can lacquer the whole pot if you like, but as concrete is a very porous surface the Chalk Paint® does not require any finish.
Watch the full video by Hester
Featured Products


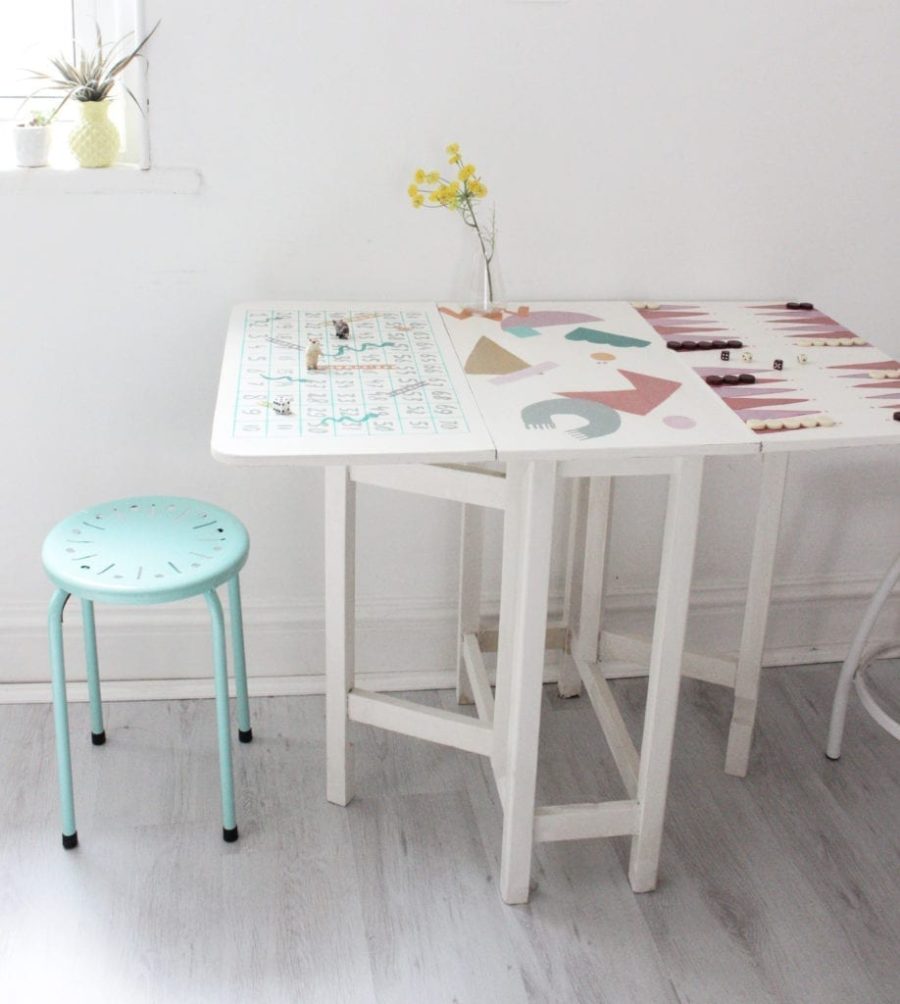
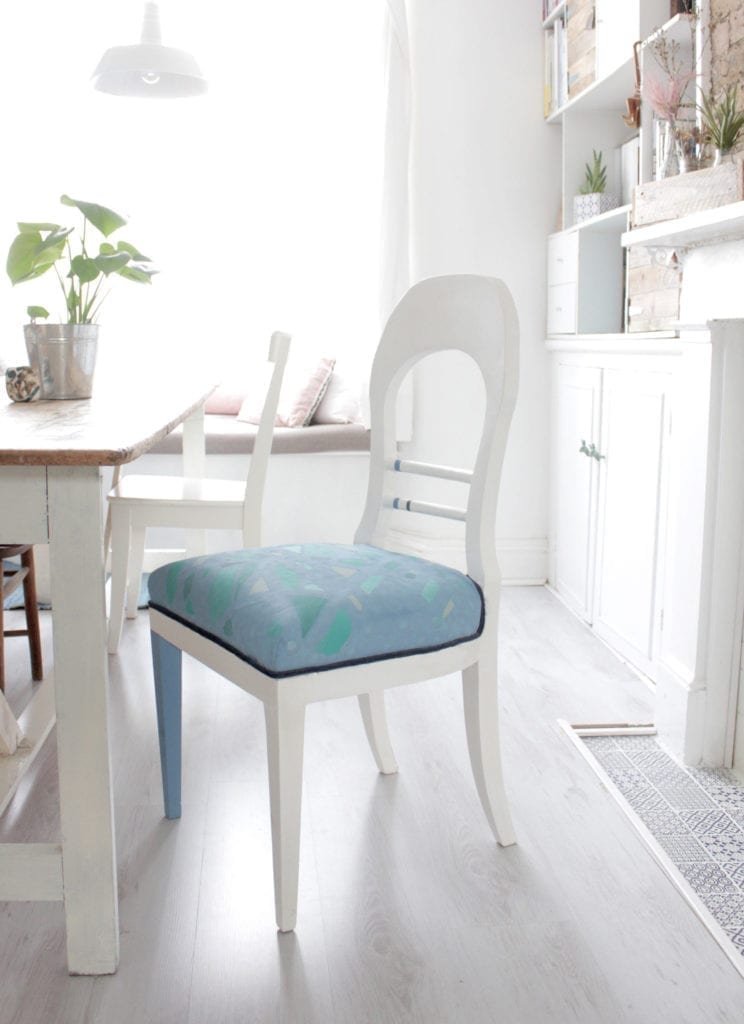
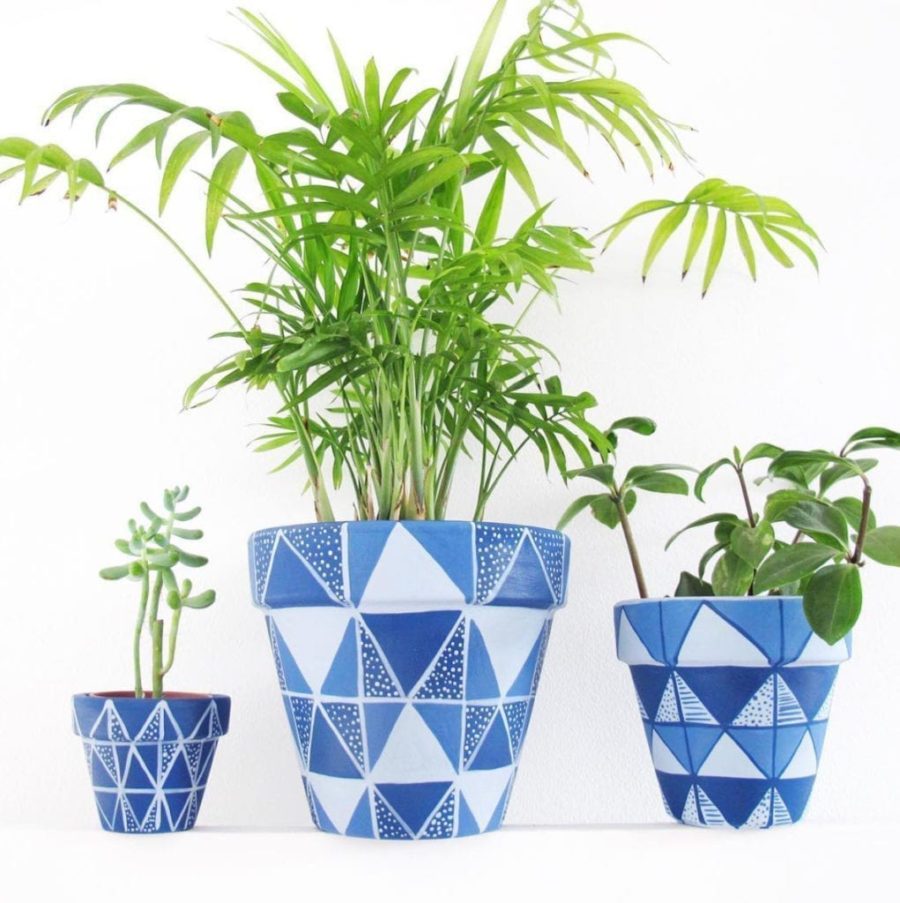
Ähnliche Inspiration
Ähnliche Inspiration
Verwendung von Cookies
AnnieSloan.com verwendet Cookies, um das Kundenerlebnis bei Ihrem Besuch auf unserer Website zu verbessern.