- Pierwszym krokiem jest wyczyszczenie szafek. Szafki mogą być narażone na zabrudzenia olejem i tłuszczem z kuchni, dlatego konieczne jest ich oczyszczenie przed malowaniem. Należy używać tylko ciepłej wody z mydłem, nie stosując silnych środków chemicznych, które mogłyby reagować z farbą.
- Jeśli laminat, który chcesz pomalować, jest bardzo błyszczący, przeszlifuj go. Laminat, na którym pracowała Annie nie jest zbyt błyszczący i nie wymagał wcześniejszego szlifowania. Lekkie szlifowanie sprawi, że powierzchnia będzie teksturowana, dzięki czemu farba będzie do niej lepiej przylegała.
- Wybierz kolor farby Chalk Paint™ – w tym przypadku Annie użyła koloru Chicago Florence.
- Jeśli farba jest zbyt gęsta, dodaj do niej trochę wody. Rozcieńczona warstwa umożliwi lepsze pokrycie. Pamiętaj tylko, aby bardzo dokładnie wymieszać wodę z farbą Chalk Paint™, w przeciwnym razie po nałożeniu lakieru możesz zauważyć nierówne wykończenie.
- Nałóż warstwę, a następnie, „głaskając” ją pędzlem, usuń widoczne pociągnięcia, aby uzyskać gładkie, nieteksturowane wykończenie.
- Technika „głaskania”: trzymaj pędzel pod kątem 90 stopni w stosunku do malowanej powierzchni i delikatnie przesuwaj nim do tyłu i do przodu w różnych kierunkach na malowanej powierzchni. Nie naciskaj zbyt mocno i nie przesadzaj z malowaniem; jeśli będziesz kontynuować głaskanie pędzlem, gdy farba zacznie wysychać, będziesz usuwać farbę Chalk Paint™ zamiast ją nakładać.
- Zapewnij odpowiednio dużo czasu na wyschnięcie poprzedniej warstwy farby, wosku lub lakieru. Jest to konieczne, ponieważ laminat nie wchłania farby, w związku z czym farba wysycha na nim dłużej niż na drewnie.
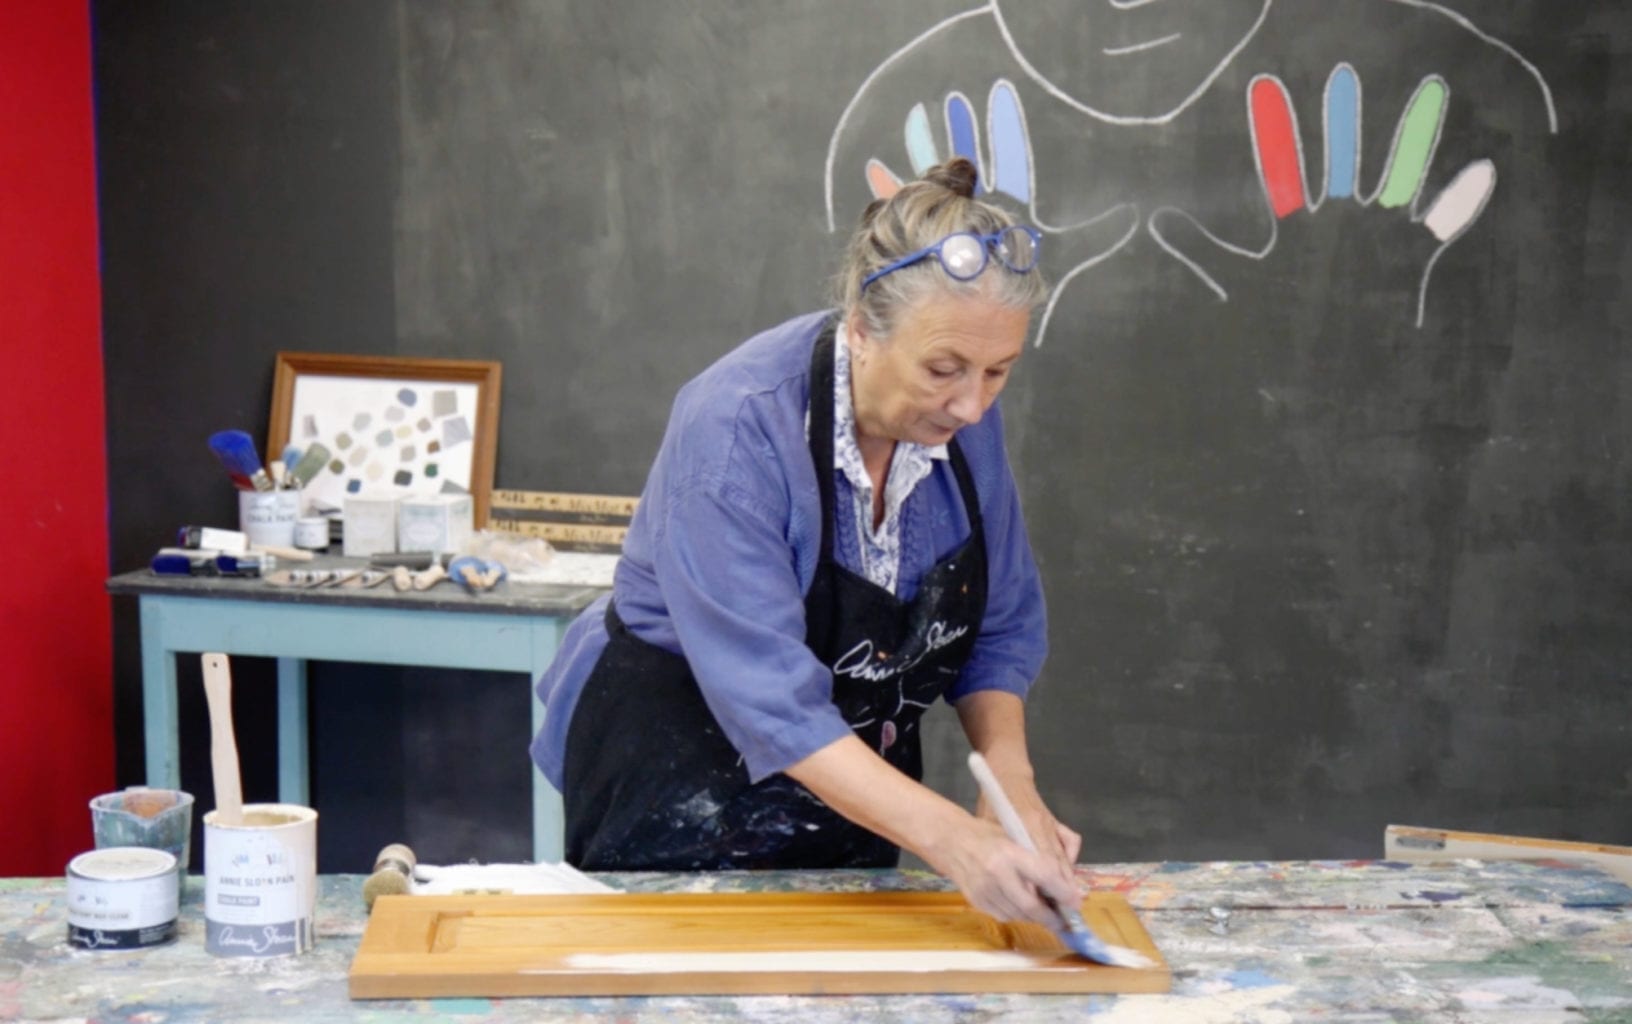
Hello, I’m Annie Sloan, welcome to my studio! So this is laminate. You know it, it’s everywhere. It’s basically a plastic finish. So this is a nice one because it’s not too shiny. You can get some that are really, really shiny.
First thing you need to do is clean it. If it is really shiny, I know I always say don’t prime don’t sand, but I would just give this a little bit of a sand. This one is, as I say, is not too shiny so we’re all right. So can I paint laminate? Yes you can. That’s the answer, that’s it!
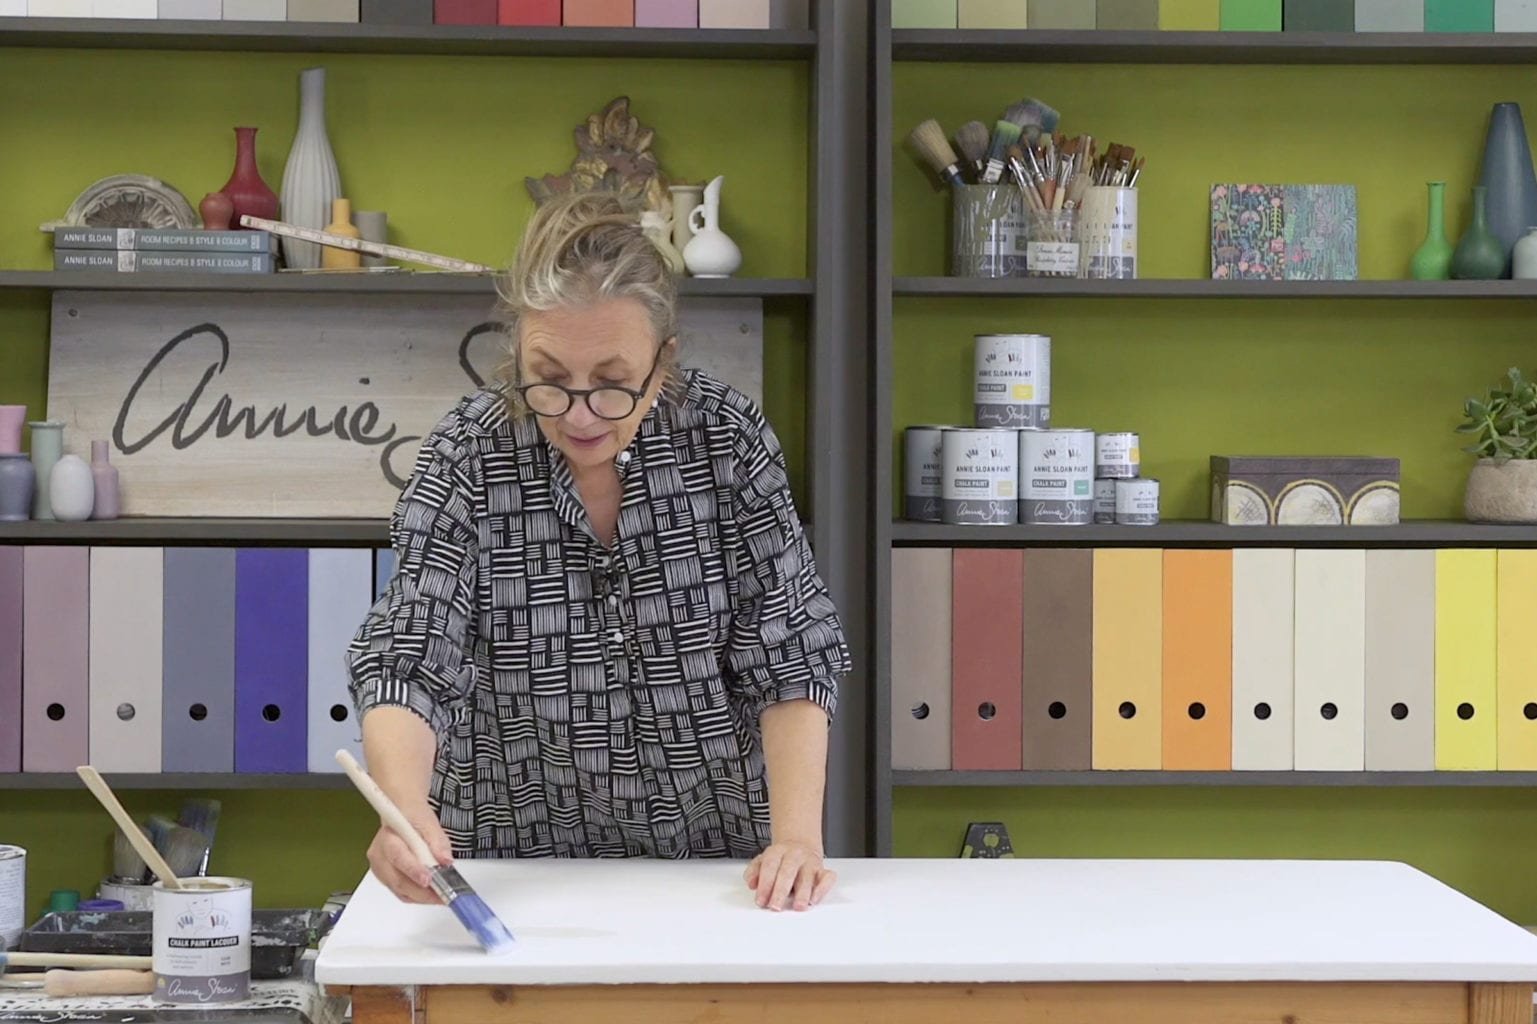
I’ve got some paint here, I’m going to do this Florence which is going to be a really gorgeous punch of colour. It’s been opened already so it’s a little on the thick side, so I’m just going to add a little bit of water. So that’s a little trick for you, for every time you open your pot of paint, you might find you just need to add a tiny bit of water if it’s been opened already. So now – good stir, good stir, good stir… so that all the water is mixed in properly with the paint.
So that’s pretty much done and now I’m going to start painting. I could if I wanted to do the first coat a little thinner, that’s up to you. I think because this isn’t too shiny I’m not going to bother. Oh gosh, that goes on beautifully! Look at that! Fabulous.
I’m just going to paint that up and down… beautiful! I shouldn’t say that about my own paint but it is rather gorgeous. I’m going to do a flat finish on this, I don’t want texture at all. I’m going to paint it and then spread it out nicely by feathering it. So I’ll get a coat on and then I’ll start feathering it.
Mixing the water in is incredibly important because if you don’t and you start lacquering afterwards, you might find you get it a little bit uneven and that’ll be because you haven’t mixed that well.
So up and down beautifully, go into the corners well, make certain you don’t get too heavy a build-up in those corners.
Last bit. So now I’ve got the paint all over, pretty good, and then I’m going to start the thing of just doing this lovely feathering. So along that way, along the sides as well to get rid of all the brush marks that you may have in there. And that’s it so the feathering thing is where the brush is it sort of a 90 degree angle and you’re doing that. Go across as well, that’s it. It’s going on beautifully.
If you need to do a second coat what I would do is leave it for quite a long time. Because laminate is not absorbent like most woods are very absorbent, the paint goes into the wood, this doesn’t. So it’s got to dry from the top and so it’ll take a little bit longer to dry. Make certain it’s completely dry especially around the edges, because that’s often where there’s a bit more build-up.
When it’s all finished, either wax or lacquer it by brush or with roller and that’ll be it! So in summary, when painting laminate the main points are; you might have to sand a little, leave longer to dry, and don’t over brush!
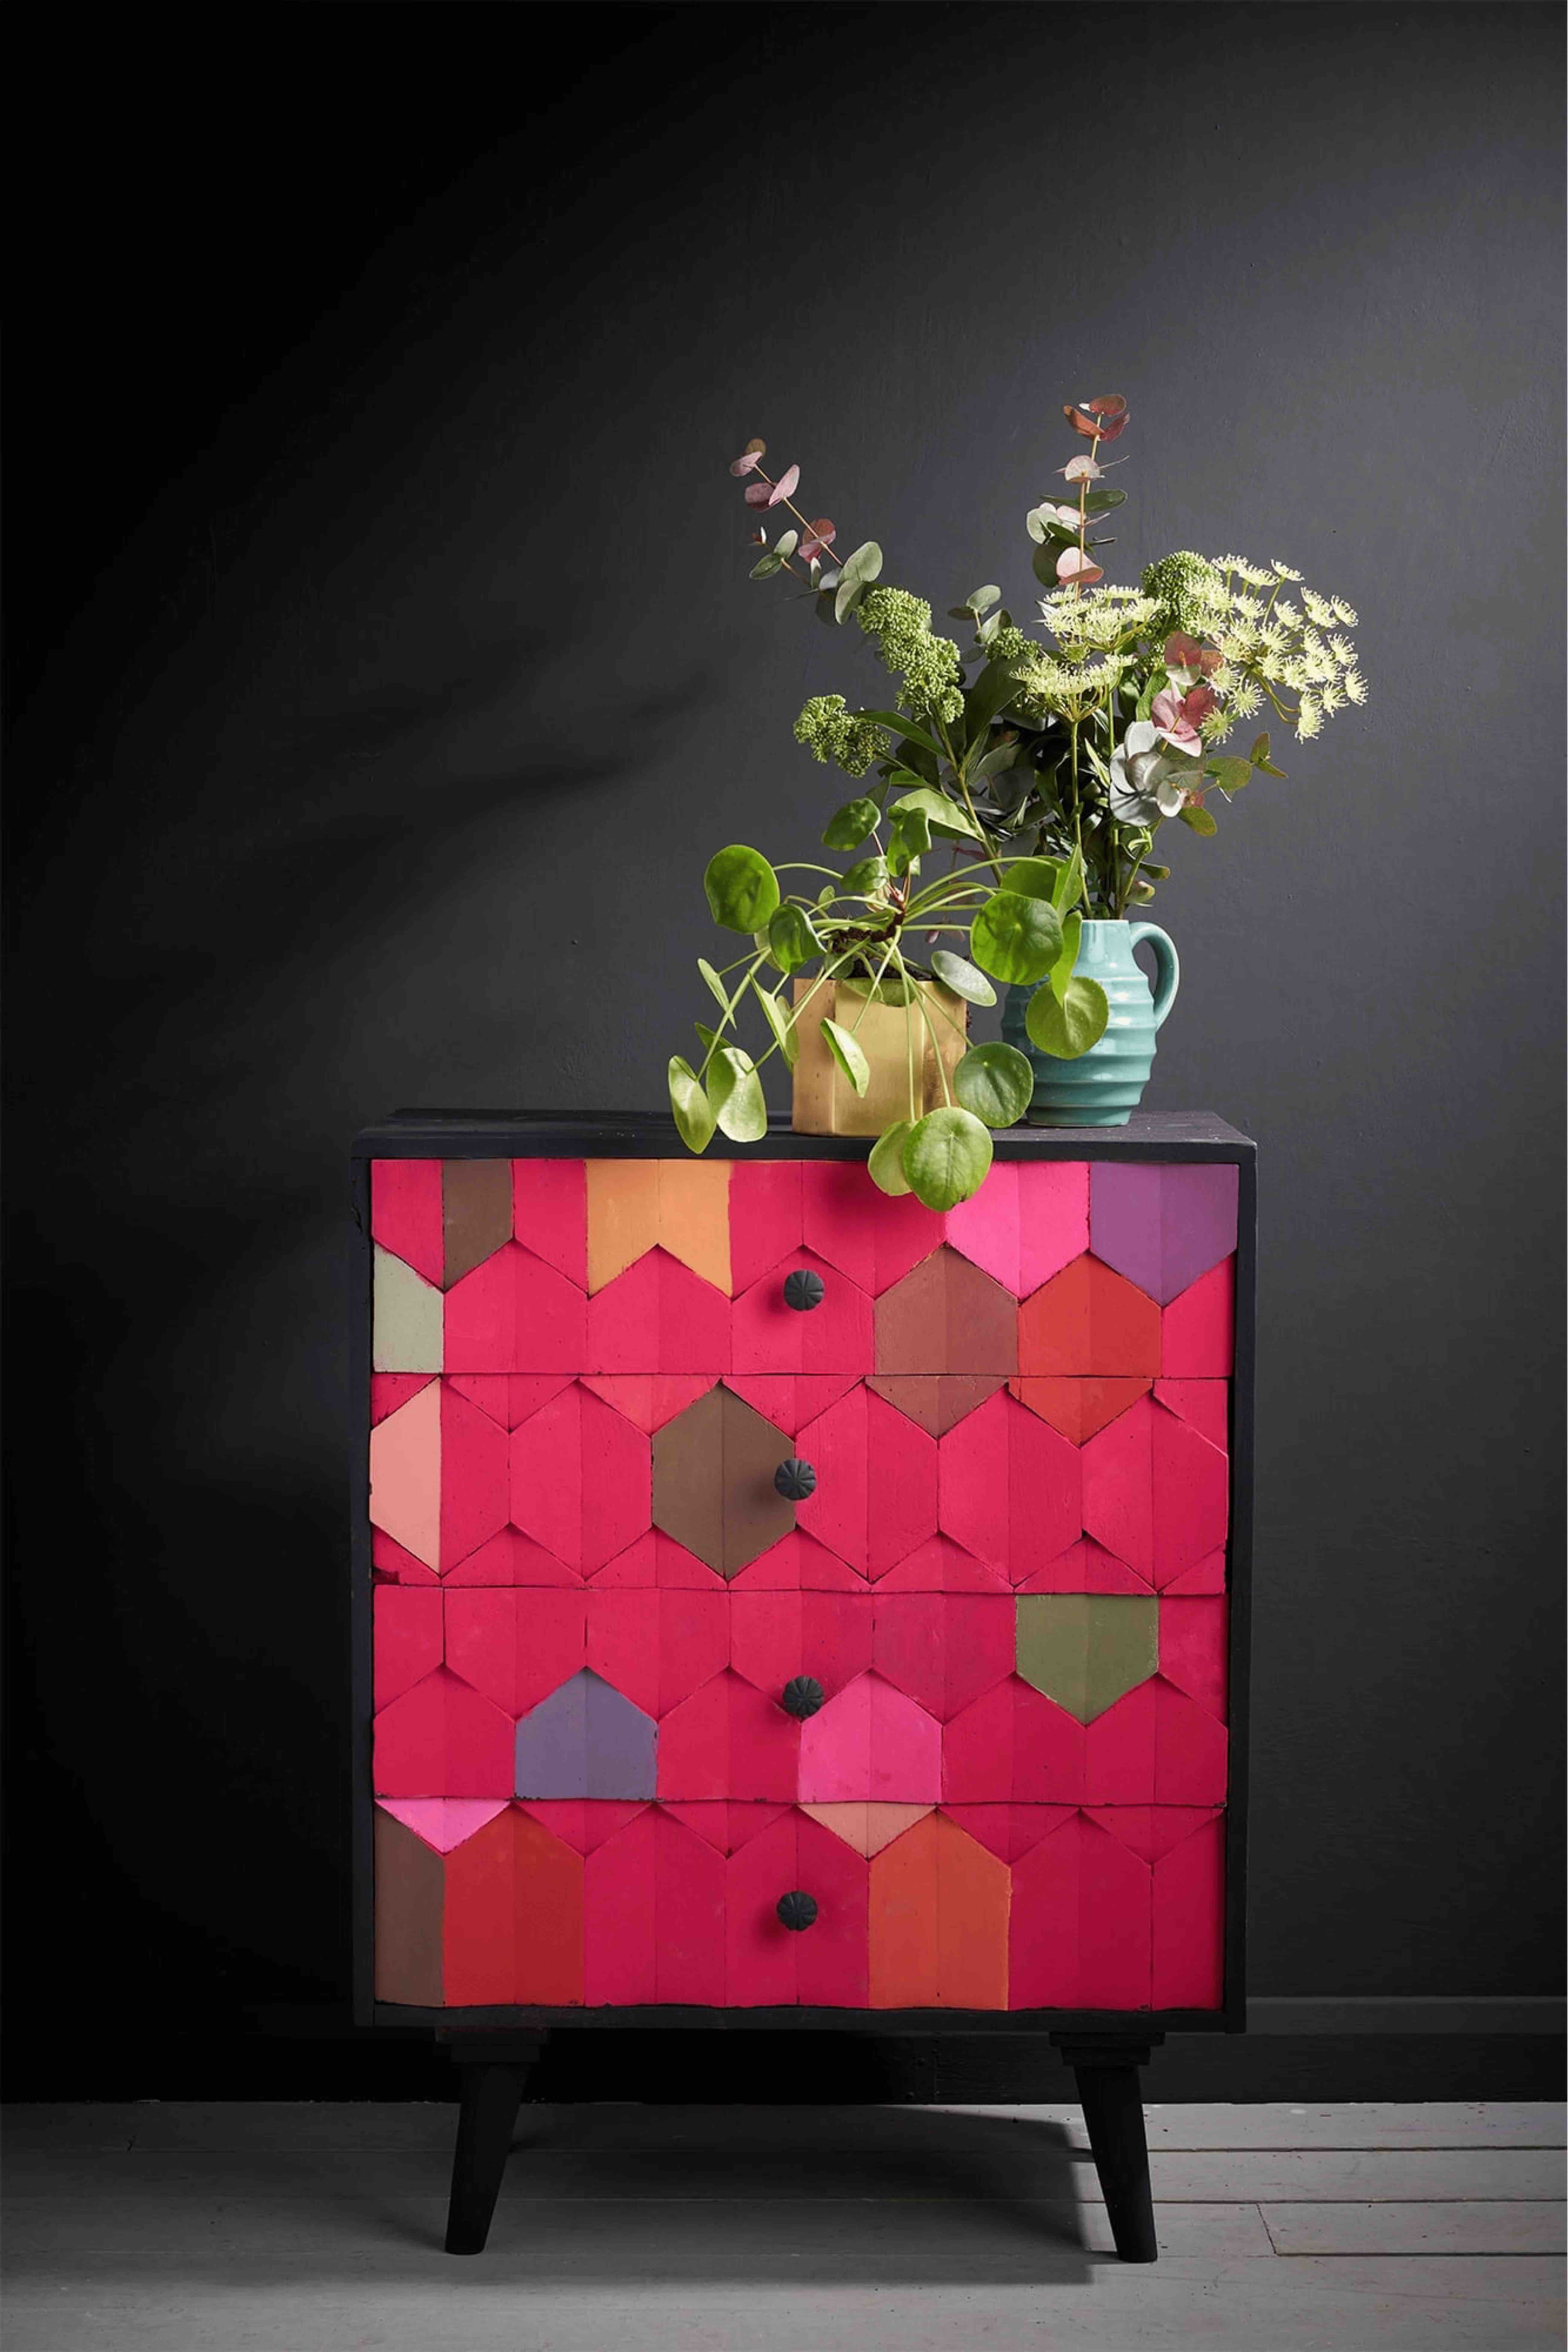
That’s it, three simple rules to remember. What I love about this is that you’ve taken something quite banal like laminate and turned it to something which is really, really unique. No one else is going to have this. Gorgeous!