Techniques

Malowanie farbą Chalk Paint™ za pomocą pistoletu malarskiego

Hello, I’m Annie Sloan. Welcome to the warehouse studio! So this is Ron Taylor from the Traditional Painter and he’s going to show me and work with me on showing you how to spray using my paint. Ron knows all about it: he’s been experimenting a lot with it and you know all about the percentages of water and all the rest of it. So explain, what is this?

Ron: Right this is a HVLP gun. That means high volume, low pressure. Basically you fill the pot up with paint, you connect the end of the gun to a hose and a turbine. That turbine will force air through the front of the gun, that will atomise the paint, that means break up the paint into small particles. There’s also a tube in here that will pressurise the pot, which will force the paint up through the tube and when you pull the trigger the paint and the air will meet and your spray paint onto the surface.

Annie: So let’s find out how to actually spray paint. Over to you Ron!

Ron: So the paint needs to be thinned for spray application. Not too thin but quite a bit thinner. So if you can if you can lift the stick above the paint and you can swirl those lines, they’re called worm casts, that paint is too thick.

Annie: that is one of the things that people don’t realise that my paint is thick but you can add water to it. That’s the whole point about it; that you can do thin, thick, spray, washes, textured, all sorts of things. That’s one of the great beauties.

Ron: So we we add the paint to the pot. We don’t want to go too full, about just over half full. We add the water slowly, we don’t want to go too thin straight from start. That’s still too thick so we’re going to put a bit more water in there.

Annie: So you would never say I’ve just got to add quarter or whatever, you would just go adding until you feel it’s the right amount, and how do you know when it’s the right
amount.

Ron: we know that it’s the right amount when as you lift the stick it’ll dissipate into itself so you won’t see any of the worm casts, the paint will go straight into itself.

Annie: So actually if it’s a pot that’s been open for a while, you’ll find it’s got thicker, so you’ll have to add a bit more water there.

Ron: It’s not quite thin enough, but we are getting there. That paint is disappearing.

Annie: oh yes, the worm casts are still there. They disappear quickly. But you want to get it so there’s no worm cast at all?

Ron: Or almost none. If it’s a little bit, that’s fine but anything thicker, the paint will come out and splatter.

Annie: Right, that’s so interesting!

Ron: We want to make sure it’s all stirred in. If you’ve got layers of thin paint and thick paint what the gun will do it’ll spray the thick paint and then all of a sudden it’ll hit some thin paint and then it’ll go thin and it’ll alter to the finish.

Annie: So you’ve really, really got to mix well.

Ron: So there we go that’s disappearing almost completely, it’s still got a little bit, but I think that will be okay because it’s a very small amount, so if we go with that, I can I think we’ll be fine. So the paint’s mixed. What we do if we’re going to be spraying downwards, something like a door, we want this tube facing towards the front of the gun.

If we’re spraying up in the air that wants to be at the back because the paint will automatically go to the back of the gun like that.

Annie: Wow! So that could be all covered in paint, so you’ve got to take it out and do that.

Ron: Yes, so it’s best to do it before.

Annie: So this is a door from a cabinet, a kitchen cabinet. So you would have taken them all off and you might have a load of them together. We’ve just got the one here. It’s really important with a kitchen cabinet to clean it because it could be, you know if this has been up in the kitchen it could be very oily and dirty. So use a degreaser, there are loads on the market. You can just use soapy water as long as you make certain you get everything off. So don’t have any residue. So we’ve got the paint all done and so now what’s the next step.

Ron: We fit the cup to the gun. It’s best to do it like this rather than trying to do it up in the air there’s a chance we could spill it. Make sure it’s fairly tight, it hasn’t got to be super tight, but it wants to be tight. Then we connect the turbine to the gun. If you’re right-handed the angle wants to go that way.

Annie: Oh yes, there’s an angle that way. So that goes that way.

Ron: So that’s away from you and if you’re left-handed obviously it wants the other way. It doesn’t want to be down because it’ll get in the way of you spraying.

Annie: Those are really good tips. So we’re already anything else we need to do?

Ron: When we do any spraying you need to wear a mask. The airborne particles are quite dangerous, they’ll get into your lungs and they cause breathing difficulties later on. Right so we’ll put that aside until we start spraying. So this is what they call a bleeder gun. The air is going to constantly come out of the gun at all times.

Annie: It’s called a bleeder gun? Okay.

Ron: So there’s no air adjustment you’ve only got fluid adjustment and that’s done fairly simply through that there.

Annie: So that stops or adjusts the amount of fluid going through.

Ron: Yes, there’s basically a cam in there, it’s a simple adjustment, and as you release it the cam goes further away and lets the trigger go further back. So that’s all you need adjustment wise. You do need to remember that if we are going to spray vertically the horns of the gun need to be in line with the way you’re spraying. So if you’re going down, that needs to be like that. If we’re going horizontally the horns need to be like that. If we go the wrong way and we’ve set that to vertical and then we go that way, you’ll get a big buildup of paint on the surface and it will run. So if I say we’re going to go vertically first, we start off at 2; there’s a 1 there, a large 1 and there’s gradients between. If we start it at 2, and we’ll take it from there.

Right I’m just going to put my mask on to test spray on the rear wall. It’s always best to wear a mask at any time.

Annie: It’s going to be a bit noisy as well, so just fire-away, doesn’t matter. I’m putting mine on too. There, it’s a good look!

[Ron tests spray]

Annie: fabulous, that really looks fantastic. It’s beautiful, really smooth. And then you
changed it…

Ron: Yes that just shows the two widths. That’s the thinnest we can go right and that’s as wide as we can go.

Annie: So now let’s go and do the cabinet.

Ron: Okay. What we remember when we’re spraying is we want to get a line of paint down and then we want to overlap it 50%, which means we aim the horns of the gun at the last line, and then everything will get two coats. If we just spray in lines you’ll get misses along there.

[sprays paint onto cabinet door]

Annie: Beautiful! Love it. So for some of you, sharp-eyed, you’ll see that actually this
is quite stipply, it looks stipply, it doesn’t look completely smooth. What would you say about that?

Ron: Because we’ve thinned it, that paint will will settle. It has gone a little bit stipply, but as the paint tightens up, it will go back it will go back smooth.

Annie: Completely smooth. So a second coat, do I need to wait for it completely and
utterly to dry? How long do you think that that’s going to take with it being quite thin paint?

Ron: I think you’ll be looking about about an hour for the second coat. We don’t want to be putting… if you put the second coat straightaway I think that would be okay. But if once the paint started to dry you’ll get different finishes in different areas.

[One hour and one coat later…]

Annie: So there you are! That’s it done. Very simple! We’ve had two coats of paint on there, beautiful finish. What I need to do now is either wax it or lacquer it.

Za dużo szafek i za mało czasu? Rozważ malowanie natryskowe farbą Chalk Paint™. Jest to bardziej zaawansowana technika, która przy prawidłowym wykonaniu zapewnia gładkie, wysokiej jakości wykończenie. Obejrzyj jak Annie Sloan i zaproszony przez nią malarz Ron Taylor, pokazują jak za pomocą pistoletu malarskiego można malować natryskowo farbą Chalk Paint™.

Poniższy instruktaż tłumaczy to obszernie i szczegółowo. Omówiliśmy temat tak dokładnie, jak to możliwe, aby każdy uzyskał potrzebne informacje i jak najlepsze rezultaty. Doradzamy najpierw obejrzeć film, a następnie przeczytać instruktaż, aby ostatecznie wyjaśnić wszelkie wątpliwości.

Będziesz potrzebować:

• Farbę Chalk Paint™
• Wodę
• Pistolet malarski (Tutaj Annie stosuje pistolet malarski typu HVLP (duża objętość, niskociśnieniowy) marki Wagner 2370386 Studio Home Décor Sprayer do malowania ścian wewnętrznych. W Polsce można znaleźć pistolet malarski typu Wagner w590 lub w890.)
• Maskę ochronną do twarzy

Na czym to polega?

Pistolet natryskowy działa poprzez dołączenie farby do powietrza pod ciśnieniem. Farba jest rozpylana na małe cząsteczki, które są natryskiwane na powierzchnię.

Jest to szybki i skuteczny sposób na malowanie dużych powierzchni, na przykład szafek kuchennych, ale wymaga zaplanowania i przygotowania. Jeśli jesteś osobą początkującą, zalecamy najpierw malowanie farbą Chalk Paint™.

Po pierwsze, należy nalać farbę do zbiornika pistoletu. Pistolet jest podłączony do węża powietrznego i turbiny, która dostarcza strumień powietrza do natryskiwania farby (wszystkie te części stanowią jeden komplet przy zakupie). Turbina wypycha powietrze przez przednią część pistoletu i rozpyla farbę, rozbijając ją na małe cząstki. Sprężone powietrze w dyszy, łączącej zbiornik farby z pistoletem wywiera nacisk na farbę, pompując ją w górę dyszy, a po pociągnięciu za spust, farba spotyka się z powietrzem i jest rozpylana na powierzchnię.

Jak malować natryskowo farbą Chalk Paint™

1. Nalej farbę Chalk Paint™ do zbiornika pistoletu, mniej więcej do połowy.

2. Zacznij dodawać bardzo małe porcje wody, dokładnie mieszając, aby upewnić się, że farba i woda są całkowicie połączone. Ważne, aby nie rozcieńczać farby zbyt szybko.

Przed malowaniem natryskowym farbę Chalk Paint™ należy rozcieńczyć. Jedną z największych zalet farby Chalk Paint™ są możliwości dostosowania jej do wymagań: dodawanie wody w celu jej rozrzedzenia; odparowanie wody dla jej zagęszczenia (wystarczy zdjąć pokrywkę z puszki z farbą na jakiś czas); mieszanie z innymi kolorami w celu uzyskania idealnego odcienia.

Farba Chalk Paint™ prosto z puszki jest zbyt gęsta do malowania natryskowego. Sposobem oceny jej gęstości jest nabranie farby na pewną wysokość i obserwowanie, jak ścieka ona z powrotem do puszki. Jeśli pozostawia ona na pomalowanej powierzchni trójwymiarowy ślad, wyglądający jak smużki, oznacza to, że jest zbyt gęsta.

Nie ma tu dokładnej miary, wszystko zależy od gęstości oryginalnej farby! A to zależy od wielu czynników, głównie od klimatu w twoim kraju.

Gdy nabierzesz farbę i nie będzie ona pozostawiała śladów na mieszadełku, jest to właściwa konsystencja i farba jest gotowa do nakładania. Jeśli podczas natryskiwania farba jest zbyt gęsta, to będzie się nierównomiernie rozpryskiwać.

3. Kiedy farba będzie wymieszana, czas przygotować pistolet. Najpierw należy skierować dyszę z farbą w dół, gdy będziesz malować natryskowo. Grawitacja spowoduje, że farba opadnie na dno zbiornika, co będzie się zmieniać w zależności od kąta, pod którym będziesz rozpylać farbę. Więc jeśli malujesz natryskowo z góry, jak Annie i Ron na tym filmie, musisz także skierować wylot dyszy na dół. Jeśli malujesz natryskowo od dołu, musisz skierować wylot dyszy w górę, tak aby zawsze była zanurzona w farbie.

4. Następnie przymocuj zbiornik do pistoletu. Najłatwiej jest to zrobić na stole, gdy zbiornik jest pełen farby i jest mniej miejsca na jej rozlanie! Upewnij się, że zbiornik jest szczelnie dokręcony.

5. Podłącz wąż turbiny do pistoletu.

6. Zmień kąt ustawienia nakładki dyszy, dostosowując ją do kierunku natryskiwania. Jeśli będziesz natryskiwać farbę z lewej strony do prawej, stożki na nakładce muszą być ustawione poziomo. Jeśli będziesz natryskiwać farbę z góry na dół, stożki na nakładce muszą być ustawione pionowo. Jeśli postąpisz odwrotnie, na malowanej powierzchni nagromadzi się farba. Jeśli potrzebujesz nanosić cieńszą warstwę, możesz ustawić nakładkę w kierunku po przekątnej.

Bardzo ważne jest noszenie maski, chroniącej drogi oddechowe, przez cały czas malowania farbą. Jeśli nie używasz maski, unoszące się w powietrzu cząsteczki farby mogą powodować dolegliwości dróg oddechowych w przypadku ich wdychania.

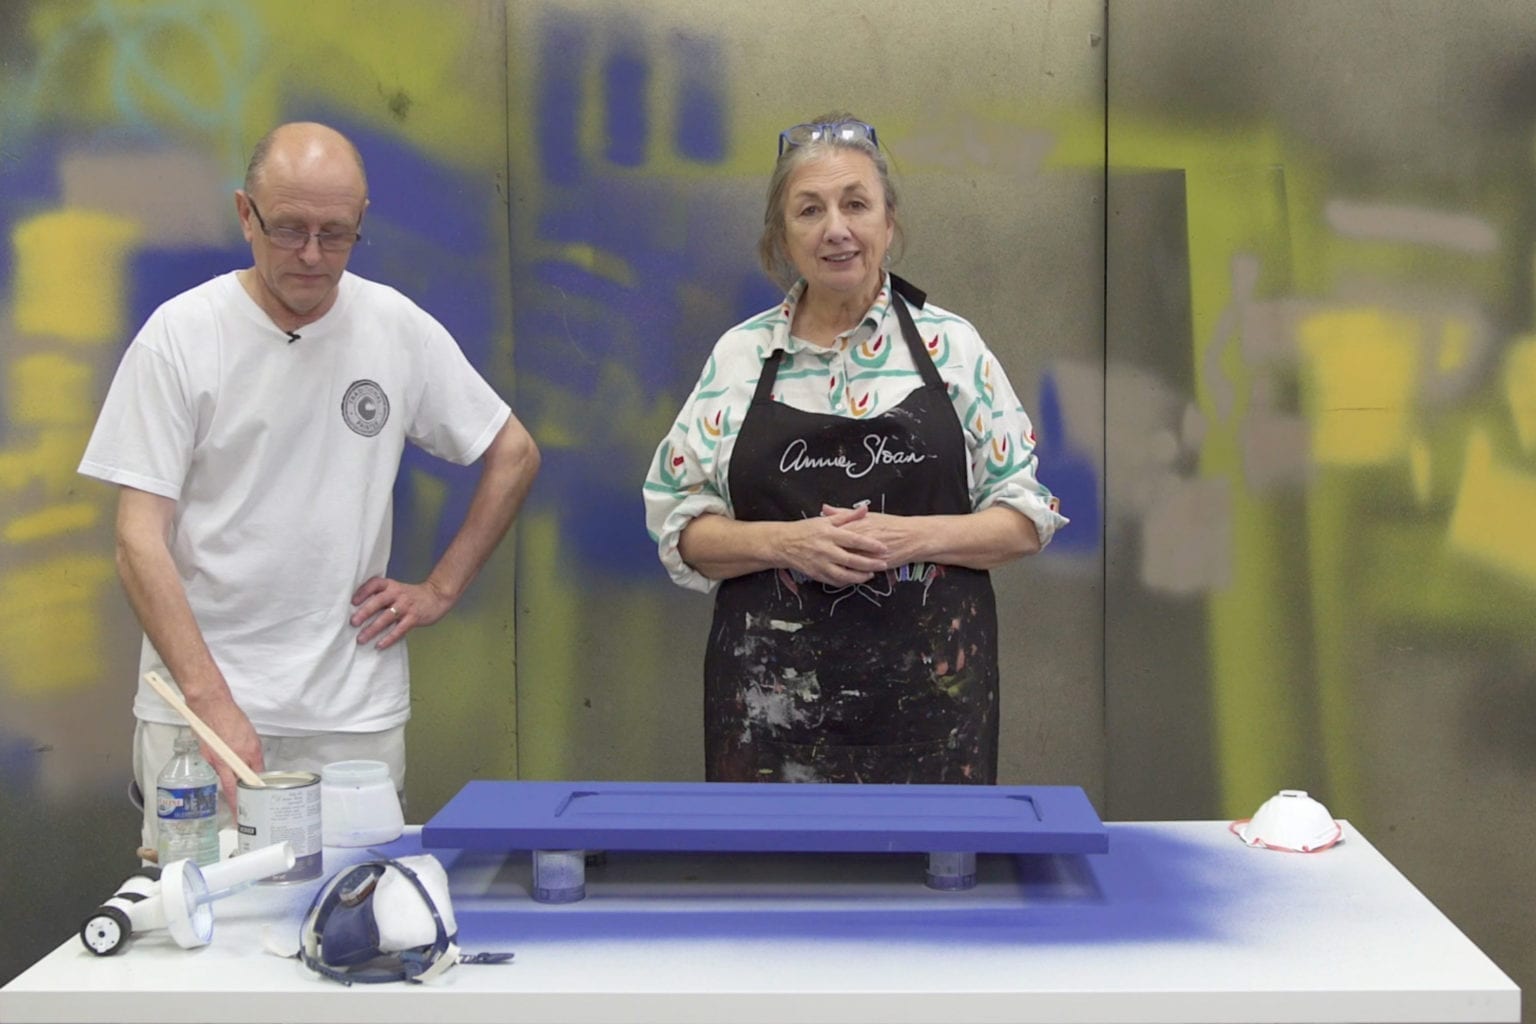
7. Zalecamy najpierw wypróbowanie farby przed bezpośrednim nałożeniem jej na malowaną powierzchnię. Stosując ustawienie nr 2 nanieś farbę na powierzchnię testową; tutaj Ron wykorzystał ścianę w studio Annie. W ten sposób sprawdzisz, czy konsystencja farby jest właściwa i czy pistolet działa zgodnie z oczekiwaniami.

Pistolet, którego używają Ron i Annie jest pistoletem do pracy ciągłej; nie ma tu regulacji strumienia powietrza, jest tylko regulacja ilości podawanej farby. Oznacza to, że ilość przepływającego przez niego powietrza jest stała i nie zmienia się. Ilość farby przepływającej przez pistolet jest tym, co wpływa na szybkość jej natryskiwania. Na tym pistolecie znajduje się nakładka, oznaczona numerami, która zmienia natężenie przepływu farby. Nakładka pozwala na mocniejsze pociągnięcie spustu w celu zwiększenia ilości farby w dyszy. W przypadku farby Chalk Paint™, Ron stosuje ustawienie nr 2.

8. Następnie zacznij nakładać farbę na mebel. Zacznij od krawędzi i bardziej skomplikowanych elementów mebla. Następnie nakładaj farbę liniowo wzdłuż mebla, w uporządkowany sposób. Ważne jest nakładanie jej do połowy każdej poprzedniej linii, aby zapewnić równe pokrycie całej powierzchni. Stosuj konsekwentnie tę samą metodę malowania, aby wykończenie było równe; farba musi być nakładana w ten sam sposób, w przeciwnym razie będzie widać pominięte lub suche obszary.

9. Nałóż dwie warstwy farby, aby upewnić się, że żaden obszar nie został pominięty. Przy nakładaniu drugiej warstwy są dwie możliwości. Możesz malować bezpośrednio po nałożeniu pierwszej warstwy, zanim farba zacznie wysychać. Albo możesz odczekać około godziny (w zależności od lokalnych warunków pracy może to być dłużej) przed nałożeniem drugiej warstwy. Jeśli nie nałożysz drugiej warstwy natychmiast, konieczne będzie odczekanie całej godziny, ponieważ już po 2 minutach malowana powierzchnia zacznie wysychać.

10. Drugą warstwę należy nakładać w taki sam sposób jak pierwszą.

11. Pozostaw szafkę do wyschnięcia w miejscu, w którym nie trzeba będzie jej przesuwać, ponieważ każdy kontakt z suchą farbą spowoduje jej przebarwienie.

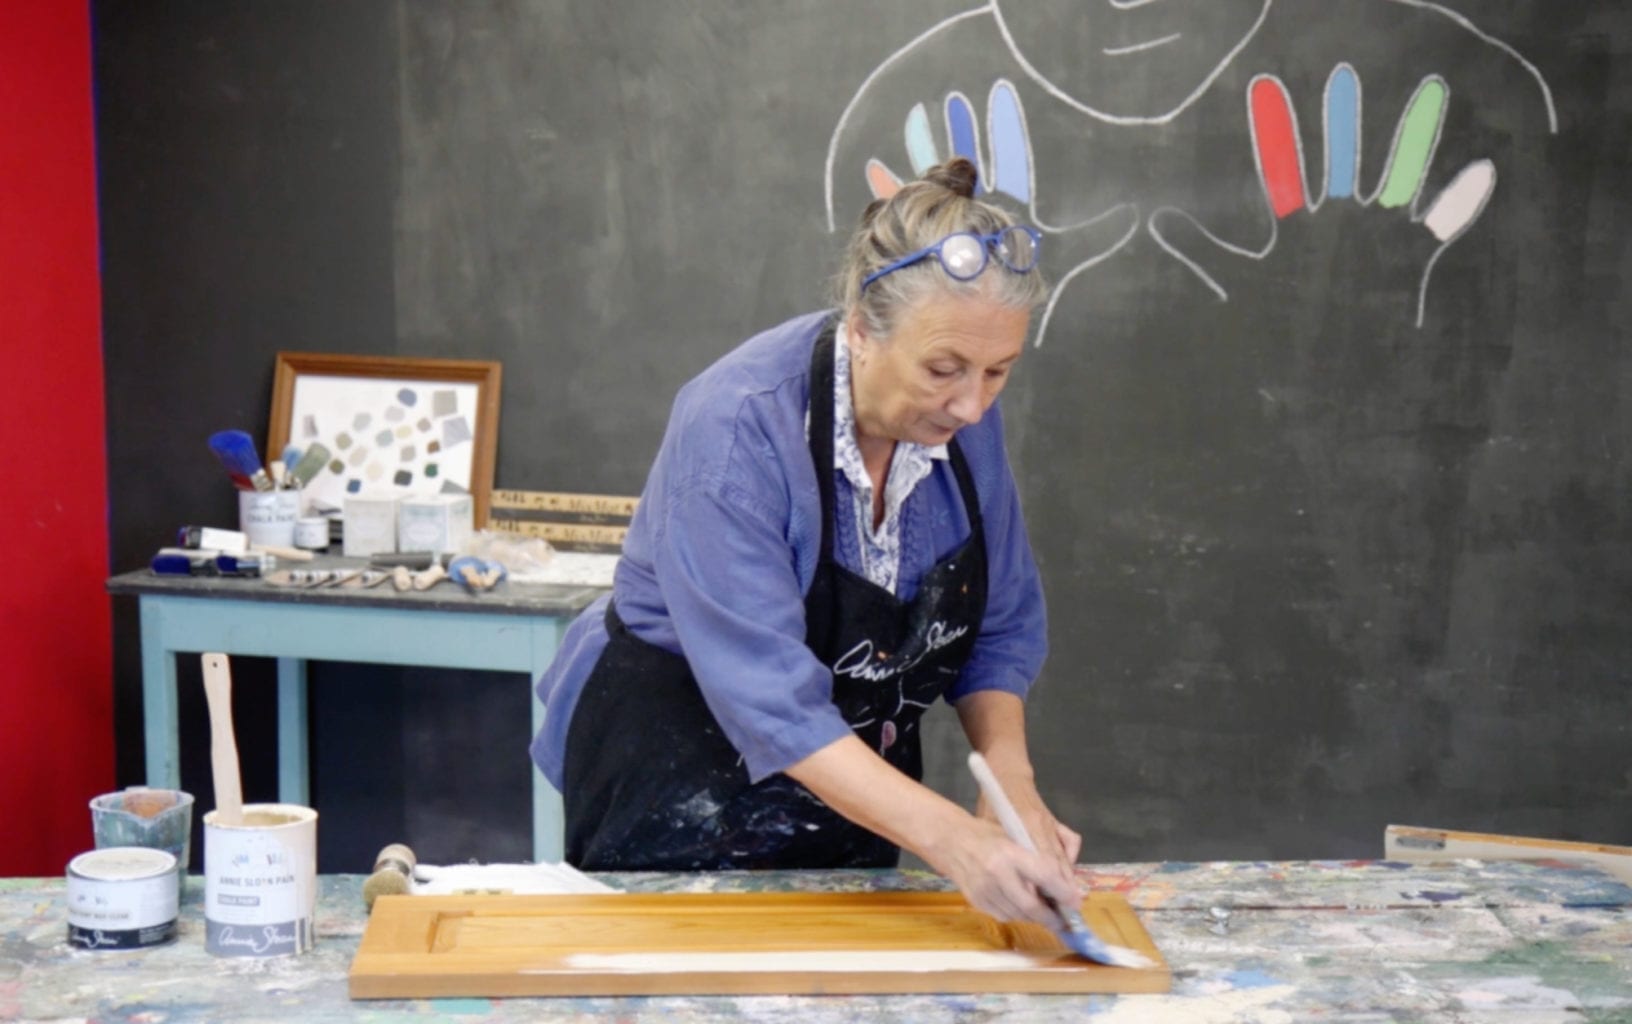
12. Kiedy farba całkowicie wyschnie, nałóż na nią wosk lub lakier Chalk Paint™ Lacquer. Wosk nakładaj pędzlem, natomiast lakier pędzlem, wałkiem lub pistoletem natryskowym. Kliknij tutaj aby obejrzeć jak Annie i Ron demonstrują wykończenie szafki nakładając natryskowo lakier Chalk Paint™ Lacquer.

Podobne techniki

ZRÓB ZAKUPY

Przeglądaj

Chalk Paint™

O nas
ZRÓB ZAKUPY